The Right Way to Clean Out a Toaster
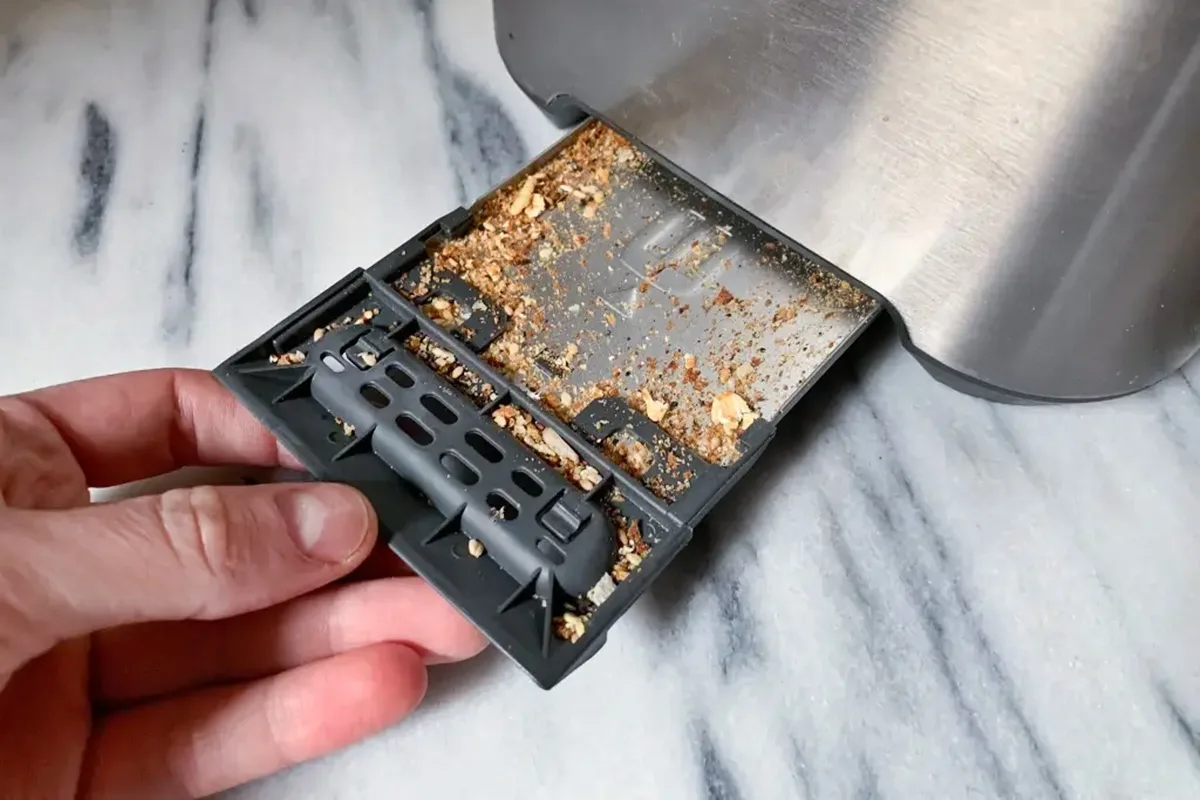
If you've ever wondered how to clean out a toaster the right way, you're not alone. That crumb tray doesn't empty itself, and burnt toast smell can linger for days. But doing it wrong can be dangerous.
According to the National Fire Protection Association, toasters are involved in an average of 790 home fires per year in the United States. Most start from accumulated crumbs and grease. A proper clean takes less than 10 minutes and can prevent that risk.
Let's walk through exactly what to do.
Image source: Bing (Web (fair-use with source credit))
Quick Answer
Unplug the toaster. Remove and empty the crumb tray. Turn the toaster upside down over a sink or trash can and tap gently to dislodge loose crumbs.
Use a soft brush to sweep between the slots. Wipe the exterior with a barely-damp microfiber cloth. Do all of this once a week.
Why Cleaning Your Toaster Actually Matters (More Than You Think)
That crusty buildup inside your toaster isn't just unsightly. It's a fire hazard waiting for a spark. Crumbs that fall past the tray onto the heating elements can ignite, especially if they're mixed with grease or butter residue from bagels and pastries.
There's also the smell. Burnt crumbs produce a smoky odor that seeps into your kitchen and clings to walls. Over time, that smell gets baked into the toaster's interior, making every slice of toast taste faintly of last week's burnt bagel.
Regular cleaning also keeps your toaster performing evenly. When crumbs pile up on the heating elements, they create hot spots that burn one side of your bread while leaving the other pale. A clean toaster delivers consistent toasting every time.
What You Need to Know Before You Start (Tools, Safety, and a Big Warning)
Before you touch that crumb tray, unplug the toaster. This is non-negotiable. Water and electricity don't mix, and even a dry cleaning session can involve metal tools that could short the circuit.
Here's what you'll need:
- A soft-bristled brush (a clean paintbrush or pastry brush works perfectly)
- A microfiber cloth (damp, not wet)
- Mild dish soap
- A small vacuum with a brush attachment (optional but helpful)
- White vinegar for stuck-on grime (only on the exterior or crumb tray)
The big warning: never use a metal fork, knife, or screwdriver to pry out stuck crumbs. Metal can bridge the live terminals inside the toaster and deliver a serious shock. Stick to non-metallic tools.
Also, never submerge the toaster in water. The heating elements and electrical components are not sealed. Water inside equals a fried appliance and a real electrocution risk.
Wipe only the outside and the removable crumb tray with a damp cloth.
The Right Way to Clean a Toaster: Step by Step (No Guesswork)
Follow these steps in order. Skipping around can leave crumbs deeper inside or create a shock risk.
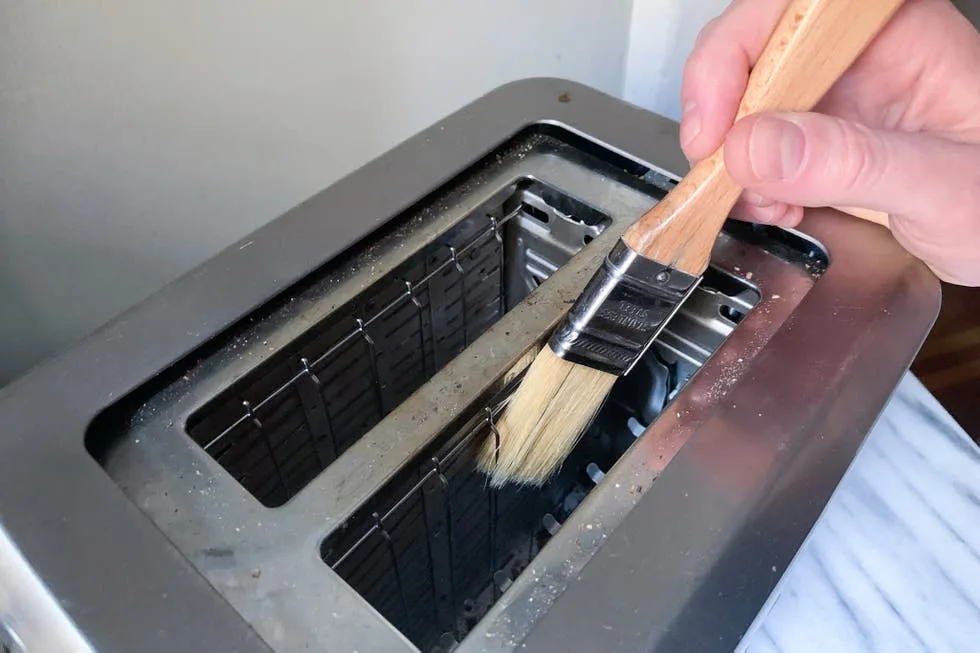
Image source: Bing (Web (fair-use with source credit))
- Unplug and cool down. Wait at least 10 minutes after the last use. The heating elements stay hot and can burn you.
- Remove the crumb tray. Slide it out and empty the crumbs into the trash. Wash the tray with warm soapy water and dry it completely before putting it back.
- Turn the toaster upside down over a sink or trash can. Gently tap the sides and bottom to dislodge loose crumbs. You'll be surprised how much falls out.
- Brush between the slots. Use the soft-bristled brush to sweep crumbs off the heating elements and out of the crevices. Work vertically, from top to bottom, so crumbs fall out instead of getting pushed deeper.
- Vacuum the interior (optional). If you have a small vacuum with a brush attachment, gently vacuum around the slots and the bottom of the toaster cavity. This catches fine dust that brushing misses.
- Wipe the exterior. Dampen a microfiber cloth with water and a drop of dish soap. Wring it out until it's barely damp. Wipe the sides, top, and control knobs. Avoid getting moisture inside the slots or around the power cord entry.
- Reassemble and dry. Replace the dry crumb tray. Let the toaster sit unplugged for another five minutes to make sure everything is bone-dry before you plug it back in.
That's it. Total time: about 8 minutes.
The Most Common (and Dangerous) Cleaning Mistakes People Make
The biggest mistake is leaving the toaster plugged in. Even when turned off, the internal wiring can be live. A metal tool or wet cloth can complete the circuit.
Other mistakes we see all the time:
- Using compressed air. Air dusters blow crumbs deeper into the toaster, past the crumb tray and into the electronics. That's where they cause smoke and fire.
- Cleaning while the toaster is still warm. Crumbs can singe onto the elements, creating a burnt smell that's hard to remove. Plus, you risk burns.
- Skipping the crumb tray entirely. Some toasters have fixed trays that don't slide out. That doesn't mean you ignore them. Turn the toaster upside down and tap it over the sink to get those crumbs out.
- Using abrasive cleaners or steel wool. These scratch the exterior finish and can damage the non-stick coating inside some toaster ovens. Stick to soft cloths.
- Putting the crumb tray back wet. Moisture trapped under the tray can lead to rust, mold, or electrical shorts. Dry it fully before reinserting.
One more thing: if you ever smell burning plastic or see smoke coming from the toaster while it's unplugged and cold, stop cleaning and replace the appliance. That smell means internal insulation is breaking down.
How Often Should You Clean It? (And Signs You’ve Waited Too Long)
For a standard pop-up toaster that gets used daily, empty the crumb tray once a week. A full deep clean (brushing, vacuuming, wiping) is fine once a month. Toaster ovens need more frequent attention because they catch grease from cheese, meat, and sauces.
Here are signs you've waited too long:
- Smoke rises from the toaster during normal use
- A musty or burnt smell comes out when the toaster is idle
- Crumbs are visible on the counter around the toaster
- The toast comes out uneven, dark on one side, light on the other
- You see a layer of greasy dust on the crumb tray
If you notice any of these, don't wait. A 10-minute clean now beats a fire extinguisher later.
What About Toaster Ovens? (They’re a Different Beast)
A toaster oven is not just a bigger toaster. It traps grease, cheese, and sauce drips that a pop-up model never sees. That means a different cleaning routine and a higher fire risk if you skip it.
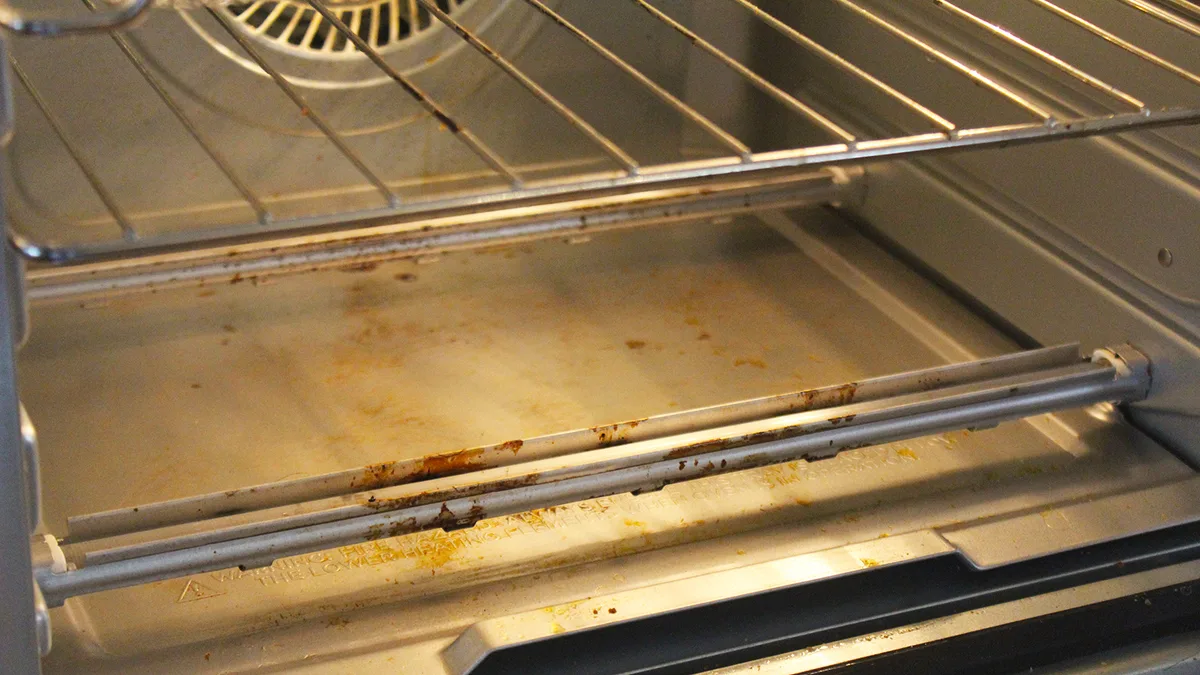
Image source: Bing (Web (fair-use with source credit))
Start by unplugging and letting it cool completely. Remove the wire rack, crumb tray, and any baking pan. Wash those with warm soapy water. Dry them thoroughly.
For the interior, use a degreasing approach. Your best bet is a 50/50 mix of white vinegar and water in a spray bottle. Spray the interior walls (avoid the top heating elements). Let it sit for five minutes.
Wipe with a damp microfiber cloth. Stubborn baked-on grease may need a paste of baking soda and water. Apply it with a soft sponge, let it sit for 10 minutes, then wipe clean.
Never use oven cleaner or self-cleaning cycles on a toaster oven. The chemicals can damage the non-stick coating and the high heat can ruin the electronics. Stick to gentle degreasers.
The biggest difference is frequency. Toaster ovens need a quick crumb tray empty after every few uses. A full interior wipe down should happen every two weeks if you cook fatty foods. Oily residue from frozen pizzas or chicken nuggets builds up fast.
Pay attention to the door glass. Grease smears here can burn and create a film that blocks your view. Wipe it with a vinegar-water solution after each deep clean. Don't use abrasive scrubbers or razor blades on the glass.
They scratch the surface and make future cleaning harder.
If you notice smoke coming from the toaster oven during preheat, that's a sign of grease buildup on the heating elements. Stop using it. Unplug and clean the interior thoroughly before the next use.
FAQs: Your Quick Questions, Answered
Can I put my toaster in the dishwasher?
No. Submerging a toaster in water destroys the electrical components and creates a serious shock hazard. Only the removable crumb tray may be dishwasher safe.
Check your manual to be sure.
What's the best tool to clean inside toaster slots?
A soft-bristled brush is the safest option. Use a clean pastry brush, paintbrush, or a toothbrush reserved for cleaning. Never use metal tools.
They can short the heating elements or deliver a shock.
How do I get rid of burnt smell from my toaster?
Run an empty toasting cycle on the lowest setting to burn off loose residue. Then wipe the interior with a dry brush. If the smell persists, clean the crumb tray and brush out all slots.
The smell is trapped crumbs burning.
Does unplugging the toaster matter for cleaning?
Yes. Always unplug before cleaning. Even when turned off, the internal wiring can be live.
Touching the heating elements with a damp cloth or metal tool while plugged in creates a risk of shock.
Can I use compressed air to blow out crumbs?
Avoid it. Compressed air forces crumbs deeper into the toaster past the crumb tray. Those hidden crumbs can cause smoke and fire during future use.
Stick to brushing and tapping out crumbs.
How often should I deep clean a toaster oven?
Every two weeks for the interior if you cook greasy foods. The crumb tray should be emptied after every few uses. A pop-up toaster needs a weekly crumb tray empty and a monthly deep clean.

Similar Posts