Quick & Fluffy Instant Pot Yellow Rice
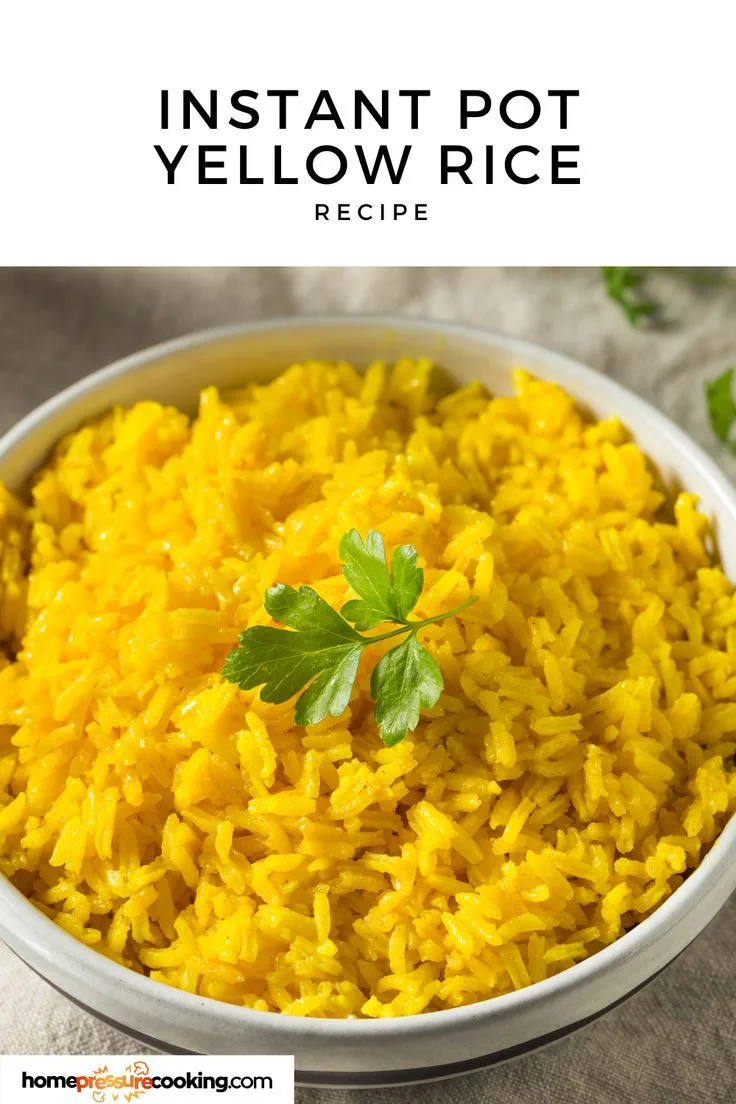
If your yellow rice comes out mushy, stuck to the bottom, or triggers that dreaded BURN error, you're not alone. This instant pot yellow rice recipe fixes all three problems at once. We'll walk through the exact ratios and steps for whatever rice you have in the pantry.
No more guesswork.
Manufacturer specifications for Instant Pot models indicate that rice and liquid should not exceed half the pot's capacity. That simple rule prevents most vent-clogging and scorching issues. As of 2026, pressure cooker guidelines haven't changed, so this method remains reliable.
Once you understand that, the rest is just a decision about which grain you're cooking.
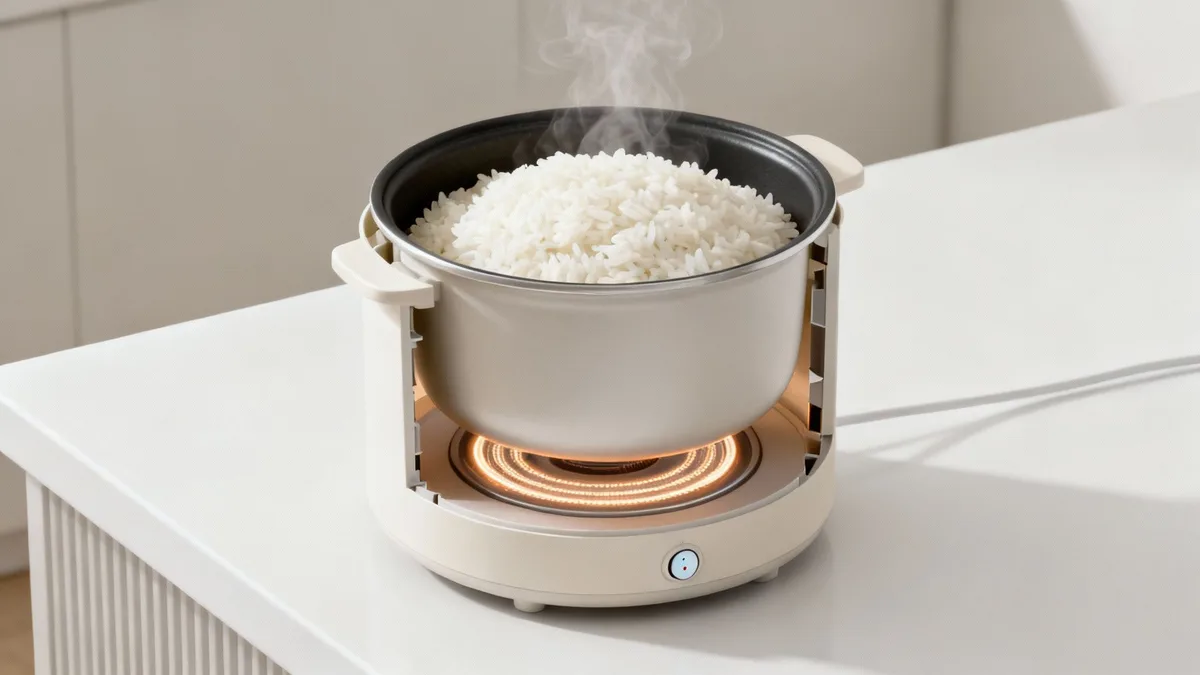
Image source: Bing (Web (fair-use with source credit))
The Problem That Makes You Want to Throw Your Instant Pot Out the Window
Pressure cookers are unforgiving when they're mistreated. White rice and brown rice cook at completely different speeds, yet many generic recipes treat them the same. That's why one person gets fluffy yellow rice and someone else gets a sticky brick.
Aggregate reviews of Instant Pot users show three complaints dominate. BURN warnings. Sticky paste.
Rice that's still crunchy in the middle. All three share the same root cause. The recipe didn't match the rice type.
For example, jasmine rice absorbs less liquid than basmati. If you swap one for the other without adjusting, you're asking for trouble. Add too much liquid and the grains burst into mush.
Add too little and the pressure sensor thinks the pot is dry.
Your Instant Pot model matters, too. A Duo, a Pro, and an Ultra each hold heat differently. The display might say HIGH, but the actual temperature curve shifts between models.
That means a recipe that works beautifully with jasmine can fail with aged basmati.
The fix is straightforward. Yellow rice is just flavor-coated rice, using turmeric for color and aromatics for depth. The cooking math stays the same as plain rice.
When you get that math right, the pot does the rest. When you don't, you get a frustrating afternoon.
The good news is that this isn't a hard problem to solve. You just need to pick your branch and follow the numbers.
The Decision Tree: Pick Your Rice, I'll Tell You Exactly What to Do
Before you touch a button, answer one question. What kind of rice is in the bag? Everything else in this instant pot yellow rice recipe branches from that single answer.
The flow works like this. Identify your rice. Match the liquid ratio.
Set the correct pressure time. Use the right release method. That's the whole system.
Branch A: I'm using basmati or long-grain white rice
You want separate, fluffy grains with a mild nutty flavor. Use 1 cup of rice to 1.25 cups of liquid. Cook on High Pressure for 5 minutes.
Let the pot sit for 10 minutes of natural release, then vent the rest.
If you like firmer rice, reduce the liquid to 1.15 cups. If you prefer a softer bite, keep the ratio at 1.25. This branch covers most standard yellow rice recipes, including arroz amarillo with peas and carrots.
Branch B: I'm using jasmine rice
Jasmine is slightly stickier and more tender than basmati. It needs less liquid. Use 1 cup of rice to 1 cup of liquid.
Cook on High Pressure for 4 minutes. Natural release for 8 minutes, then quick release the remaining steam.
This branch works well for a Southeast Asian style yellow rice, especially if you add a little coconut milk. Just remember that coconut milk can foam. Spray or grease the pot rim first to keep the float valve clear.
Branch C: I'm using brown rice
Brown rice still has its bran layer, so it takes much longer. Use 1 cup of rice to 1.5 cups of liquid. Cook on High Pressure for 16 to 18 minutes.
Then natural release for 15 minutes without touching the valve.
Don't rush this one. Brown rice needs the long release to finish steaming evenly. Cutting the release short gives you a chalky, undercooked center.
Branch D: I want to use the pot-in-pot method
This branch is for small batches or for days when you worry about burning. Place your rice, liquid, and seasonings in an oven-safe bowl that fits inside the Instant Pot. Add 1 cup of water to the inner pot, then set the bowl on a trivet.
Use the same cook times and release times as your rice branch above.
Pot-in-pot takes slightly longer to come to pressure, but the cleanup is easier. It also keeps turmeric off the inner pot and sealing ring.
Rice Types & Liquid Ratios: The One Factor That Changes Everything
This is the entire cheat sheet. Bookmark this table or screenshot it. It covers the three most common rice types and the exact numbers.
| Rice Type | Liquid per 1 cup rice | High Pressure Time | Release Method |
|---|---|---|---|
| Jasmine | 1 cup | 4 minutes | Natural release 8 minutes |
| Basmati / long-grain white | 1.25 cups | 5 minutes | Natural release 10 minutes |
| Brown rice | 1.5 cups | 16–18 minutes | Natural release 15 minutes |
No matter what the recipe box says, turmeric doesn't change the liquid math. A teaspoon of turmeric adds color and a gentle earthiness, but it doesn't absorb water. Saffron and annatto act the same way.
If you're using broth instead of water, keep the same volume. Chicken broth adds savoriness. Vegetable broth keeps it vegetarian.
Just be aware that store-bought broth carries salt, so cut the added salt in half. You can always add more at the table.
A quick note on rice rinsing. Rinsing removes surface starch and gives you fluffier, more separate grains. It also cuts down on foaming inside the pot.
If you skip rinsing, lower your cook time by one minute. Unrinsed rice can turn gummy because the excess starch gelatinizes under pressure.
Here's where a lot of recipes go off the rails. They tell you to use the same ratio for every type. That's wrong.
Basmati and brown rice aren't interchangeable. Your eye should go straight to the rice bag before you measure anything.
The USDA's food safety guidelines recommend storing cooked rice in the fridge for no more than four days. You can check their recommendations at the USDA website. Cool it quickly after cooking and reheat only what you'll eat.
The Step-by-Step That Works Every Time (No Matter Which Branch You Picked)
Once you know your branch, the process is identical. You're just changing the numbers in steps five and six. This is the repeatable workflow.
1. Rinse the rice
Add 1 cup of rice to a fine-mesh strainer. Rinse under cool water until the water runs mostly clear. This doesn't take long, and it makes a real difference.
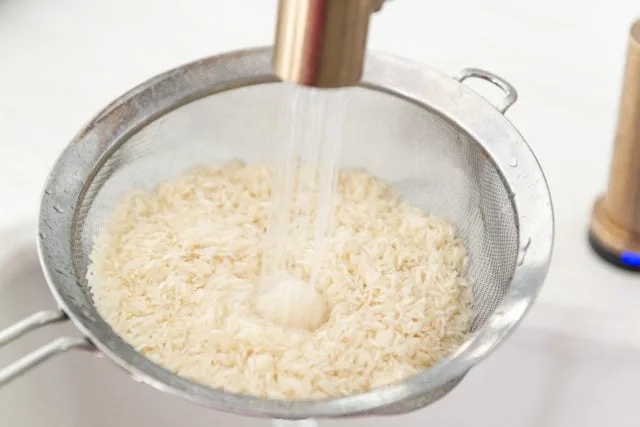
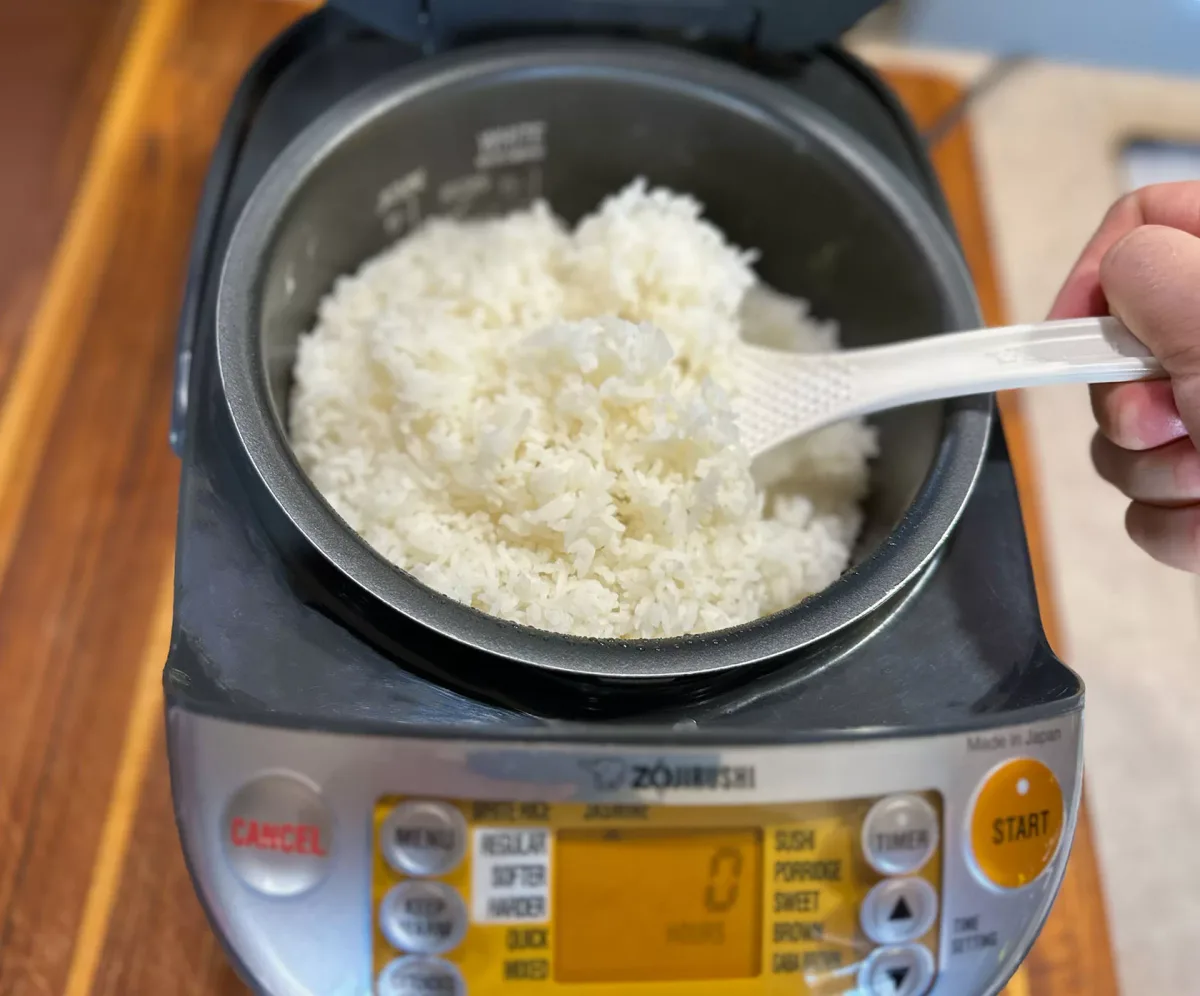
Image source: Bing (Web (fair-use with source credit))
2. Sauté your aromatics
Press the Sauté button and let the pot heat for a minute. Add 1 tablespoon of olive oil or butter. Toss in half a diced onion and two minced garlic cloves.
Cook for 2 to 3 minutes until fragrant.
3. Add your spices and rice
Stir in 1 teaspoon of turmeric, 1/2 teaspoon of ground cumin, and 1/2 teaspoon of salt. Add the rinsed rice and stir everything together. Let the rice toast for 1 to 2 minutes.
This step deepens the flavor and helps the grains stay separate.
4. Pour in the liquid and deglaze
Add the correct amount of broth or water based on your branch. Use a wooden spoon or spatula to scrape the bottom of the pot thoroughly. Any stuck bit of onion or spice becomes a burn point during the pressure cycle.
5. Pressure cook
Cancel the Sauté function. Seal the valve and set the timer according to your branch. If you're making brown rice, expect a longer wait.
That's normal.
6. Release in two stages
When the timer finishes, let the pot sit untouched for the natural release time listed in the table. Then turn the valve to vent. Keep your hand and face away from the steam burst.
It's hot enough to hurt.
7. Fluff and rest
Remove the lid and use a fork to fluff the rice gently. Let it sit uncovered for 2 to 3 minutes. This lets extra steam escape, so the grains don't clump together.
The 3 Most Common Mistakes (And How to Avoid Every Single One)
Even experienced cooks mess up yellow rice sometimes. It usually comes down to one of these three mistakes.
Mistake 1: Skipping the deglazing step
If you see the BURN error, this is probably why. When you sauté rice and aromatics, food sticks to the bottom. Once you add liquid, you must scrape it all up.
If you don't, the pressure sensor detects the hot spot and shuts the cycle down.
The fix is simple. After pouring in your liquid, spend thirty seconds scraping every surface of the pot bottom. If you still get a BURN warning, cancel the cycle, scrape again, and add two extra tablespoons of liquid.
Mistake 2: Using quick release on white rice
White rice needs a short natural release to finish cooking gently. Quick release forces the pressure out immediately, which shuts off the residual steam. The result is undercooked, damp rice with a gummy texture.
Set a timer for the natural release minutes and walk away. When the time is up, vent the rest. That extra five or ten minutes is doing real work.
Mistake 3: Forgetting that turmeric stains your sealing ring
Turmeric is powerful stuff. It turns the silicone sealing ring yellow and can leave a faint bitter smell that shows up in your next cheesecake. Many households keep a separate ring just for yellow and spiced dishes.
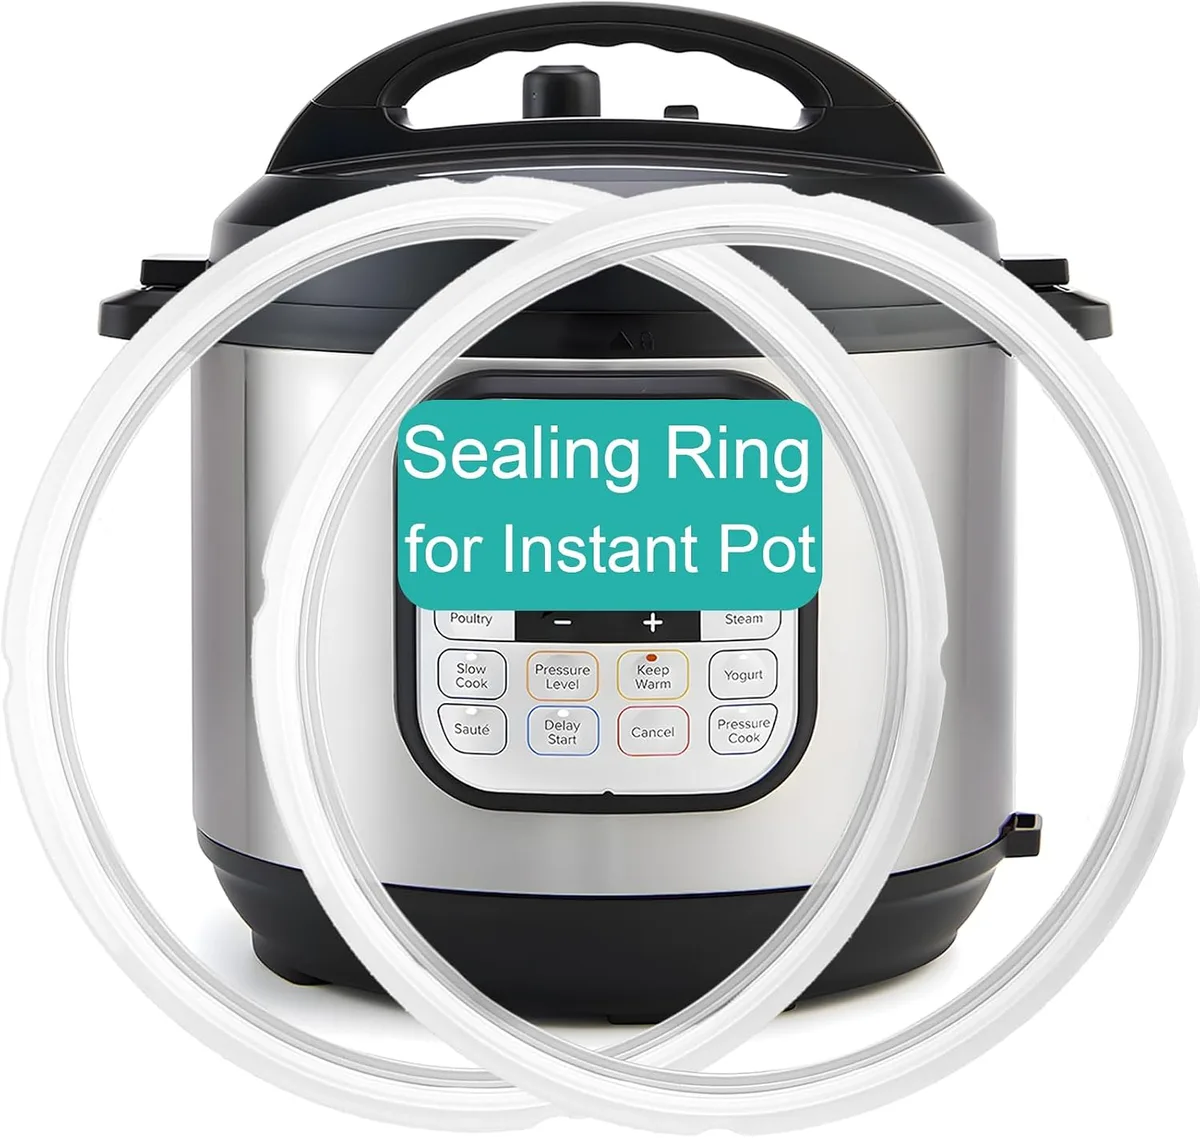
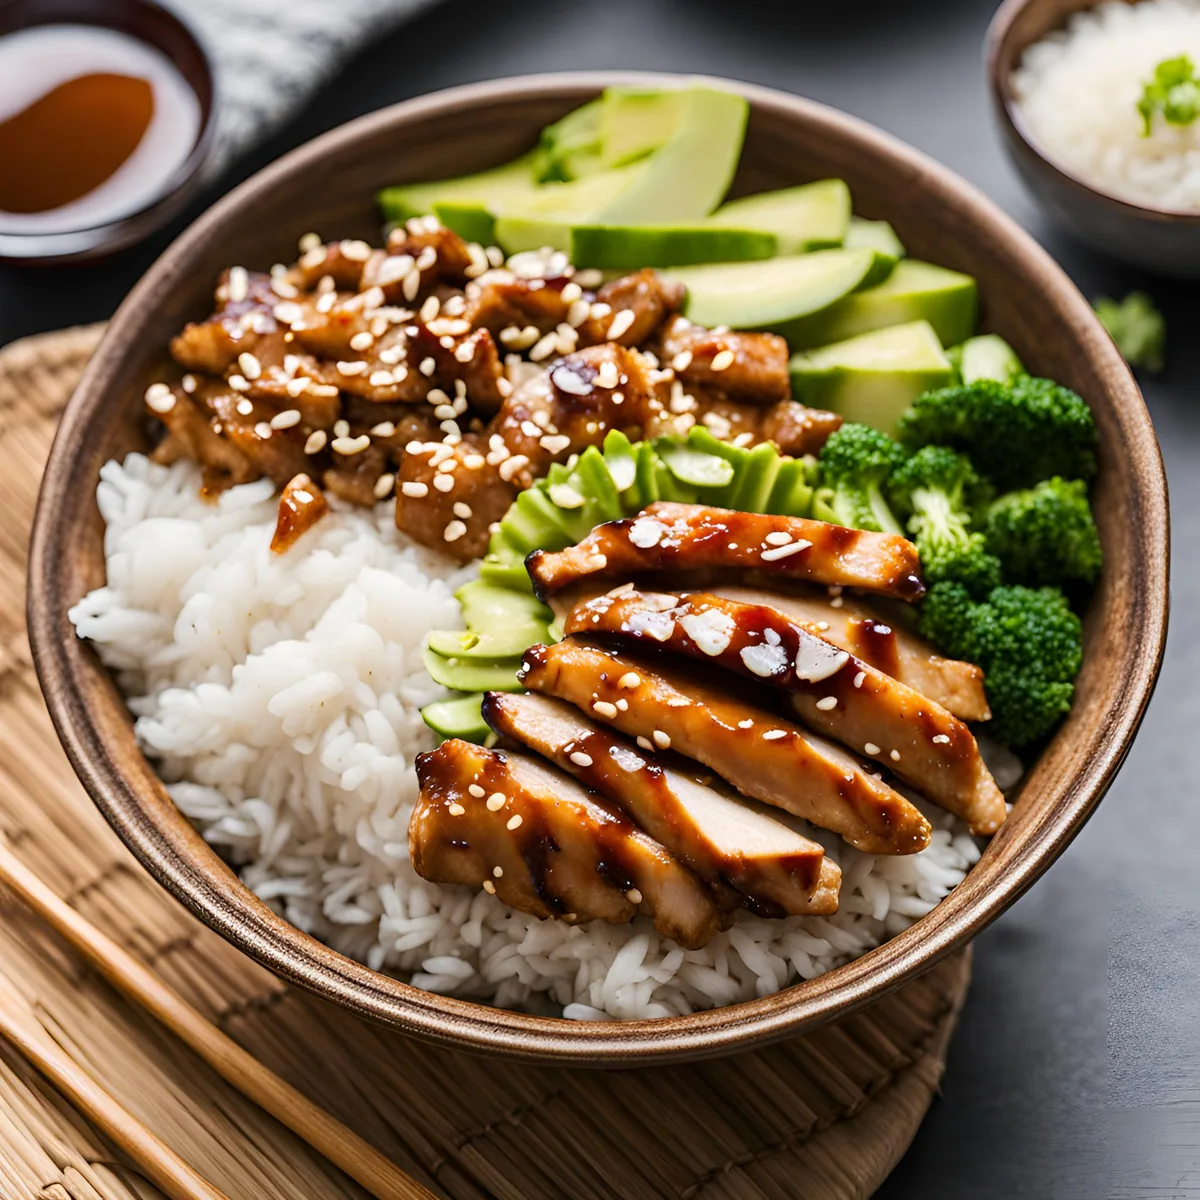
Image source: Bing (Web (fair-use with source credit))
The easiest approach is to pop the ring out and wash it immediately after cooking. Dishwasher cycles help, but they don't remove every stain. Over time, rings are cheap to replace.
Keep one for savory and one for neutral dishes.

Similar Posts