Fast Overnight Vinegar Soak Guide for Rusted Cast Iron Pans
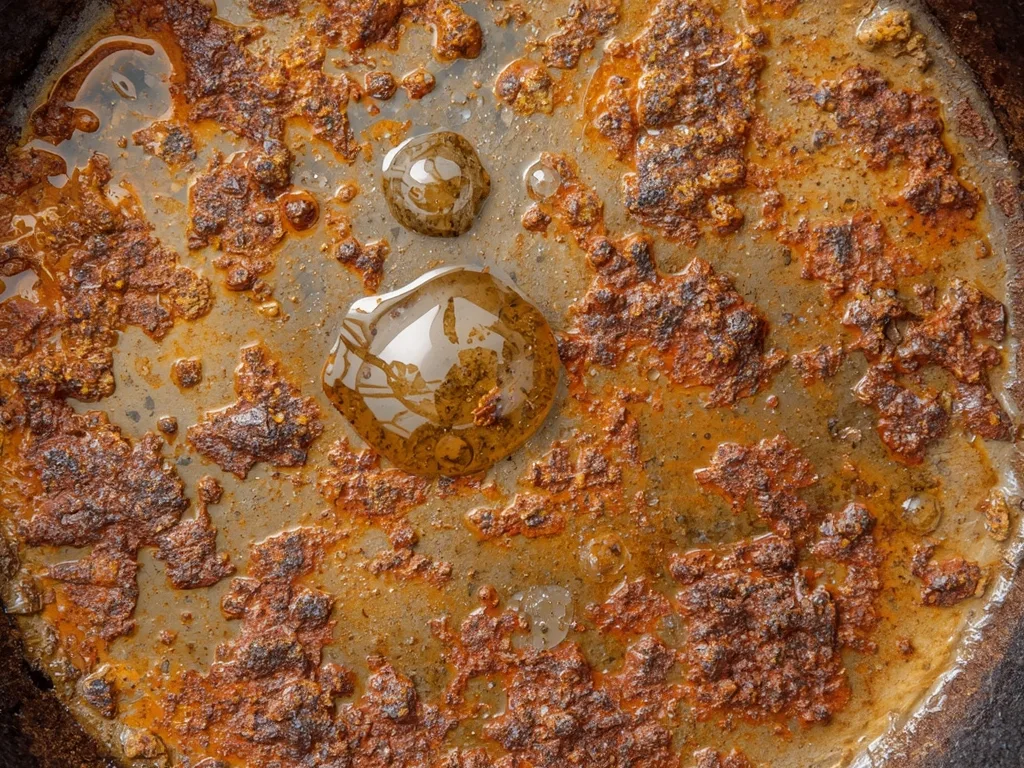
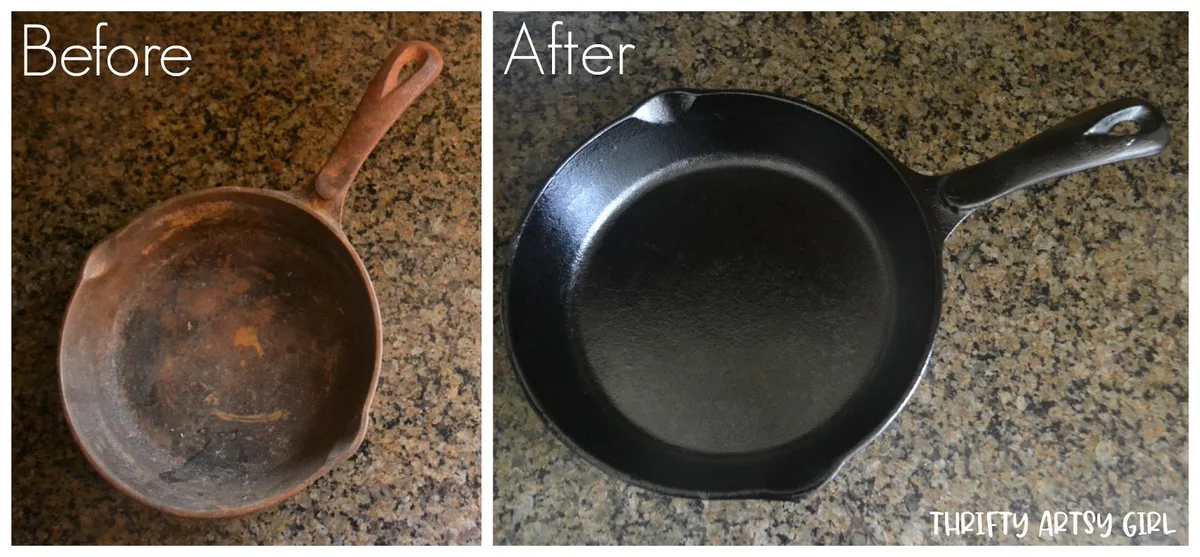
Seeing rust on your favorite cast iron pan can feel like a gut punch. If you're wondering how to restore rusted cast iron pans, here's the good news: most rust is completely fixable. With a bit of elbow grease and the right technique, that crusty orange mess can become a slick cooking surface again.
The dark, smooth finish on cast iron isn't a permanent coating. It's a layer of polymerized oil created when oil is heated between 350°F and 450°F. The rust you see is just iron oxide on the surface.
It hasn't eaten through the metal unless the pan is severely pitted. Once you understand that, the restoration process makes total sense.
Quick Answer
Scrub the rust off with steel wool and a 1:1 vinegar-water soak. Rinse thoroughly and dry immediately. Apply a paper-thin layer of cooking oil.
Bake the pan upside-down in a 400°F oven for one hour. Repeat the oil and bake step three to five times.
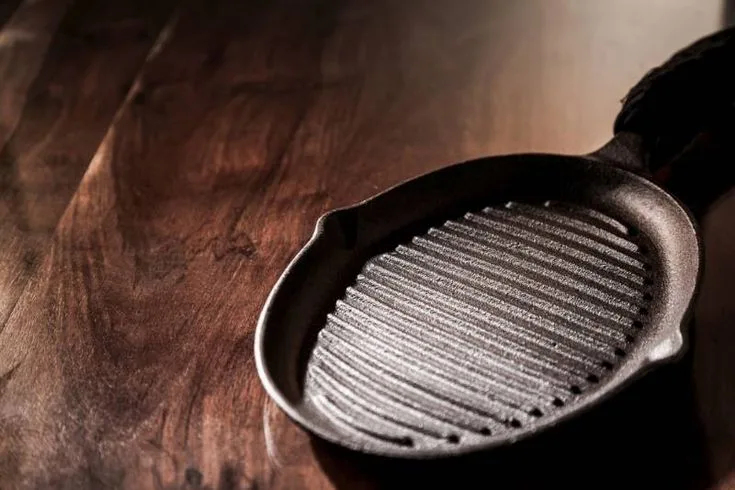
Image source: Bing (Web (fair-use with source credit))
Why Your Cast Iron Rusts (And Why You Shouldn't Panic)
Rust happens when bare iron meets moisture and oxygen. That's it. Your pan's seasoning layer normally protects the metal from air and water.
But if you cook something acidic like tomatoes, scrub too aggressively, or leave the pan wet, that protective layer gets compromised.
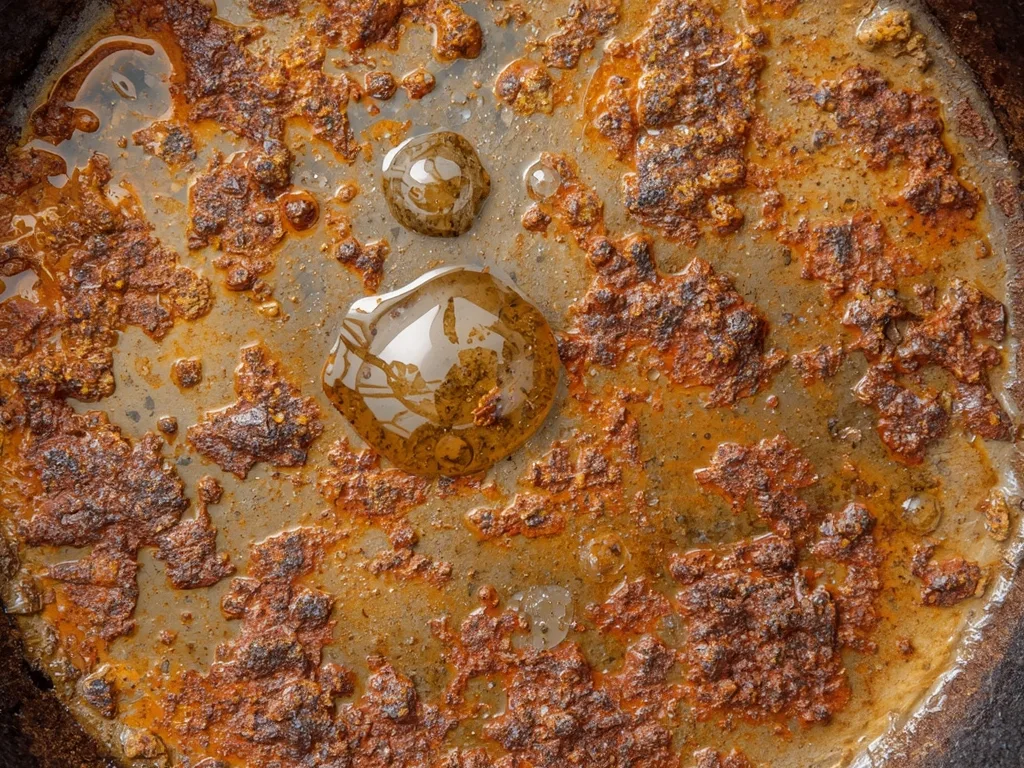
Once the seasoning is gone in a spot, the exposed iron starts to oxidize. This is what creates that orange, flaky, crumbly rust you're looking at. It looks alarming, especially if you've invested years into building the seasoning.
But here's the honest truth: surface rust is cosmetic damage, not structural failure.
In our research, most rusted pans that have no visible pits, cracks, or warping can be fully restored with about two hours of hands-on work. The iron itself is incredibly durable. People have restored pans that sat in a damp garage for decades.
The only pans that are truly beyond saving are those with deep rust pits eating into the metal, a visible crack, or a warp that prevents flat contact with the burner.
Humidity plays a big role, too. If you live in a coastal or humid region, flash rust can form on a freshly stripped pan within minutes. That's not a sign of a bad pan.
It's just the iron reacting to the moisture in the air. You can wipe it off and move on.
How Rust and Seasoning Really Work (The Quick Science)
Let's demystify what you're actually dealing with. Cast iron is mostly iron with a small amount of carbon. When iron is exposed to oxygen and water, it forms iron oxide, rust.
The reaction is the same one that eats through car bodies, but on a pan it stays on the surface unless neglected for years.
Seasoning is the exact opposite process. When you heat oil on cast iron, the oil breaks down and rearranges into a hard, plastic-like polymer layer. This layer bonds to the iron and seals it from air and water.
According to the official care guidelines from Lodge Cast Iron, the key to a durable seasoning is using an oil with a high smoke point and applying it in very thin coats.
Many people think the seasoning is a baked-on layer of oil. That's not quite right. It's chemically changed.
Polymerization creates a surface that's hydrophobic, it repels water. That's why a well-seasoned pan doesn't rust. But scrape that layer off, and the bare iron is vulnerable again.
The rust you're seeing now is a sign that the seasoning has failed in that area. Your job is to remove the rust, remove any remaining loose seasoning, and then rebuild that polymer barrier from scratch. The process is simple.
The patience required is the part most people underestimate.
Can This Pan Be Saved? – Assessing Your Rust Level
Before you grab the steel wool, take a close look at the pan. Not all rust is the same. Your approach changes depending on what you're working with.
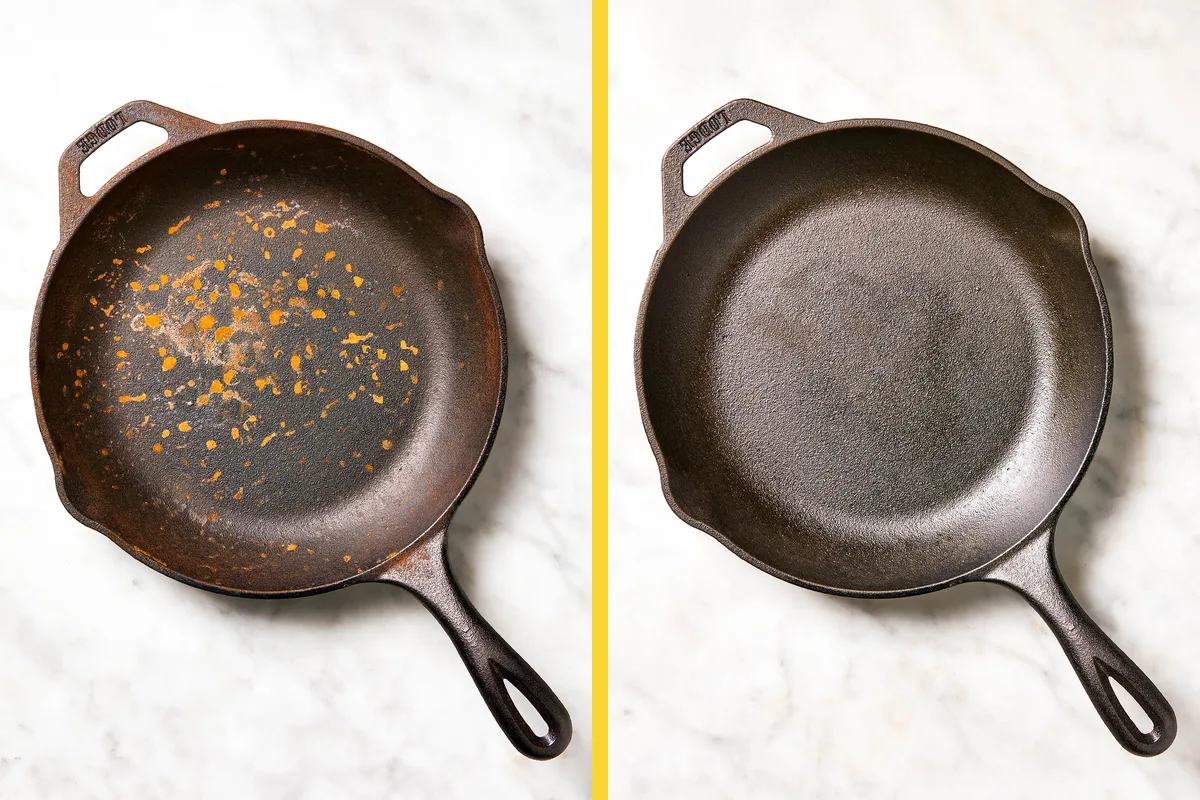
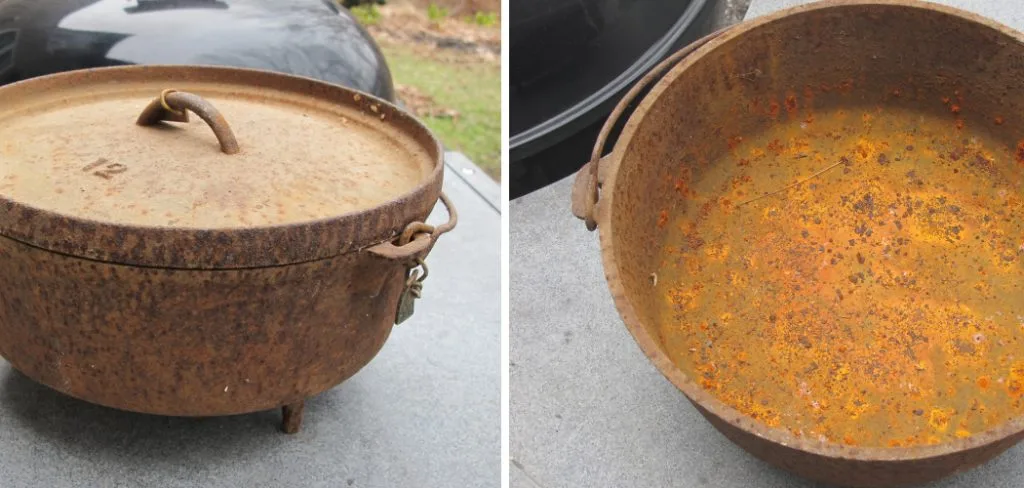
Image source: Bing (Web (fair-use with source credit))
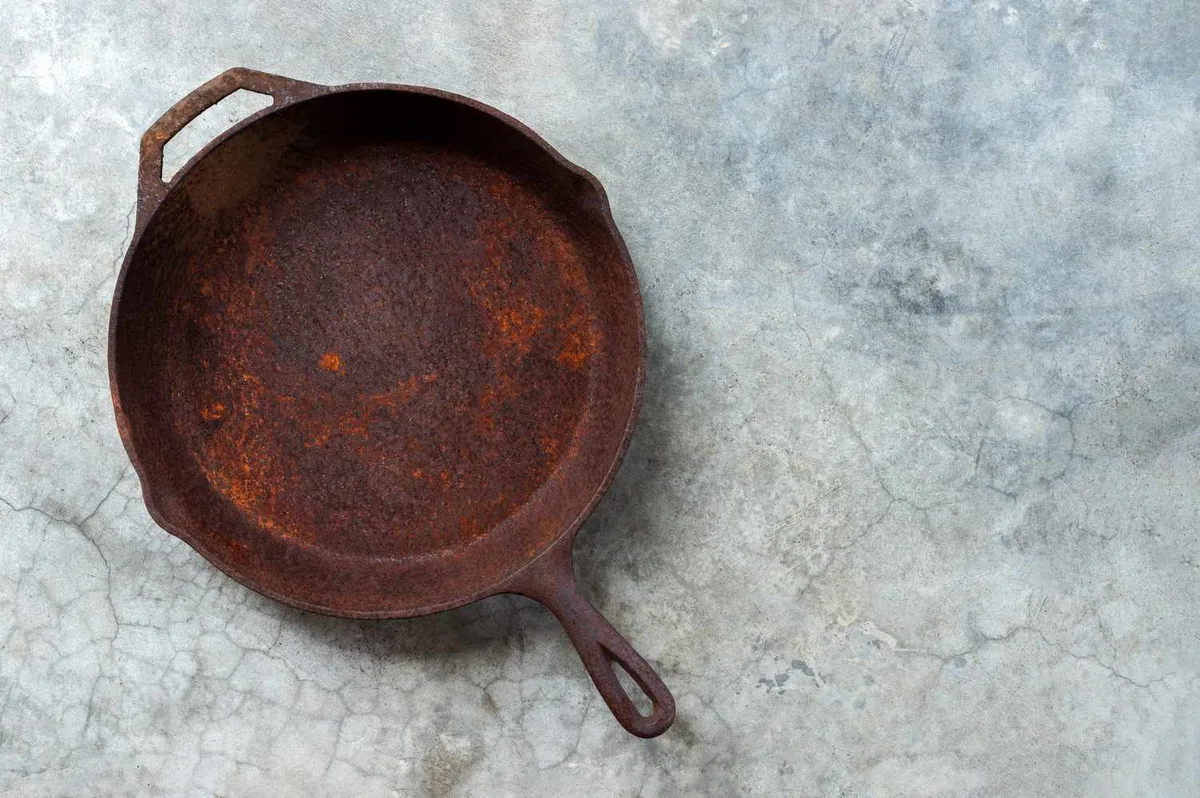
Light surface rust looks like a thin, dusty orange film. You can often wipe it off with a dry paper towel. If a quick scrub with soapy water and a nylon brush removes it, you don't need the full restoration process.
Just dry the pan, apply a light coat of oil, and you're done.
Moderate rust appears as thicker, rougher patches. It feels bumpy to the touch. The seasoning around it may be peeling or flaking.
For this level, you need a vinegar soak and steel wool. The rust hasn't pitted the metal yet, but it has bonded more tightly to the surface.
Heavy rust looks crusty, layered, or scaly. It may flake off in chunks when you rub it. If the surface underneath feels like coarse sandpaper after cleaning, that's pitting.
Pitting means the rust has eaten slightly into the iron. You can still restore the pan, but it will take more work and the final surface may never be perfectly smooth.
If the pan has a crack, a visible hole, or a warp that makes it rock on a flat surface, it's time to replace it. No restoration method can fix structural damage.
The Restoration Process – A Visual Step-by-Step Guide
Here's the step-by-step process that works for the vast majority of rusted pans. Read through it once before you start. Having everything ready helps you move fast and avoid flash rust.
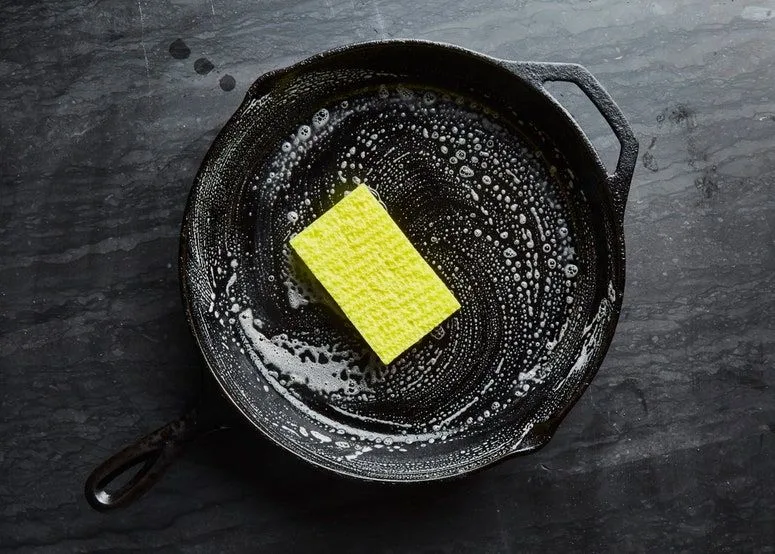
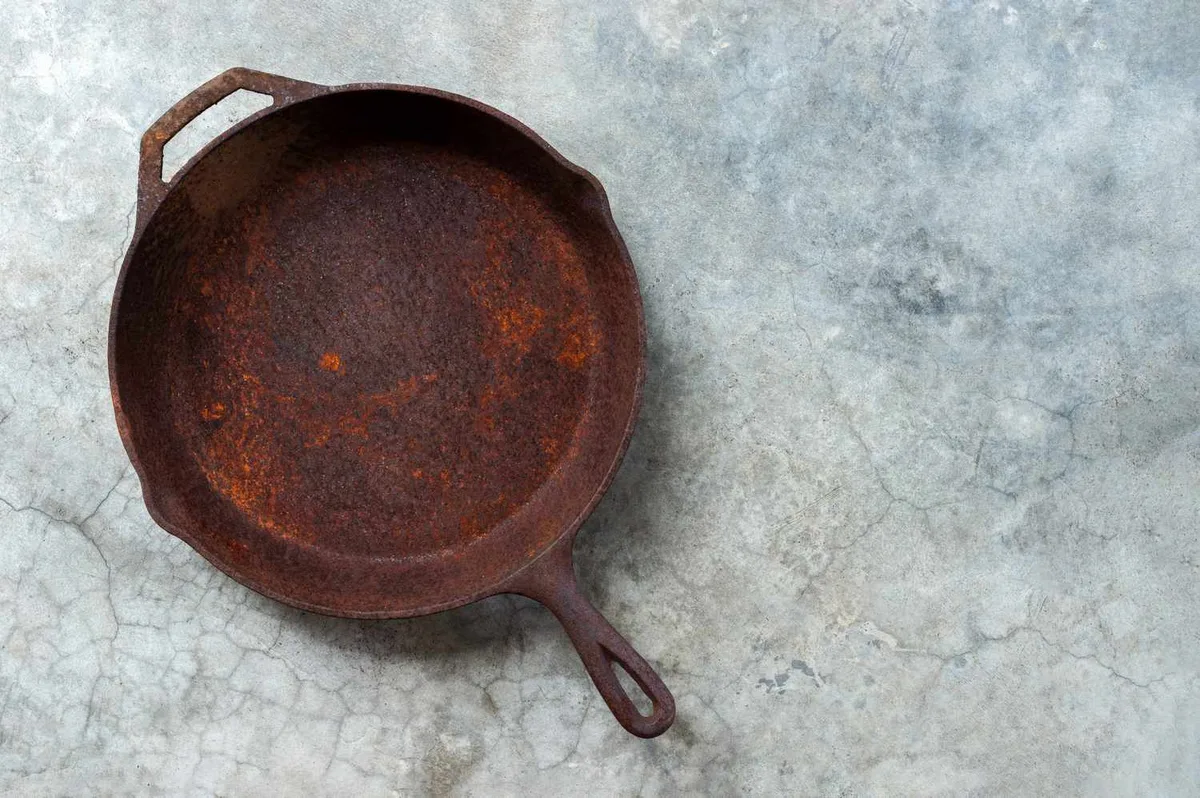
Image source: Bing (Web (fair-use with source credit))
Tools and materials you'll need:
| Item | Purpose |
|---|---|
| White vinegar | Mild acid to dissolve rust |
| Steel wool (fine or medium grade) | Abrasive to scrub rust away |
| Nylon scrub brush | For initial cleaning and residue |
| Dish soap | Removes grease and loose debris |
| Lint-free cloth or paper towels | Drying and oil application |
| High-smoke-point oil (canola, grapeseed, or vegetable shortening) | Re-seasoning |
| Baking soda (optional) | Neutralizes vinegar residue |
| Chainmail scrubber (optional) | Useful for scrubbing cooked-on bits later |
The restoration steps:
Wash the pan with warm water, dish soap, and a nylon brush. This removes any loose rust, grease, or old seasoning flakes. Dry it thoroughly.
Fill the pan with a 1:1 mix of white vinegar and water. Let it soak for 15 to 30 minutes. Do not soak longer than one hour. The acid eats rust but it also attacks the iron itself if left too long.
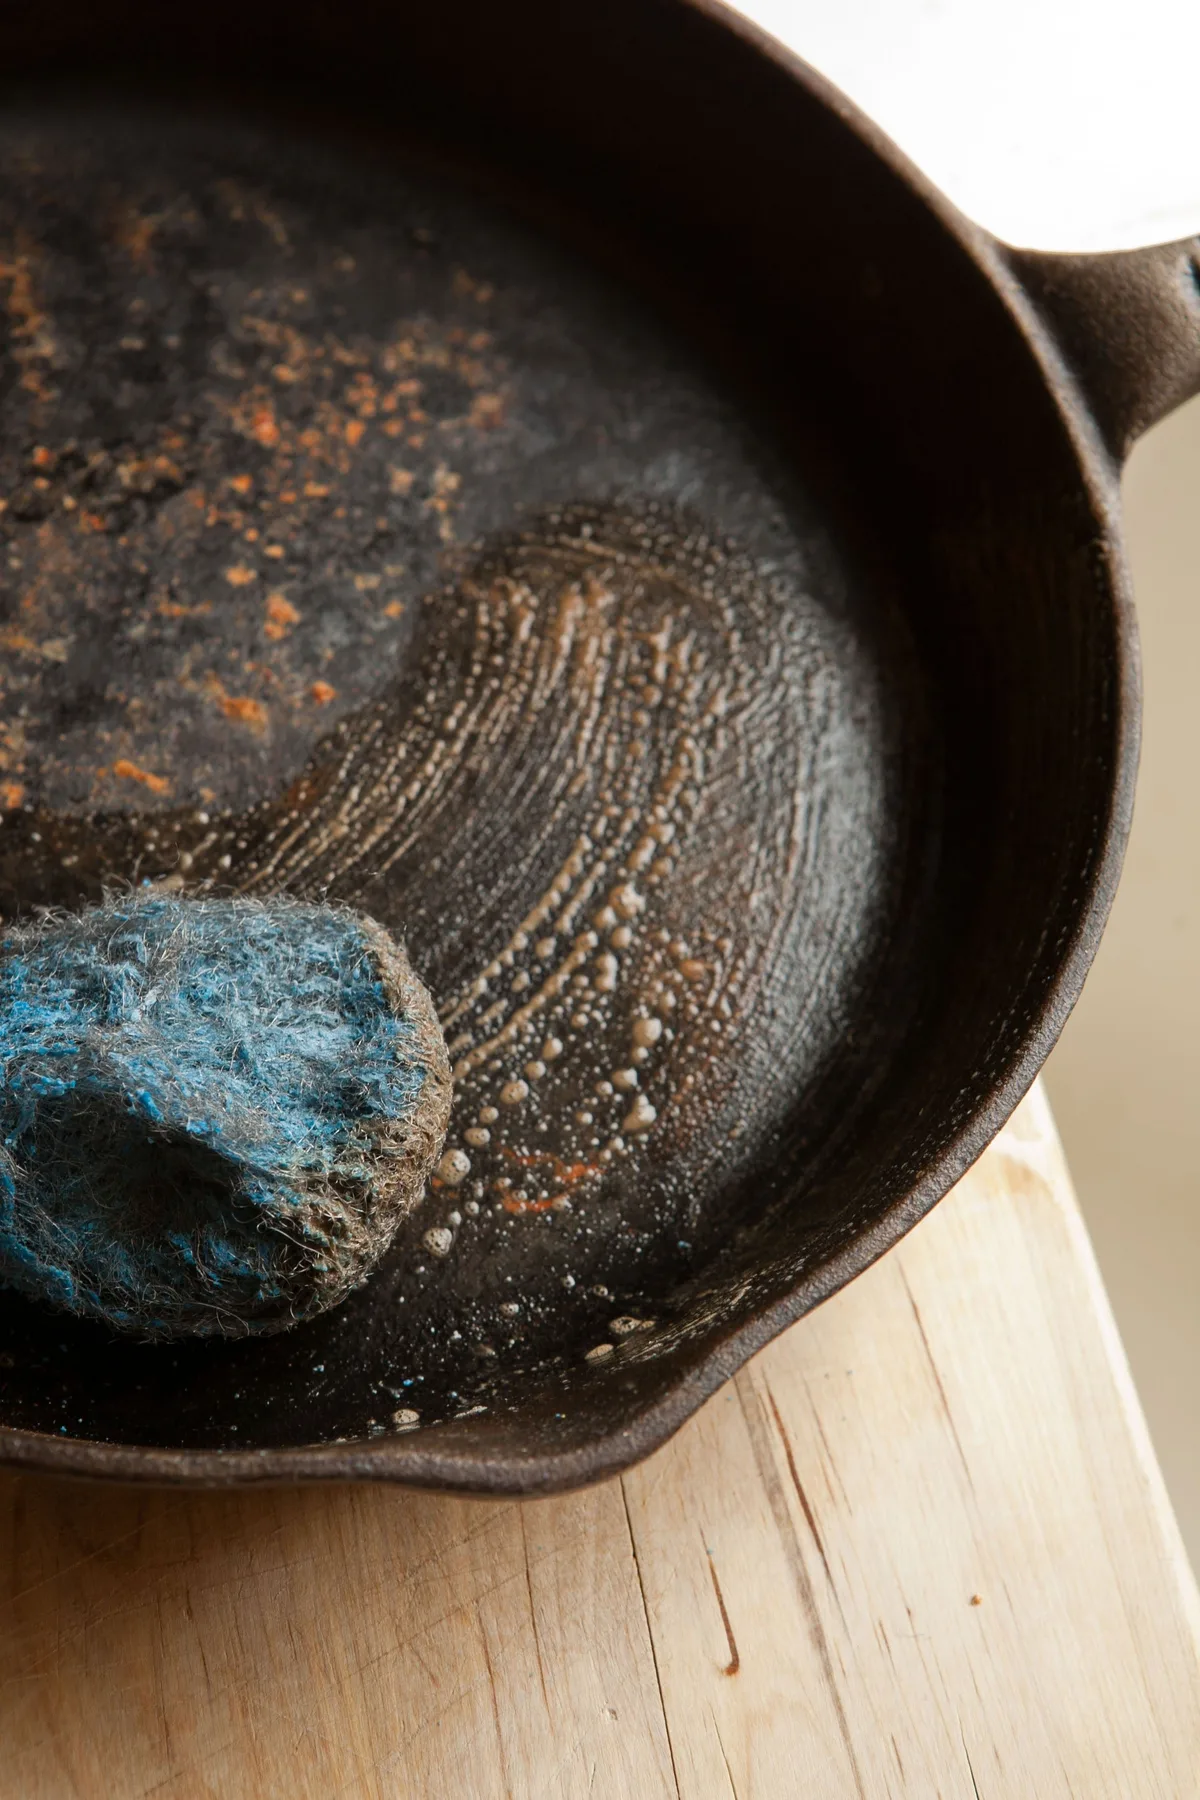
Scrub the pan with steel wool under running water. The rust should come off as a reddish-brown slurry. For stubborn patches, dip the steel wool in the vinegar solution and scrub again.
Rinse the pan thoroughly with warm water. Rub a small amount of baking soda over the surface if you want to neutralize any remaining vinegar. Rinse again.
Dry the pan immediately with a lint-free cloth. Do not let it air dry. Flash rust can form in seconds if the pan stays wet.
Apply a very thin layer of oil. Use about one teaspoon for a 10-inch skillet. Wipe the oil over every surface, then try to wipe it all off with a clean cloth. You want a microscopic film, not a visible slick.
Place the pan upside-down in a cold oven. Put a sheet of aluminum foil on the lower rack to catch drips. Set the oven to 400°F. Bake for one hour.
Turn off the oven and let the pan cool inside. Repeat steps six and seven three to five times.
The 6 Most Common Restoration Mistakes (And How to Spot Them)
Even with clear instructions, people make predictable mistakes. Here are the ones we see most often, so you can dodge them.
1. Soaking in vinegar too long. Vinegar is effective, but it's also aggressive. Leaving a pan in a vinegar solution for hours or overnight will dull the surface and create a gray, etched appearance.
Stick to 15 to 30 minute sessions. If rust remains, scrub, rinse, and do another short soak.
2. Using too much oil for seasoning. A thick coat of oil won't polymerize properly. It will turn sticky, tacky, or gummy.
You want to wipe the oil on and then wipe it off as if you made a mistake. The thin layer that remains is exactly what you need.
3. Skipping the drying step. Water is the enemy. If you rinse the pan and let it sit wet for even a few minutes, orange flash rust will appear.
Dry it immediately with a cloth and then heat it briefly on the stovetop to drive off any residual moisture.
4. Using flaxseed oil. Flaxseed oil was popularized online for seasoning. It creates a beautiful hard finish initially, but aggregate user feedback over several years shows that flaxseed seasoning flakes off under high heat.
Canola, grapeseed, or vegetable shortening produce much more durable results.
5. Rushing the seasoning coats. One coat of oil and one hour in the oven will not give you a nonstick surface. You need multiple thin layers.
Each coat builds on the previous one. Plan for at least three coats, and ideally five, before you cook anything.
6. Cooking acidic foods too soon. The new seasoning is fragile. Tomato sauce, lemon juice, or vinegar-based dishes will strip it off in one meal.
Cook fatty foods like bacon, fried eggs, or sautéed vegetables for the first few uses. Let the seasoning harden over time.

Similar Posts