How to Remove Rust and Restore Seasoning on a Reversible Cast Iron Griddle
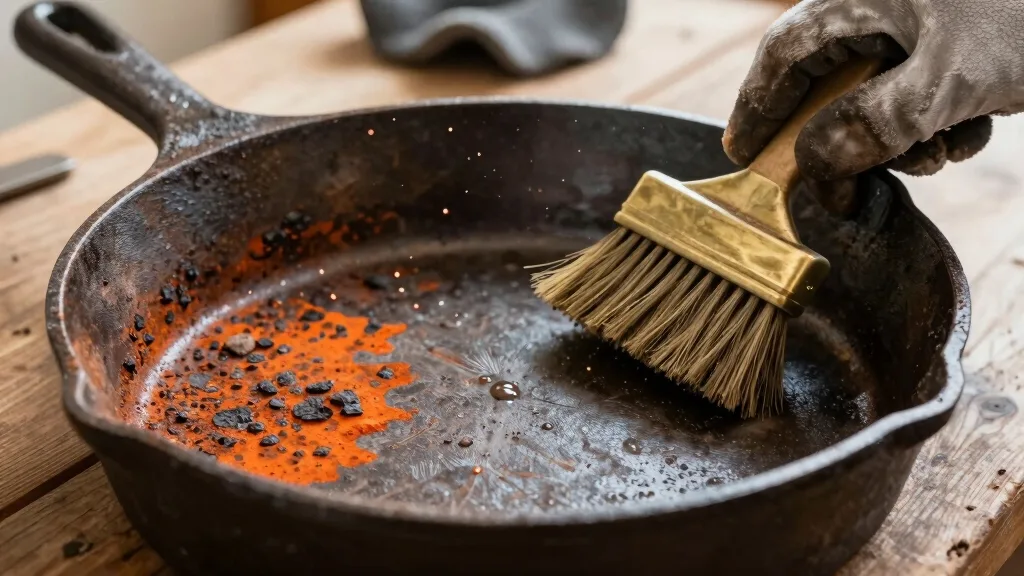
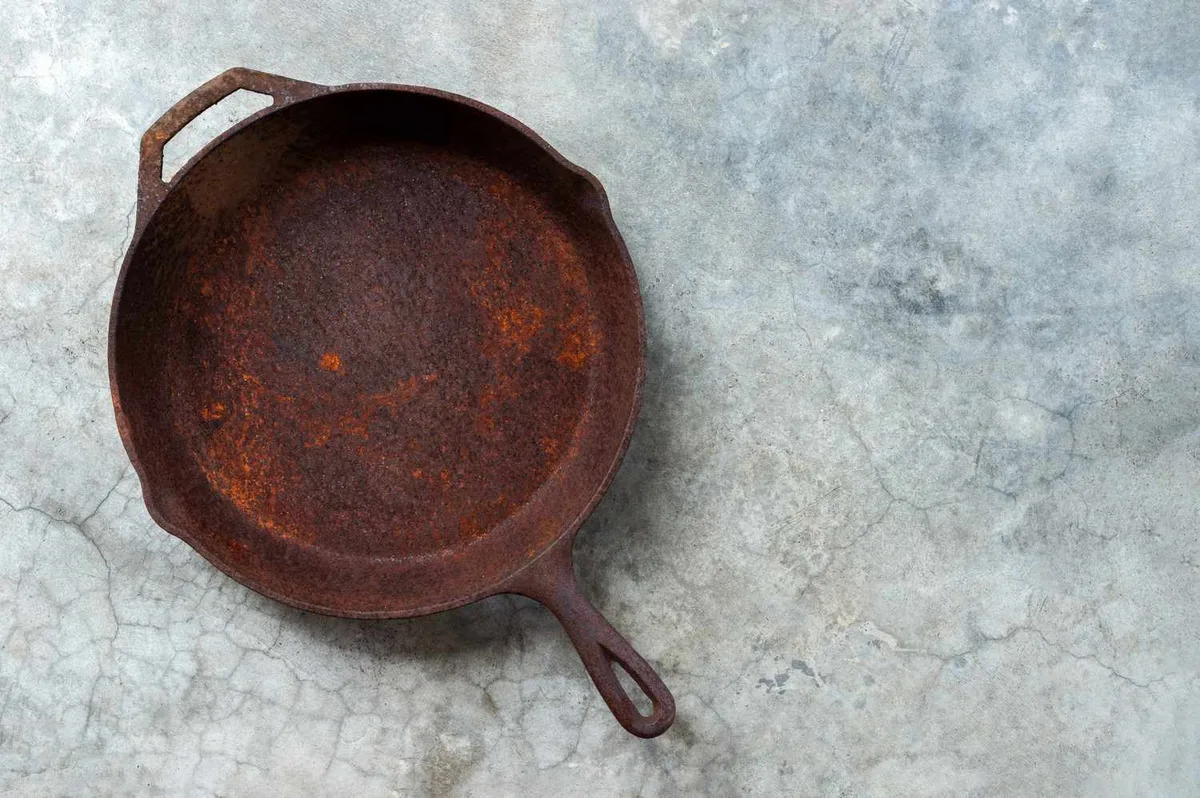
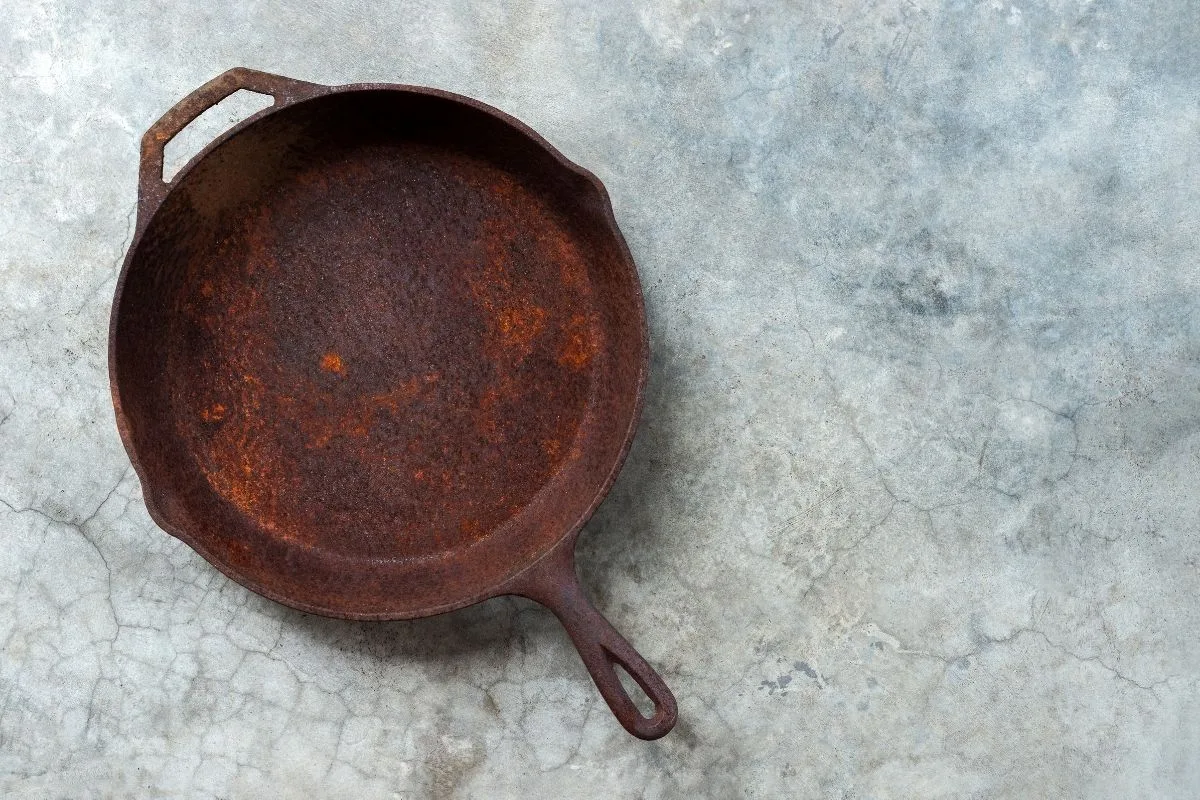
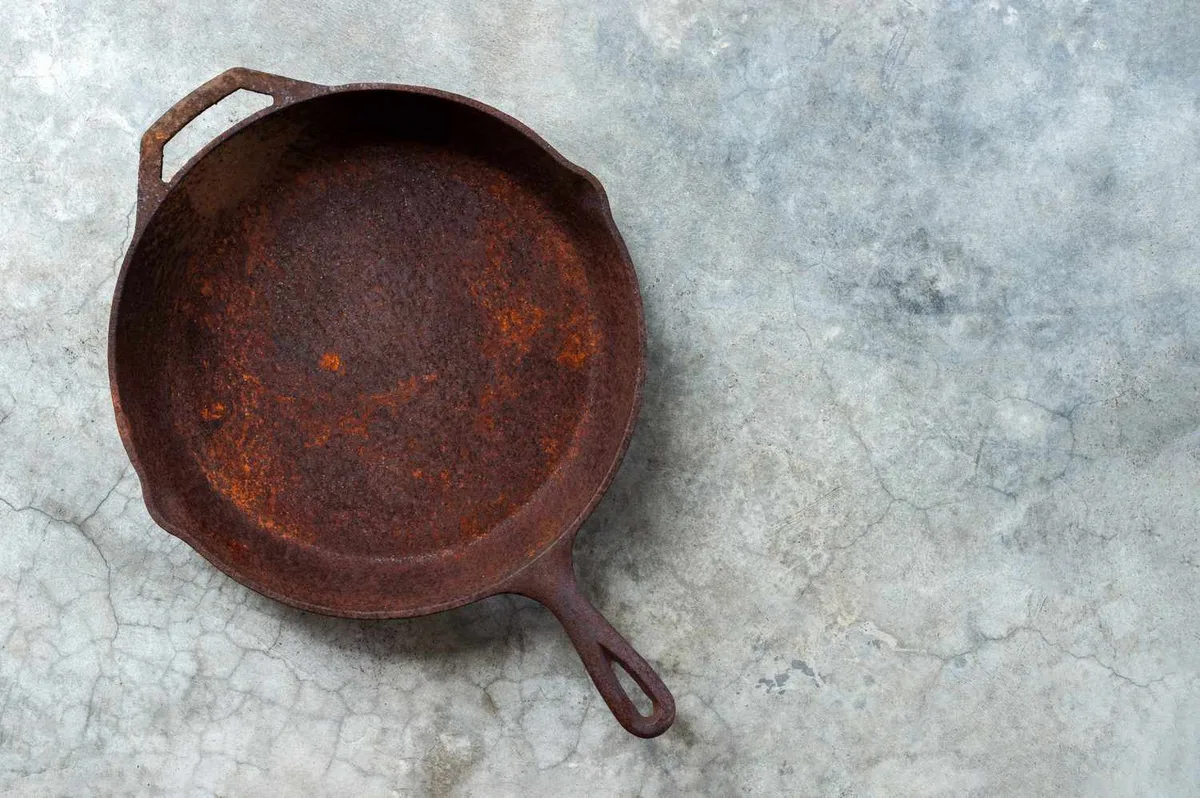
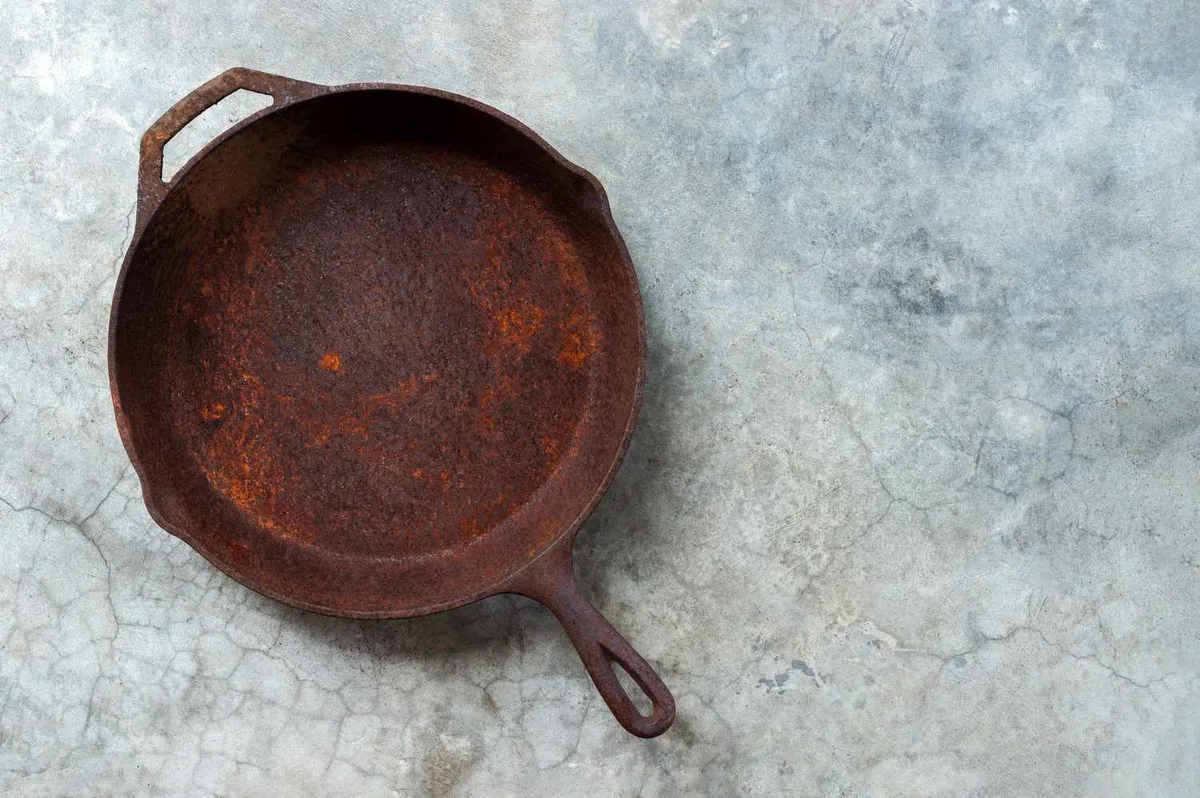
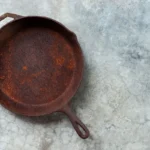
So you pulled out your cast iron griddle and it looks like it belongs in a shipwreck. Orange rust patches, maybe some flaking, and you are wondering if it is salvageable or destined for the trash. Knowing how to remove rust from cast iron griddle is a skill every owner needs because the good news is that almost any rusty griddle can be brought back to life.
Manufacturer specifications from brands like Lodge indicate that a properly seasoned layer of polymerized oil is what prevents rust from forming in the first place. Once that layer is compromised by moisture or neglect, oxidation takes hold fast. In our research, the most common mistake people make is not recognizing how deep the rust has gone before they start scrubbing.
Let us walk through the signs so you know exactly what you are dealing with.
Quick Answer
To remove rust from a cast iron griddle, scrub the surface with steel wool or a chainmail scrubber. For stubborn rust, soak in a 1:1 white vinegar and water solution for 20 to 30 minutes. Neutralize with a baking soda rinse.
Dry immediately using heat to prevent flash rust. Apply a thin coat of high-smoke-point oil and oven season at 450°F for one hour. Repeat the seasoning coat three to four times.
Image source: Bing (Web (fair-use with source credit))
The Right Way to Read Rust: Surface, Pitting, and Enamel Issues
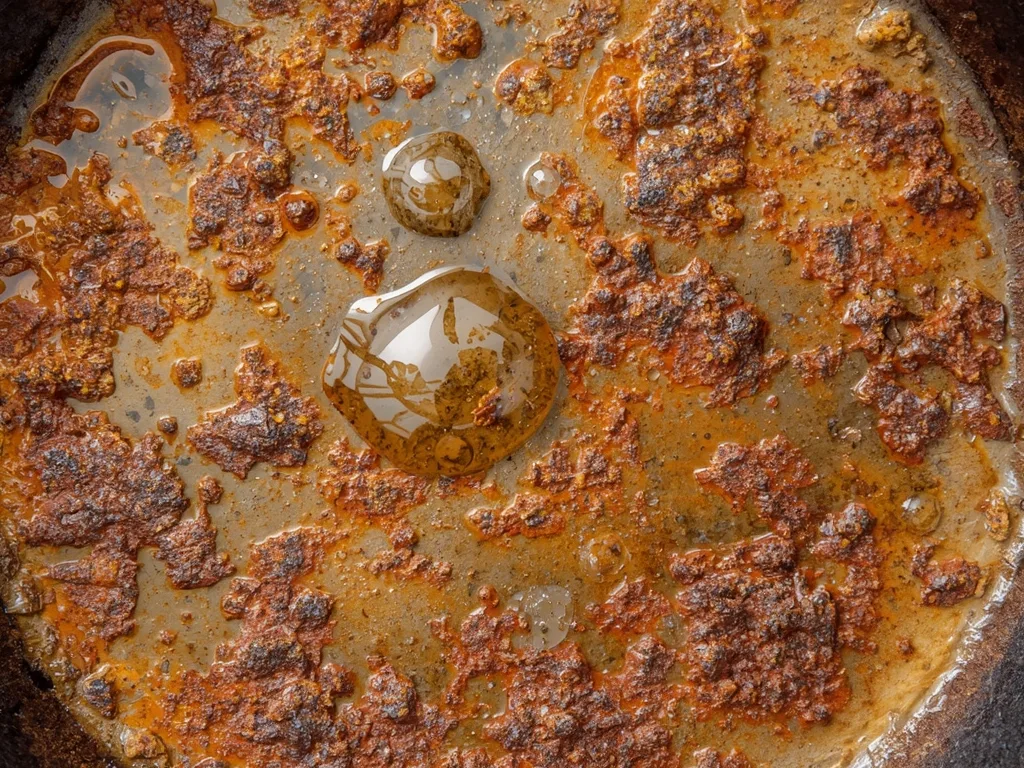
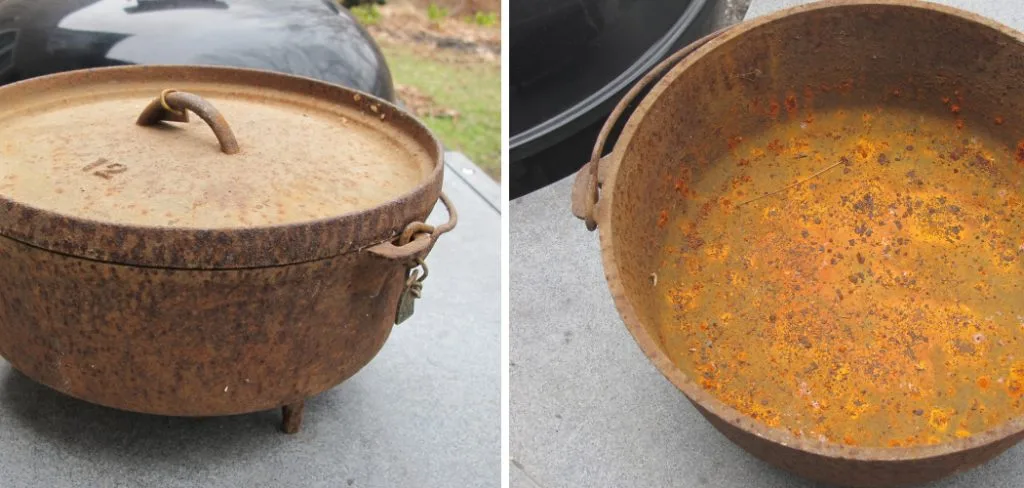
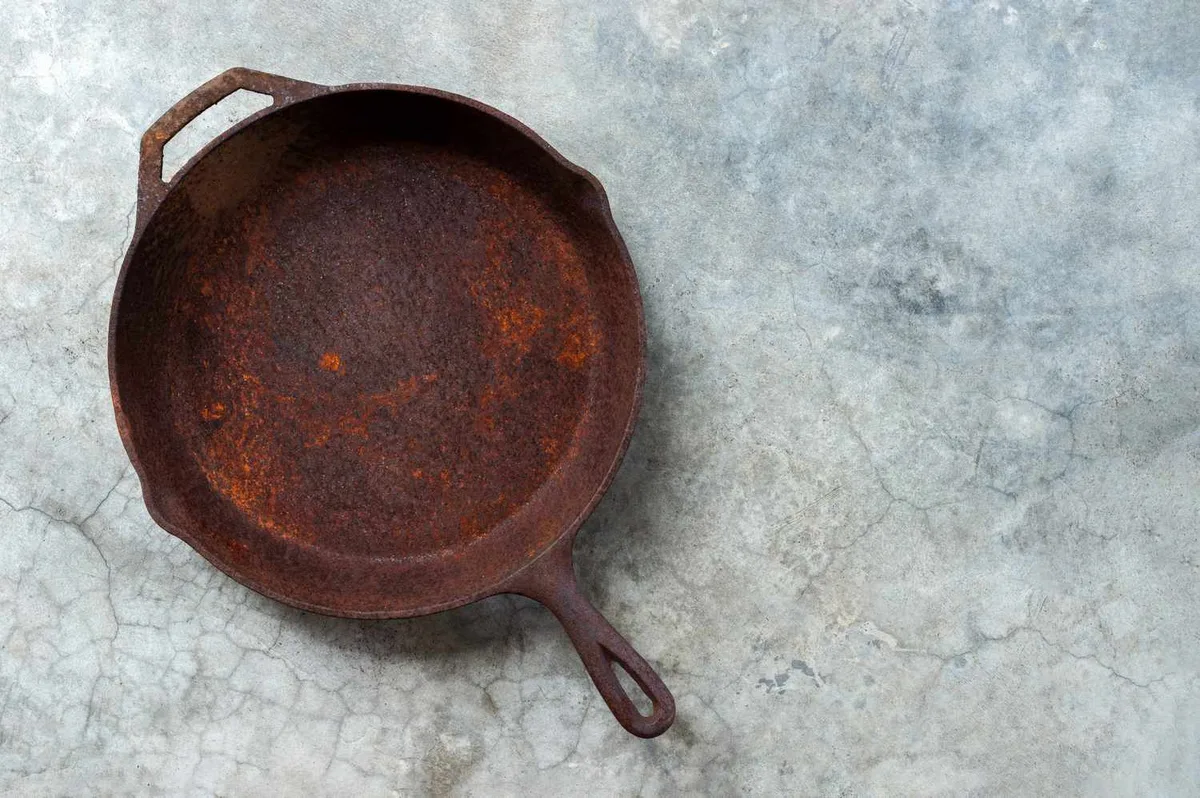
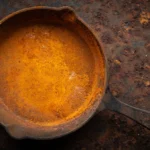
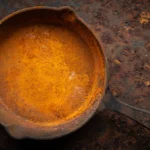
Not all rust looks the same and the wrong treatment can ruin your griddle. If the rust appears as a light orange dust that comes off on your finger, that is surface rust. Surface rust sits on top of the seasoning layer and is the easiest to fix.
A quick scrub with a nylon brush or steel wool and some warm water usually lifts it right off.
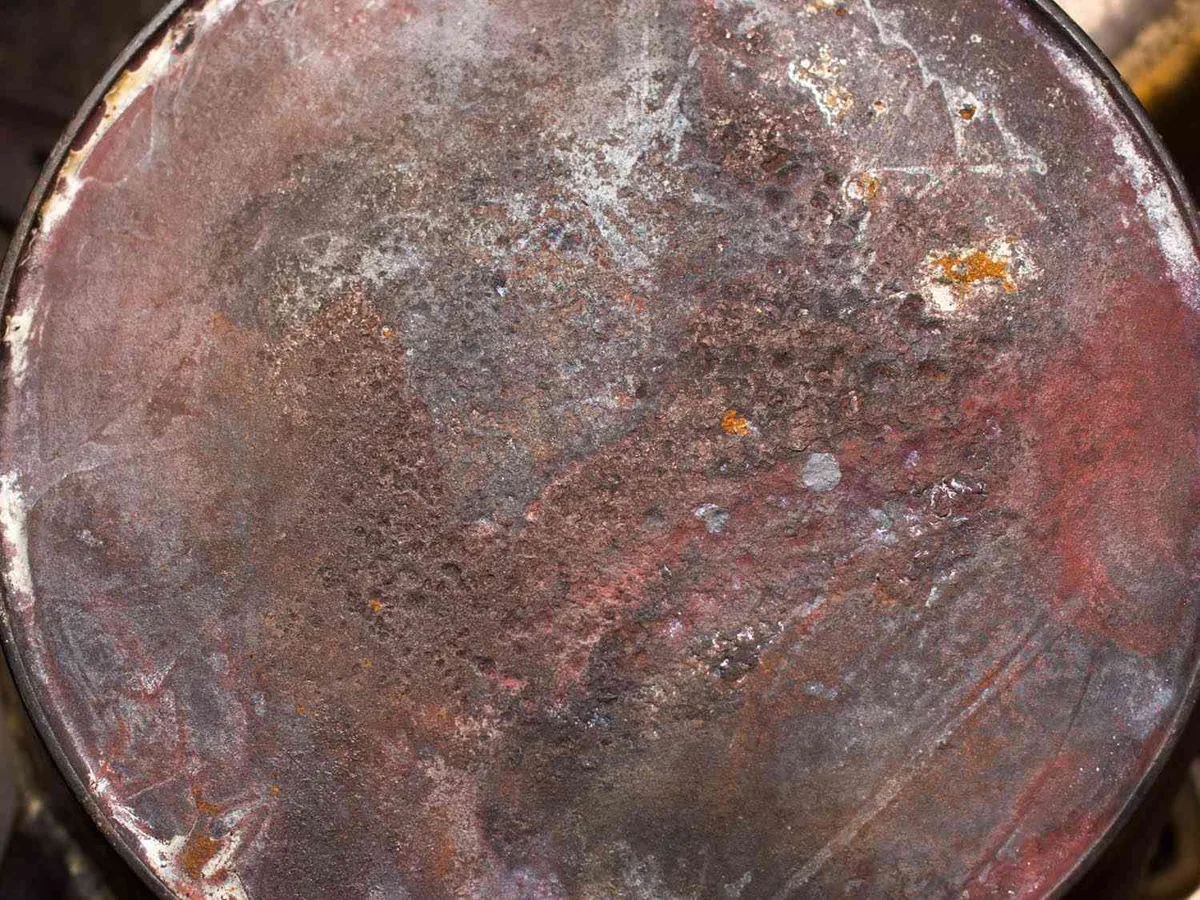
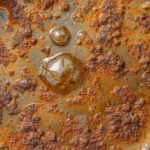
If the rust looks darker, almost brown or reddish brown, and feels rough to the touch, it has likely eaten into the iron itself. This is deeper rust that requires a vinegar soak or even electrolysis to remove fully. You will know it is deep because scrubbing alone leaves dark spots behind.
The most serious type is pitting. Pitting looks like tiny craters or rough patches in the metal surface. If you run your fingernail over the spot and feel a depression, that is pitting.
Pitting means the rust has damaged the iron structure permanently. You can still restore the griddle, but the pits will always be visible and may require extra seasoning coats to fill in.
There is another critical check you need to make before doing anything. Determine if your griddle is bare cast iron or enameled cast iron. Enameled griddles have a glass-like coating over the iron.
That coating is usually white or cream colored on the cooking surface. If your griddle has chips in the coating where rust is showing through, you cannot strip or sand the enamel. Enameled pieces with chipped surfaces are not safe to cook on because glass fragments can end up in your food.
For bare cast iron, you can strip and re-season to your heart's content.
Our research shows that one of the most common visual mistakes people make is assuming all griddles are bare iron. If you are unsure, check the manufacturer markings on the underside. Brands like Lodge and Camp Chef clearly label their products.
If there is no marking and the surface looks glossy and glassy, treat it as enameled until proven otherwise.
Step-by-Step Rust Removal: Scrubbing, Soaks, and Electrolysis
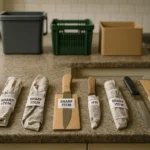
Once you know what you are working with, the actual removal process is straightforward. Before you start, gather your tools. This table shows what you will need based on the severity of the rust.
| Rust Type | Tools Needed | Time Required | Notes |
|---|---|---|---|
| Light surface rust | Nylon brush, warm water, mild soap | 5 to 10 minutes | No soaking required |
| Moderate rust | Steel wool (grade 00 or 000), vinegar, baking soda | 30 to 45 minutes | Includes 20 minute vinegar soak |
| Heavy rust with pitting | Electrolysis setup or angle grinder with wire wheel | 1 to 3 hours | Requires safety gear and ventilation |
Step one is stripping any old seasoning and grease. Place the griddle on a burner on medium heat for 5 minutes. This softens the old oil layer.
Scrape the surface with a flat metal spatula or plastic scraper. Do not use a wire brush at this stage. You want to remove loose flakes, not gouge the iron.
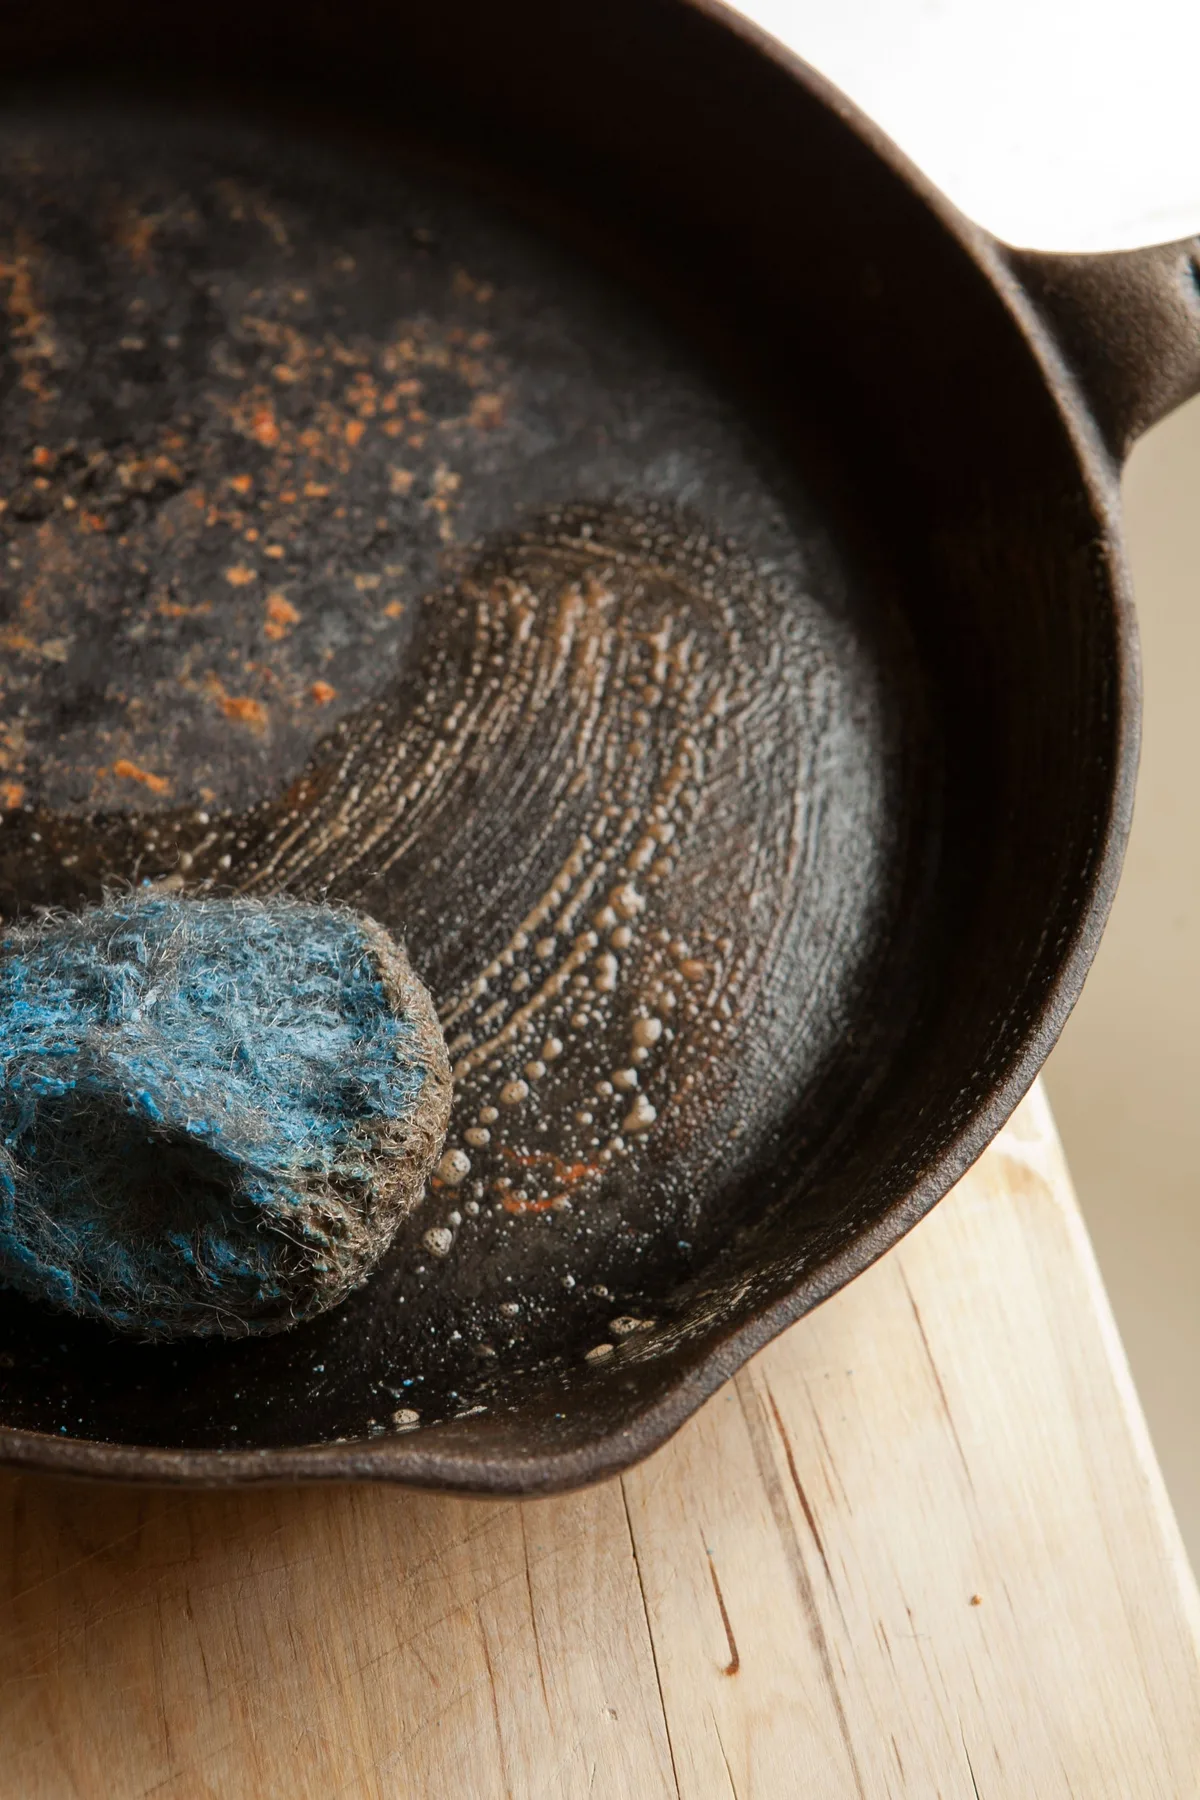
Step two is scrubbing. For light rust, scrub with steel wool and warm water. For heavier rust, mix a paste of baking soda and water.
Apply it to the rusted areas and scrub with a chainmail scrubber or coarse steel wool. The baking soda acts as a mild abrasive without damaging the iron.
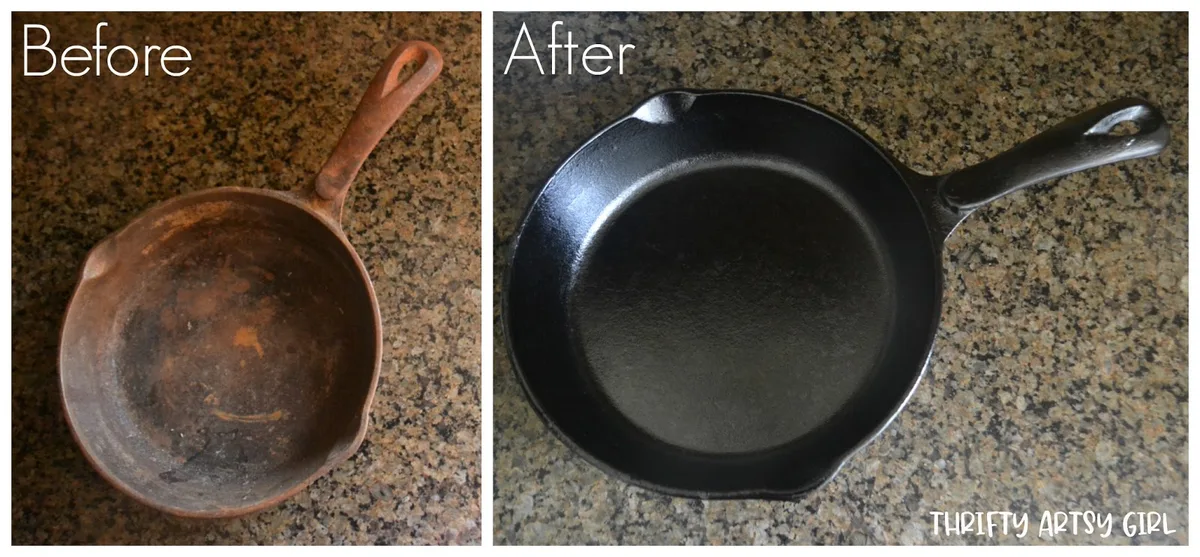
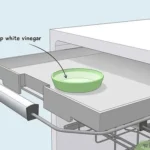
Step three is the vinegar soak for stubborn rust. Fill a container large enough to submerge the griddle with a 1:1 mix of white vinegar and water. Submerge the griddle completely.
Soak for 20 minutes, then check the surface. If rust still remains, soak another 20 minutes. Never soak for longer than one hour total.
Vinegar is acidic and will start pitting the iron if left too long.
Image source: Bing (Web (fair-use with source credit))
Step four is neutralizing the acid. After the vinegar soak, rinse the griddle thoroughly with water mixed with one tablespoon of baking soda per gallon. The baking soda stops the vinegar from continuing to eat into the metal.
Rinse again with plain water.
Step five is the electrolysis route for heavily pitted or heirloom griddles. Electrolysis uses a low-voltage current to pull rust off the iron without any scrubbing. You need a plastic container, a 12-volt battery charger, a piece of steel rebar or a stainless steel electrode, and washing soda.
The process takes several hours but is gentler on the iron than abrasive scrubbing. Our research indicates that electrolysis is the preferred method among vintage cast iron collectors because it preserves the original patina while removing all rust.
The Flash Rust Trap: How to Dry Without Ruining Your Work
You have scrubbed and soaked and the griddle looks clean. Then you set it on the counter for 30 seconds and a faint orange haze appears across the surface. That is flash rust.
It happens when bare iron meets oxygen and moisture at the same time. The iron oxidizes almost instantly.
Flash rust is frustrating because it looks like all your work was for nothing. But it is easy to prevent if you know the trick. After the final rinse, do not let the griddle air dry.
Immediately dry it with a clean lint-free cloth. Then place it on a burner set to medium heat or in an oven at 200°F for 5 to 10 minutes. The heat evaporates every last drop of moisture from the pores of the iron.
If you see a gray haze instead of orange, that is a different problem. Gray haze means you have scrubbed too aggressively and removed a thin layer of the iron itself. This is more common with angle grinders and wire wheels.
If you see gray haze, stop scrubbing. The surface is still usable but you will need extra seasoning coats to build up a protective layer.
The best practice is to have your oil ready before you start drying. As soon as the griddle is dry and warm, apply a very thin coat of oil. This seals the surface and stops oxidation before it begins.
Do not skip this step even if you plan to season the griddle later. Every minute the bare iron is exposed to air increases the chance of flash rust.
Seasoning After Rust Removal: Visual Cues for a Smooth, Even Coat
Seasoning is what gives cast iron its nonstick properties and protects it from future rust. The process is simple but the visual cues matter. You want a thin, even layer of oil that polymerizes into a hard, shiny coating.
If you apply too much oil, you will get a sticky, patchy mess.
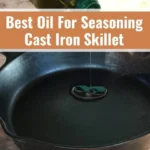
Choose an oil with a high smoke point. Flaxseed oil, grapeseed oil, and canola oil are the most common choices. Flaxseed oil produces a very hard seasoning but some people find it flakes off over time.
Grapeseed oil strikes a good balance between hardness and durability. Per manufacturer recommendations from Lodge, vegetable oil works fine too.
Apply a small amount of oil to the warm griddle. Use a lint-free cloth to rub it into the surface. Then take a clean cloth and wipe it off as if you made a mistake.
You want the surface to look almost dry with just a faint sheen. This is the most important visual cue. If you can see visible puddles or streaks of oil, you have used too much.
Place the griddle upside down in an oven preheated to 450°F. Put a sheet of aluminum foil on the rack below to catch any drips. Bake for one hour.
Then turn off the oven and leave the griddle inside to cool completely. Do not open the oven door during the cooling process. Sudden temperature changes can cause the oil to crack.
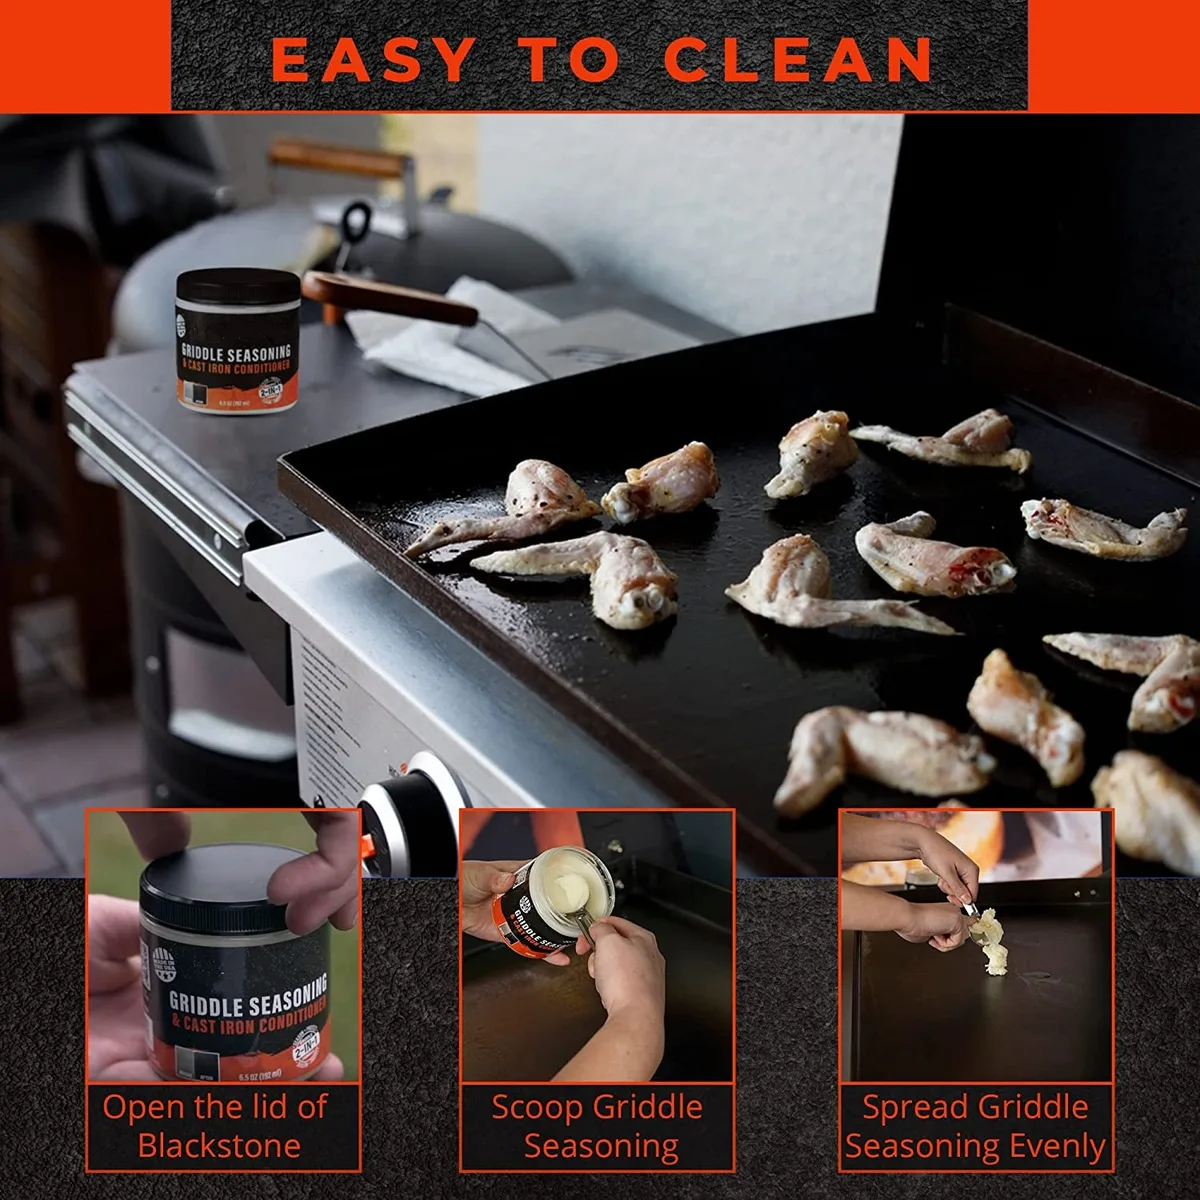
Image source: Bing (Web (fair-use with source credit))
After the first coat, the surface will look dull and slightly brown. This is normal. Repeat the process three to four times.
Each coat builds on the last. After three coats, you should see a dark, glossy finish. If the surface looks patchy or has bare spots, you either did not wipe off enough oil or the griddle was not hot enough during baking.
As of 2026, this oven seasoning method remains the gold standard for restoring cast iron cookware.
5 Visual Mistakes People Make When Restoring Cast Iron
The first mistake is soaking in vinegar too long. People think more time equals cleaner results. But after 60 minutes in a vinegar solution, the acid starts attacking the iron itself.
The surface turns gray and fuzzy. This damaged layer is brittle and will flake off during cooking. Stick to 20 minute intervals and check visually between each soak.
The second mistake is using the wrong abrasives. Wire brushes that fit an angle grinder remove rust quickly. But they also gouge the iron.
Those scratches become places where food sticks and rust hides. Use steel wool grade 00 or 000, or a chainmail scrubber. These are aggressive enough to remove rust but soft enough to leave the iron surface smooth.
The third mistake is skipping the neutralization step. Vinegar is acidic. If you rinse with water alone, trace amounts remain in the pores of the iron.
When you heat the griddle for seasoning, that leftover acid reacts with the oil and creates a sour, metallic smell. More importantly, it can cause the seasoning to peel. Always use a baking soda rinse after any acid treatment.
The fourth mistake is seasoning over leftover moisture or rust flakes. If you look closely at the surface before applying oil and see any orange spots or feel any rough patches, you are not done scrubbing. Seasoning over rust traps the oxidation underneath and it will spread.
The same goes for moisture. Any water trapped under the oil layer will turn to steam in the oven and create bubbles in the seasoning.
The fifth mistake is rushing the cool down. After baking the griddle at 450°F, it needs to cool slowly inside the oven. If you pull it out while still hot, the rapid temperature change can cause the polymerized oil to crack.
These cracks look like tiny spiderwebs across the surface. They are cosmetic at first but they create weak points where rust can start again. Let the griddle sit in the oven for at least two hours after the oven turns off.

Similar Posts