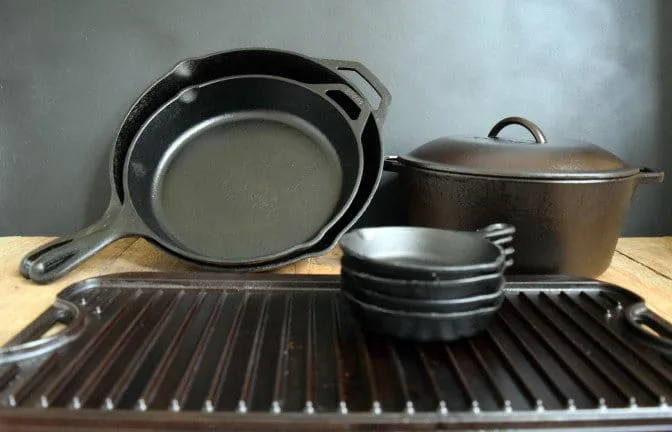
How to Clean and Oil Cast Iron Grill Inserts and Burner Covers
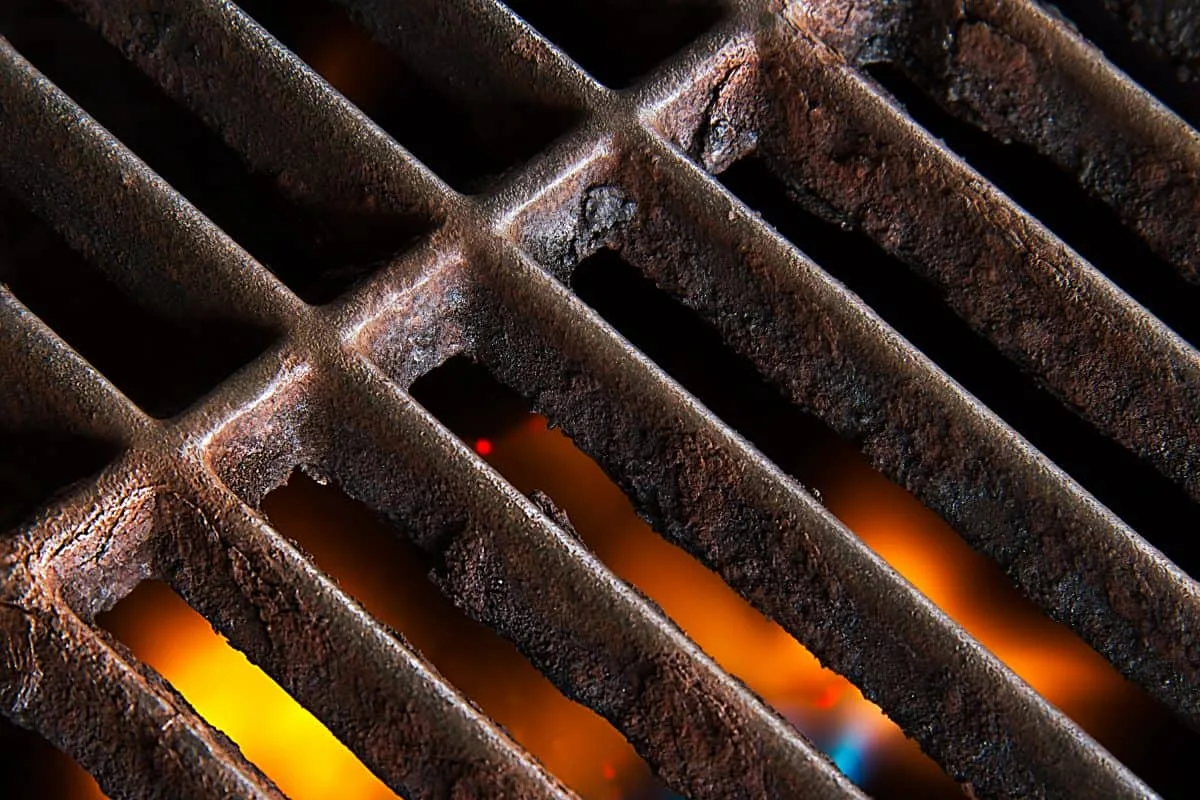
Rust on cast iron grill grates is one of those problems that looks way worse than it actually is. If you've pulled your grill cover off and found orange flakes staring back at you, don't panic, and definitely don't toss those grates in the trash. Learning how to remove rust cast iron grill grates is a straightforward DIY project that can bring them back to like-new condition in an afternoon, and it'll save you $50 to $120 on a replacement set.
The fix comes down to matching the right method to how deep the rust has spread, then reseasoning properly so it doesn't come back.
Cast iron is naturally porous, which is why it rusts faster than stainless steel. But that same porous structure is what makes it so good at holding seasoning, the polymerized oil layer that gives cast iron its non-stick surface. Per manufacturer specifications from major producers like Lodge, a properly seasoned grate can handle extreme heat and decades of use.
The trick is understanding that rust isn't the end of the road, it's just a signal that the protective layer broke down and moisture got in. As of 2026, the restoration methods below remain the safest and most effective ways to bring any cast iron grate back from the brink.
Quick Answer
Use white vinegar to remove rust cast iron grill grates. Mix equal parts distilled vinegar and water. Soak the grates for 30 minutes to 24 hours based on rust depth.
Scrub with steel wool or a stiff brush. Neutralize with baking soda and water. Rinse thoroughly and dry completely.
Apply a thin oil layer and bake at 450°F for one hour. Repeat the seasoning coat two to three times for best results.
Before You Start: Is It Rust or Something Else?
Before you dive into the vinegar bucket, take a close look at what's actually on your grates. Not every orange-brown mark is rust, and treating the wrong thing can damage your equipment.
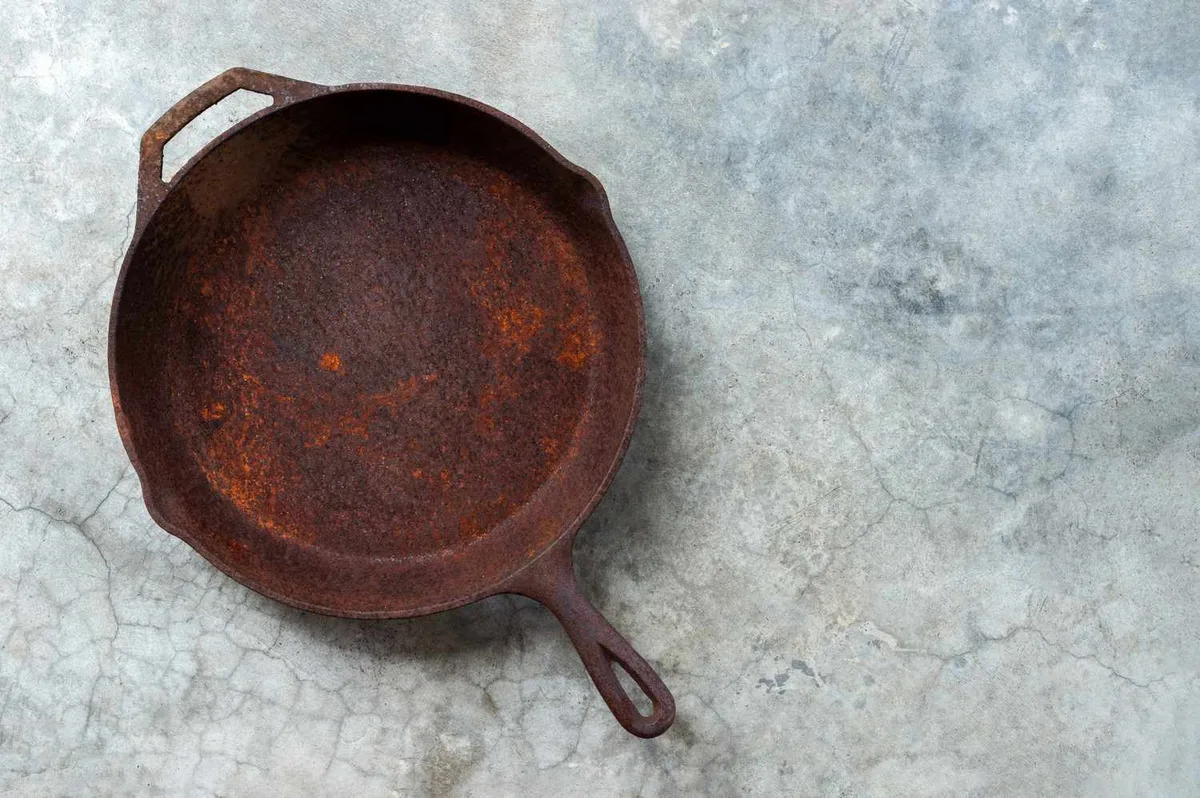
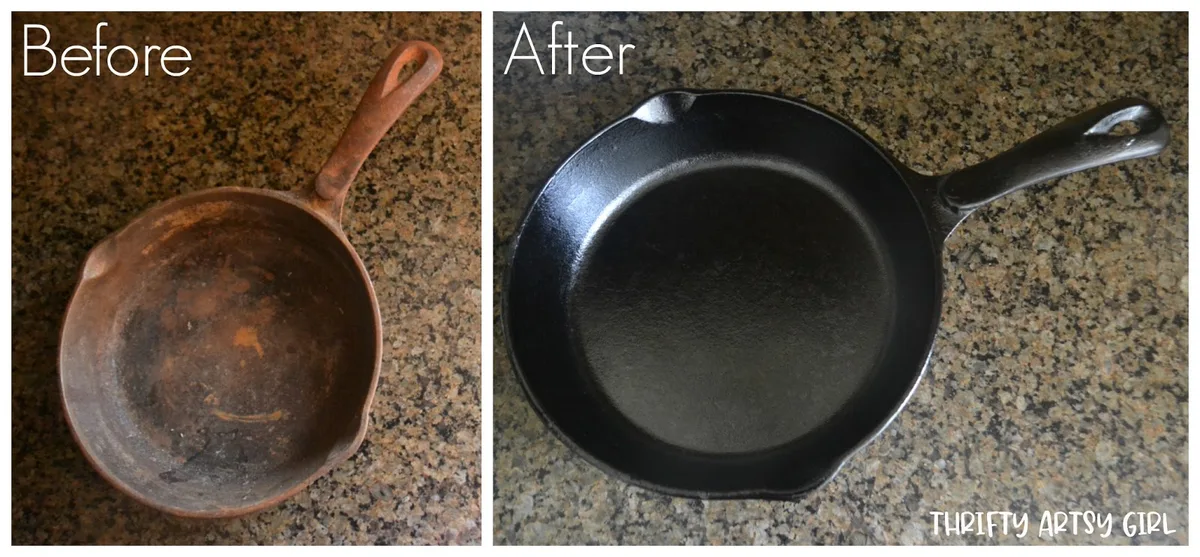
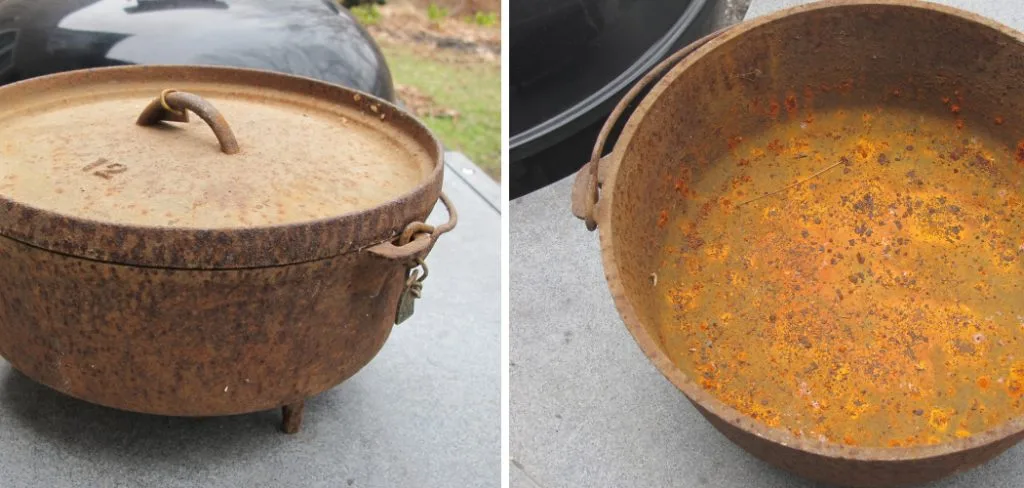
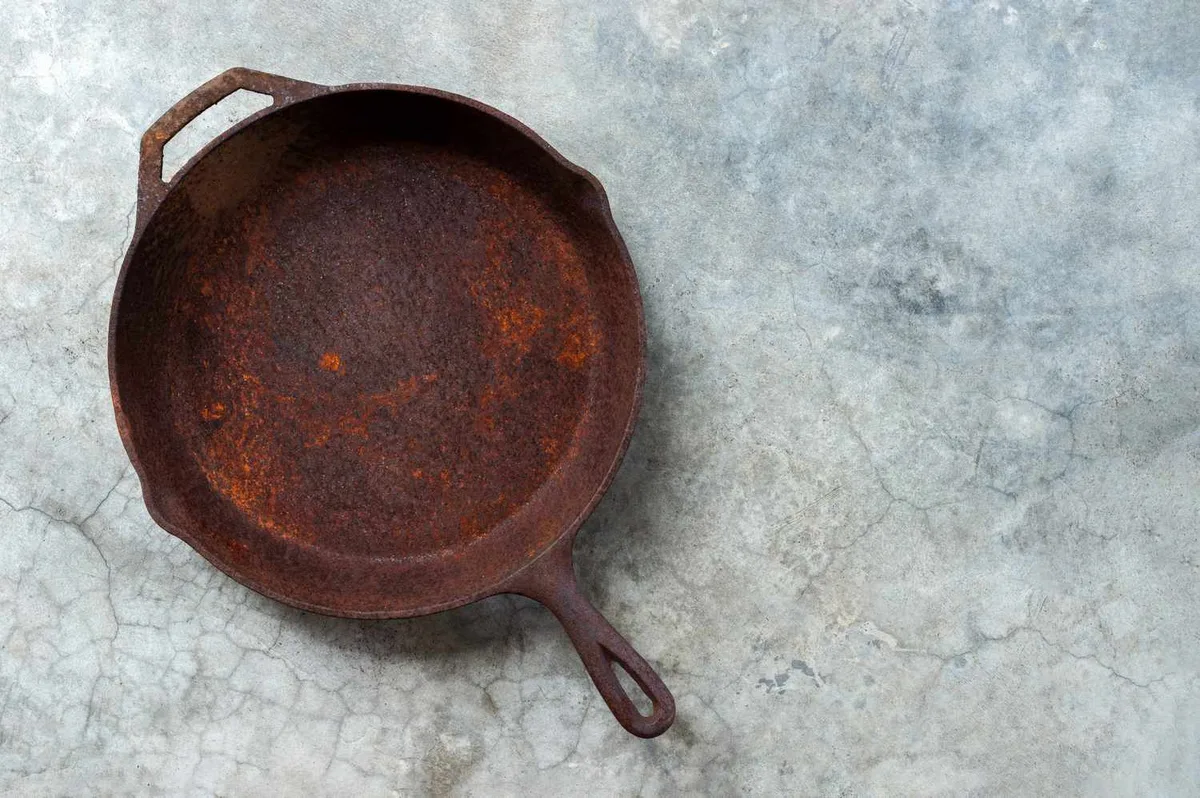
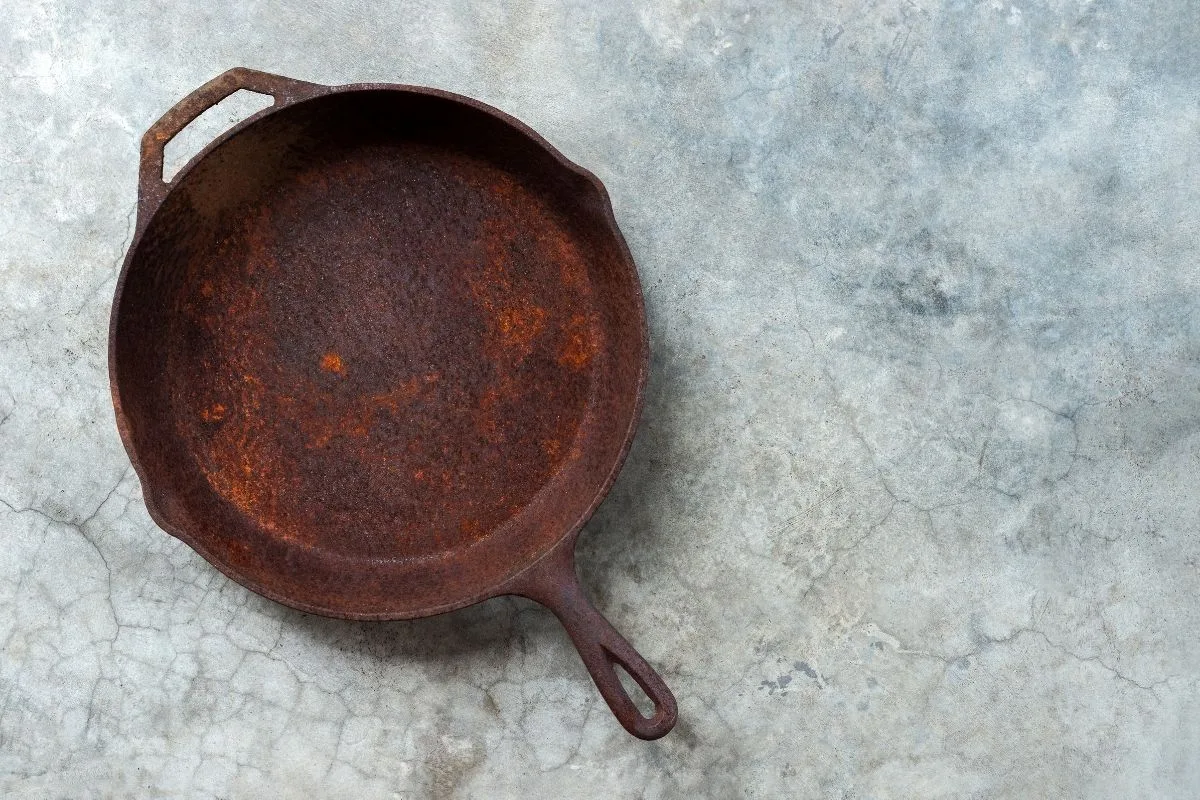
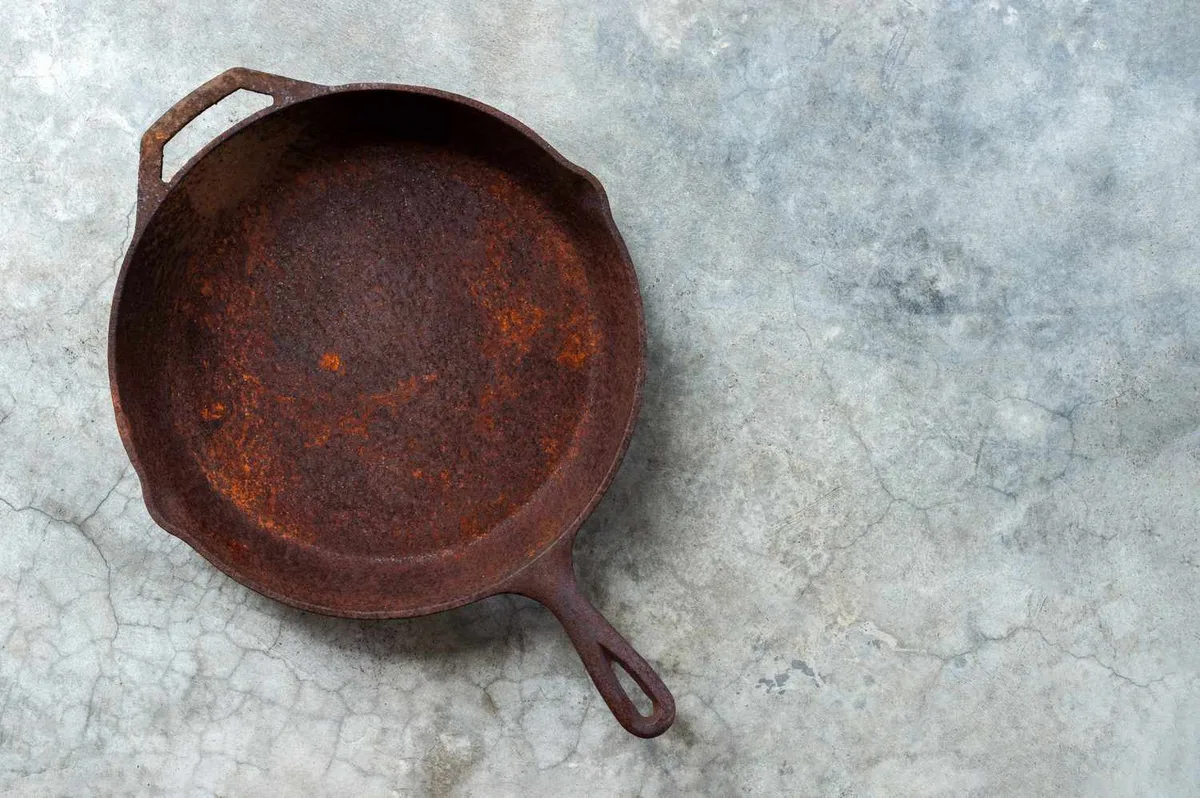
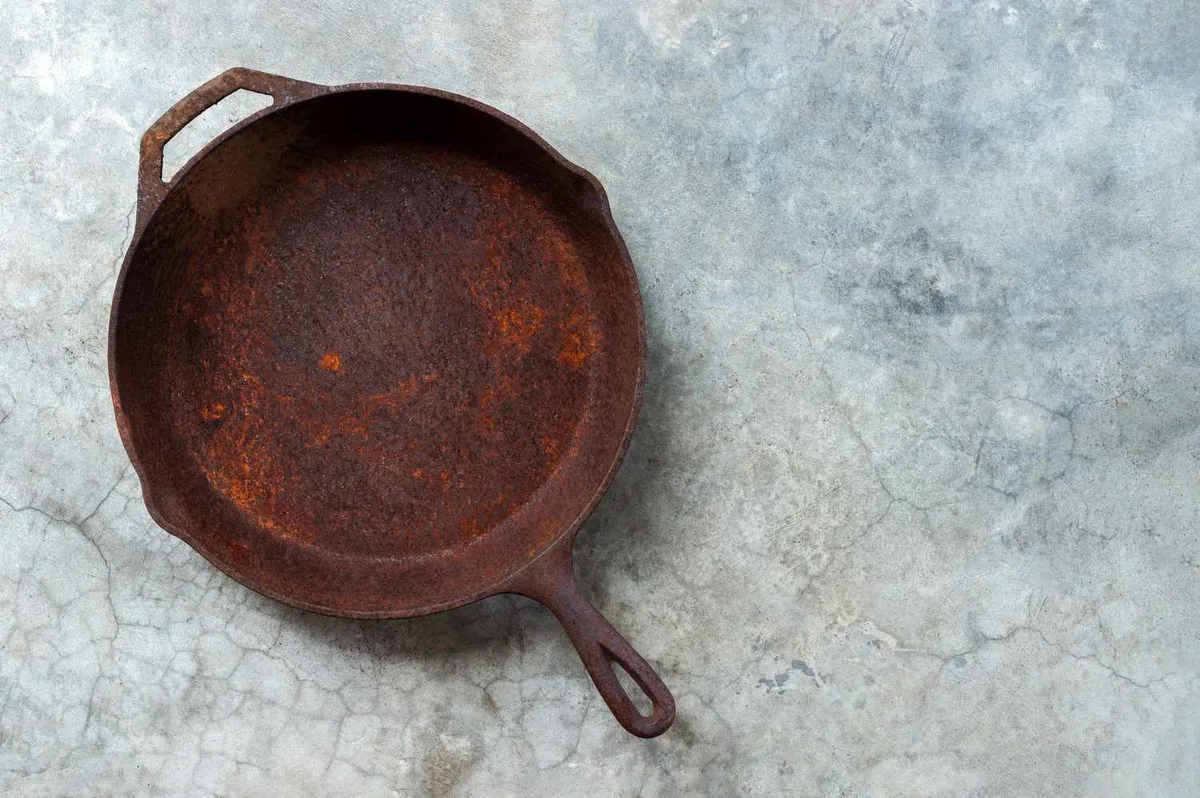
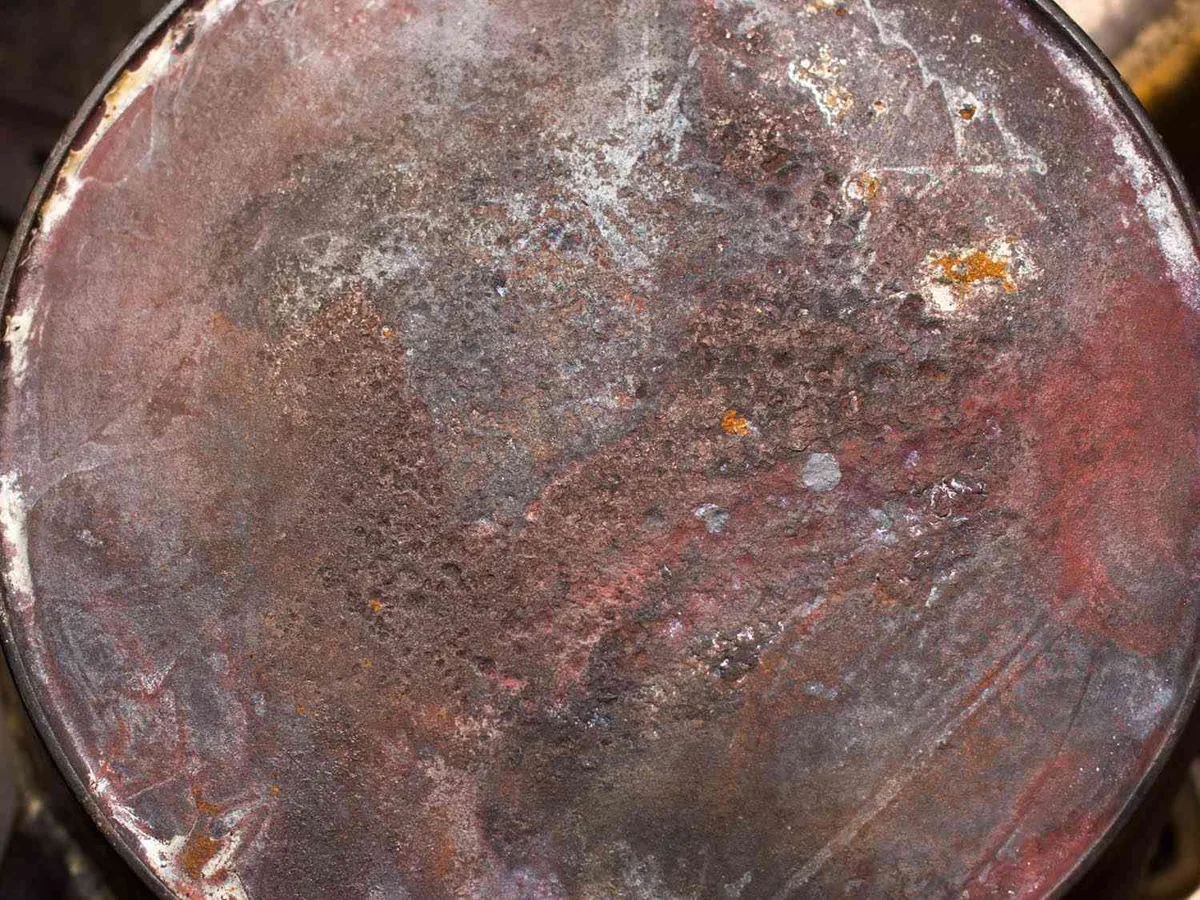
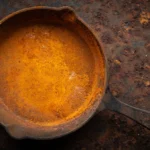
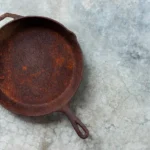
What rust actually looks like: Real rust on cast iron appears as orange, reddish-brown, or dark brown flakes. It's powdery or scaly to the touch, and it transfers onto your fingers or a paper towel when you wipe it. Surface rust sits flat on the metal.
Deep rust has visible pitting, which looks like tiny craters or divots in the surface.
What could be mistaken for rust: Burnt-on food residue often looks brown or black and feels hard and crusty. Old, degraded seasoning can flake off and expose bare metal beneath, which then rusts. That's not just surface rust, that's a seasoning failure that needs a full strip and reseason.
And if your grates are enameled cast iron, which means they have a glass-like coating, you're looking at a completely different cleaning situation. Abrasive methods will scratch enamel permanently.
How to tell the difference: Run your finger across the surface. Rust feels rough and grainy. Burnt food feels hard and brittle.
Seasoning feels slick. Then wipe with a dry paper towel. If orange powder comes off, it's rust.
If the grates are enameled, you'll see a smooth, often glossy surface that doesn't flake the same way.
If you're dealing with enameled cast iron grates, pause before you scrub. Most manufacturer guidance suggests avoiding steel wool and harsh chemical soaks on enamel. A gentle scrub with warm water and baking soda works.
Bare cast iron grates, which is what most high-end grill manufacturers use, are fair game for the stronger methods below. If you're still unsure what you have, check the manufacturer's stamp or listing. Lodge, Camp Chef, and Weber all clearly label their cast iron grate materials.
The Quick Answer: Matching the Method to the Rust Level
Here's the decision tree that guides everything in this article. I'll walk you through each path in detail below, but start by assessing your situation based on these three levels.
Level 1: Light Surface Rust
- What it looks like: Light orange dusting, no flaking, no pitting, grates still feel smooth underneath
- Method: Vinegar soak (30 minutes to 2 hours) followed by scrubbing
- Time investment: About 2 hours total
- Best for: Grates that sat through a humid summer or got stored slightly damp
Level 2: Moderate to Heavy Rust
- What it looks like: Thick orange or brown scale, flaking, visible rough texture, some pitting starting
- Method: Vinegar soak (6 to 24 hours) plus aggressive scrubbing, or chemical rust remover for stubborn spots
- Time investment: Half a day to a full day
- Best for: Grates that went months without attention or were left out in the rain
Level 3: Deep Pitting or Severely Neglected Grates
- What it looks like: Heavy pitting, deep craters, multiple layers of rust, rust that has eaten through the surface
- Method: Electrolysis or wire brush attachment on a drill
- Time investment: One to two days
- Best for: Very old grates, resale restorations, or pieces with significant sentimental value
| Rust Level | Visual Clues | Recommended Method | Total Time |
|---|---|---|---|
| Light | Orange dust, smooth underneath | Vinegar soak, 30 min to 2 hrs | 2 hours |
| Moderate | Flaking scale, rough texture | Vinegar soak, 6 to 24 hrs | Half to full day |
| Heavy | Deep pitting, craters | Electrolysis or wire brush | 1 to 2 days |
If your grates fall between levels, choose the more aggressive option. Under-soaking is a common mistake. It's much easier to over-soak and deal with a little flash rust than to under-soak and realize you need to repeat the whole process.
Your Three Main Rust Removal Paths (and When to Pick Each One)
Path 1: Light Surface Rust – The Vinegar Soak Route
If you have light surface rust, use a vinegar soak. This is the gentlest, most accessible method, and it handles the majority of rusty grill situations. Distilled white vinegar at 5% acidity is your base. The acetic acid in vinegar dissolves iron oxide, which is what rust is, without damaging the underlying metal.
Here's the process:
- Mix a 1:1 solution of white vinegar and water in a large plastic tub or bucket. Make sure the container is big enough for your grates to lie flat and be fully submerged.
- Submerge the grates completely. If they float, weigh them down with a brick or a heavy plate.
- Wait 30 minutes to 2 hours, depending on how heavy the rust is. Check every 30 minutes. You'll see the vinegar solution turn cloudy and slightly orange as the rust dissolves.
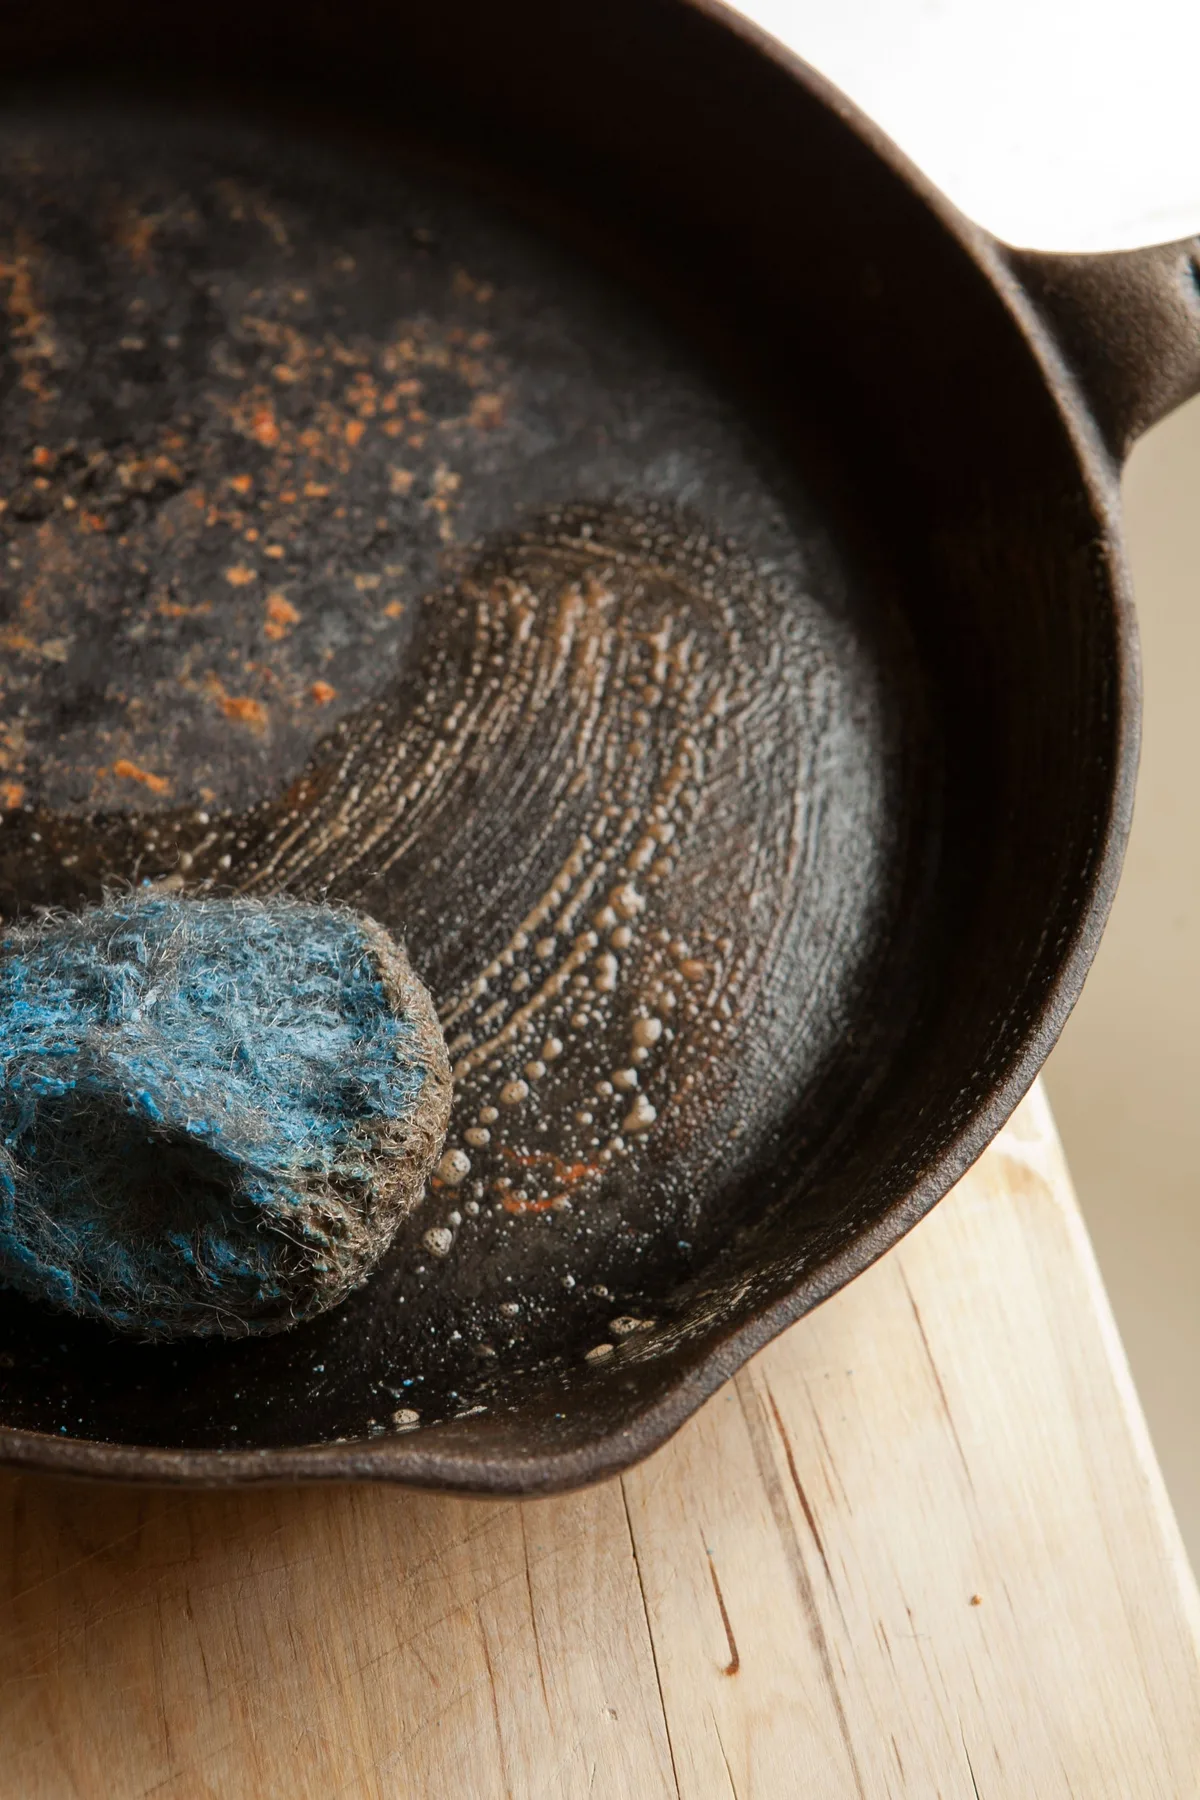
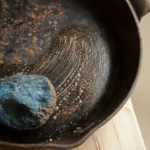
- Pull the grates out and scrub with fine steel wool (grade #0000 or #000). Use a circular motion and rinse the grates with water periodically to see your progress.
- Neutralize the acid. Mix 1 tablespoon of baking soda per quart of water and wipe down the grates thoroughly. This stops the vinegar from continuing to eat at the metal.
- Dry completely. This step is critical. Use a clean towel, then place the grates in a warm oven at 200°F for 15 minutes to evaporate any trapped moisture.
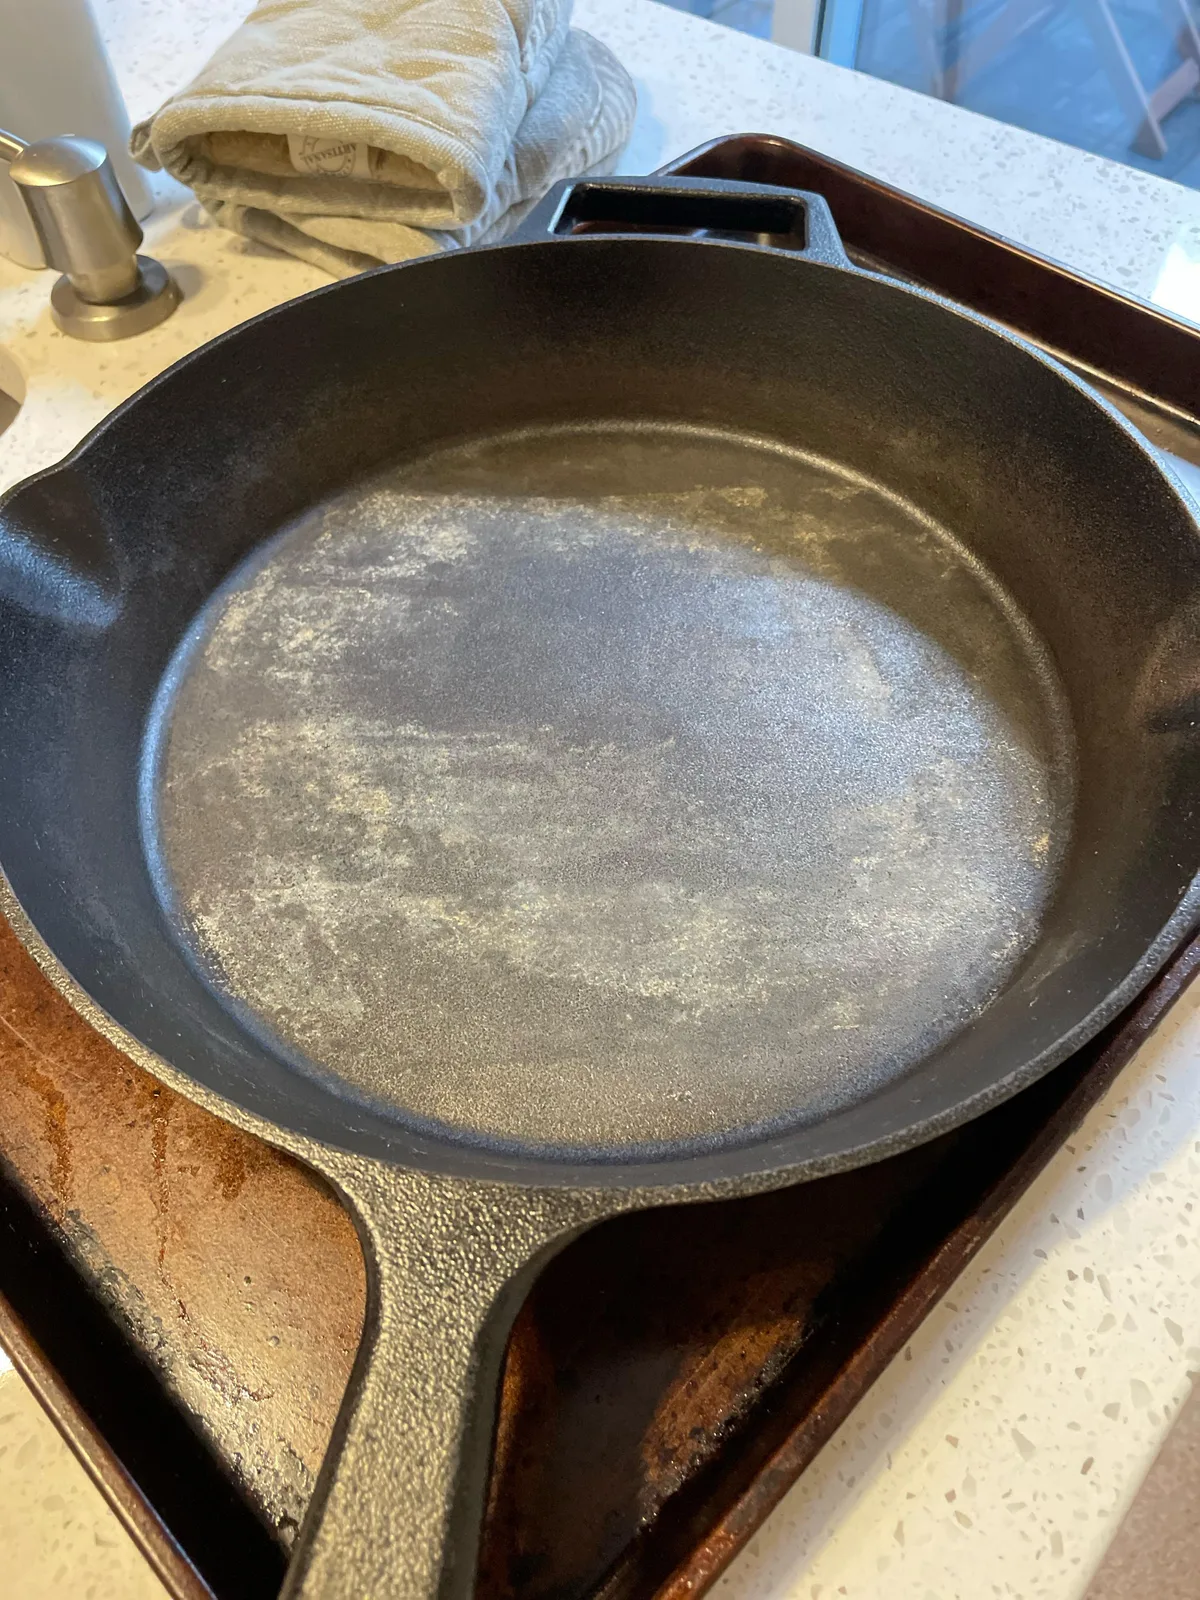
Image source: Web (Bing) / reddit.com (Web image (fair-use with source credit))
Who this is best for: Anyone with grates that look more dusty than flaky, or anyone trying rust removal for the first time. The vinegar soak is forgiving. Mistakes won't ruin your grates, and you'll learn the rhythm of the process.
Path 2: Moderate to Heavy Rust – Abrasive Scrubbing
If you have flaking rust or visible scale, skip to abrasive scrubbing. The vinegar soak alone won't lift thick rust. You'll need a combination of extended soaking and mechanical abrasion to strip the surface down to bare metal.
For moderate rust, extend the vinegar soak to 6 to 24 hours. The extended soak softens the rust layer. After soaking, use a heavier abrasive approach:
- Coarse steel wool (grade #2 or #3) for thick flakes
- A brass wire brush for stubborn patches
- Barkeeper's Friend (oxalic acid cleaner) sprinkled on as a paste for extra help
- A wire brush attachment on a drill for grates with very thick, crusty rust
The drill method is fast but dangerous if you're not careful. Always wear safety glasses. Work in a well-ventilated area.
And keep the drill moving constantly to avoid gouging the soft cast iron underneath.
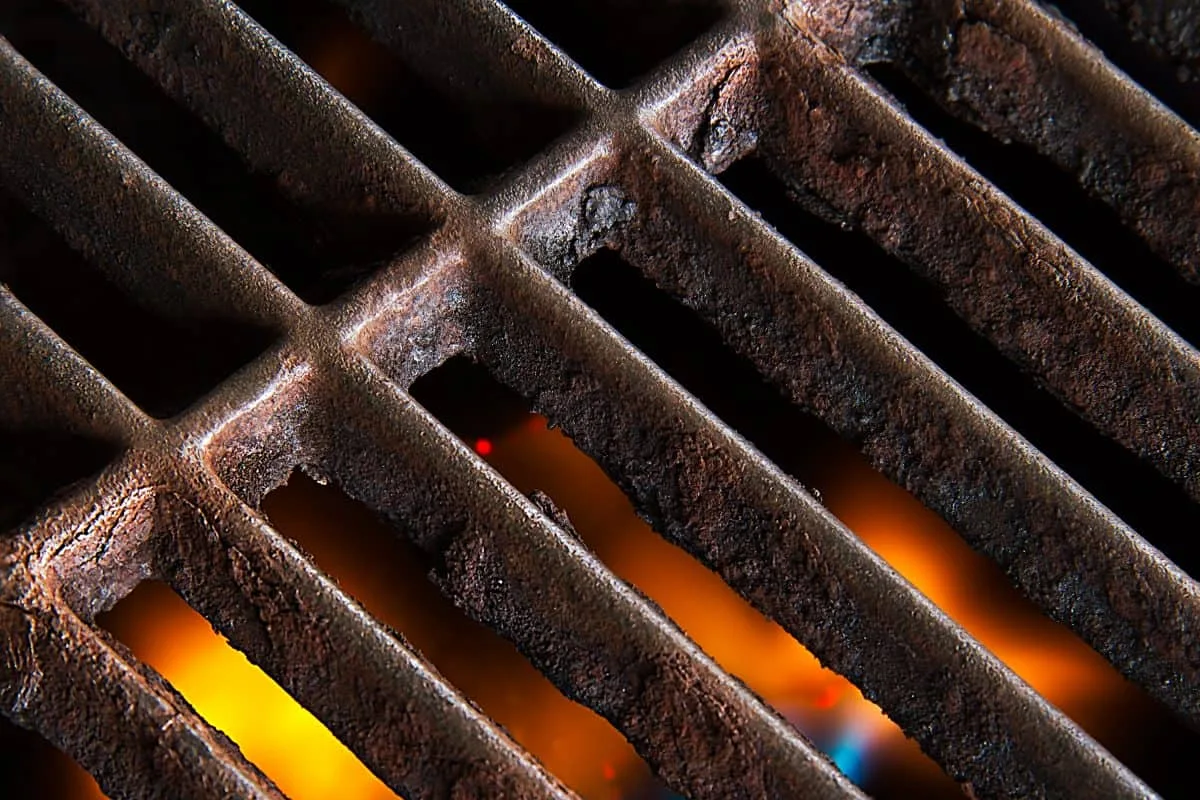
Image source: Web (Bing) / foodfirefriends.com (Web image (fair-use with source credit))
A note on chemical rust removers: Products containing phosphoric acid work well and fast. They convert rust into a black, inert coating that can be wiped away. However, you must rinse extremely thoroughly afterward.
Phosphoric acid is not food-safe in high concentrations, and leaving residue on your grates means it ends up in your food. If you choose this route, follow the manufacturer's rinse instructions precisely, then follow up with a baking soda neutralization.
Path 3: Deep Pitting or Neglected Grates – Electrolysis
For deeply pitted or severely neglected grates, electrolysis is the ultimate solution. This method uses a low-voltage electrical current to pull rust off the metal at a molecular level. It's the same technique museum conservators use to restore historical artifacts.
The setup requires a few items you might already own:
- A plastic tub that can hold your grates
- A battery charger (12V, low amperage setting, 2-10 amps)
- A piece of plain steel or iron as a sacrificial anode (do not use galvanized steel, it releases toxic fumes)
- Washing soda (sodium carbonate) dissolved in water as the electrolyte
Here's the process:
- Fill the tub with water and dissolve washing soda at a ratio of about 1 tablespoon per gallon of water.
- Place the grates in the tub, making sure they're not touching the sides.
- Suspend the sacrificial steel in the tub, also not touching the grates.
- Connect the battery charger: positive lead to the sacrificial steel, negative lead to your grates.
- Turn on the charger and let it run for 12 to 24 hours. You'll see bubbles rising as the current works. The rust will turn into a black sludge that rinses off easily.
- Scrub away the remaining residue with a brush, neutralize with baking soda, and dry thoroughly.
Who this is best for: Restoration enthusiasts, people working on vintage grates, or anyone who tried the vinegar soak and still sees heavy rust. The equipment cost is minimal if you already own a battery charger. The learning curve is real but manageable.
If you've never used electrolysis before, it's worth researching a few tutorials on the safety guidelines before you start.
Step-by-Step: How to Remove Rust and Re-Season Your Grill Grates
Once the rust is off, the real work begins. Bare cast iron will flash rust within minutes of being exposed to air and moisture. So the reseasoning process needs to happen immediately after cleaning.
Here's the full workflow, from start to finish.
Step 1: Clean and dry. The grates should be free of all rust, debris, and chemical residue. Dry them completely with a towel, then place them in a 200°F oven for 15 minutes. This drives out any moisture trapped in the porous metal.
Step 2: Choose your oil. Not all oils are equal for seasoning. Flaxseed oil creates the hardest, most durable seasoning but is expensive and can flake if applied too thick. Grapeseed oil is the most commonly recommended for its balance of durability and cost.
Canola oil works well and is budget-friendly. Avoid olive oil, which has a low smoke point and will leave a sticky, gummy residue.
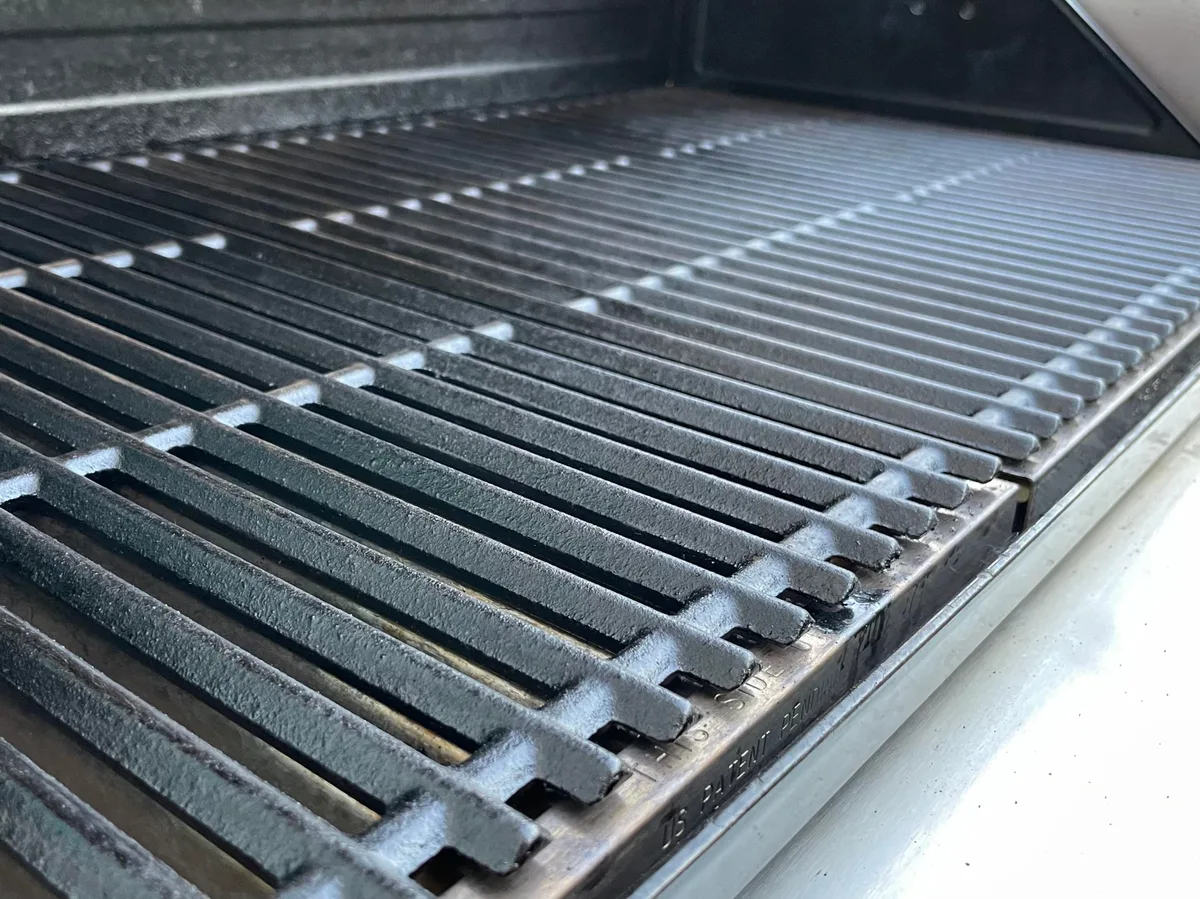
Image source: Bing (Web (fair-use with source credit))
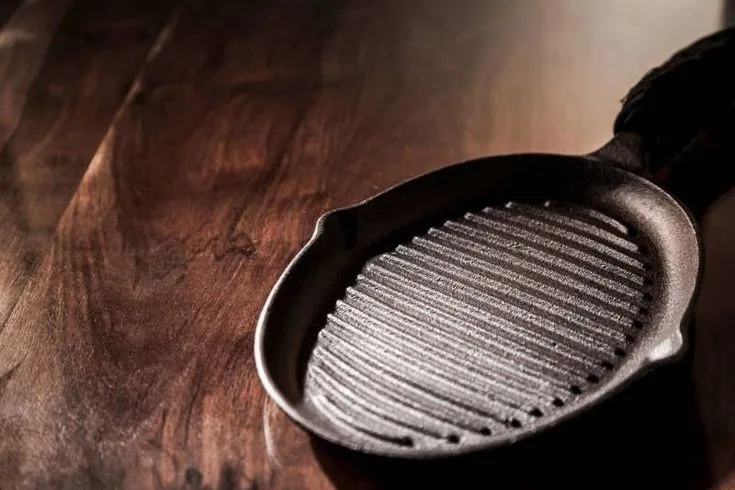
Step 3: Apply a thin coat of oil. Use a lint-free cloth or paper towel. Apply a small amount of oil and rub it all over the grates, then take a clean cloth and wipe off as much as you can. The grates should look almost dry.
A common mistake is leaving too much oil on, which creates a sticky, uneven layer.
Step 4: Bake the grates. Place the grates upside down on the oven rack. Put a baking sheet or foil on the rack below to catch drips. Turn the oven to 450°F to 500°F, based on the smoke point of your oil, and bake for one hour.
After the hour is up, turn off the oven and let the grates cool inside with the door closed.
Step 5: Repeat the seasoning cycle. One coat is rarely enough. Apply two to three total coats for a solid, polymerized layer. Between coats, the grates can stay in the oven as it cycles between heating and cooling.
Each coat adds to the protective layer.
Step 6: Initial grilling. After the final coat and cool-down, your grates are ready. Before cooking food, heat them on the grill for 15 minutes and brush with a grill brush. This breaks in the seasoning and gets it ready for its first meal.
| Seasoning Step | Temperature | Time | Notes |
|---|---|---|---|
| Dry out | 200°F | 15 min | Drives out moisture |
| First coat | 450-500°F | 1 hour | Oil should be barely visible |
| Second coat | 450-500°F | 1 hour | Optional but recommended |
| Third coat | 450-500°F | 1 hour | Best for heavy-duty use |
Check out the USDA's food safety guidance on grill cleaning for tips on keeping your cooking surfaces safe alongside your rust removal routine.

Similar Posts