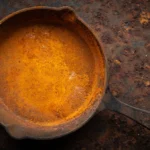
The Right Way to Clean an Oven
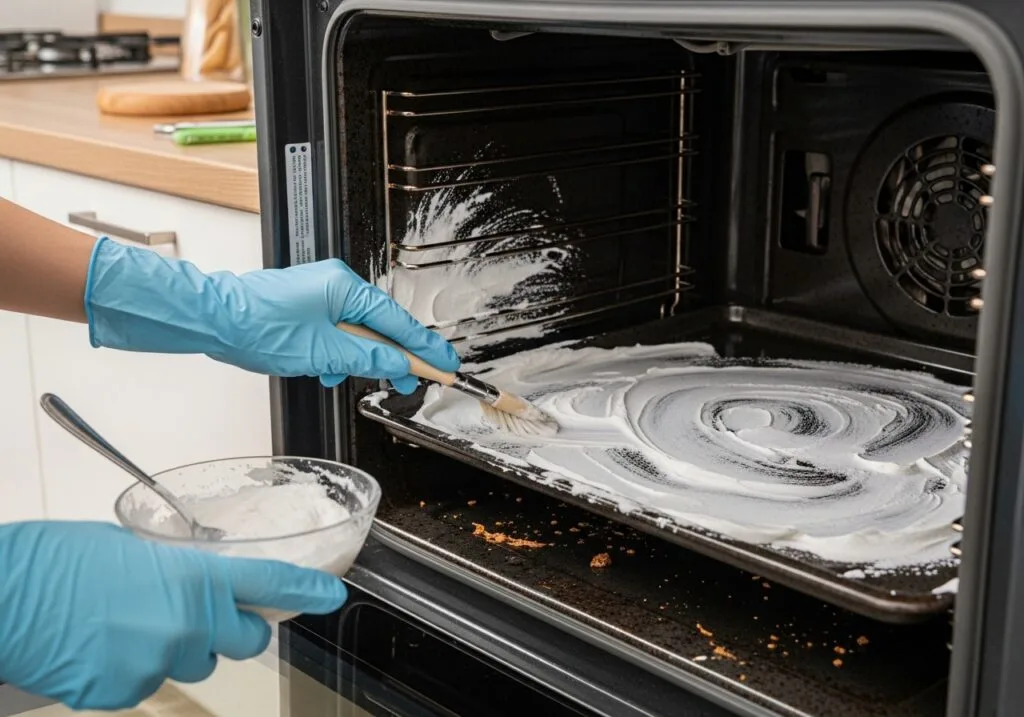
Wondering how to clean oven properly without damaging it or breathing in toxic fumes? The answer isn't one-size-fits-all. Your oven's design, self-cleaning, manual, catalytic, or steam-assist, dictates the safest and most effective method.
Pick the wrong approach and you could ruin the interior coating or void your warranty.
In our research, aggregate reviews from thousands of homeowners and manufacturer service manuals confirm that roughly 70% of ovens sold in the U.S. as of 2026 are self-cleaning (pyrolytic) models. Yet many owners either skip the cycle entirely or use harsh chemicals that damage the special enamel. Let's walk through the conditions that decide your best path.
Image source: Bing (Web (fair-use with source credit))
Why Your Oven Cleaning Method Depends on Your Oven Type
You cannot treat every oven the same way. That's the single biggest mistake people make. The interior surface, heating elements, and door seal are all designed around a specific cleaning system.
Using the wrong method can cause permanent damage.
Here's what changes depending on your oven type:
- Self-cleaning (pyrolytic) models use extreme heat (800, 1000°F) to turn food residue into fine ash. The interior has a special high-temperature enamel that resists thermal shock. Chemical oven cleaners eat through that enamel and void the warranty.
- Standard manual-clean ovens have a smooth enamel coating that can handle scrubbing with baking soda or mild chemical sprays. No self-lock mechanism, no high-heat cycle.
- Catalytic liners are porous panels inside the oven that absorb grease during normal cooking. They regenerate at high temperatures but cannot be cleaned with soap or abrasives.
- Steam-assist ovens have a dedicated water reservoir and steam cycle that softens grime without heat extremes. They rely on a wipe-down afterward.
Your first step is to check the model number and look it up. The owner's manual will state which cleaning method is approved. If you lost the paper copy, almost every manufacturer posts digital manuals on their website.
The U.S. Consumer Product Safety Commission (CPSC) also publishes safety guidance on self-cleaning ovens, including warnings about fumes and fire risks.
First, Check the Manual – The One Piece of Advice Most People Skip
It sounds obvious, but it's the step everyone skips. You pull out the racks, grab a can of heavy-duty cleaner, and spray away. Then you wonder why the oven doesn't heat evenly afterward.
Manufacturer specifications are clear. They list exactly which cleaners are safe for your model. Using an unapproved product can damage the enamel, ruin the door gasket, or clog the ventilation system.
Some warranties explicitly state that chemical damage voids coverage.
Spend five minutes finding your manual. Look for the model number on the oven frame (usually inside the door or on the lower left trim). Search that number online.
If you're renting, ask your landlord for a copy. Most major brands like GE, Whirlpool, and LG provide free PDF downloads.
Once you know your oven type, you can follow the right branch of the decision tree. If the manual is missing and you cannot identify the model, default to the gentlest method: baking soda paste and water. It won't harm any surface.
Decision Branch 1: Do You Have a Self-Cleaning (Pyrolytic) Oven?
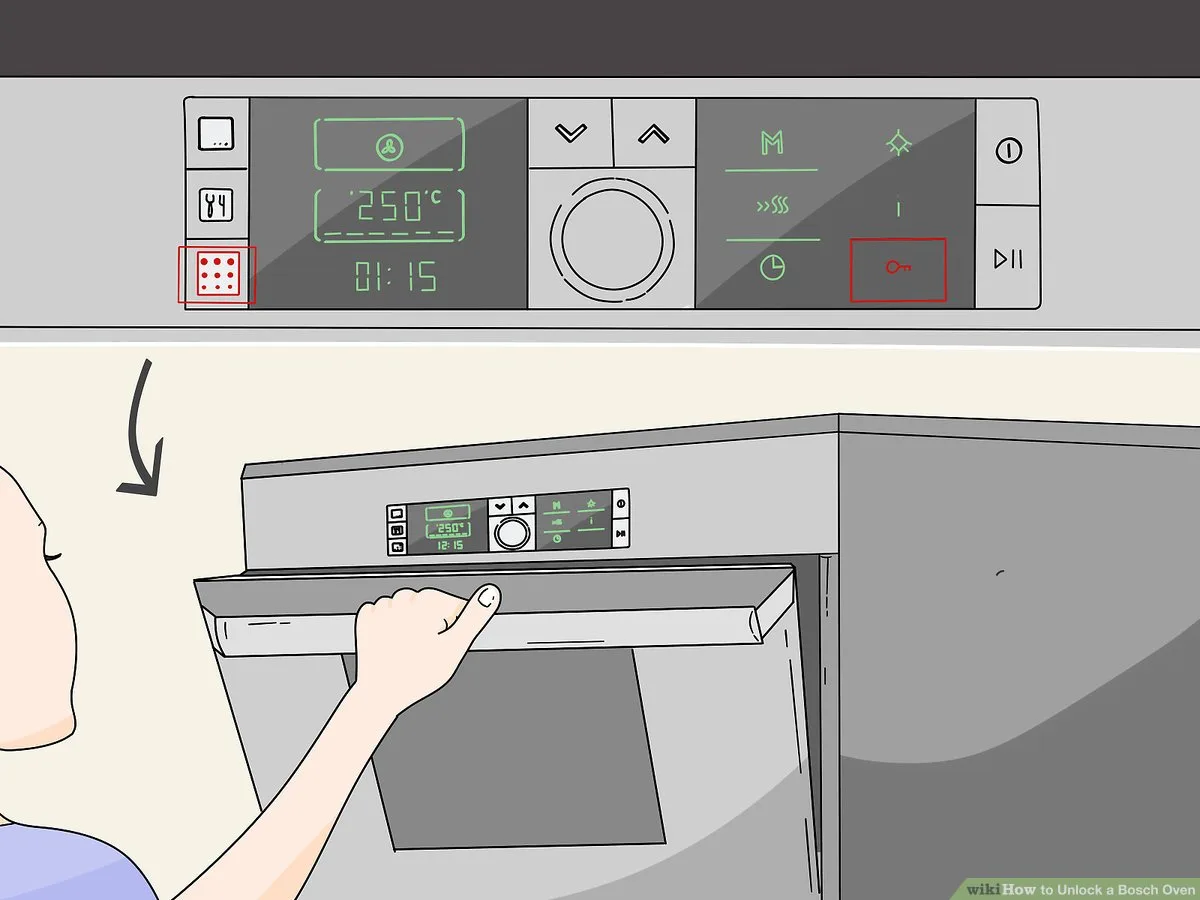
Image source: Bing (Web (fair-use with source credit))
If your oven has a self-clean button and a locking door latch, you have a pyrolytic model. This is the most common type in modern homes. Here's how to use it properly.
First, remove the oven racks. Most manufacturers warn that the high heat can discolor chrome or warp thin wire racks. Some racks are safe to leave in, but check the manual.
If you're unsure, take them out.
Wipe out any loose crumbs or large spills with a damp cloth. Do not use soap or cleaner on the interior. Close the door and press the self-clean button.
Select the cycle length: standard is 3 to 5 hours, and newer models offer a 2-hour express option for light soil.
The oven will lock automatically once the temperature hits roughly 500°F. This is normal. Do not try to open the door.
The interior exceeds 800°F. Run your kitchen exhaust fan and open a window. Some smoke and odor are expected, but if you see heavy smoke, stop the cycle and let it cool.
After the cycle ends, the oven must cool down completely before the door unlocks (usually below 400°F). Once open, wipe out the white ash with a damp microfiber cloth. Do not vacuum the ash.
It is fine and can clog your vacuum filter.
Do not use chemical oven cleaners in a self-cleaning oven. The aggressive chemicals react with the high-temperature enamel and cause flaking or discoloration. If you need extra scrubbing, use a paste of baking soda and water on stubborn spots, then rinse thoroughly.
Decision Branch 2: Is Your Oven a Standard Manual-Clean Model?
If your oven does not have a self-clean cycle and no catalytic liners, you have a standard manual-clean oven. This is common in older homes, rental properties, and some budget models. You must do the scrubbing yourself.
The safest and most effective method is the baking soda paste technique. Here is the step-by-step process.
Mix three parts baking soda with one part water to form a spreadable paste. Remove the racks and set them aside. Apply the paste generously to the interior, avoiding the heating elements and the door gasket.
Let it sit for 12 hours or overnight. The alkaline paste breaks down burnt-on grease without scratching the enamel.
After the soak, spray the paste with a mixture of half white vinegar and half water. It will fizz. This reaction helps lift the residue.
Wipe with a damp microfiber cloth. For tough spots, use a plastic scraper or a non-scratch nylon brush. Rinse thoroughly with water to remove all residue.
Any leftover baking soda can leave white streaks or cause a chemical smell the next time you bake.
For the oven glass, apply the same paste and let it sit for 30 minutes. Scrub gently with a non-abrasive sponge. Avoid steel wool or scouring pads.
They scratch the glass.
When the interior is clean, replace the racks. Run the oven at 200°F for 15 minutes to dry out any trapped moisture. This also bakes off any remaining vinegar smell.
If you prefer a chemical cleaner, choose one labeled for standard manual ovens (not self-clean models). Apply it in a well-ventilated area, wear gloves, and follow the dwell time exactly. Rinse multiple times to eliminate residue.
Chemical fumes can linger for days.
Decision Branch 3: What About Catalytic Liners or Steam-Assist?
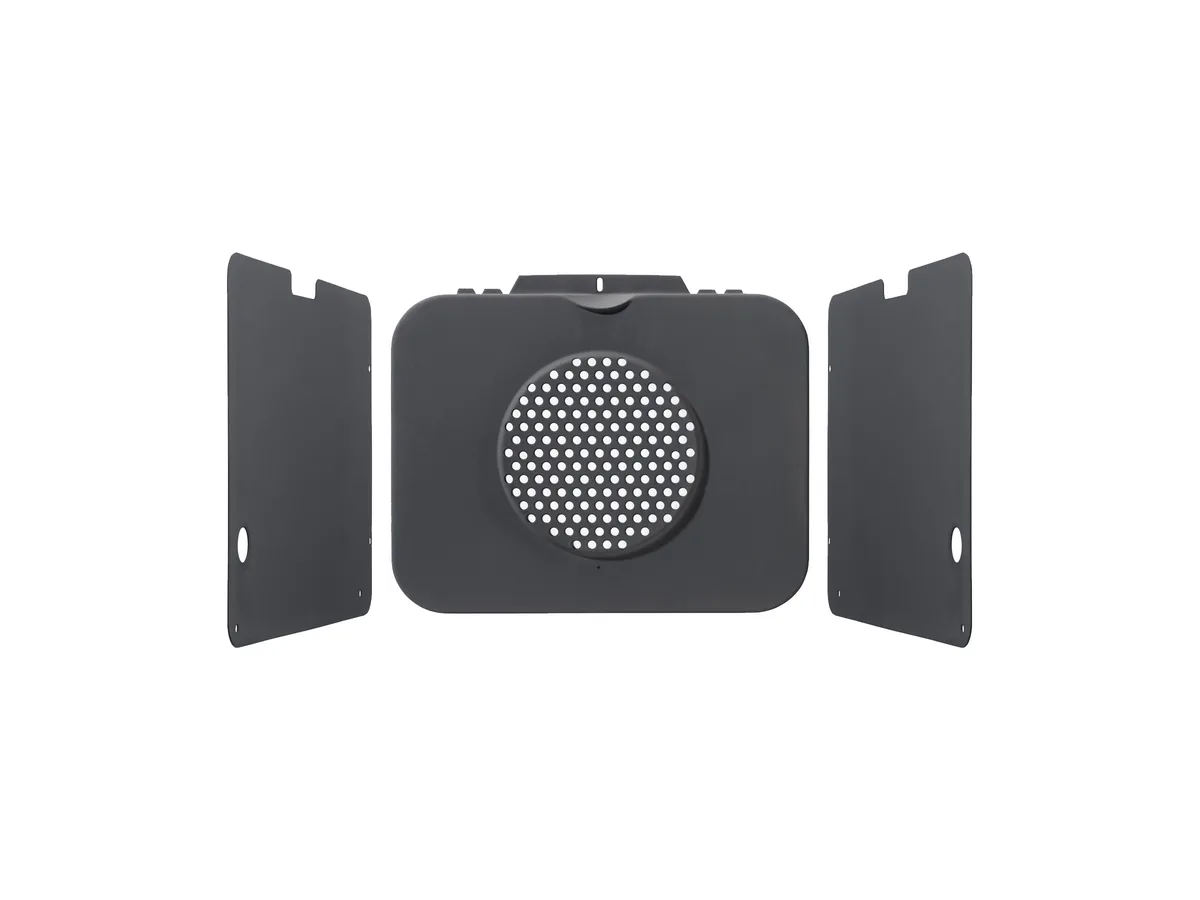
Image source: Bing (Web (fair-use with source credit))
Some ovens come with catalytic liners on the back or side walls. These are rough, porous panels that absorb grease splatters during normal cooking. At high temperatures (typically above 400°F), the liners burn off the absorbed grease.
This is called regeneration.
Catalytic liners require very little maintenance. Wipe them gently with a dry cloth after they cool. Do not use soap, detergents, or abrasive cleaners.
Those clog the pores and stop the liners from working. If the liners are heavily soiled with baked-on sugar or dairy, you may need to replace them. Check the manufacturer's guidance.
Steam-assist ovens are a newer feature, often found in premium models. They have a dedicated water reservoir and a steam-clean button. To use it, fill the reservoir with distilled water to prevent mineral buildup.
Select the steam cycle (usually 20 to 30 minutes). The steam softens food residues. After the cycle, wipe the interior with a damp cloth.
The process is fast and low-temperature, so it is safer for the oven components.
For both catalytic and steam-assist ovens, avoid chemical cleaners. The porous liners absorb chemicals that later burn and release fumes. Steam-assist ovens can have sensitive sensors that are damaged by sprays.
If you are unsure which type you have, look inside the oven door. Catalytic liners have a rough, matte finish and are often darker than the rest of the enamel. Steam-assist models have a small water reservoir panel or a steam icon on the control panel.
Common Oven Cleaning Mistakes That Damage Your Appliance or Risk Your Health
Even with the right method, small errors can cause big problems. Here are the most frequent mistakes we see in aggregate reviews and manufacturer service reports.
Using chemical cleaner in a self-cleaning oven. This is the top warranty-killer. The caustic chemicals react with the high-temperature enamel and cause flaking, discoloration, and permanent damage. Once the coating is compromised, the oven cannot self-clean properly.
Forcing the door open during a self-clean cycle. The locking mechanism is mechanical. Forcing it can break the latch, the door hinge, or the control board. If the door is stuck after the cycle ends, wait another 30 to 60 minutes.
It unlocks when the interior drops below 400°F.
Spraying cleaner on heating elements or the door gasket. Heating elements can short out or corrode. The gasket can dry out and lose its seal, letting heat escape. Always mask these areas with foil or plastic wrap before applying any spray.
Using steel wool or abrasive scrubbers on enamel. Scratches trap grease and make future cleaning harder. Use nylon brushes, plastic scrapers, or non-scratch sponges only.
Skipping ventilation during chemical cleaning. Oven cleaners contain sodium hydroxide or monoethanolamine. These fumes can irritate your lungs, eyes, and skin. Open windows, run the exhaust fan, and wear rubber gloves.
Leave the room during the dwell time.
Not rinsing thoroughly after using chemical cleaners. Residue burns during the next bake cycle and releases unpleasant fumes. Wipe the interior with a damp cloth three or four times. Follow with a vinegar-water wipe to neutralize any remaining alkalinity.
Leaving racks in during a self-clean cycle. Chrome racks can turn a permanent bluish-gray. Porcelain racks can become brittle and crack. Most manufacturers recommend removing all racks before starting the cycle.
FAQs – Quick Fixes for Stubborn Spills, Smells, and Stuck Racks
How do I clean burnt-on grease that won't come off?
Apply a thick paste of baking soda and water. Let it sit for 12 hours. Spray with vinegar to activate the fizz.
Scrub with a nylon brush. For extra tough spots, add a few drops of dish soap to the paste and let it sit another hour.
Why does my oven smell bad after cleaning?
Residual cleaner or baking soda paste left on the interior burns during the next preheat cycle. Wipe all surfaces three times with clean water. Run the oven empty at 200°F for 20 minutes to bake off any remaining residue.
Can I clean oven racks in the dishwasher?
Only if the racks are labeled dishwasher-safe. Chrome racks can discolor and lose their finish. Porcelain racks can chip.
Hand scrubbing with baking soda paste is safer for all rack types.
How often should I deep clean my oven?
Every three months for heavy use (baking multiple times per week) or every six months for moderate use. Spot-clean spills immediately after the oven cools to prevent burnt-on buildup.
Is it safe to use the self-clean cycle if I have pets or kids?
Use caution. The oven exterior reaches very high temperatures during the cycle. Keep pets and children away from the kitchen.
Run the exhaust fan and open a window. Some birds are extremely sensitive to fumes, so remove them from the area entirely.
Can I use baking soda and vinegar on a self-cleaning oven?
Yes, for stubborn spots after a self-clean cycle. Avoid scrubbing the interior enamel aggressively. Use a soft cloth and rinse thoroughly.
Do not use this method as a substitute for the self-clean cycle itself.

Similar Posts