Removing Rust from Cast Iron Pan Cooking Surfaces Before Dinner
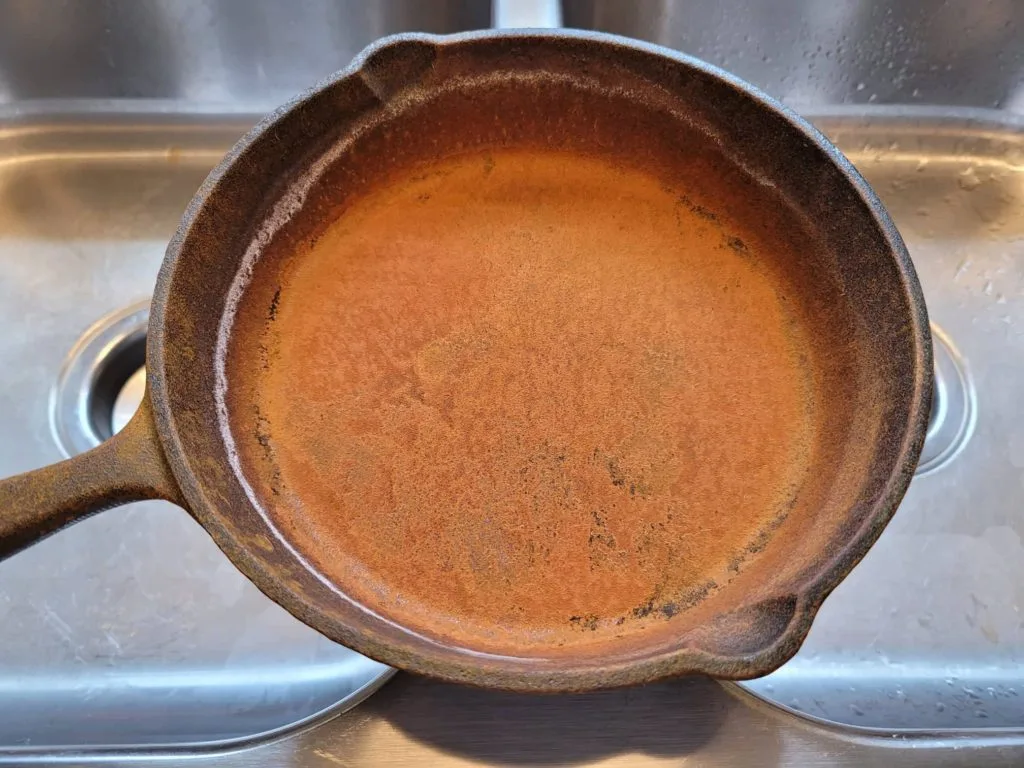
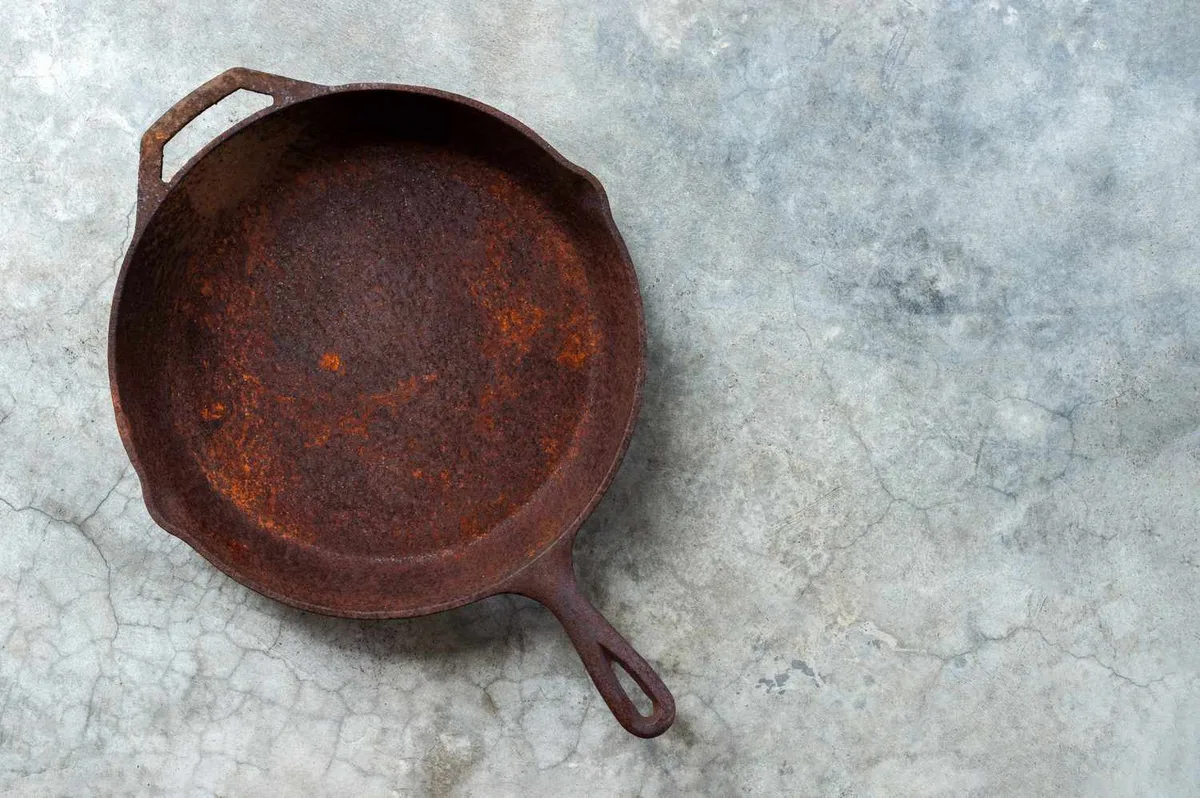
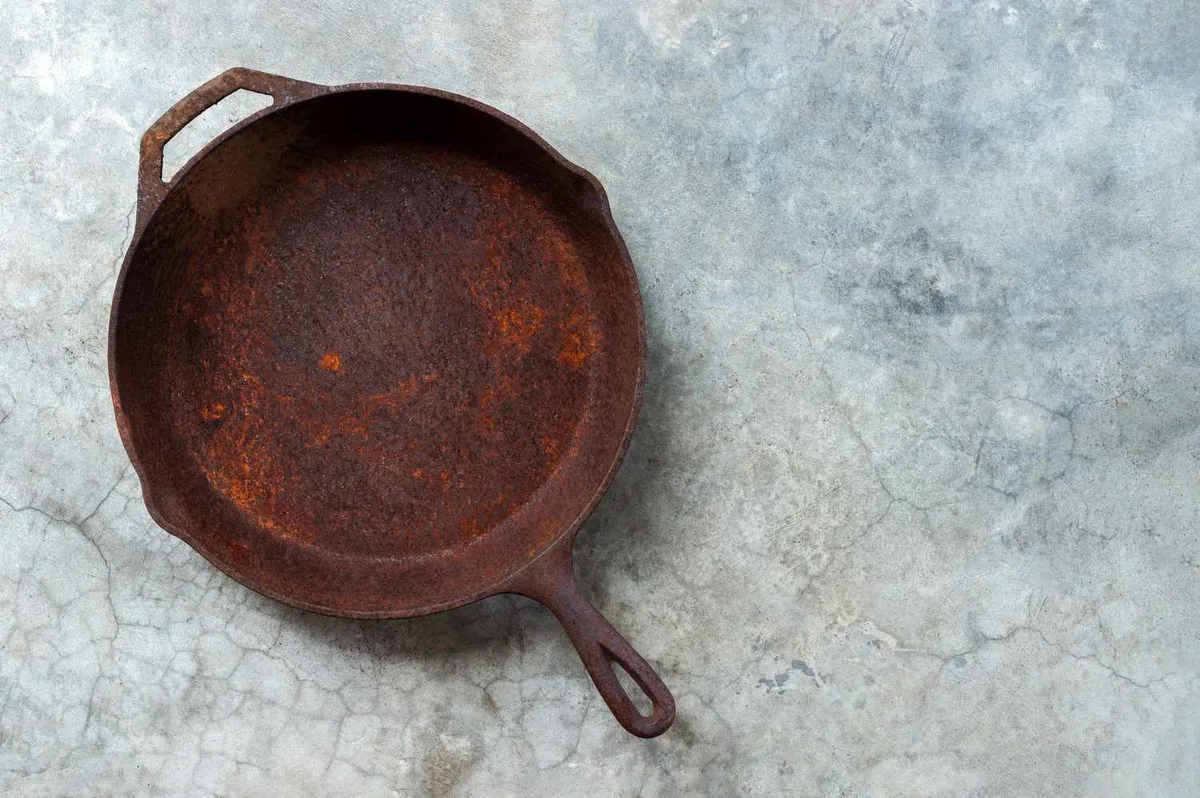
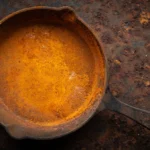
Got a rusty cast iron pan and wondering how to remove rust cast iron pan without wrecking the surface? You're not alone. Almost every cast iron owner hits this wall eventually.
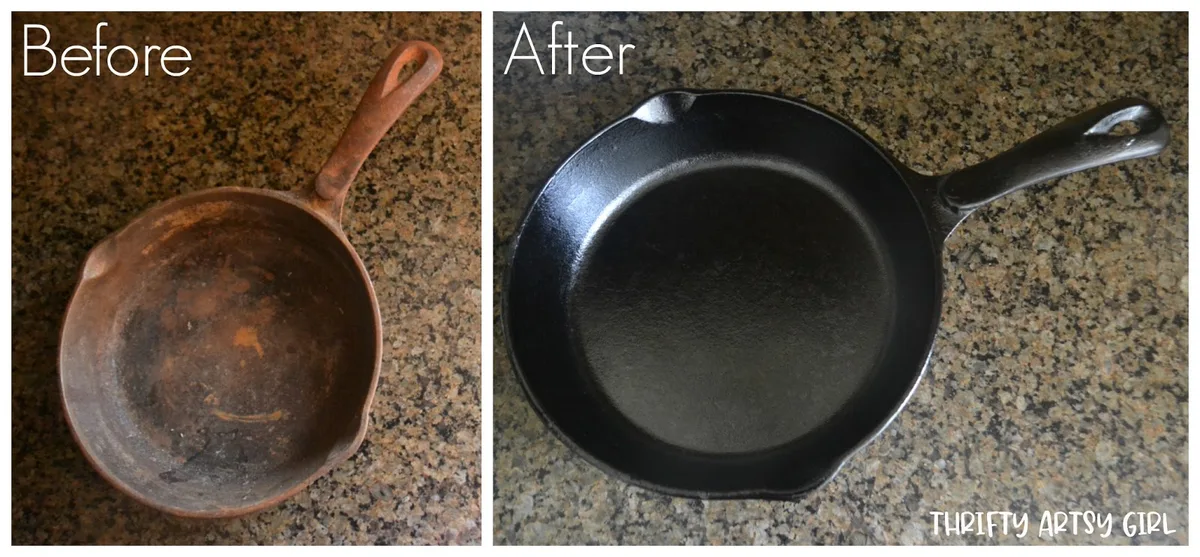
The good news is that most rusty pans can be saved.
Standard white vinegar contains 5% acetic acid. That's the benchmark used in most at-home rust removal. As of 2026, the same science holds whether you're rescuing a modern Lodge or a century-old heirloom.
Let's match the method to your pan.
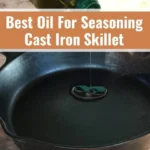
Image source: Web (Bing) / campfiresandcastiron.com (Web image (fair-use with source credit))
Quick Answer: What to Use for Each Rust Level
Match your rust removal method to the damage level. Light rust needs fine steel wool and warm water. Moderate rust needs a 20 minute vinegar soak.
Heavy rust needs a lye bath or electrolysis.
| Rust Level | What to Use | Approximate Time |
|---|---|---|
| Light surface rust | Fine steel wool plus warm water | 5 to 10 minutes |
| Moderate rust | 1:1 vinegar-water soak | 30 to 60 minutes |
| Heavy rust plus old seasoning | Lye stripping first, then vinegar | 1 to 24 hours |
| Deep pitting or vintage iron | Electrolysis with washing soda | 8 to 24 hours |
Before you grab the heaviest abrasive you own, take a breath. The wrong tool can turn light surface rust into pitted metal in seconds. Pitting is permanent damage, so the first step is always classification.
Check the rust level, then let the table guide the rest.
Most people panic when they see rust, and that's understandable. Cast iron pans aren't cheap, and heirloom pieces carry real sentimental weight. But rust is just iron oxide.
It forms when moisture meets bare metal. Remove the moisture, remove the oxide, and create a fresh oil barrier, and the pan is as good as new.
Lodge Cast Iron, the largest American manufacturer, publishes care guidance that follows the same logic. Scrub rust off with steel wool, wash, dry immediately, and re-season. The process hasn't changed in over a century because it works.
One rule applies to every method here: dry the pan completely once you finish. Bare iron is magnetically attracted to water. Within minutes of rinsing, you'll see orange flash rust forming right before your eyes.
That's normal. A quick wipe with oil handles it, and we'll cover that next.
Before You Start: Know Your Pan and Grab the Right Tools
The first question is not "how do I scrub this?" It's "what kind of pan am I looking at?" Bare cast iron and enameled cast iron need entirely different care.
Enameled pans have a glass-like coating fused to the iron. That coating looks glossy and comes in colors like cream, blue, or cherry red on the outside. Soaking enameled cast iron in vinegar or lye will damage it permanently.
Steel wool will scratch it. Basically, don't do any of that with an enameled pan.
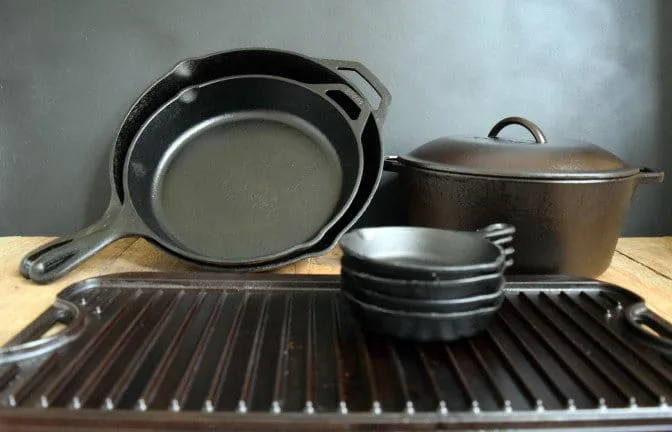
Bare cast iron is rough to the touch, often black or brown, and absolutely nothing like glass. This is the kind you can restore. If your pan is bare iron, gather these tools:
| Tool | Why You Need It |
|---|---|
| Fine steel wool (0000 or 00) | Removes rust without gouging the metal |
| 5% white vinegar | Dissolves rust with a gentle soak |
| Mild dish soap | Washes away loose residue |
| Paper towels or lint-free cloths | Drying and oiling |
| Canola, grapeseed oil, or shortening | Builds the new seasoning layer |
| Lye-based oven cleaner | Strips old seasoning before rust removal |
| Washing soda plus a low-amp battery charger | Powers a DIY electrolysis rig |
Rubber gloves and eye protection are worth having nearby, especially for the lye and electrolysis routes. Vinegar is gentle, but lye is caustic. Electrolysis creates hydrogen bubbles at the pan surface, so vent the area well.
Also work somewhere you can make a mess. Rust removal is not a clean job. Old seasoning and rust leave dark residue on sinks, counters, or garage floors.
Lay down newspaper or a tarp if that matters to you.
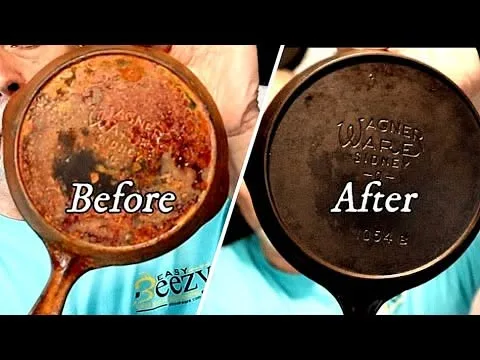
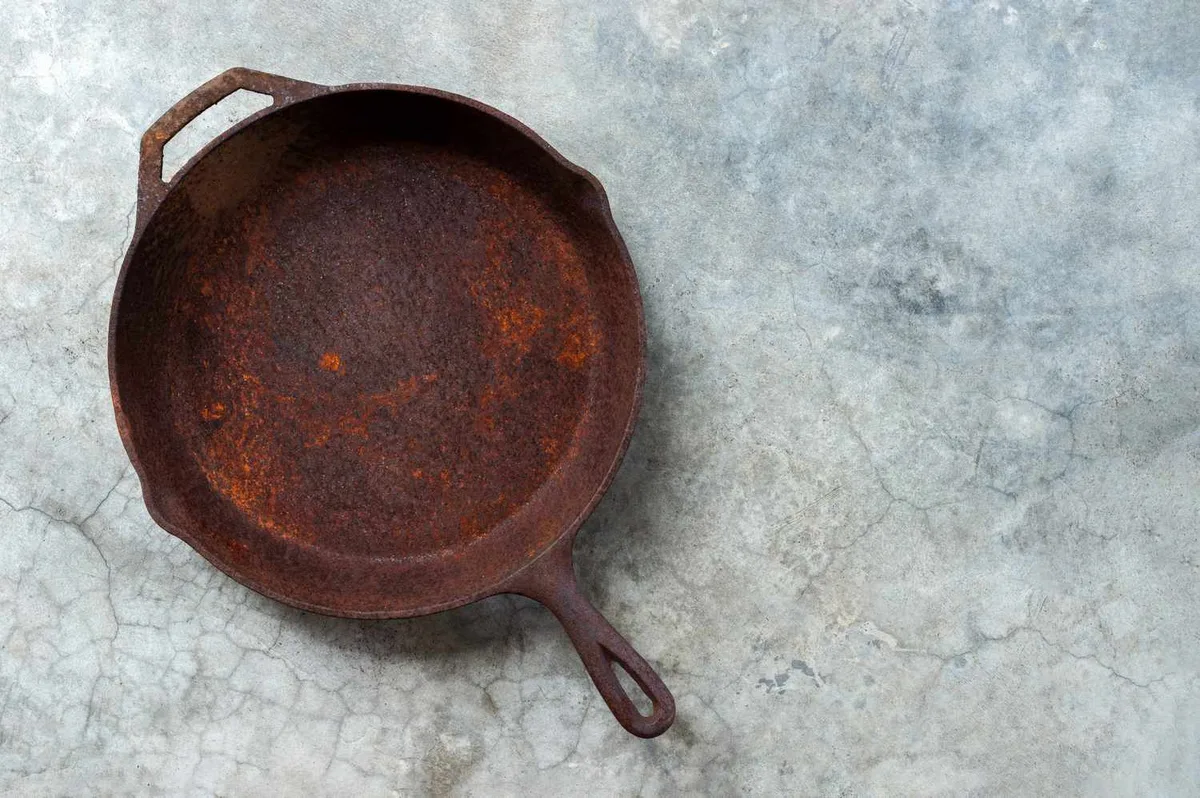
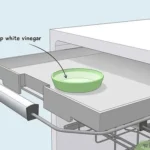
Image source: Web (Bing) / pinterest.com (Web image (fair-use with source credit))
The 3-Step Rust Assessment
You can't pick the right removal method from the table unless you read your pan first. Here's the three-step assessment that settles it.
Step 1: Confirm the pan is bare cast iron. Look for a dull, porous texture on the cooking surface. If any area looks like smooth, colored glass, it's enameled. Stop here and skip the rest of this guide.
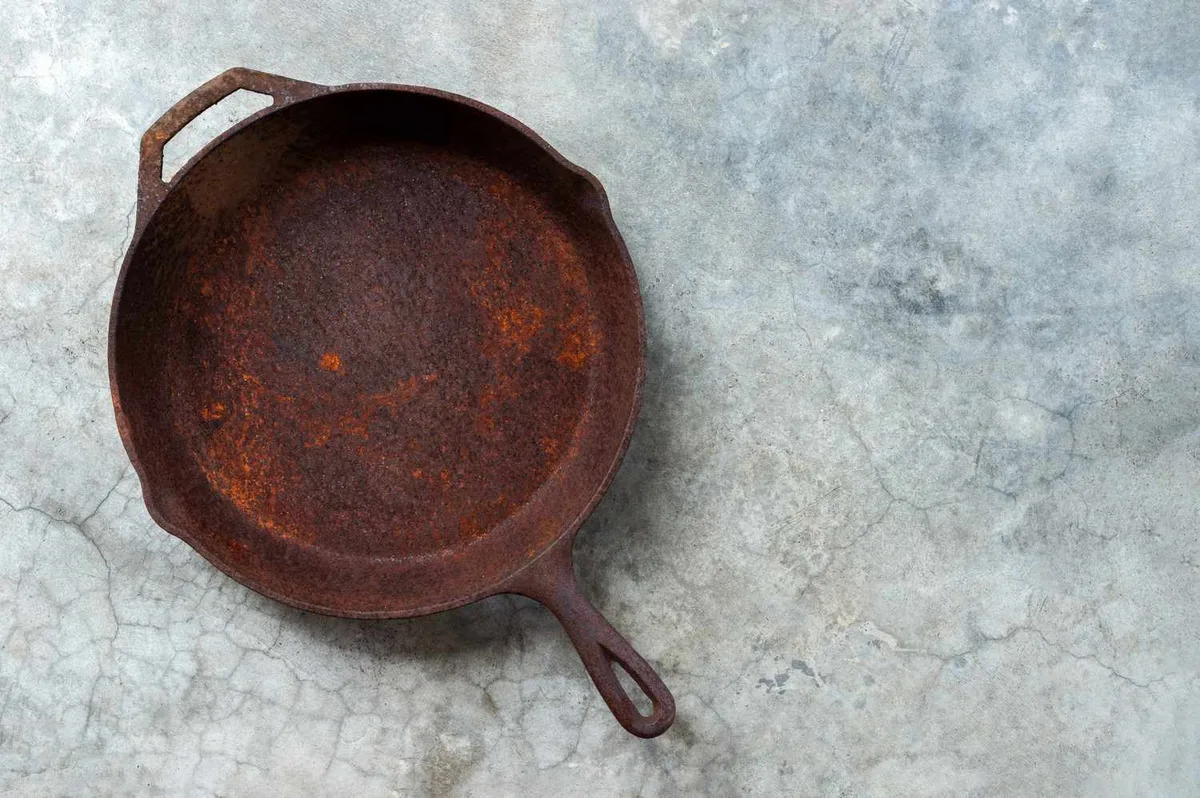
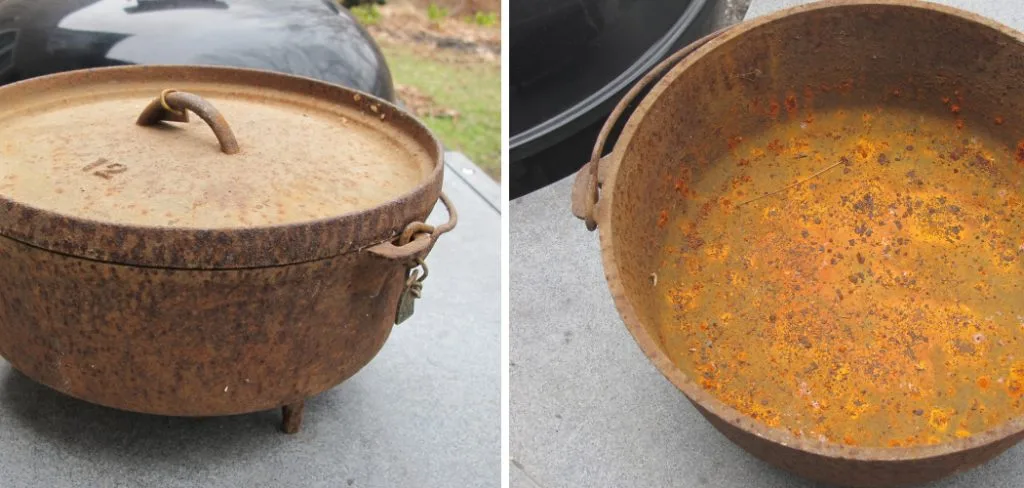
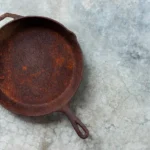
Step 2: Gauge the rust level. Run a dry paper towel across the surface. If orange dust lifts off easily, that's surface rust. The pan beneath is likely fine.
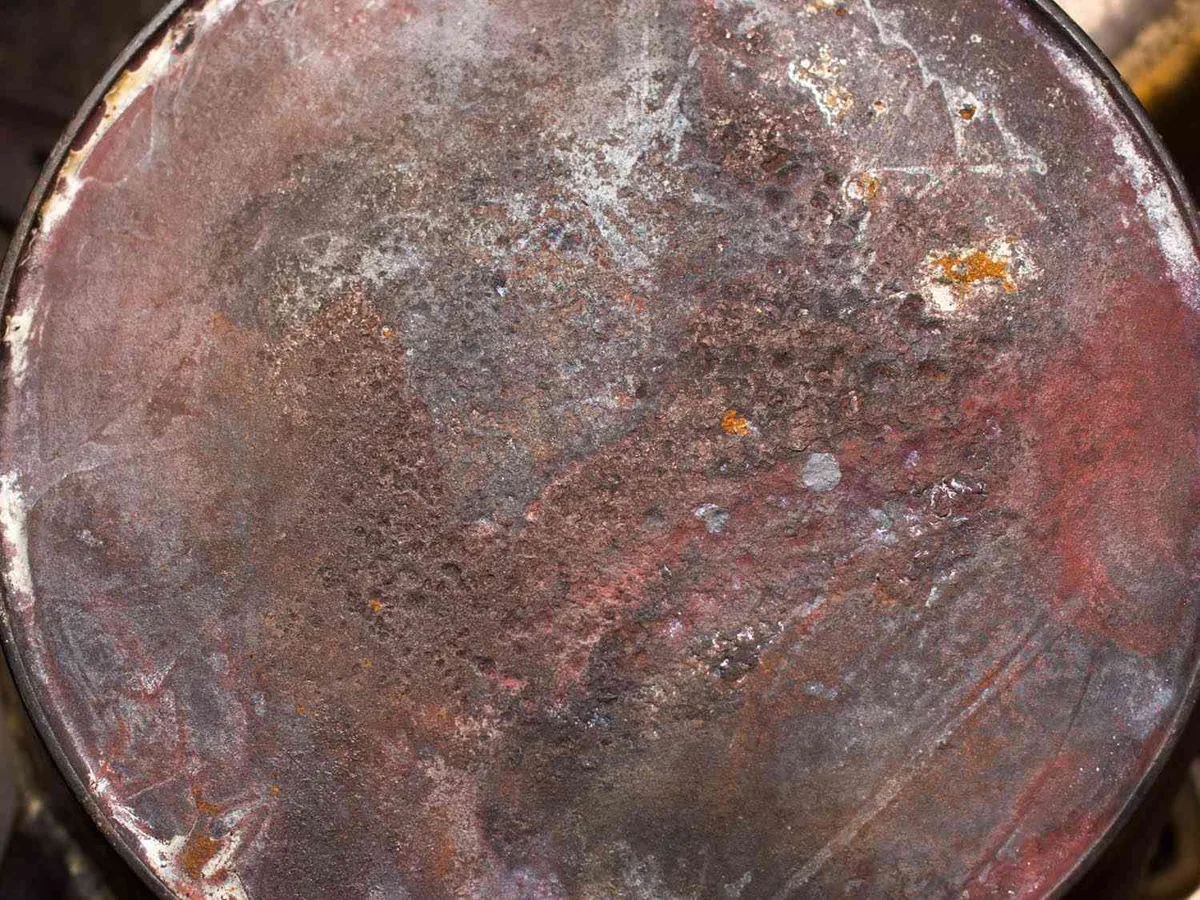
Next, run your fingertip lightly over the rust. Flaky patches that feel raised mean moderate rust. Deep brown or orange scaling that covers large sections means heavy rust.
Step 3: Locate pitting. Press your fingertip gently across the rusted spots. If you feel small craters, dips, or rough spots that stay rough even after wiping off the dust, the metal is pitted. Pitting needs electrolysis because scrubbing can't reach corrosion that has eaten into the iron.
Here's the decision logic in plain terms:
- If rust is a light orange film on a smooth surface, scrub directly.
- If rust is flaky and the pan underneath has no black seasoning, use the vinegar soak.
- If old black seasoning coats the pan beneath the rust, strip that first.
- If the metal feels rough or cratered, plan for electrolysis.
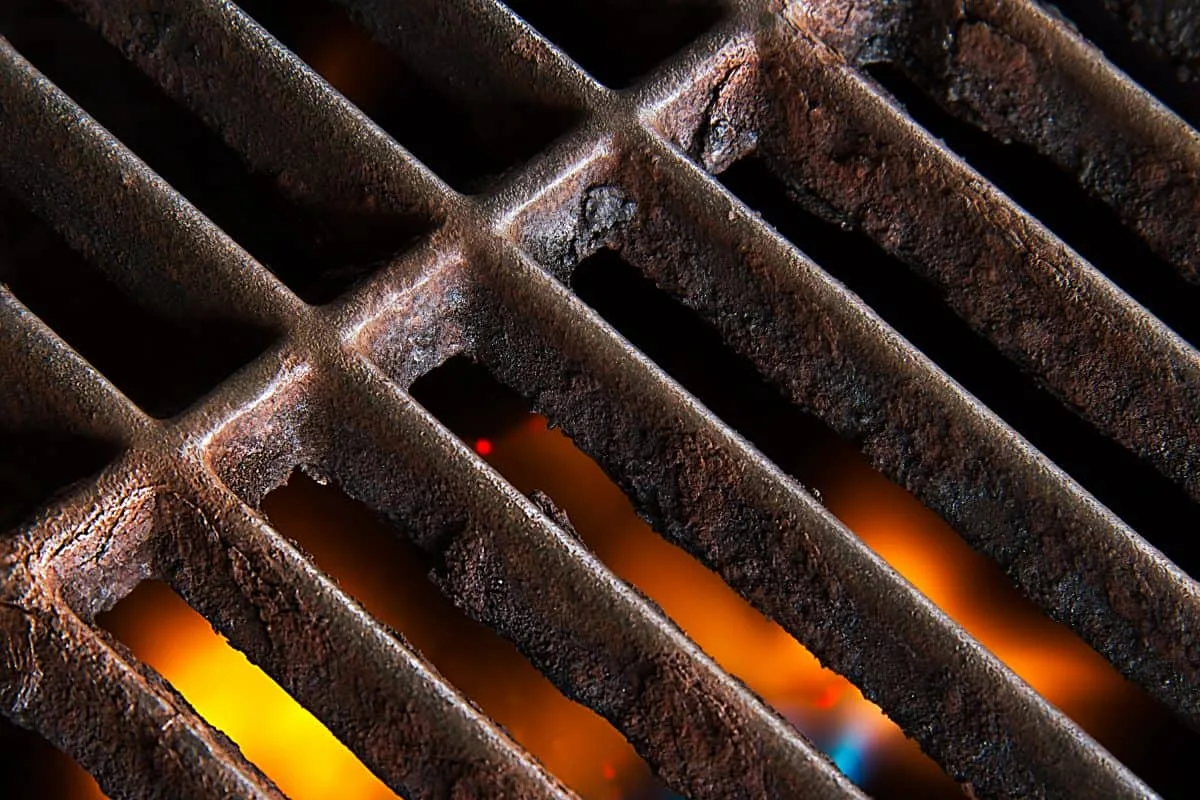
Also check the outside of the pan. Rust on the exterior walls will flake off and land on your stove over time. Many people fix the cooking surface and leave the outside rusty.
That's a half-finished restoration.
One more thing to look for: cracks. Cast iron that sat outside through freezing winters can develop hairline stress fractures. A rusted pan with a crack is a lost cause for cooking.
You might keep it for decoration, but don't restore a cracked pan for food use.
How to Remove Rust Based on Your Assessment
Each branch below matches the assessment above. Follow the one that fits.
Branch 1: Light rust
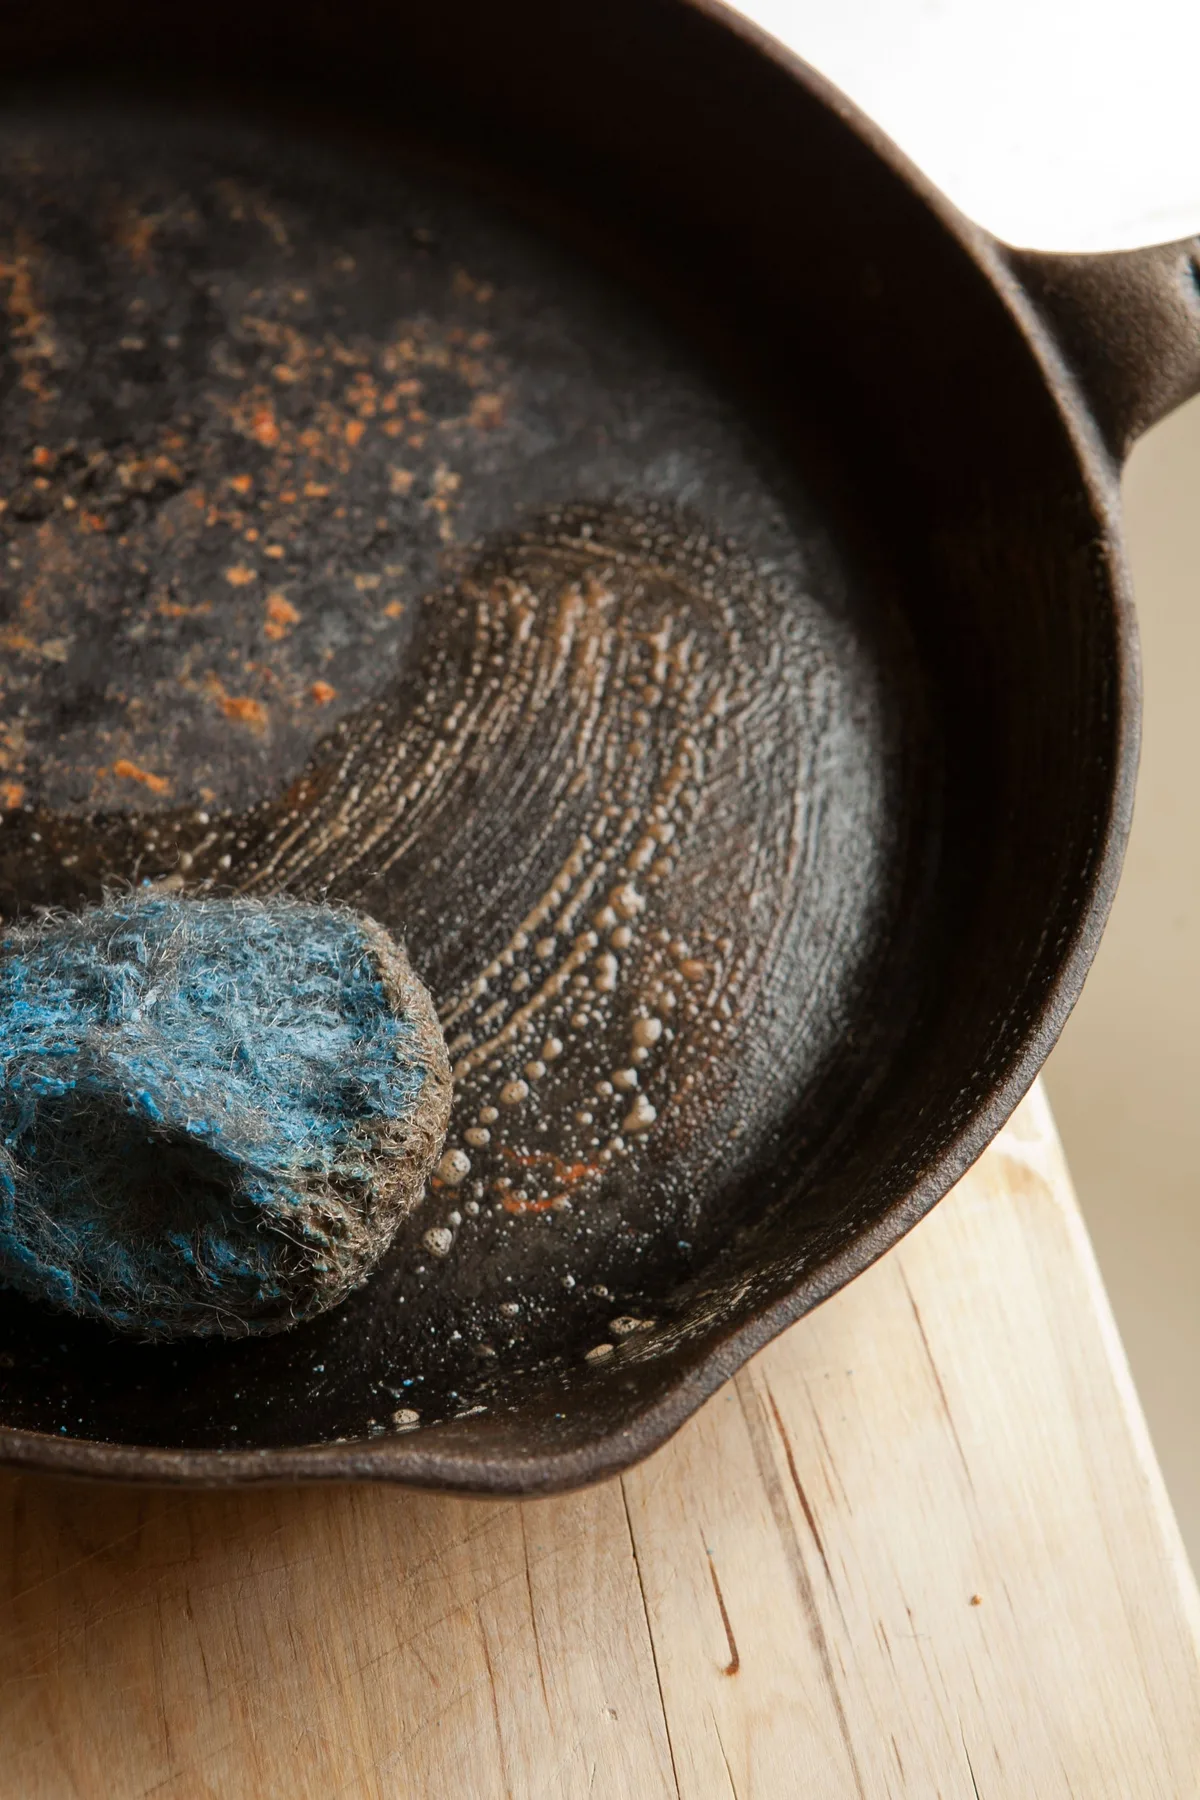
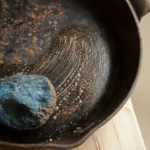
Wet the pan with warm water and a drop of dish soap. Scrub with fine steel wool using light circular pressure. Focus on the orange spots.
Rinse, dry with a towel, and set the pan on a warm burner for one minute to fully evaporate the moisture. If flash rust appears, treat it with a thin coat of oil and move on.
This branch is fast. Most light rust jobs take under ten minutes from start to finish.
Branch 2: Moderate rust
Mix equal parts 5% white vinegar and water in a large container. Submerge the pan completely. Soak for 20 to 30 minutes, then pull it out and scrub with steel wool.
The rust should lift away easily. If a few spots remain, return the pan to the vinegar for another 15 minutes. Never leave it overnight.
The acetic acid will start etching the iron, leaving a rough pitted texture that's worse than the rust.
After the rust is gone, wash the pan with warm soapy water. This neutralizes the acid so it can't keep acting on the metal. Dry it thoroughly, then warm it on the stovetop for a couple minutes.
Branch 3: Heavy rust plus old seasoning
Old seasoning is a barrier. The vinegar can't reach the rust underneath it, and steel wool slides right over the slick black coating. So strip the seasoning first.
Coat the pan with lye-based oven cleaner. Place it inside a plastic trash bag and seal the bag closed. Let it sit for 24 hours in a well-ventilated space.
Put on gloves and a mask before handling the pan again. Rinse the sludge off, scrub with steel wool, and repeat the lye treatment if any black seasoning remains.
Once the pan is bare, treat any remaining rust using Branch 2.
Branch 4: Deep pitting or vintage pans
Electrolysis is the gentlest method for fragile heirloom iron. It lifts rust out of pits without removing any base metal. You'll need a plastic container, washing soda, a scrap piece of stainless steel, and a low-amp battery charger.
Dissolve one tablespoon of washing soda per gallon of warm water. Clamp the charger's positive lead to the stainless steel and the negative lead to your pan. Lower both into the water so they don't touch each other.
Plug in the charger at around 2 amps. Bubbles will form on the pan within seconds. That's the rust releasing.
Wait 8 to 24 hours, then pull the pan and scrub off the residue with a nylon brush.
Never use galvanized steel as the anode. It can release toxic zinc fumes.
Re-Seasoning: The Only Way to Finish the Job
Rust removal is only half the battle. Bare iron will flash rust as soon as it touches air and moisture. Seasoning is the protective layer that makes cast iron non-stick and rust-resistant.
It's a layer of polymerized oil, meaning oil heated past its smoke point until it hardens into a smooth coating.
Your oil choice matters more than most people expect. Oils with high smoke points polymerize into harder, more durable layers.
| Oil | Smoke Point | Verdict |
|---|---|---|
| Flaxseed oil | 225°F | Hardest coating, but can flake |
| Grapeseed oil | 420°F | Excellent all-rounder |
| Canola oil | 400°F | Cheap and reliable |
| Vegetable shortening | 360°F | Traditional choice that works |
| Olive oil | 375°F | Too sticky for a solid base |
Here's the seasoning process:
- Preheat the oven to 400°F to 450°F, slightly above your oil's smoke point.
- Rub a thin coat of oil over the entire pan, inside and out.
- Wipe it off with a clean cloth. This matters more than any other step. If the pan looks wet, you used too much. The surface should look almost dry.
- Place the pan upside down on the middle rack. Set aluminum foil on the rack below to catch drips. Bake for one hour.
- Turn the oven off and leave the pan inside until completely cool. Gradual cooling helps the coating bond.
Repeat the oil and bake cycle two or three more times. The first coat often looks blotchy. That's normal.
Each layer darkens and smooths the pan.
University extension research on cast iron care outlines the same process, and University of Minnesota Extension publishes similar guidance for home cooks. Thin oil layers, high heat, and patience. That's the whole trick.
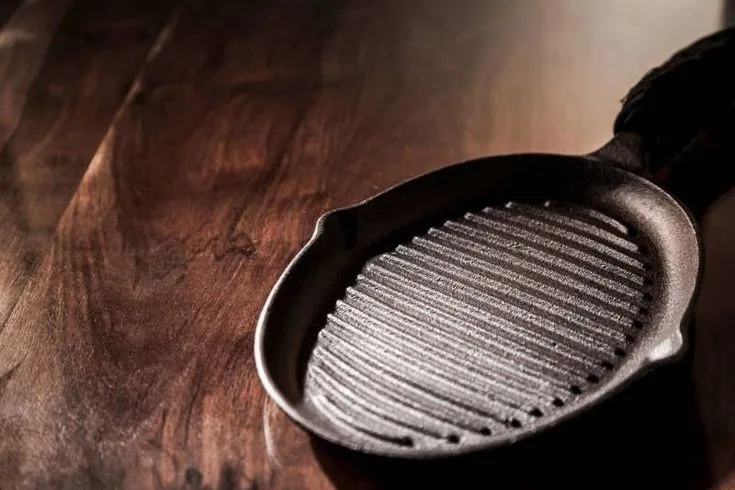
After seasoning, keep up the routine. Cook with the pan regularly, wash it with mild soap, dry it on the stove, and rub a light coat of oil before storing. That's all it takes to keep rust from ever coming back.
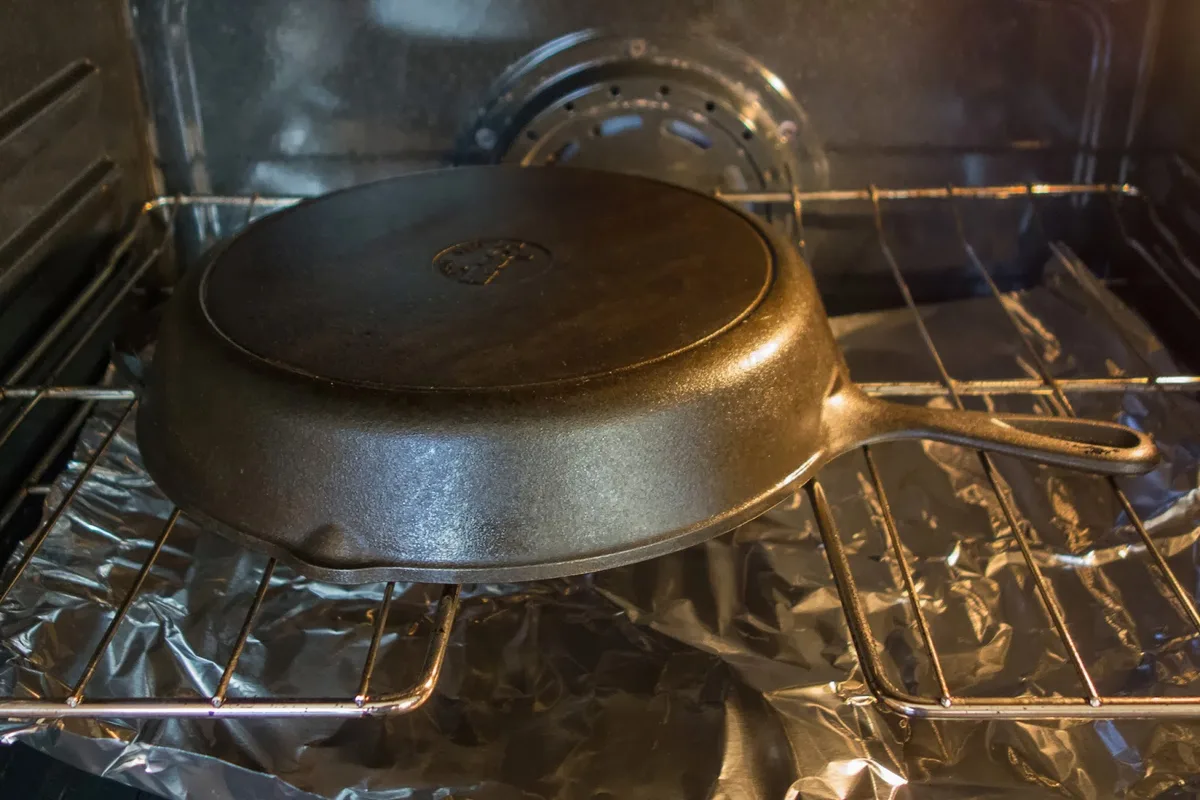
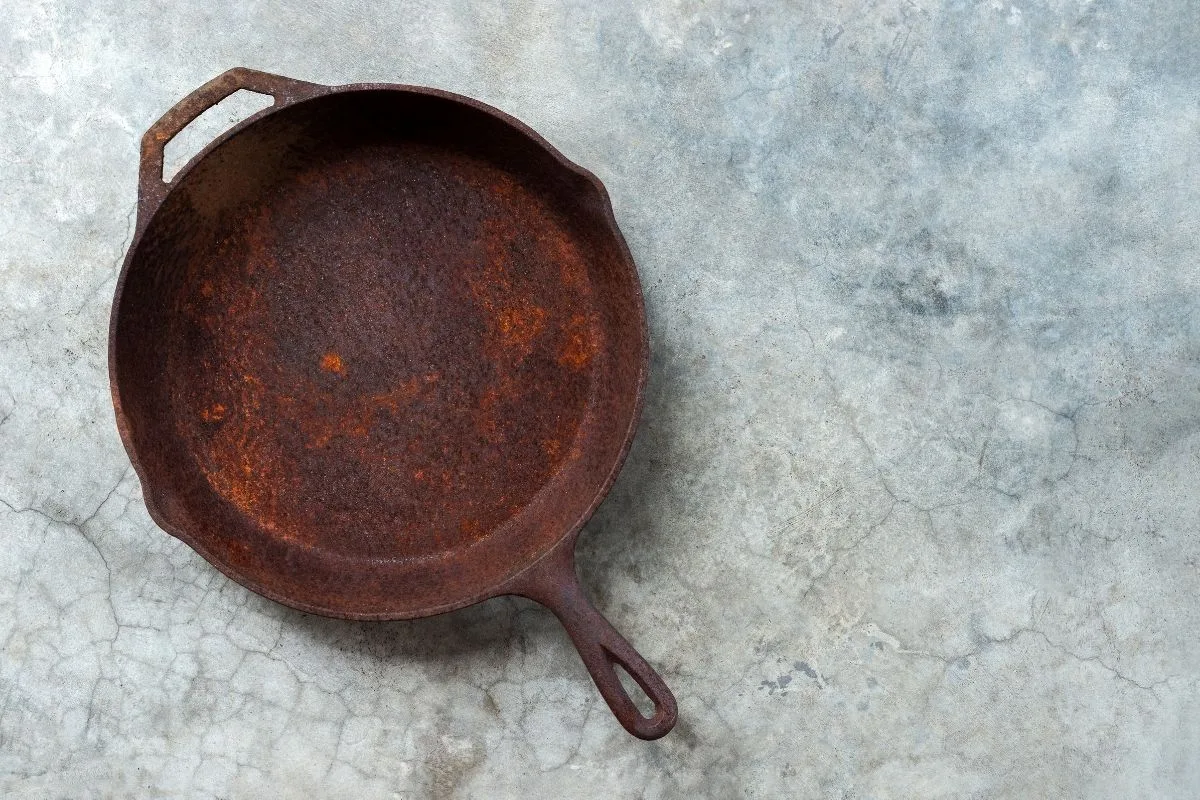
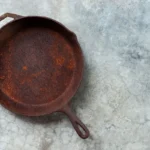
Image source: Web (Bing) / 2for66.com (Web image (fair-use with source credit))

Similar Posts