The Best Way to Cook Bacon in the Oven on Foil
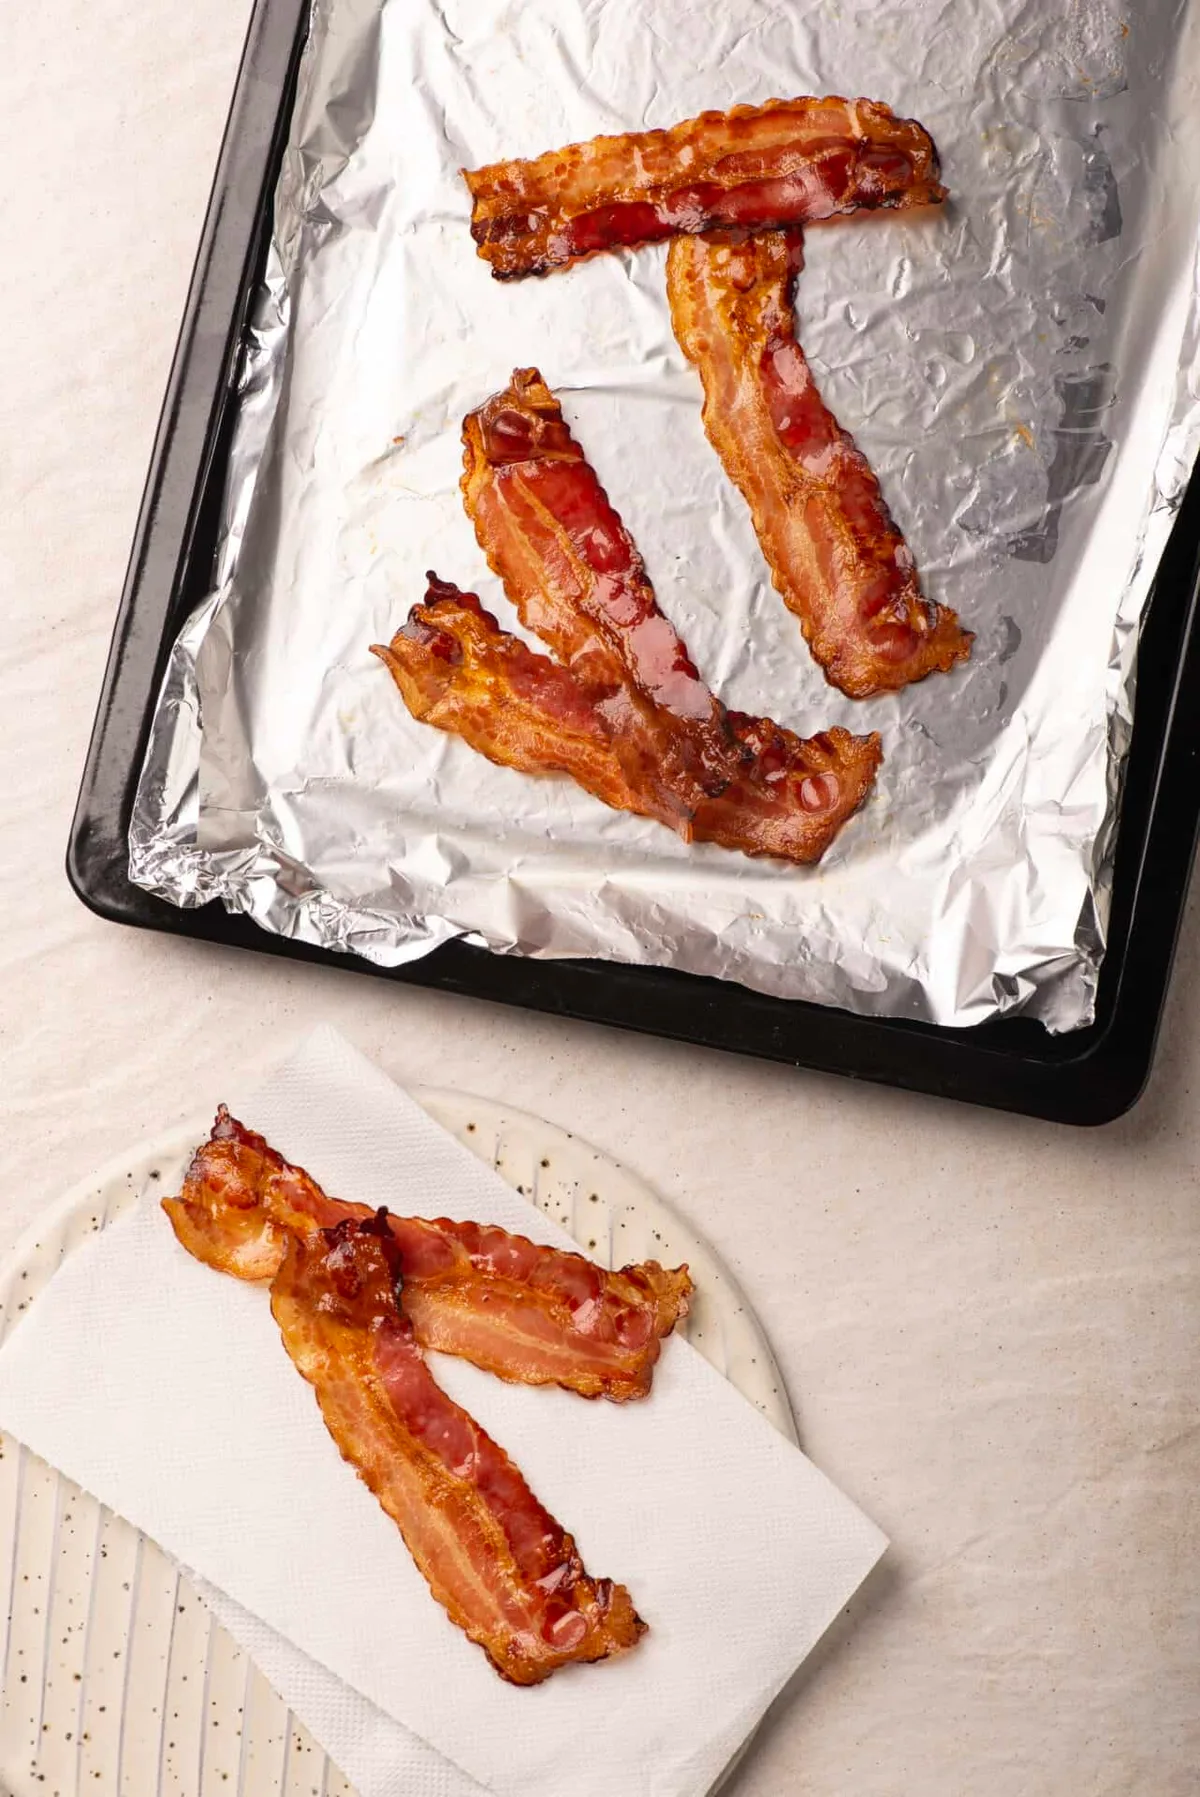
Preheat your oven to 400°F. Line a rimmed baking sheet with aluminum foil, crimping the edges to create a shallow tray. Lay bacon slices in a single layer without overlapping.
Bake 12, 25 minutes depending on thickness. Transfer to paper towels to drain. Let the foil cool before folding it up and discarding the grease.
The Real Problem with Pan-Frying Bacon
Let's be honest, pan-frying bacon is a pain. The grease pops everywhere. You stand over the stove flipping piece by piece.
The first batch is done while the second is still raw. And then you scrub a greasy skillet for ten minutes.
The real problem is inconsistency. A stovetop burner heats unevenly. The center of the pan runs hotter than the edges.
One strip comes out perfect while another burns. Meanwhile, you're dodging hot fat splatters on your arm.
Cooking bacon in the oven solves all that. You get even heat across every strip. No flipping required.
The mess stays contained. And you can cook a full pound at once, perfect for a crowd or meal prep.
But the method only works well if you handle a few key variables. The most important one? Your aluminum foil setup.
Get that right and everything else falls into place.
The Three Variables That Change Everything
Oven bacon isn't one-size-fits-all. Your ideal cook time depends on three things you can control.
Bacon thickness. Thin-cut bacon renders faster and can go from perfect to burnt in under two minutes. Thick-cut needs more time and lower heat to render the fat without scorching the meat. A standard supermarket slice (about 1/16 inch) falls in the middle.
Oven temperature. 400°F is the sweet spot for most home ovens as of 2026. Go higher (425°F) for extra-crispy results in less time. Go lower (375°F) if you prefer chewy bacon or want to render more fat without overcooking the lean parts.
Foil handling. The foil needs to hold the grease without leaking. Crumple the edges up into a 1/2-inch rim all the way around. That creates a disposable tray.
Skip this step and grease can pool under the foil, causing smoke or even a fire risk if it drips onto the heating element.
If you adjust any one of these, everything changes. That's why a decision tree helps more than a fixed recipe.
The Oven Bacon Decision Tree
Here's how to choose your method based on what you want. Think of it as a flow chart for your mouth.
If you want classic crispy bacon, the kind that shatters when you bite it. Use thick-cut bacon at 400°F on a wire rack set over a foil-lined pan. The rack lifts the bacon out of the grease, letting hot air circulate underneath.
Bake 18, 22 minutes. Flip halfway if you want even color on both sides.
If you want soft, chewy bacon, great for BLTs where you need a little give. Use thin-cut bacon at 375°F directly on the foil (no rack). The fat sits in the grease and stays tender.
Bake 12, 15 minutes. Start checking at 10 minutes.
If you want extra-crispy bacon with minimal effort, use regular bacon at 425°F on foil with edges crimped. No flipping needed. Bake 14, 18 minutes.
The high heat renders fat fast and gives you a dry, crunchy texture. Watch closely after 14 minutes.
If you're cooking a huge batch, double pan method. Place one foil-lined sheet on the bottom rack to catch drips. Place the bacon on a second sheet on the middle rack.
Bake at 400°F. Rotate pans top-to-bottom halfway through. This works for up to 3 pounds at once.
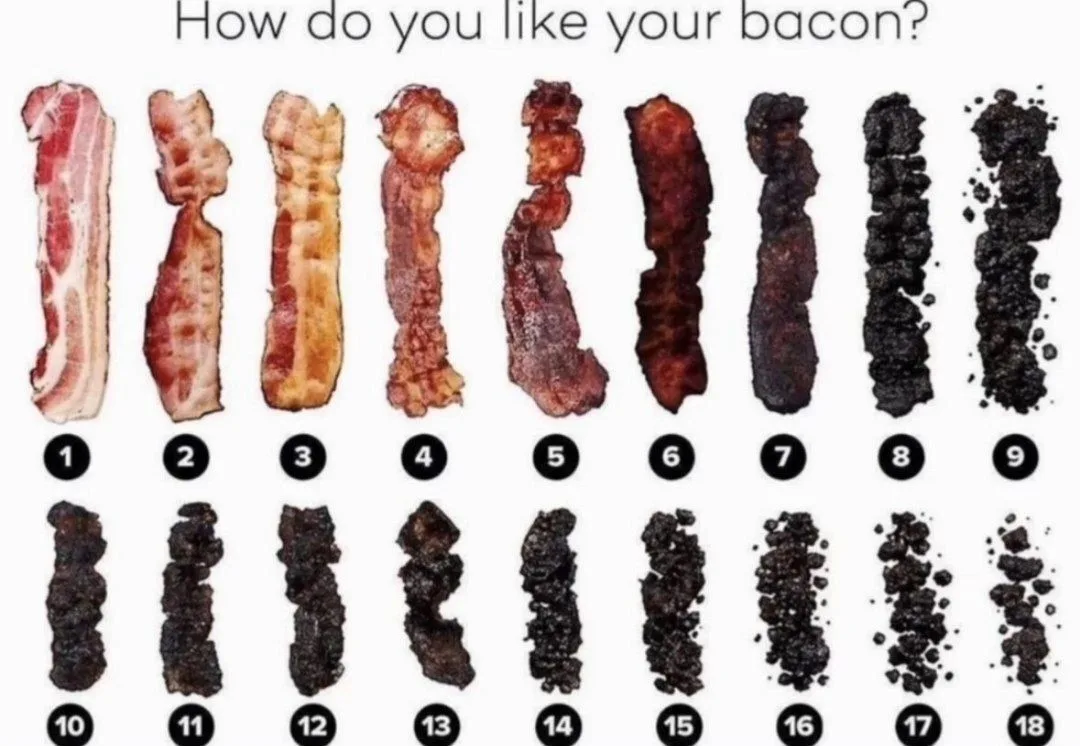
How to Cook Bacon in the Oven with Foil (Step-by-Step)
Now let's walk through the method that works for 90% of situations. You'll need a rimmed baking sheet, heavy-duty aluminum foil, and your bacon.
Step 1: Preheat the oven to 400°F. Place the rack in the middle position. Don't skip the preheat, a cold start changes cooking time and gives uneven results.
Step 2: Line the baking sheet with foil. Tear off a sheet long enough to cover the bottom and come up the sides. Press it into the pan. Then crimp the edges into a raised rim.
This is crucial. Without it, grease can leak under the foil and burn onto the pan.
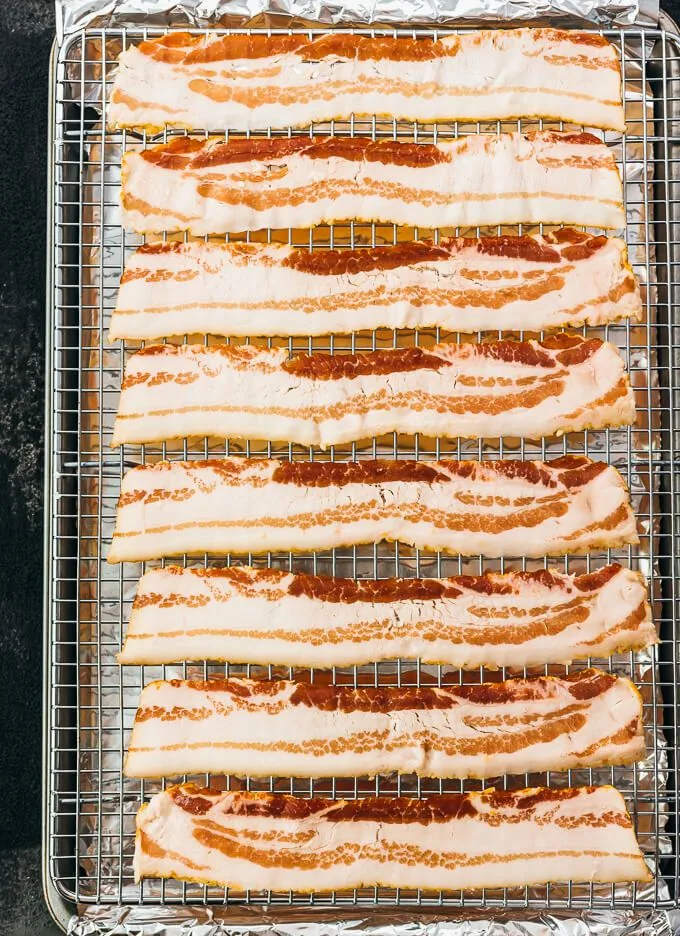
Step 3: Lay the bacon in a single layer. Overlapping causes steamed spots. Leave a small gap between each strip, about 1/4 inch. That allows hot air to circulate and crisp the edges.
Step 4: Bake for 15, 20 minutes. Start checking at 15 minutes. For thin-cut, 15 minutes is often enough. For thick-cut, plan on 20.
If you like it extra crispy, go to 22, 25 minutes.
Step 5: Remove and drain. Use oven mitts, that pan is hot and full of liquid fat. Transfer the bacon to a plate lined with paper towels. Let it rest for two minutes so the fat resolidifies.
Step 6: Cool the foil. Wait until the pan is cool enough to touch. Then carefully fold the foil into a packet and discard it. Never pour hot grease down the sink, it can clog pipes.
Let it solidify in the trash.
This method takes about 20 minutes total. The payoff is perfect bacon and a pan that's still clean.
5 Mistakes That Ruin Oven Bacon (and How to Fix Them)
Even with foil, things can go wrong. Here are the most common pitfalls and how to avoid them.
1. Not crimping the foil edges. Without a raised rim, grease spills over the foil and burns onto the pan. The cleanup is worse than stovetop.
Fix it: fold the edges into a 1/2-inch lip on all four sides.
2. Crowding the pan. Overlapping bacon means steamed, pale patches. You end up with half-cooked strips.
Fix it: cook in batches if needed. A half-sheet pan fits about 8, 10 strips comfortably.
3. Using the wrong temperature. 350°F takes too long and makes the bacon tough. 450°F burns the outside before the fat renders. Fix it: stick to 400°F for most bacon.
Adjust only by 25 degrees from there.
4. Forgetting to rotate the pan. Ovens have hot spots. The front might cook faster than the back.
Fix it: rotate the pan 180 degrees halfway through baking.
5. Draining on paper towels too soon. Hot bacon straight from the oven has liquid fat coating the surface. If you put it on paper towels immediately, the towels soak up the fat and stick to the bacon.
Fix it: let the bacon rest on the foil for 30 seconds before transferring to towels. The fat sets slightly, and the towels stay separate.
Avoid these five mistakes and you'll get consistent results every time. Oven bacon becomes a no-brainer.
Foil vs. Parchment vs. Wire Rack: Which One Should You Use?
Aluminum foil is the most popular choice for oven bacon, and for good reason. It molds to any pan, catches grease, and makes cleanup a two-second job. But it's not the only option.
Parchment paper works well for non-stick results. Bacon never sticks to parchment, even if you skip the rim crimp. However, parchment can only handle temperatures up to 425°F consistently.
Above that, it browns and can become brittle. It also doesn't hold a shaped rim as well as foil, so grease can pool at the edges and spill.
Wire rack over foil gives you the crispiest bacon. The rack lifts the bacon out of the rendered fat. Hot air reaches every surface.
The foil underneath catches the drips for easy cleanup. The trade-off is more dishes, the rack needs washing or a quick scrub. Some racks also rust over time if not dried immediately.
Baking sheet alone (no liner) is the messiest option. Grease bakes onto the metal surface. You'll spend ten minutes scrubbing.
We don't recommend this unless you're out of foil and parchment.
Here's a quick comparison table:
| Liner | Cleanup | Crispness | Max Temp | Best For |
|---|---|---|---|---|
| Aluminum foil | Easy (fold and toss) | Good | 500°F+ | Quick cleanup, most bacon |
| Parchment paper | Easy (peel and toss) | Good | 425°F | Stubborn non-stick needs |
| Wire rack over foil | Moderate (wash rack) | Best | Varies | Extra-crispy bacon |
| No liner | Hard (scrub pan) | Good | N/A | Emergency only |
So which should you choose? If you want the easiest path with solid results, go with foil. If you prioritize crunch above all else, add a wire rack.
If you're cooking at lower temperatures and hate sticky residue, reach for parchment. Each has a clear job, pick the one that matches your goal.
Frequently Asked Questions
Can you reuse the aluminum foil after cooking bacon?
No. The foil is coated with grease and bits of rendered fat. Reusing it risks burning those residues and creating smoke.
Tear off a fresh sheet every time. The cost is pennies, and the safety gain is worth it.
Should you flip bacon when baking on foil?
It depends on your texture goal. For even browning on both sides, flip halfway through. For classic crispy bacon with no effort, skip the flip.
The hot air in the oven cooks the top side just fine. Flip only matters if you want uniform color.
How do you prevent bacon from sticking to the foil?
Use heavy-duty foil. Standard foil is thinner and more prone to tearing, which lets grease leak through. Heavy-duty foil is thick enough to hold its shape.
You can also give it a light spray of cooking oil, though most bacon has enough fat to release naturally.
What temperature is best for thick-cut bacon in the oven?
400°F works well for thick-cut, but expect 18, 25 minutes. Thick-cut has more fat to render, so it needs time. If you rush it at 425°F, the meat burns before the fat crisps.
Lower to 375°F if you want a chewier texture with fully rendered fat.
Is it safe to pour bacon grease from the foil down the sink?
No. Liquid bacon fat solidifies as it cools, coating pipes and causing blockages. Let the grease cool and harden in the foil.
Then fold the foil into a sealed packet and toss it in the trash. This is the safest and easiest method according to plumbing professionals and the USDA Food Safety and Inspection Service.

Similar Posts