How to Clean Old Rusty Cast Iron Quickly
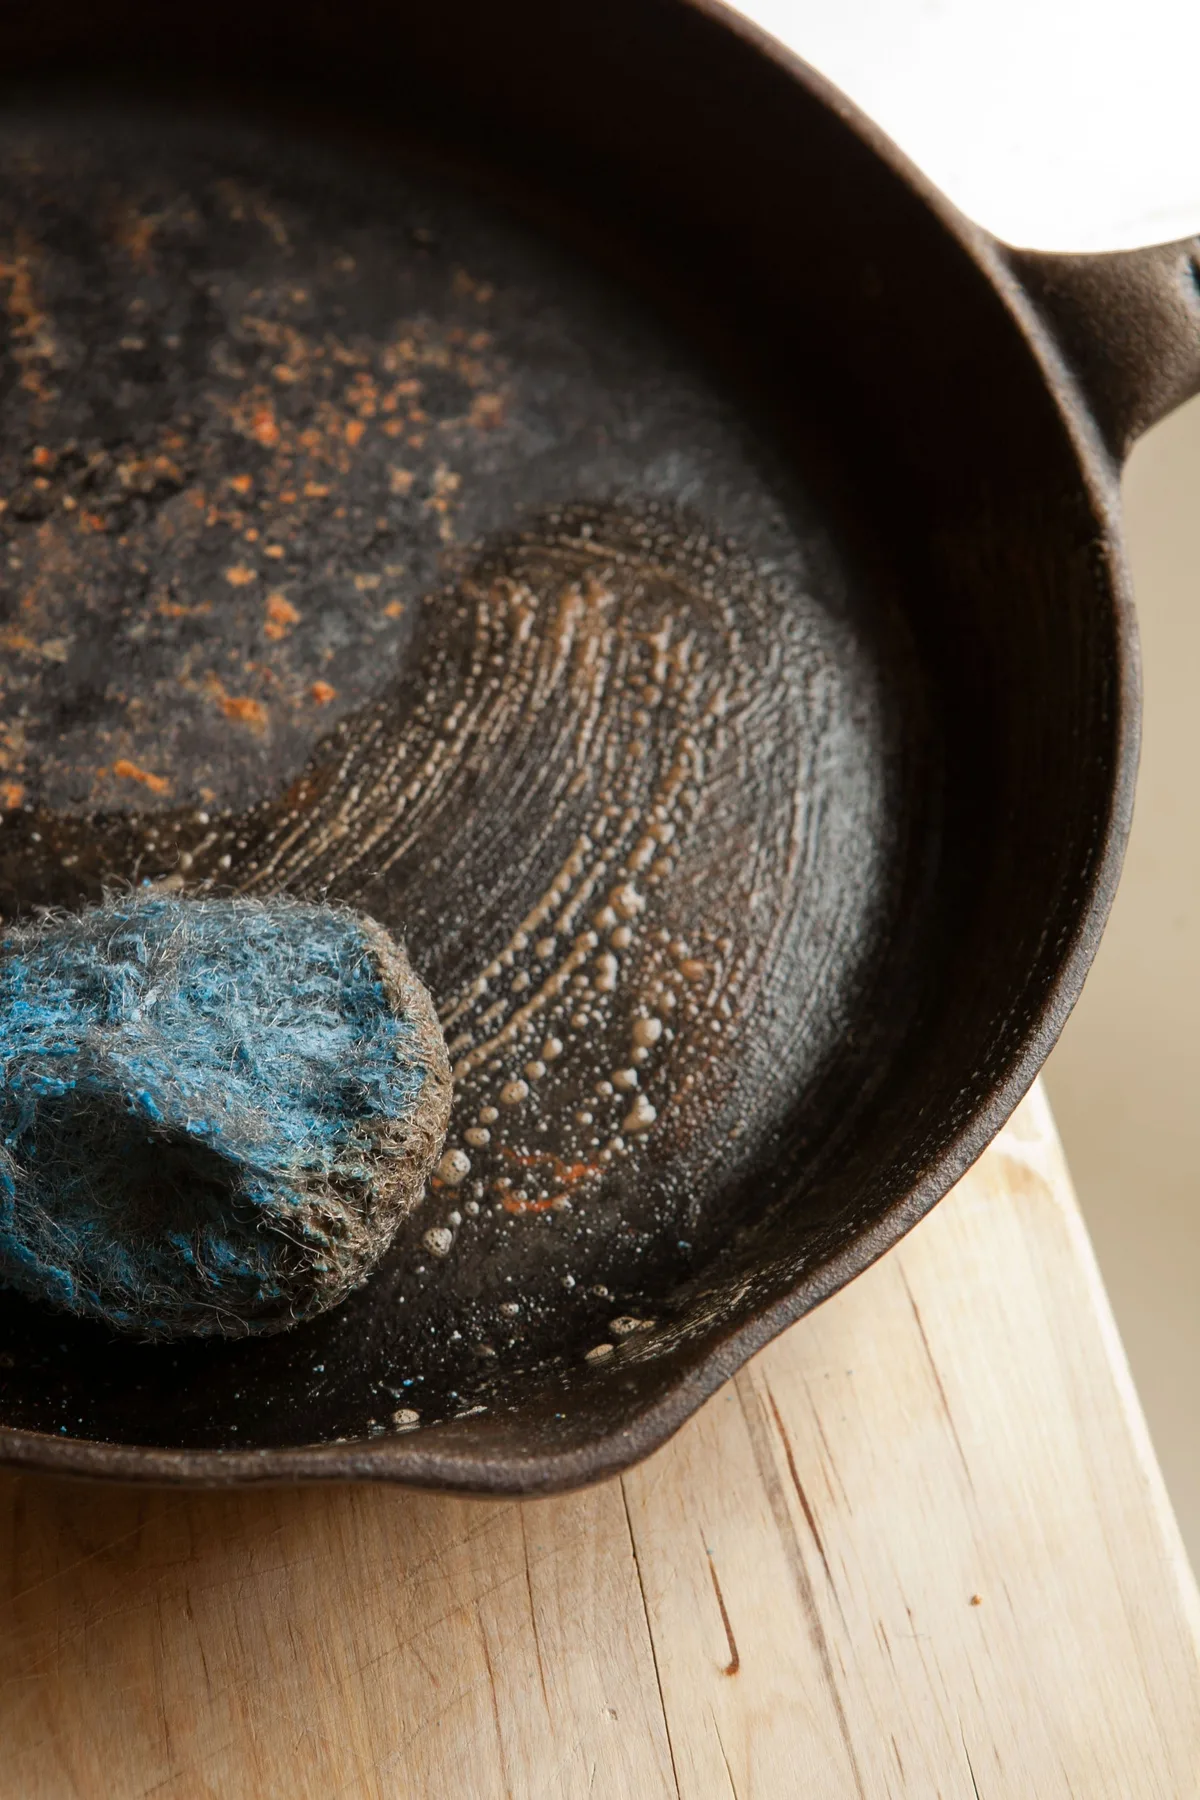
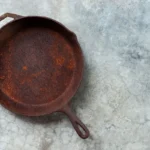
If you've just pulled a crusty, rusted cast iron skillet out of a thrift bin or your grandma's basement, you're probably wondering how to clean old rusty cast iron without ruining it. The good news is almost any pan can be saved. The trick is picking the right method for how bad the rust actually is.
Manufacturer specs for vintage pans like Griswold and Lodge confirm the iron itself is extremely tough, but the cooking surface can be permanently scratched if you use the wrong abrasive. The standard starting point for light rust is a 1:1 white vinegar and water soak, but it has a strict time limit: never exceed two hours, or the acid can eat into the metal and leave pits. Let's walk through how to assess your pan first, so you don't jump into the wrong process.
Quick Answer
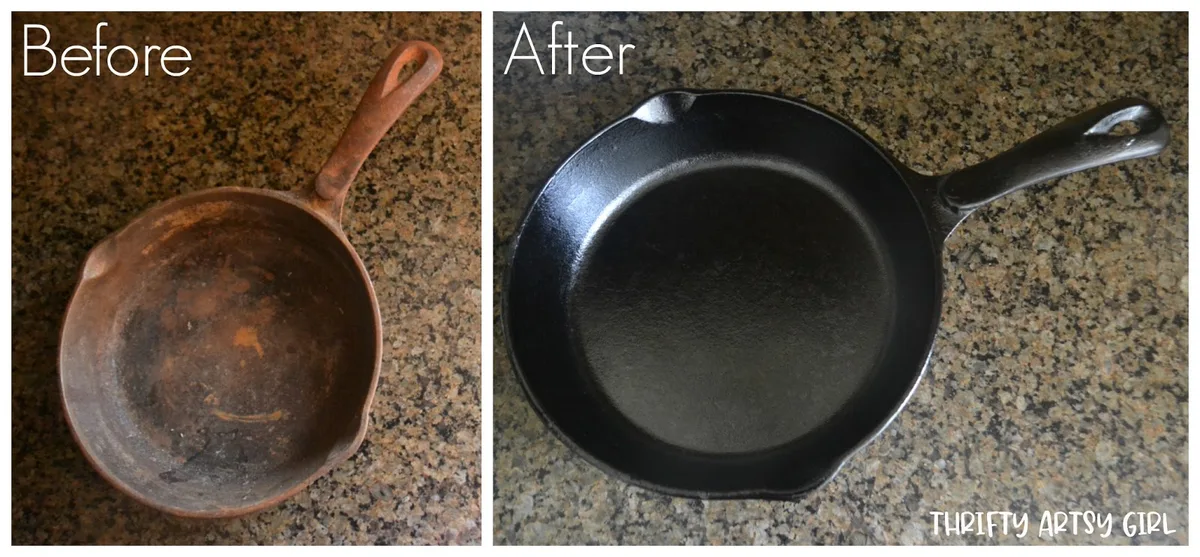
To clean old rusty cast iron, scrub off loose rust with steel wool under hot water. Soak the pan in a 1:1 white vinegar and water solution for 30 to 60 minutes. Scrub again, rinse, and dry completely.
Apply a very thin layer of oil, then bake at 450°F for one hour. For deep rust, use lye or electrolysis instead.
Image source: Web (Bing) / pinterest.com (Web image (fair-use with source credit))
Before You Drop Your Rusty Pan in Vinegar: First, Assess the Damage and Avoid Bad Advice
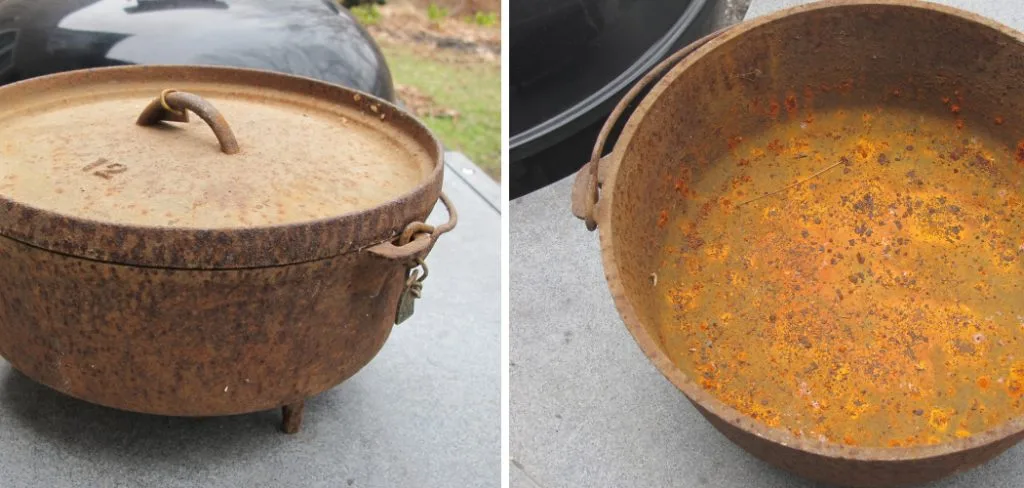
Not all rust is the same. A light dusting of orange powder is totally different from flaking crust or deep pitting. If you pick the wrong method for the severity, you can damage the pan or waste hours of effort.
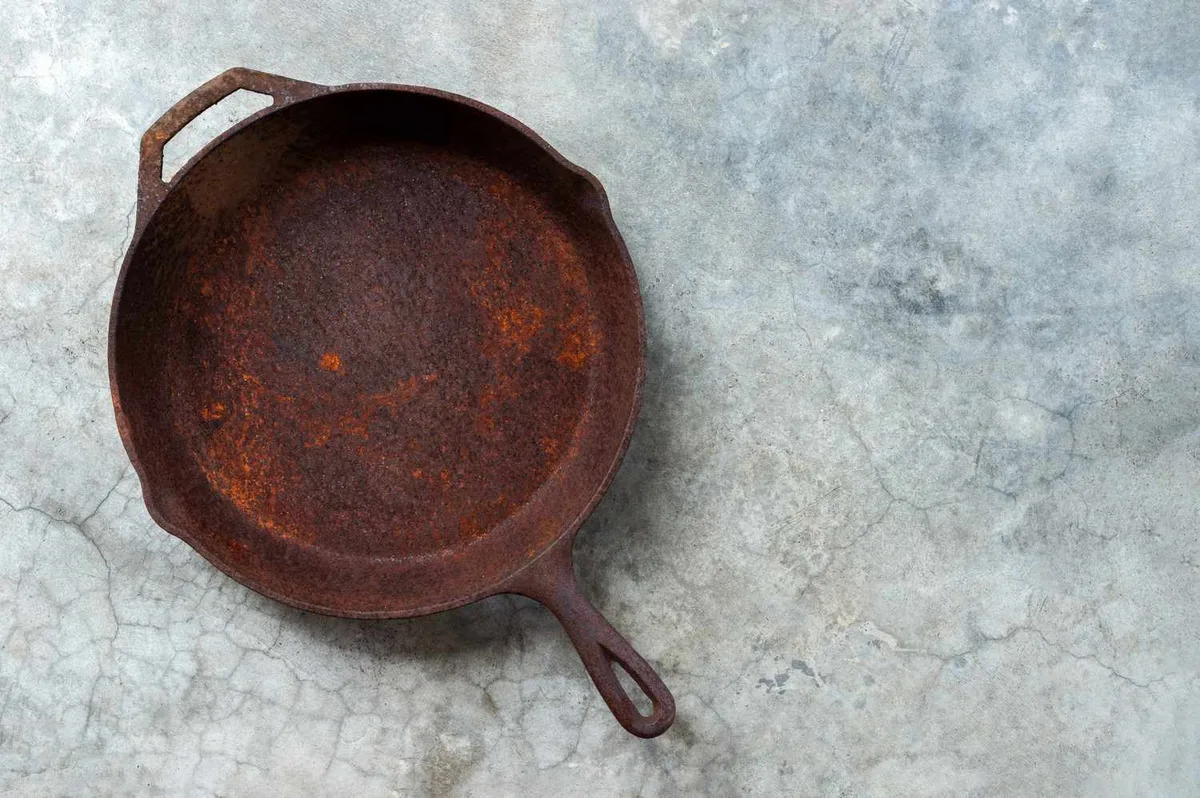
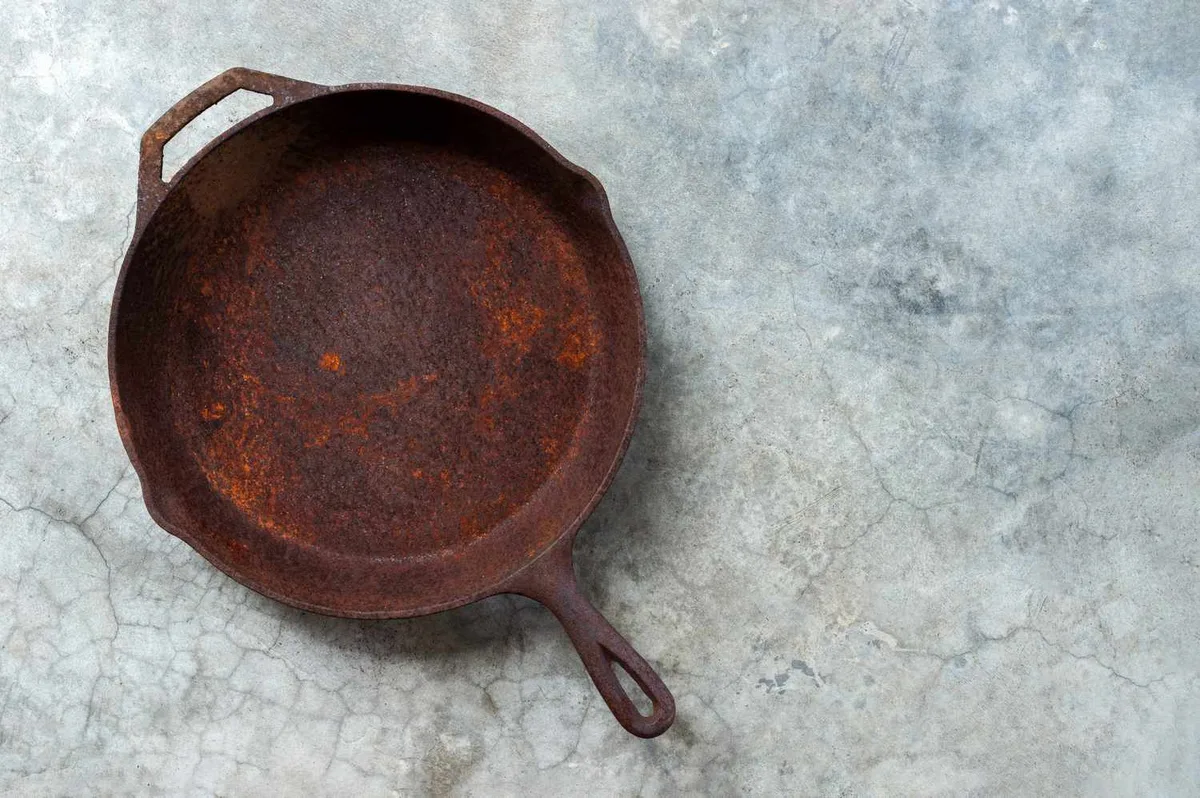
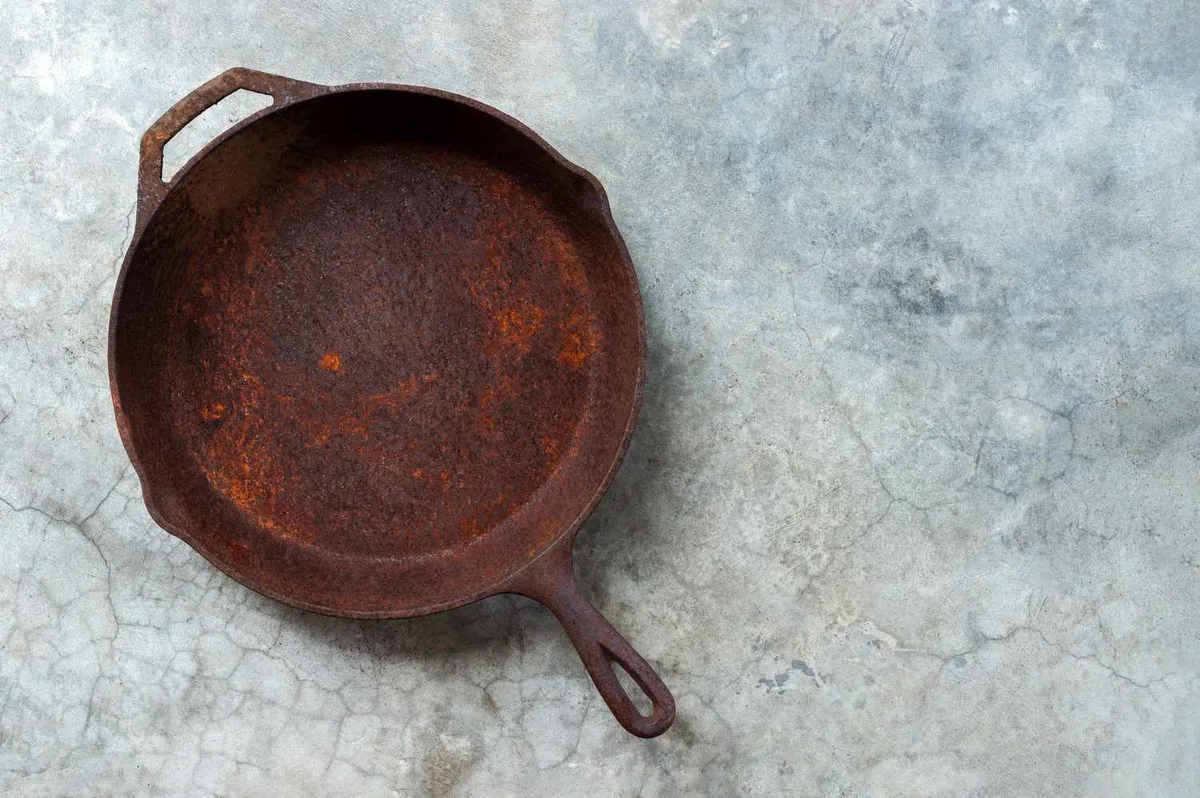
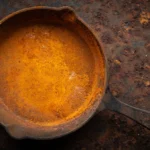
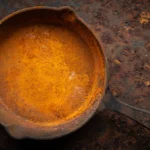
Run a paper towel over the surface. If rust rubs off easily and leaves just a faint orange stain, that’s surface rust, your quickest fix. If the rust is thicker and you can scrape it with a fingernail, you’re dealing with moderate rust.
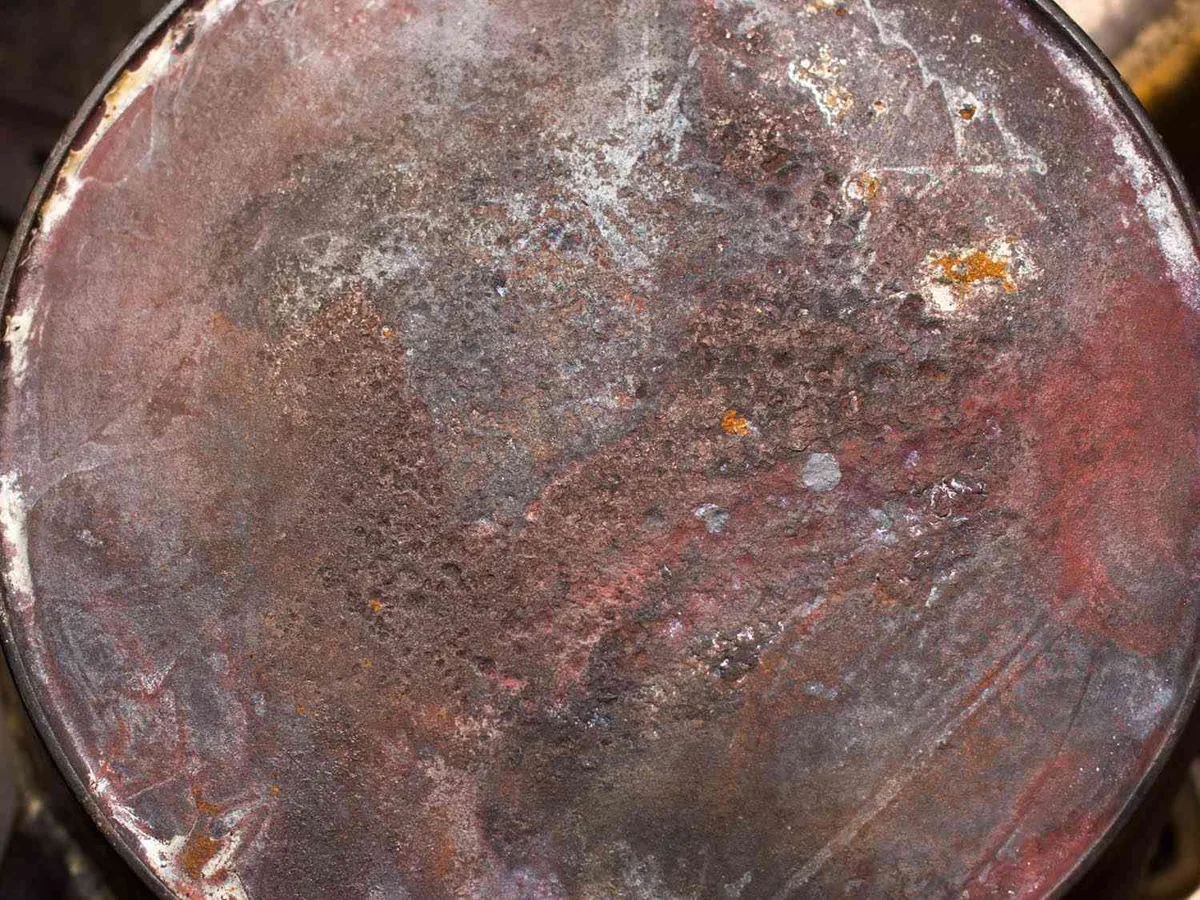
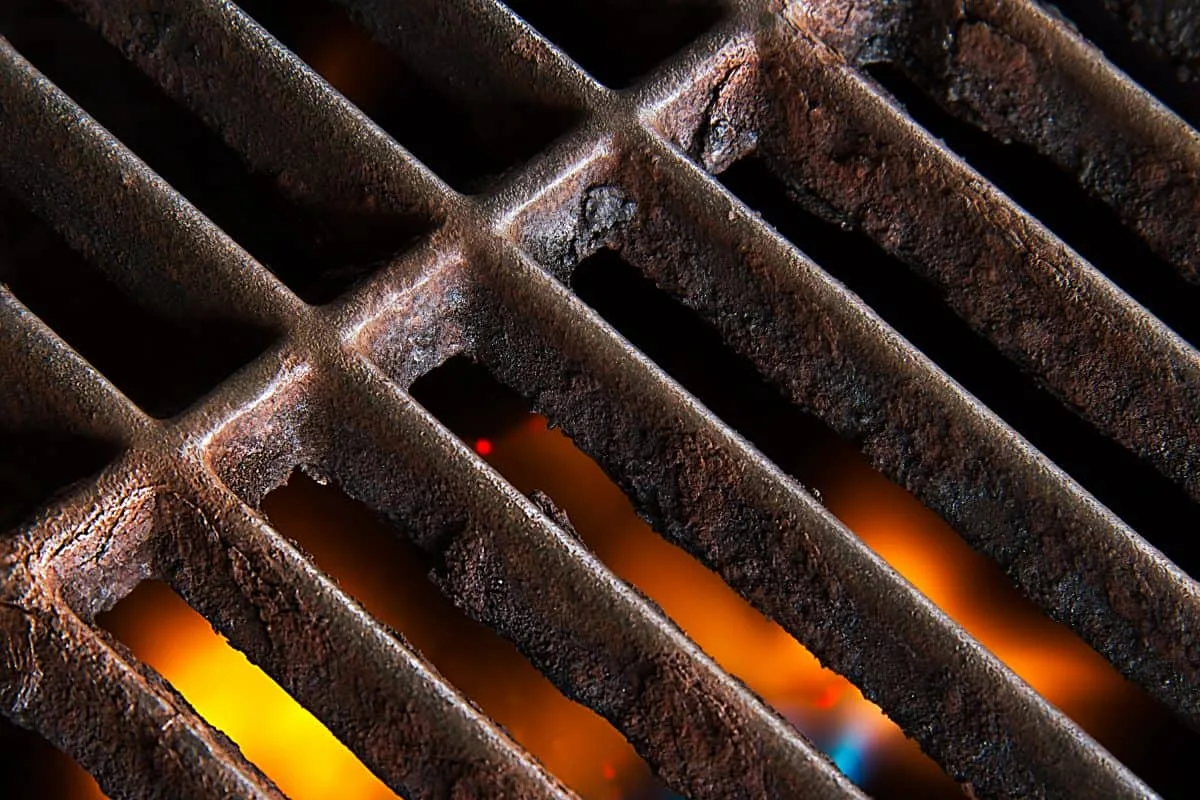
If you see flakes, deep brown or black spots, or rough craters, that’s severe rust and may need electrolysis or lye.
Avoid these common mistakes. Do not use a self-cleaning oven cycle to burn off rust, it can warp the pan beyond repair. Do not use sandpaper or a wire wheel on vintage pans if you care about collector value (it destroys the original machining marks).
And never soak a pan in vinegar longer than two hours in total. Check every 30 minutes.
If you are unsure, start with the gentlest method: a short vinegar soak and a good scrub. You can always step up to something stronger later.
The Mild-to-Moderate Path: Vinegar Soak and Mechanical Scrubbing
This is the go-to method for most rusty thrift-store finds. It removes surface rust and light oxidation without harsh chemicals.
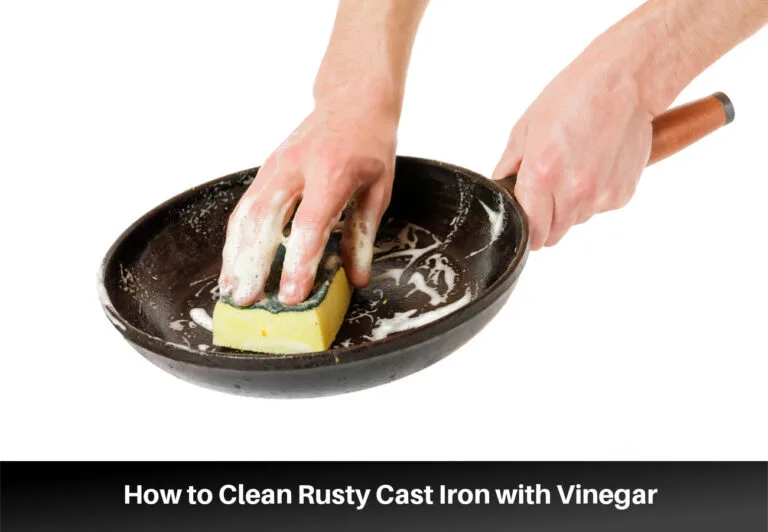
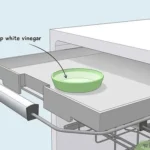
First, wash the pan with hot water and a little dish soap to remove any grime or loose seasoning. Then prepare your soak: 1 part white distilled vinegar to 1 part water. Submerge the pan completely.
Let it sit for 30 minutes, then pull it out and scrub with steel wool (grade #0 or #00) under running water.
If rust still shows, return it for another 30 minutes. Do not go past two cumulative hours, the acid starts attacking the iron itself. Source: USDA's guide to acidic food safety (general principle of acid-metal interaction).
After soaking, scrub thoroughly with steel wool or a chainmail scrubber. Rinse well with water. Dry immediately with a towel, then place the pan in a 200°F oven for 10 minutes to pull all moisture from the metal.
If you see flash rust (a faint orange haze forming within minutes), wipe it with a bit of oil and repeat the drying step.
This method works best for pans with swirling orange surface rust. If you have patches of black or flaking crust, skip ahead to the heavy-duty path.
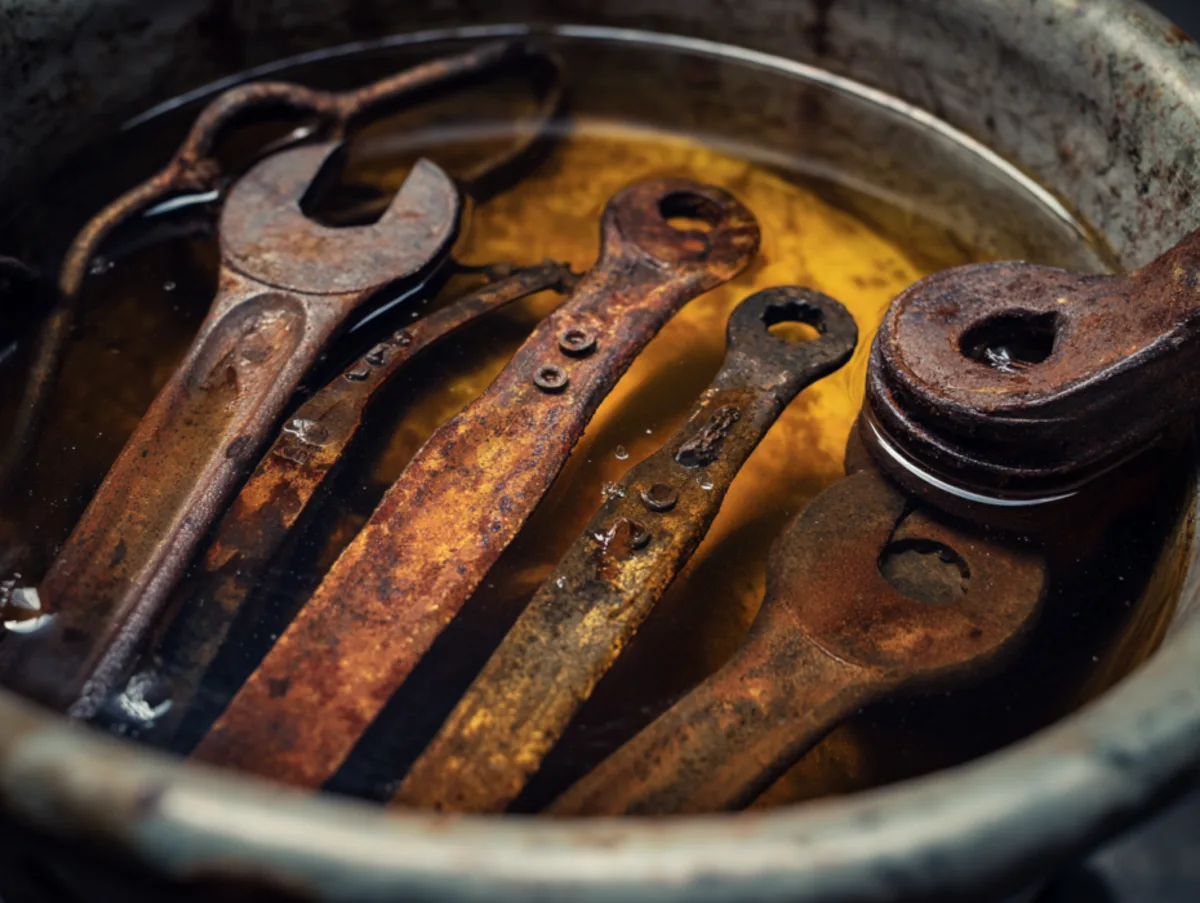
Image source: Web (Bing) / homewisereview.com (Web image (fair-use with source credit))
The Heavy-Duty Path: When You Need a Lye Bath or Electrolysis
Vinegar won't touch thick, crusty rust or old layers of seasoning that have turned to black goo. That's when you bring in the big guns: lye or electrolysis.
A lye bath removes old seasoning and organic gunk. Mix 1 pound of pure sodium hydroxide (lye) with 5 gallons of water in a plastic container with a lid. Submerge the pan for 24 to 48 hours.
The lye eats away burned oil and food residue but does not remove rust. You'll still need a vinegar soak afterward. Safety: wear nitrile gloves and goggles.
Work outdoors or in a well-ventilated area. Never add water to lye, always add lye to water.
Electrolysis removes rust directly. You need a plastic tub, a 12-volt battery charger, a piece of steel (like a flat plate or rebar), washing soda (1 tablespoon per gallon), and water. Attach the positive lead to the steel anode and the negative lead to the pan.
Submerge both in the solution without touching. Turn on the charger for 8 to 24 hours. The rust loosens and falls off.
This method is gentle on the original surface and excellent for vintage pans with deep pitting. Use a GFCI outlet and keep the charger away from water.
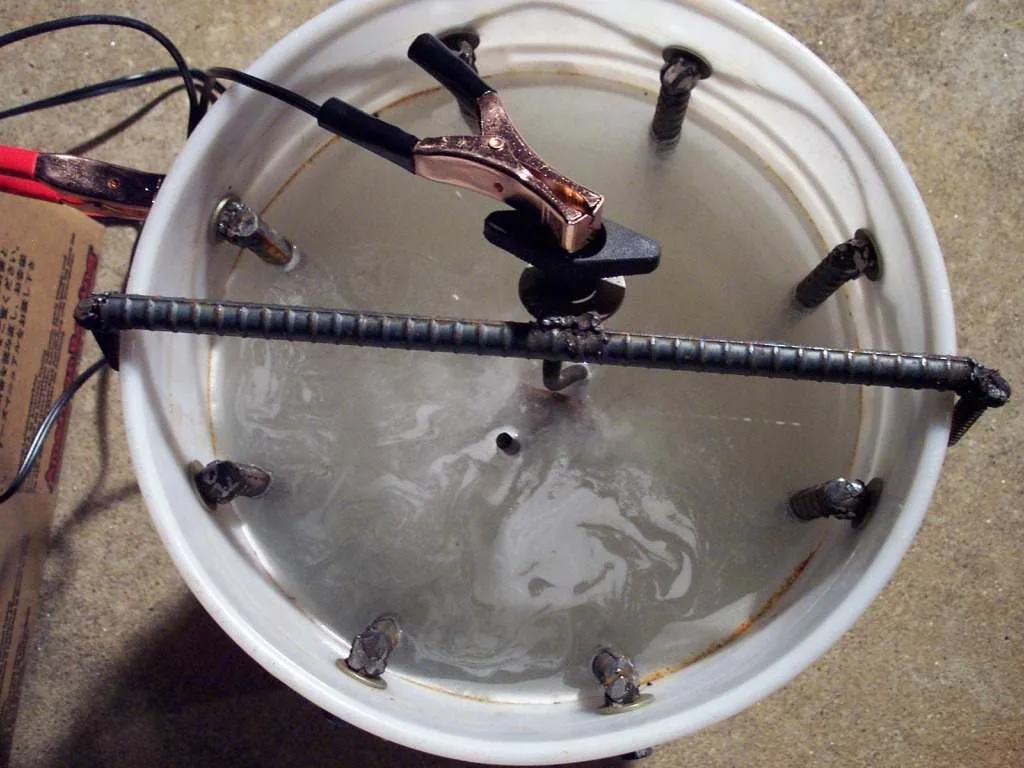
Image source: Web (Bing) / storage.googleapis.com (Web image (fair-use with source credit))
How to Season After Stripping: Oil, Temperature, and Oven Cycles That Actually Stick
After all rust is gone, the bare iron needs a protective layer immediately. If you leave it exposed to air, flash rust can appear within minutes.
Wash the pan with soap and water to remove any residue from cleaning. Dry it with a towel, then put it in a 200°F oven for 10 minutes. Apply a very thin coat of oil, Crisco or vegetable shortening is the most reliable choice for beginners.
Wipe the oil on with a paper towel, then wipe it off as if you made a mistake. A visible sheen means the layer is too thick; thin layers polymerize better.
Place the pan upside down in a 450°F oven. Put a baking sheet or foil on the rack below to catch drips. Bake for one hour, then turn off the oven and let the pan cool inside.
Repeat this process three to five times. The seasoning will darken and harden after each cycle.
Avoid flaxseed oil for your first season. It makes a beautiful finish but tends to flake off under heat. Canola oil and shortening produce a more durable coating.
After seasoning, do not cook anything acidic (like tomatoes or vinegar) for at least the first few uses.
Tools, Safety, and Time Reality Check for Each Method
Each cleaning method comes with different time commitments, costs, and risk levels. Here is a quick comparison to help you decide which fits your situation.
| Method | Active Time | Soak / Wait Time | Cost | Safety Concerns |
|---|---|---|---|---|
| Vinegar soak | 10 min | 30–120 min | $3 | Mild acid, eye irritation |
| Lye bath | 20 min | 24–48 hours | $10 | Skin burns, toxic fumes |
| Electrolysis | 30 min | 8–24 hours | $30–50 | Electric shock, hydrogen gas |
Essential tools for vinegar soak: white vinegar, steel wool, kitchen towel, oven.
Essential tools for lye: pure lye crystals, plastic container, nitrile gloves, goggles, vinegar (to neutralize before disposal). Never mix lye with bleach or ammonia. Neutralize used lye solution with vinegar until pH is neutral, then pour down the drain with plenty of water.
Essential tools for electrolysis: battery charger (12V, 6-10 amps), plastic tub, steel electrode (not stainless or galvanized), washing soda, copper wire or clamps. Keep the area dry, and never touch the pan while the current is on.
Time reality: a vinegar soak plus seasoning can be done in one afternoon. Lye takes two days. Electrolysis can take a full day plus setup.
Plan accordingly. If you are restoring multiple pans, lye and electrolysis become more efficient per piece.
If you choose electrolysis, verify that the charger is not a modern "smart" charger that shuts off without a battery, you need an old-school manual charger or a specific model that supports direct load.
Real-World Decision Guide: Thrift Find vs. Heirloom vs. Camp Pan
Your approach should shift depending on what you are working with. A $5 flea-market skillet, a family heirloom, and a camp pan that sat in the rain all call for different levels of effort and care.
| Scenario | Best Method | Why This Matters |
|---|---|---|
| Thrift find (surface rust, unknown brand) | Vinegar soak and scrub | Low risk, low cost. If you damage it, you are out almost nothing. |
| Heirloom or vintage collectible (Griswold, Wagner, deep rust or old seasoning) | Electrolysis | Preserves original machining marks and collector value. No sanding or wire wheels. |
| Camp pan (heavy flaking rust, pitted, no sentimental value) | Lye bath then vinegar, or aggressive wire wheel | Speed matters more than surface preservation. You just want it functional for the next campfire. |
| Enameled cast iron (rusted edges, chipped interior) | Soft scrub with baking soda paste only | Lye and wire wheels destroy enamel. If the interior is chipped, the pan is unsafe for cooking. |
For a thrift find, start with the mildest method. You can always escalate. Many pans from the 1950s and 1960s look terrible but clean up easily.
We have seen pans that appeared unsalvageable become daily drivers after one vinegar soak and three seasoning cycles.
For an heirloom, do not use power tools. A wire wheel or sandpaper removes the factory-milled surface, which is part of the pan's value. Electrolysis is the gold standard here.
It removes rust without touching the original iron. If you do not want to build a setup, a lye bath followed by a short vinegar soak works nearly as well.
For a camp pan, you might not care about looks. A wire cup brush on an angle grinder can strip rust in minutes. Just be careful not to gouge the cooking surface.
After stripping, wash thoroughly and season immediately. Camp pans tend to get used hard and stored poorly, so plan on thicker seasoning layers for durability.
Frequently Asked Questions About Rusty Cast Iron Restoration
Can I use baking soda instead of vinegar for rust removal?
Baking soda paste works for very light surface rust, but it is much slower than vinegar. Vinegar's acidity dissolves rust faster. Use baking soda only if you want to avoid acid entirely, like on enameled cast iron edges.
How do I know if my rusty pan is beyond saving?
Look for cracks, warping, or deep pitting that goes all the way through the metal. Tap the pan with a metal spoon. A clear ring means solid iron.
A dull thud could mean a hairline crack. Rust alone is almost never a dealbreaker.
Why does my pan rust again immediately after cleaning?
That is flash rust. It happens when bare iron hits air while still slightly wet. Dry the pan thoroughly with a towel, then put it in a 200°F oven for 10 minutes.
Apply a thin coat of oil immediately after drying to seal the surface.
Is it safe to cook in a pan that had heavy rust?
Yes, after you remove all the rust and build new seasoning. Rust is iron oxide, and your body needs iron. But rust flakes taste bad and can leave black specks in food.
Clean until the surface feels smooth, then season properly.
Can I use oven cleaner on a rusty pan?
Yellow-cap oven cleaner contains lye. It removes old seasoning and organic gunk, not rust. Use it before a vinegar soak if your pan has layers of burned-on food underneath the rust.
Wear gloves and work in a ventilated area.
How many seasoning layers do I really need?
Three layers is the minimum for a functional nonstick surface. Five layers is better for durability. The key is thin layers baked at 450°F.
One thick layer will peel. Multiple thin layers polymerize into a hard, glossy coating that lasts.

Similar Posts