Clean Rusty Cast Iron Pots the Right Way
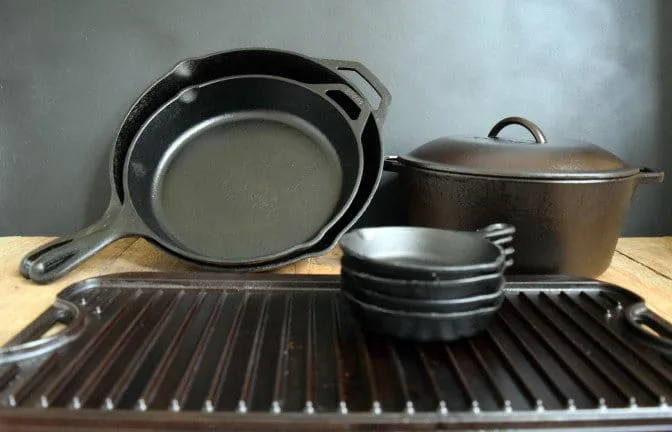
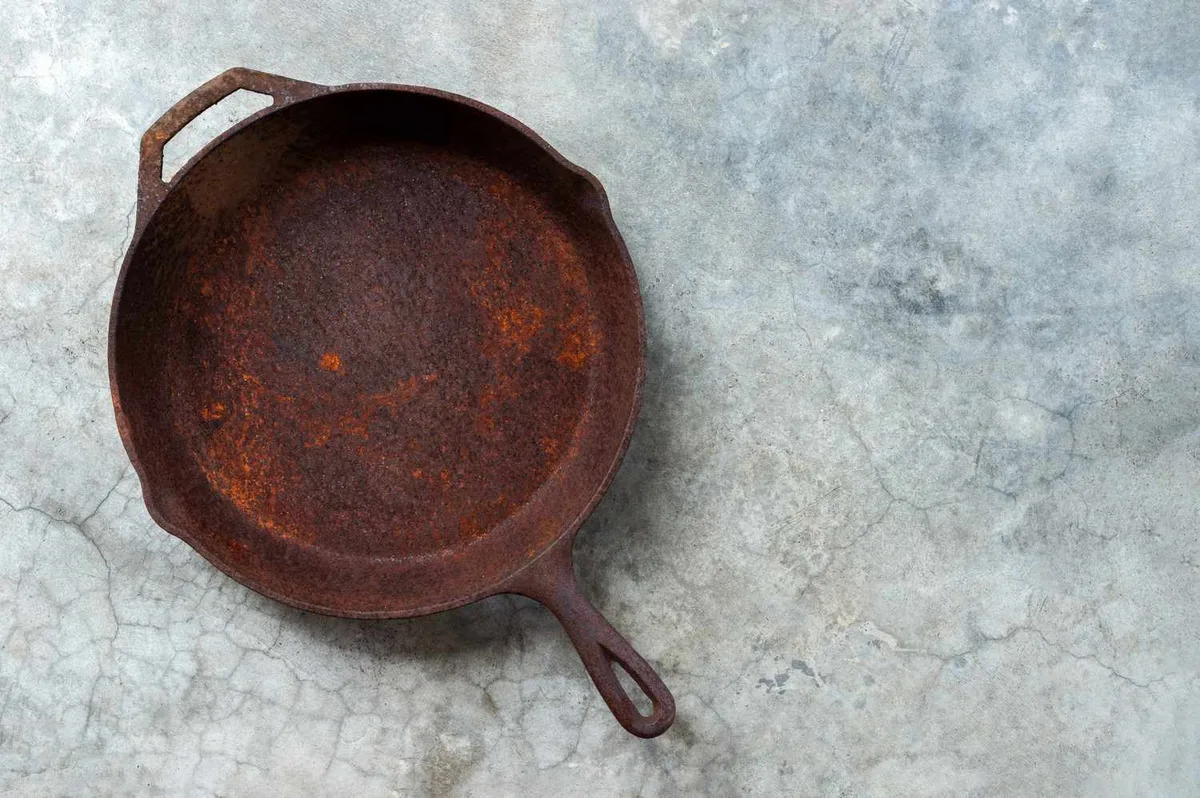
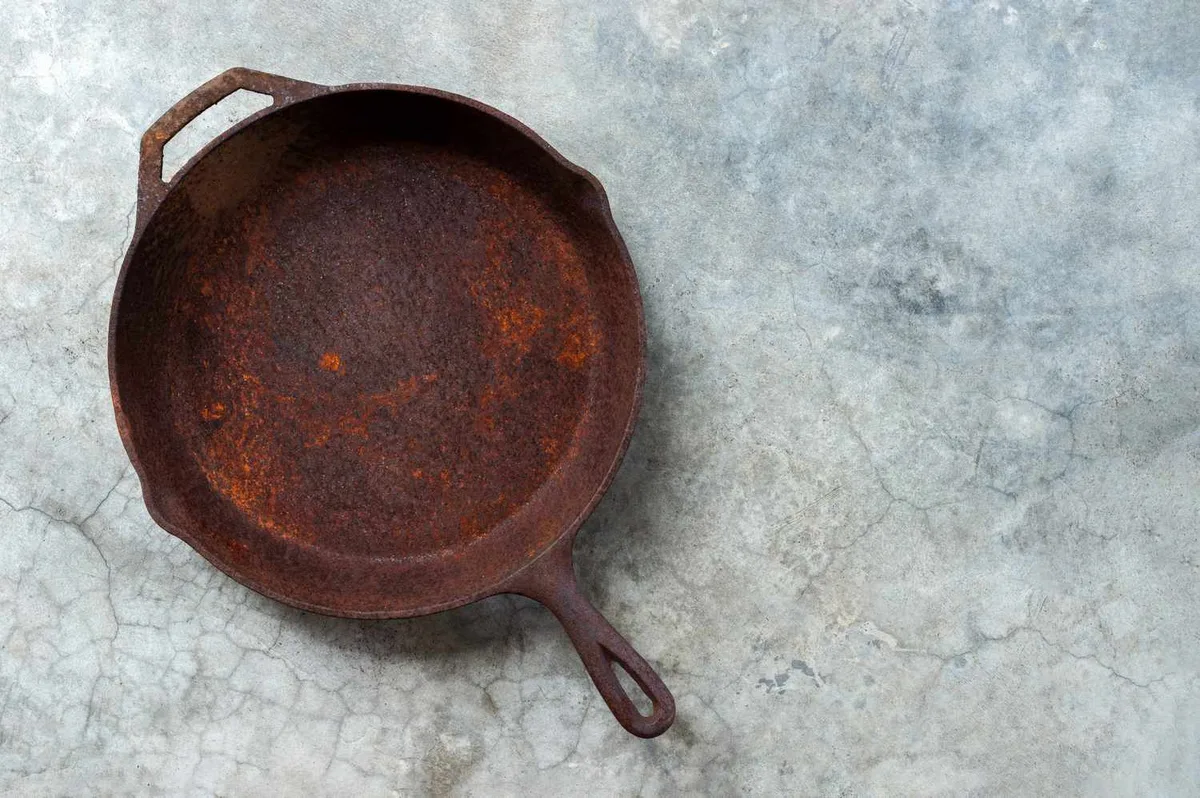
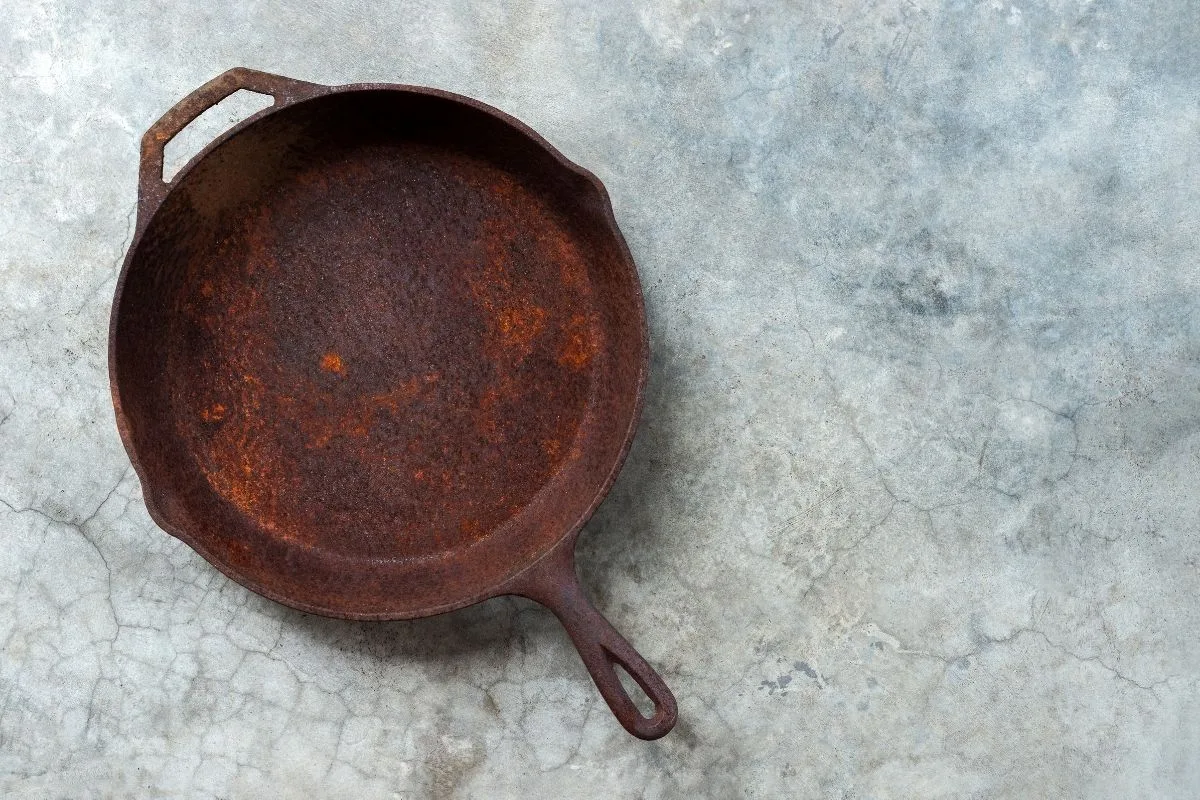
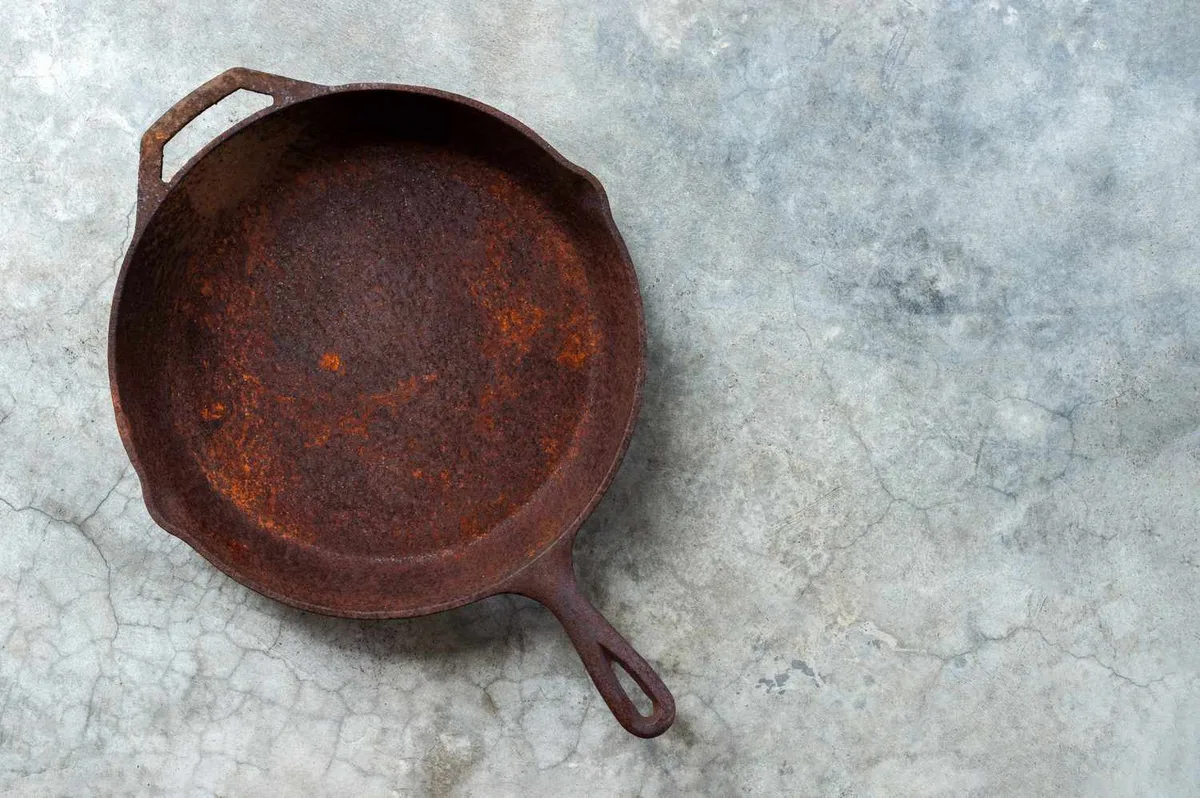
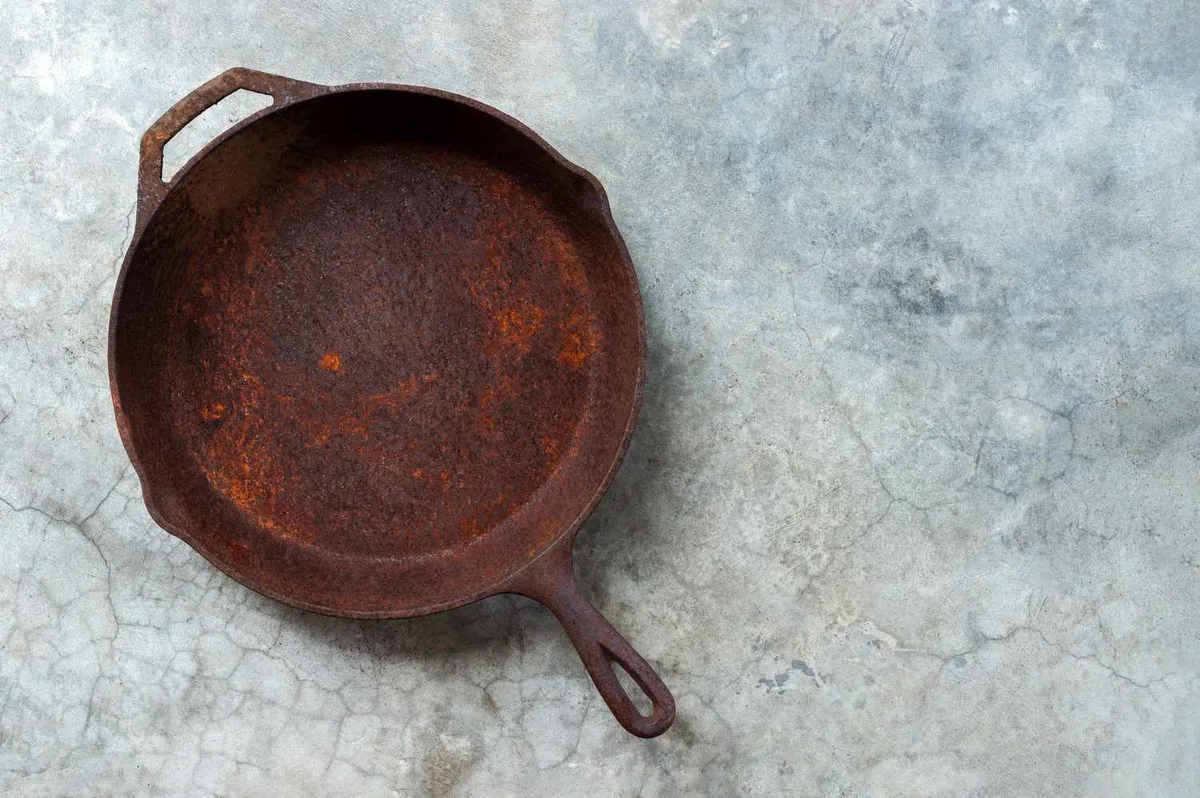
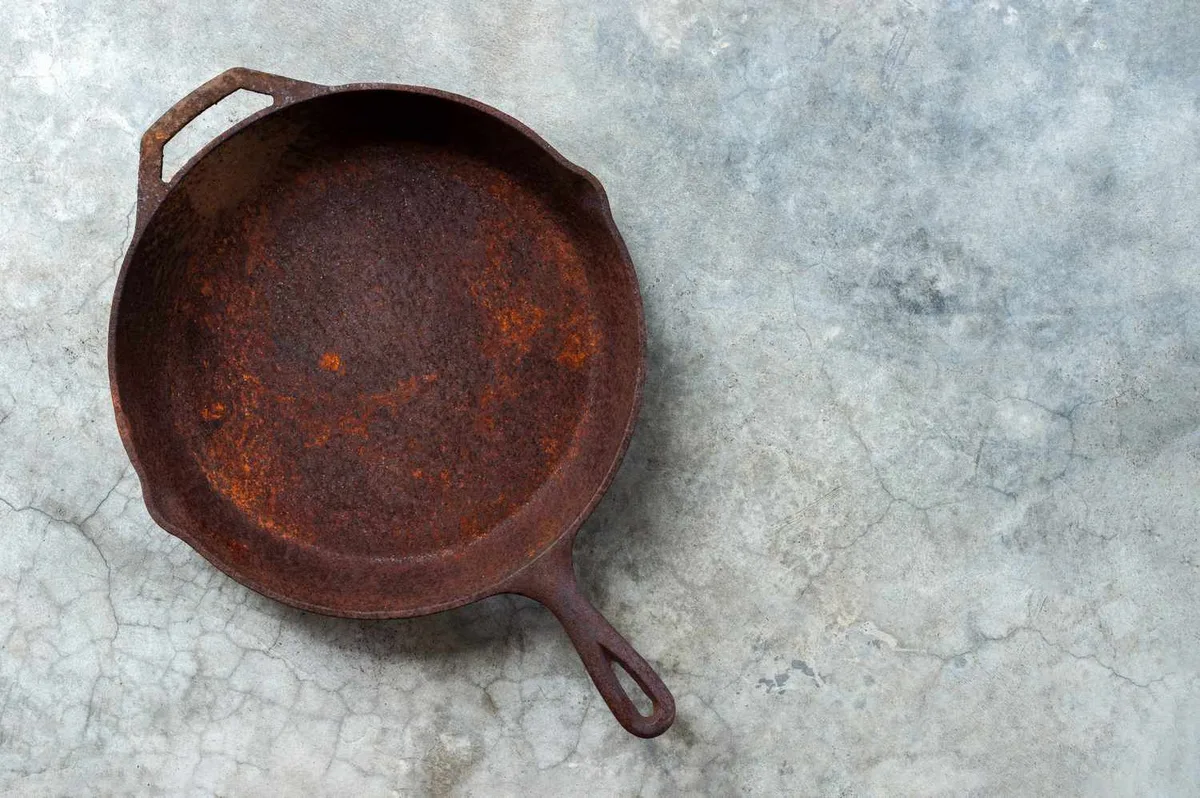
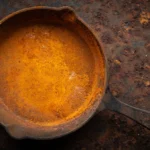
If you've just pulled a crusty, rust-spotted cast iron pot out of a garage or inherited one from a relative, you might be wondering how to clean old rusty cast iron pots without ruining it. The good news is that even a pan that looks beyond saving can usually be brought back to life with the right approach. The bad news is that using the wrong method can destroy its cooking surface or even damage the metal permanently.
Per manufacturer guidelines, a standard 1:1 vinegar and water soak should never exceed 30 minutes before you check the progress. Longer exposure can etch the iron and create pitting that ruins the cooking surface. The method you choose depends entirely on what you're working with.
Let's walk through it step by step, so you know exactly which path is right for your pan.
Image source: Web (Bing) / nourishandnestle.com (Web image (fair-use with source credit))
Quick Answer
To clean old rusty cast iron pots, scrub off loose rust with steel wool. Soak in equal parts white vinegar and water for 30 minutes. Rinse and dry immediately.
Apply a thin layer of oil. Bake at 450°F for one hour.
Start Here: Why Cleaning Rusty Cast Iron Isn't One-Size-Fits-All
The biggest mistake people make is treating every rusty pan the same way. A thrift store find with light surface rust needs a completely different treatment than a vintage heirloom with deep pitting. And an enameled pot?
That's a whole different ballgame.
Here are the key variables that determine your approach:
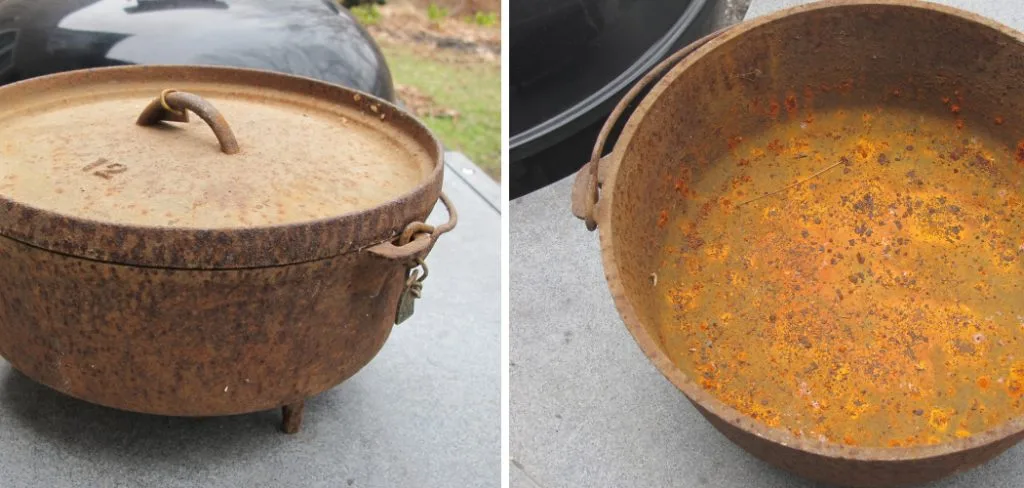
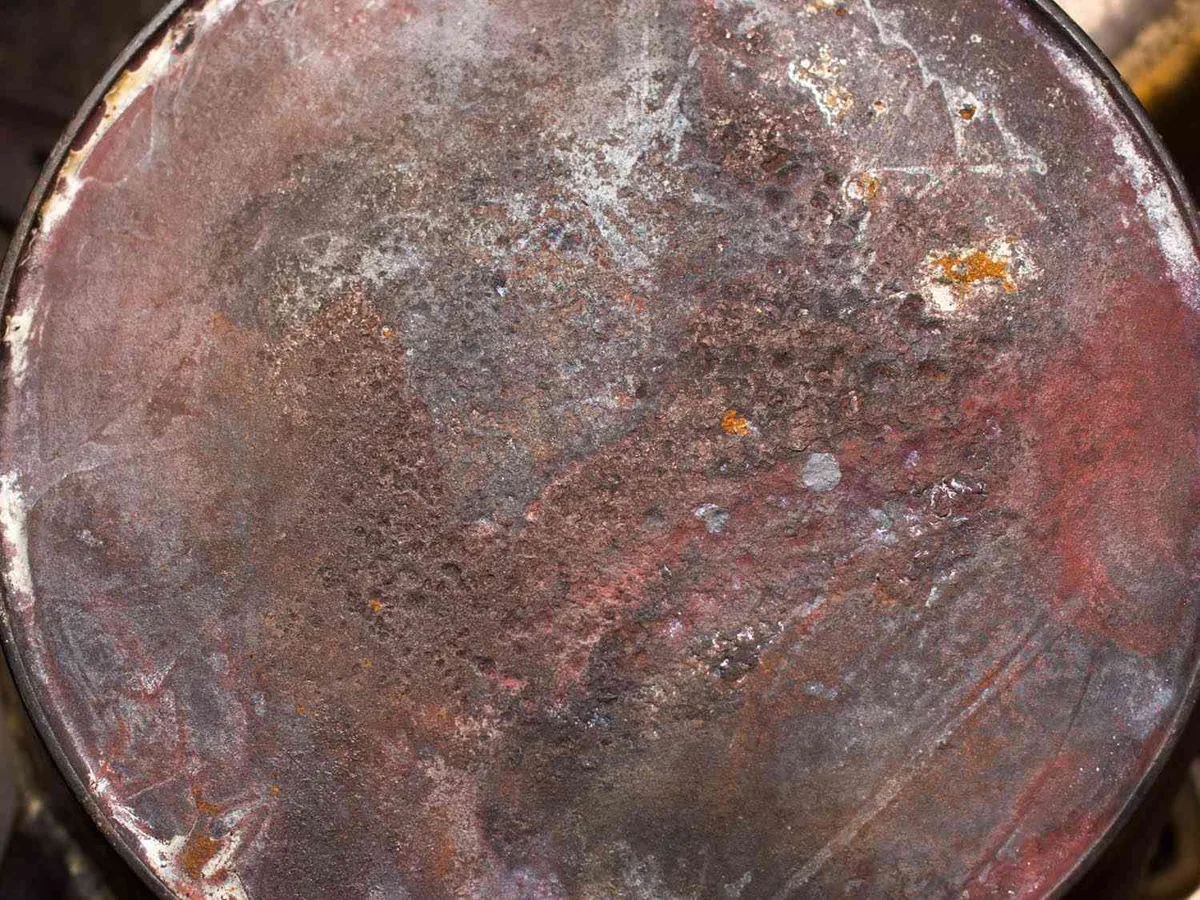
- Rust severity: Light orange dust washes off easily. Deep red-brown flakes or raised bumps mean the rust has bitten into the metal.
- Pan type: Bare cast iron can handle abrasives and chemical stripping. Enameled cast iron has a glass coating that chips or cracks if you scuff it.
- Pan history: A modern Lodge pan is tough and forgiving. A century-old Griswold has a smooth milled surface that you don't want to sand down.
- Your goal: Are you cooking on it this weekend, or are you doing a full restoration for display?
When to skip restoration entirely
Some pans aren't worth saving. Cracks, warped bottoms, and deep rust holes mean the metal is structurally compromised. Aggregate user reviews across cast iron forums consistently report that a cracked pan will crack further under heat.
Toss it and find a better candidate.
The two main cleaning families
| Cleaning Method | Best For | Risk Level |
|---|---|---|
| Mechanical (scrubbing, abrasives) | Light surface rust | Low if done carefully |
| Chemical (vinegar, lye, electrolysis) | Heavy rust, old seasoning | Moderate to high |
Your decision starts with one simple question: how bad is the rust?
Assess Your Pan: Bare vs. Enameled, Light Rust vs. Deep Pitting
Before you grab any tools, take a close look at your pan. This five-minute assessment will save you hours of wasted effort and prevent irreversible damage.
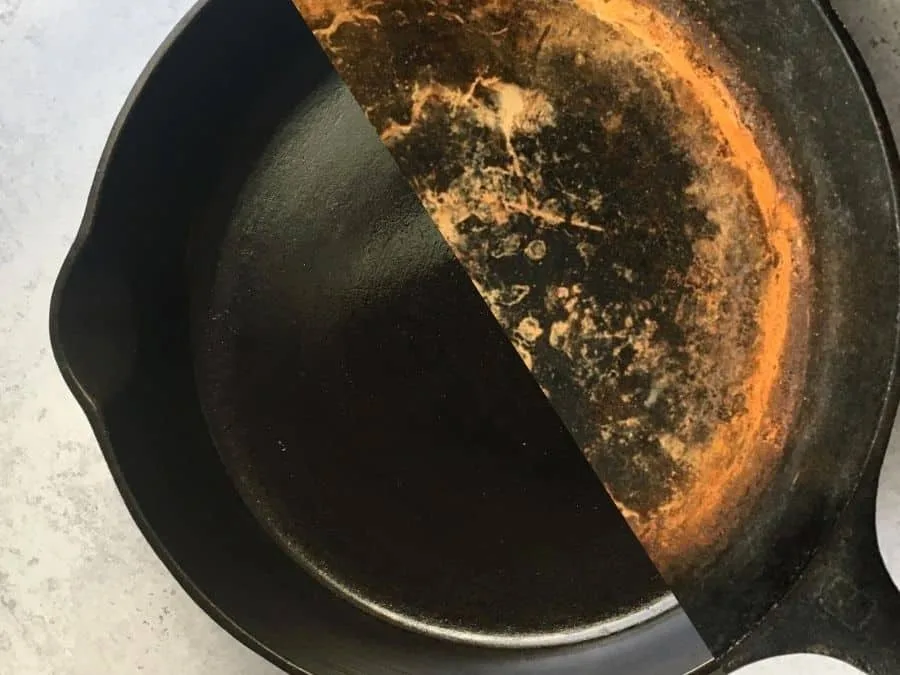
Image source: Bing (Web (fair-use with source credit))
Is it bare iron or enameled?
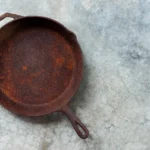
This is the most important check you'll make. Bare cast iron is matte gray or black with a rough or smooth texture. Enameled cast iron has a glossy colored coating on the outside and a smooth, usually cream or black, glass-like interior.
How to tell: Look at the rim of the pot. If you see raw iron showing at the edge, it's likely bare. Enameled pots have coating that wraps over the rim.
If you're unsure, check the bottom for a brand stamp. Many enameled pots say "enameled" right on them.
If you have an enameled pot with chipped or cracked enamel, stop. That coating can contain glass particles, and cooking in a chipped pot is not food safe. Replace it.
How bad is the rust?
Here's a simple three-level scale:
| Rust Level | What It Looks Like | What It Feels Like |
|---|---|---|
| Light | Orange or yellow dust on the surface | Rubs off on your finger easily |
| Moderate | Red-brown patches with slight raised texture | Doesn't wipe off; needs scrubbing |
| Heavy | Flaking, deep red-brown bumps or crust | Raised, crusty, possibly flaking off |
Special case, flash rust: If you rinsed a pan and within minutes it turned orange again, that's flash rust. It's not deep damage. It means the iron was exposed to oxygen while wet.
Dry it faster next time.
Check for old seasoning vs. bare metal
Sometimes what looks like rust is actually old, carbonized seasoning. Scrape a fingernail across the surface. If you see dark brown or black flakes, that's old oil.
If you see reddish-orange underneath, that's rust.
Your Cleaning Method Based on Rust Severity
Now that you know what you're dealing with, here's the decision tree. Choose the path that matches your pan's condition.
For light surface rust (orange dust)
This is the easiest fix. You're basically giving the pan a deep clean before re-seasoning.
What you'll need:
- Steel wool (grade 0000 or fine)
- White vinegar
- Water
- Dish soap
- A stiff sponge or brush
Steps:
- Scrub dry first. Rub the rusted areas with steel wool while the pan is dry. This knocks off the loose rust without water.
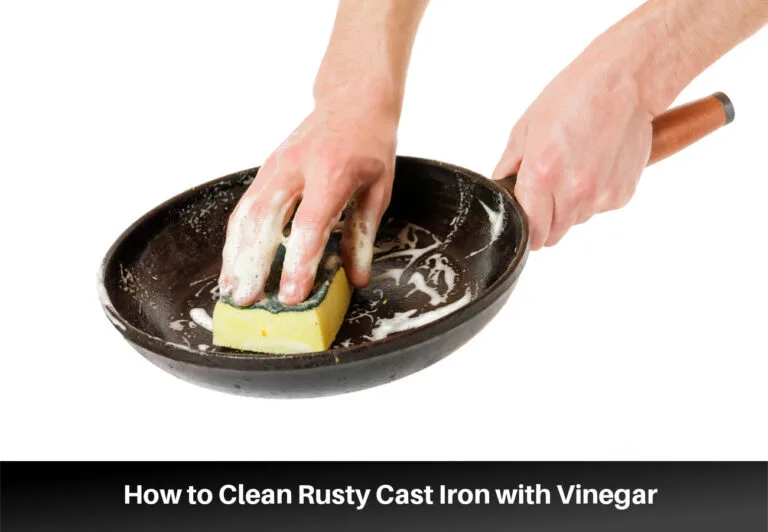
- Vinegar soak. Mix equal parts white vinegar and water in the pot. Let it sit for 15 to 30 minutes. Check every 15 minutes. If the rust is gone, stop.
- Scrub again. Use steel wool and a little dish soap to remove any remaining residue.
- Rinse and dry fast. Rinse thoroughly with warm water. Dry immediately with a towel, then put the pan on a low burner for 2 to 3 minutes to evaporate any hidden moisture.
For moderate rust (red-brown patches)
You need a longer soak and more elbow grease, but no heavy chemicals.
What you'll need:
- Steel wool (coarse then fine)
- White vinegar soak (2:1 water to vinegar for up to 1 hour)
- Barkeeper's Friend or a mild abrasive cleaner
- A chainmail scrubber (optional but effective)
Steps:
- Initial soak. Fill the pot with a 2:1 water to vinegar solution. Soak for up to 60 minutes, checking every 15 minutes.
- Scrub with coarse steel wool. Use the rough side first to break up the rust. Then switch to fine steel wool for smoothing.
- Abrasive paste. Mix Barkeeper's Friend with a little water to form a paste. Scrub with a sponge. This helps lift rust from the pores of the iron.
- Rinse and dry. Same as above. Dry thoroughly.
For heavy rust with pitting (flaking, crusty)
This is the deep restoration path. You're not just cleaning rust. You're removing a layer of compromised iron.
Your best options in order of effectiveness:
| Method | Time Required | Difficulty | Best For |
|---|---|---|---|
| Electrolysis | 12 to 24 hours | Moderate to high | Collectors, heirloom pans |
| Lye bath | 1 to 7 days | Moderate | Stubborn rust and old seasoning |
| Vinegar bath (multiple soaks) | 1 to 3 hours per session | Low | Budget DIY, single pan |
| Manual sanding | 1 to 2 hours | Low | Modern pans with no collector value |
Important warning: Electrolysis and lye baths require safety gear. Lye (sodium hydroxide) is caustic. You need gloves, goggles, and ventilation.
If you're not comfortable with that, stick to the vinegar method.
For electrolysis, you'll need a low-voltage battery charger, a plastic container, washing soda, and a sacrificial anode. This is the gentlest method for vintage pans because it doesn't remove good iron. It only takes rust.
For a vinegar bath on heavy rust, use a 1:1 ratio. Soak for 30 minutes, scrub, then repeat. You may need 3 to 4 cycles.
Don't let the pan sit in vinegar for hours unattended. The acid will etch the metal.
Re-Seasoning: Locking In Your Hard Work
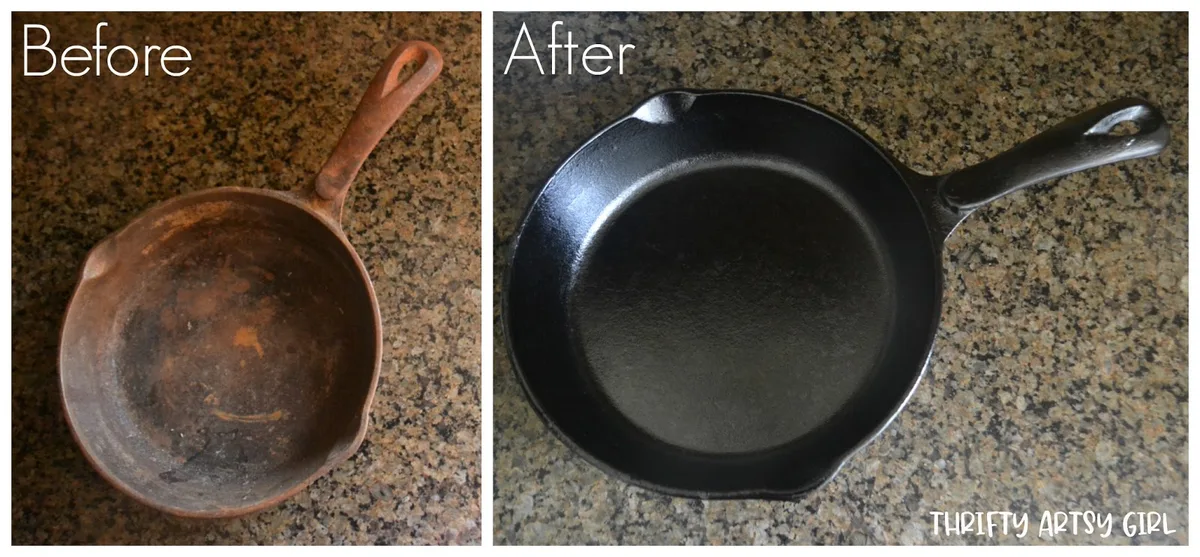
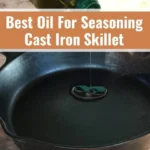
Once the rust is gone, you've got bare iron. And bare iron rusts within minutes if you don't protect it. Seasoning is the protective layer of polymerized oil that makes cast iron naturally nonstick and rust-resistant.
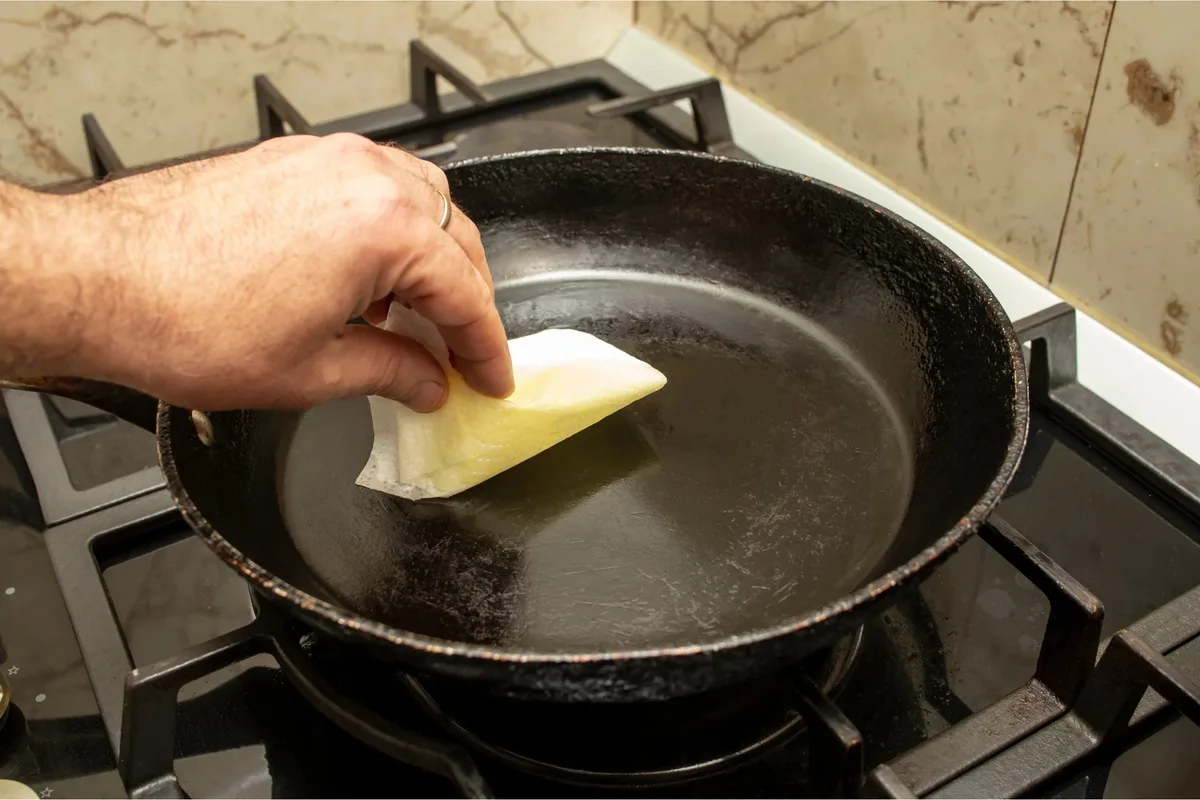
Image source: Web (Bing) / culinacooks.com (Web image (fair-use with source credit))
Clean the bare metal first
After your rust removal, wash the pan with warm water and a little dish soap. Yes, soap is okay on bare iron. The old rule about never using soap came from the days of lye-based detergents.
Modern dish soap is mild and won't hurt your pan.
Dry it completely. Then put it on a burner over medium heat for 2 to 3 minutes. You'll see any remaining water evaporate.
Choose your oil
Not all oils are equal for seasoning. You need an oil with a high smoke point that polymerizes well.
| Oil | Smoke Point | Result |
|---|---|---|
| Flaxseed oil | 225°F | Hard, brittle layer (can flake) |
| Grapeseed oil | 420°F | Good balance, popular choice |
| Canola oil | 400°F | Reliable, cheap |
| Vegetable shortening (Crisco) | 360°F | Classic, forgiving |
| Avocado oil | 520°F | Very hard, but expensive |
For most home cooks, canola oil or vegetable shortening is the sweet spot. They're inexpensive and produce a durable, flexible seasoning.
The oven seasoning process
- Preheat your oven to 450°F to 500°F. Check your oil's smoke point and set the oven 50°F above it.
- Apply a very thin layer of oil. Use a paper towel to rub oil all over the pan, inside and out. Then take a clean paper towel and wipe it off. You want the thinnest layer possible. If it looks greasy, it's too thick.
- Place the pan upside down on the oven rack. Put a baking sheet or aluminum foil on the lower rack to catch drips.
- Bake for one hour. Then turn off the oven and let the pan cool inside.
- Repeat 2 to 3 times. Each layer builds on the last. Three thin layers are better than one thick layer.
Stovetop touch-up
If you only need a quick repair after cooking, you can season on the stovetop. Rub a tiny amount of oil on the cooking surface. Heat the pan on medium until it just starts to smoke.
Let it cool. That's one quick layer.
Common Mistakes That Ruin Good Cast Iron
Even experienced cooks make these errors. Here's what to avoid so you don't undo all your hard work.
| Mistake | Why It's Bad | What to Do Instead |
|---|---|---|
| Soaking in vinegar too long | Acid etches the iron, creates pitting | Check every 15 to 30 minutes |
| Using sandpaper or a wire brush wheel | Removes the original milled surface | Use steel wool or a chainmail scrubber |
| Not drying immediately | Flash rust forms within minutes | Towel dry, then heat on the burner |
| Applying too much oil for seasoning | Becomes sticky or gummy | Wipe the oil off like you didn't mean to put it on |
| Cooking acidic foods in a new seasoning | Tomatoes, wine, and citrus strip thin seasoning | Stick to fat-heavy meals for the first few uses |
| Storing with the lid on | Traps moisture, invites rust | Store with the lid slightly ajar or a paper towel inside |
| Using the self-cleaning oven | Heat cycles can warp or crack the pan | Use the oven baking method at controlled temperatures |
The vinegar soak trap
This is the most common mistake we see in aggregate reviews. Someone leaves a pan in vinegar for 4 hours "to be thorough." They come back to a gray, etched surface that has lost its smooth cooking face. If you follow only one rule from this article, let it be this: vinegar is a tool, not a soak-and-forget solution.
Set a timer.
The "just cook on it" shortcut
Skipping the rust removal entirely and just cooking on a rusty pan doesn't work. Rust isn't seasoning. It's iron oxide, and it will flake into your food.
You have to remove the rust first. There's no shortcut around that step.
Ignoring the bottom and sides
Many people focus only on the cooking surface. That's where the food touches, so it seems most important. But rust on the bottom or sides will continue to spread.
When you season, coat the whole pan. The exterior needs protection too.
Frequently Asked Questions
Can you use soap on cast iron after removing rust?
Yes, modern dish soap is safe. The old no-soap rule came from lye-based detergents that stripped seasoning. Today's mild dish soaps won't damage a polymerized layer.
Just avoid letting the pan soak in soapy water for long periods.
How long should I soak cast iron in vinegar to remove rust?
Limit soaks to 15 to 30 minutes per session. Check the pan every 15 minutes. Longer exposure lets the acid eat into the iron and causes pitting.
For heavy rust, repeat the soak-and-scrub cycle instead of leaving the pan in vinegar overnight.
Is it safe to cook in a rusty cast iron pot after cleaning?
Yes, once all rust is removed and the pan is re-seasoned, it's safe for cooking. Rust itself is iron oxide, which isn't toxic in small amounts, but you don't want flakes in your food. The real concern is the damaged surface, so rebuild seasoning fully after cleaning.
What oil is best for re-seasoning cast iron?
Canola oil, grapeseed oil, or vegetable shortening are the most reliable choices. They polymerize well and stay flexible. Flaxseed oil creates a hard finish that can flake.
Avocado oil works but costs more. Apply the thinnest possible layer and bake above the oil's smoke point.
How do I keep rust from coming back?
Dry your pan completely after every wash. Put it on a low burner for a few minutes to evaporate trapped moisture. Rub in a tiny coat of oil before storing.
Store with the lid slightly ajar or add a paper towel to absorb humidity.
Quick Decision Guide: Which Path Is Right for You?
Here's your fast route, based on what you found during the assessment step.
- Light orange dust: Scrub dry with fine steel wool. Do one 15-minute vinegar soak. Rinse, dry, and re-season in the oven.
- Red-brown patches: Use a 2:1 water to vinegar soak for up to 60 minutes. Scrub with coarse then fine steel wool. Rinse, dry, and season.
- Heavy flaking or crusty rust: Choose electrolysis for heirloom pans, a lye bath for stubborn grime, or repeated 30-minute vinegar soaks on a budget. Wear gloves and goggles for chemical methods.
- Enameled pot: Stop here. Don't scrub with steel wool. If the enamel is chipped, replace the pot.
- Vintage collectible: Use electrolysis. It removes rust without touching the original milled surface.
- Modern Lodge pan: Vinegar soaks and steel wool are perfectly fine.
| Rust Severity | Method | Time | Best For |
|---|---|---|---|
| Light | Steel wool + 15-minute soak | 20 to 30 minutes | Quick fixes |
| Moderate | 60-minute soak + abrasive paste | 1 to 2 hours | Daily users |
| Heavy | Electrolysis or repeated soaks | Several hours to days | Heirlooms or deep rust |
If you're still unsure, start with the gentlest method. You can always step up to something stronger. The key is patience.
Rushing the cleaning or over-soaking does more damage than the rust itself. Take your time, and you'll have a smooth, nonstick cooking surface for decades.

Similar Posts