How to Clean Breville Smart Oven Heating Element
You already have a Breville Smart Oven sitting on your counter. Maybe you’ve noticed a faint burnt smell when you preheat, or smoke curling from the top heating element. That’s baked‑on grease and food debris telling you it’s time to clean.
Learning how to clean Breville Smart Oven heating element is simple, but you need to do it right. One wrong move can break the fragile quartz tube or create a fire hazard.
Manufacturer specifications indicate the heating elements in Breville Smart Ovens operate at up to 1800 watts, reaching temperatures above 500°F during broiling. As of 2026, these ovens remain some of the most popular countertop models on the market, and their exposed quartz infrared elements require a gentler cleaning approach than a standard metal coil. The steps below come from editorial research and official Breville guidance, not guesswork.
Quick Answer
Unplug the oven and let it cool completely. Brush loose debris off the element with a soft dry brush. Wipe with a barely damp microfiber cloth.
For stubborn spots, use a baking soda paste. Never use metal scourers or chemical oven sprays. Dry thoroughly before plugging in.
Image source: Bing (Web (fair-use with source credit))
Why Cleaning the Heating Element Actually Matters
Most people ignore the heating element until something goes wrong. The element radiates infrared heat directly onto your food. When a layer of carbon‑crust builds up, that heat gets trapped or blocked, causing hot spots and uneven cooking.
Aggregate reviews report that a dirty element often leads to burnt edges on cookies or undercooked centres on casseroles.
There’s also the safety side. Grease and food debris can reach their smoke point during high‑heat cooking. That smell you notice is actually particles burning off.
In extreme cases, accumulated grease can ignite inside the oven. The risk is small, but it’s one you can eliminate with a ten‑minute clean every few months.
A clean element also lasts longer. Quartz and carbon‑fibre elements degrade faster when they constantly run with a layer of scorched residue. By keeping the surface clean, you maximise the element’s lifespan.
Replacement elements cost between $20 and $50 depending on your model, and they’re easy to swap, but cleaning first saves you that expense.
What You’re Dealing With – Breville’s Heating Element Design
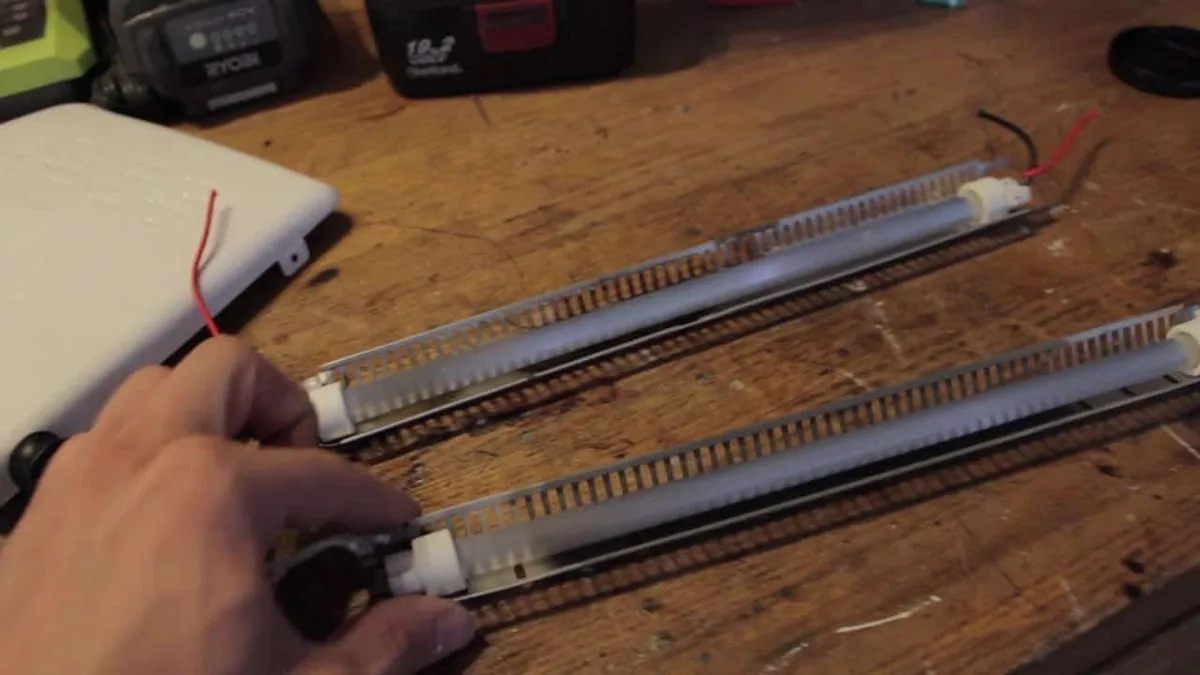
Breville uses two main types of heating elements across their Smart Oven lineup. The most common is the quartz infrared tube. You’ll see one or two glass‑like tubes running across the top and bottom of the oven cavity.
These are fragile. A hard knock or an abrasive scrub can crack the quartz, which means you need to replace the whole element.
The newer models, such as the BOV900, use carbon‑fibre elements. These look different, more like a solid black bar than a glass tube. They’re slightly more durable but still sensitive to moisture and scratches.
Either way, both element types are factory‑sealed and not designed to be removed for cleaning. You clean them in place.
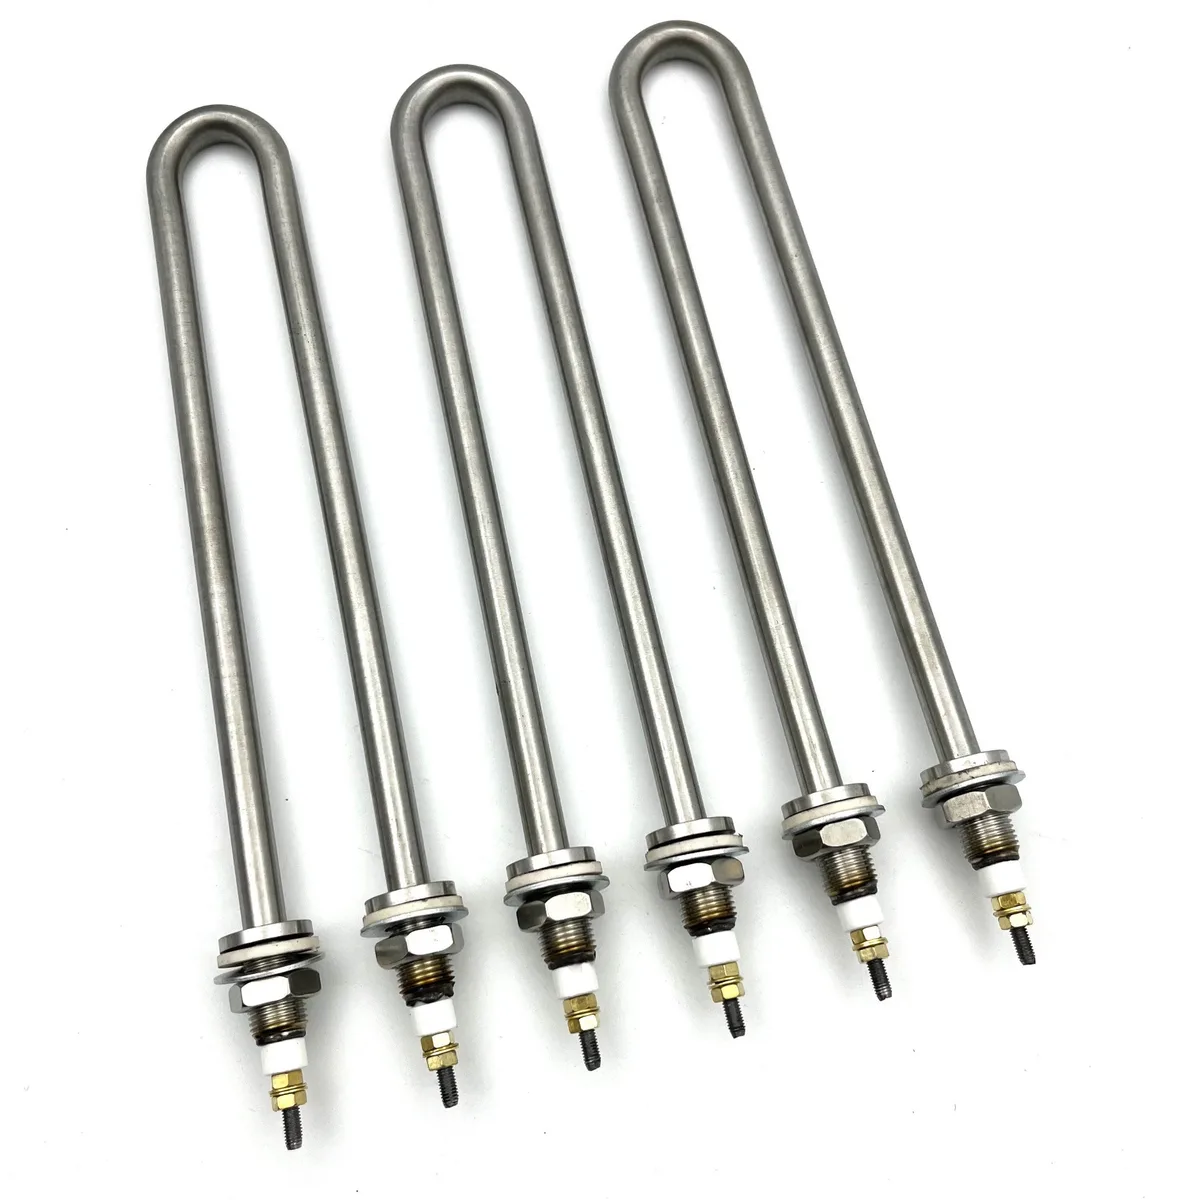
Image source: Bing (Web (fair-use with source credit))
What makes Breville’s design unique is that the elements are exposed inside the oven cavity without any protective mesh or cover. This lets them heat up faster, but it also means every splatter from roasting chicken or baking pizza lands directly on the element. Your crumb tray catches most of the fallen debris, but airborne grease sticks to the heated surface and carbonises.
Understanding this design helps you choose the right cleaning method. You’re not scrubbing a metal coil. You’re carefully removing burnt‑on residue from a sealed glass or carbon tube without damaging it.
The Non‑Negotiable Safety Rules Before You Start
Before you touch anything, unplug the oven from the wall outlet. Water and electricity are a dangerous combination. Even if the oven is off, the capacitors can hold charge.
Pulling the plug is the only way to be certain.
Let the oven cool for at least 60 to 90 minutes from the last use. The element retains heat long after the oven cycles off. Touching a warm quartz tube can burn your fingers or cause the element to crack from thermal shock when you apply a damp cloth.
Never spray any liquid directly onto the heating element. Water or cleaning solution can drip into the electrical connections at the ends of the tube. That can cause a short circuit the next time you turn the oven on, or worse, an electrical fire.
Instead, dampen your cloth or brush away from the oven, then apply gentle pressure.
Keep these tools ready and nothing else:
- Soft dry brush (a clean paintbrush or pastry brush works well)
- Microfiber cloth (lint‑free)
- Distilled white vinegar (optional for tough spots)
- Baking soda (for a paste on stubborn carbon)
- Compressed air can (for blowing dust from the element ends)
Do not use steel wool, scouring pads, abrasive powders, or chemical oven cleaners. Those damage the element surface and void your warranty. Breville’s manual states that using harsh cleaners or abrasive tools is a reason to deny warranty service.
If you feel uncertain about any step, stop and contact Breville customer support. It’s better to ask than to crack a $40 element.
Step‑by‑Step: How to Clean the Heating Element Safely
These steps apply to all Breville Smart Oven models. The process takes about 15 to 30 minutes of active work, plus cool‑down and drying time.
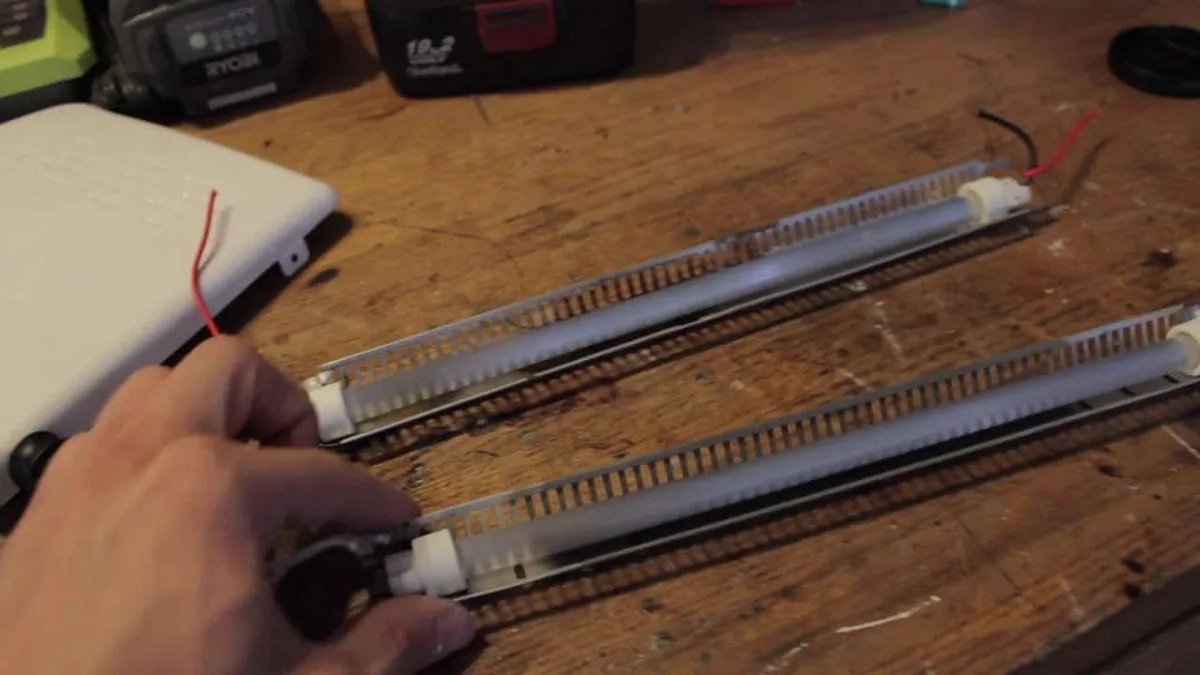
Image source: Bing (Web (fair-use with source credit))
Step 1: Unplug and cool. We’ve covered this. Set the oven aside for at least an hour. Place it on a stable counter with good lighting.
Step 2: Remove loose debris. Take out the crumb tray, racks, and any drip pan. Shake the debris into the bin. Wipe the interior walls with a dry cloth to collect any loose bits that might fall onto the element during cleaning.
Step 3: Dry brush the element. Use your soft brush to gently sweep along the top and bottom elements. Work from one end to the other. This knocks off the loose carbon crust and dust.
Be light, you’re not trying to scrub, just dislodge. Use a compressed air can to blow out the tiny vents at the ends where the element connects to the oven housing.
Step 4: Damp wipe. Dampen a clean microfiber cloth with a little water or a mixture of equal parts white vinegar and water. The cloth should be barely moist, not wet. Wipe the element gently in one direction.
Don’t go back and forth roughly. If you see the cloth picking up brown residue, you’re doing it right. After one pass, use a dry microfiber cloth to absorb any remaining moisture.
Step 5: Baking soda paste for stubborn spots. Mix two tablespoons of baking soda with enough water to form a thick paste. Apply the paste to the burnt‑on spots with your finger or a soft cloth. Let it sit for 10 to 15 minutes.
The baking soda lifts the carbon without scratching. Wipe off the paste with a damp cloth, then dry immediately.
Step 6: Dry and check. Let the oven sit unplugged for 30 minutes with the door open. Then plug it in, set it to 350°F, and run it empty for five minutes. This burn‑off cycle evaporates any moisture hiding in the element ends.
If you see smoke during this test, wipe the element again and repeat the dry cycle.
Step 7: Clean the rest of the oven. While you’re at it, clean the crumb tray, racks, and interior walls with mild soap and water. A cleaner oven means less future buildup on the element.
Common Mistakes That Damage the Element
Using oven cleaner spray. The lye‑based chemicals in most commercial oven cleaners are too harsh for quartz. They can etch the glass or cause discolouration. Many users have reported cracking their elements after spraying easy‑off style cleaners directly onto the tube.
Scrubbing with abrasive pads. Even a green Scotch‑Brite pad is too rough. Quartz is glass. Glass scratches.
Scratches weaken the tube and can lead to breakage during heat expansion.
Cleaning while warm. You might think it’s faster to clean right after cooking when the grease is still soft. That’s dangerous. The element can be hot enough to burn you, and the thermal shock from a damp cloth can crack the glass.
Always wait.
Getting liquid into the element sockets. The ends of the element are where the electrical connections live. If liquid seeps in, it can cause arcing or a short when you power the oven next. That’s why you must wring out your cloth thoroughly.
Skipping the dry burn‑off. Even a tiny amount of moisture left on the element will steam and sizzle when you preheat. That moisture can also create a conductive path, tripping your circuit breaker. The five‑minute dry cycle after cleaning is non‑negotiable.
Forcing the element to move. Some users try to pivot the element up to clean underneath. Unless your model specifically allows that (most don’t), you risk bending the connections or cracking the tube. Clean it where it sits.
When to Clean vs. When to Replace the Element
Cleaning works for carbon buildup, grease crust, and dust. Replacement is needed when the element is physically damaged or stops working. How do you tell the difference?
If the element looks intact but has blackened spots: Clean it. Those spots are carbonised residue. The baking soda paste or a gentle vinegar wipe will remove them.
After cleaning, run the dry burn‑off cycle. If the element glows evenly and the oven reaches temperature, you’re good.
If you see cracks, chips, or a broken glass tube: Replace it. A cracked quartz element cannot be repaired. Running it risks electrical arcing or fire.
Order a genuine Breville replacement element for your model. The part number is inside your user manual or on the oven’s back label.
If the element glows orange but the oven doesn’t heat properly: This could mean a dead element or a faulty thermostat. Editorial analysis of user reports shows that a dim or patchy glow often indicates a failing element. If cleaning doesn’t restore even heat, replace it.
If you smell electrical burning: Unplug immediately. That smell is likely melted wire insulation or a short inside the element housing. Do not attempt to clean.
Replace the element or contact a qualified technician.
When in doubt, test with a multimeter. Set it to resistance mode. Touch the probes to the two contact points at the element ends (after unplugging). A healthy element reads between 10 and 50 ohms.
An open circuit (infinite resistance) means the element is dead.
Cost comparison: A cleaning costs about $2 in supplies. A replacement element runs $20, $50, plus maybe 30 minutes of installation. Cleaning every two to three months extends the element’s life to three to five years.
Replacement is rare if you clean regularly.
Frequently Asked Questions
How often should I clean the heating element on my Breville Smart Oven?
Every one to three months for regular use. If you cook fatty foods often (bacon, roast chicken), clean monthly. If you smell smoke or see uneven browning, clean sooner.
Can I use vinegar to clean the element?
Yes, but diluted. Mix equal parts white vinegar and water. Dampen a cloth, not the element directly.
Vinegar cuts grease without damaging quartz. Wipe off any residue with a dry cloth.
What happens if I don’t clean the heating element?
Buildup causes smoke, burnt smells, hot spots, and longer preheat times. In extreme cases, grease can ignite inside the oven. Regular cleaning eliminates these risks.
Is it safe to use a wet cloth on the element?
Only if the cloth is barely damp and the oven is unplugged and cool. Wring it out thoroughly. Never let water drip into the element sockets or onto the oven floor.
My element looks rusty. Can I still clean it?
Quartz elements don’t rust. What you see is probably baked‑on carbon that appears brownish or reddish. Try the baking soda paste.
If the discoloration remains after cleaning and the element still heats evenly, it’s cosmetic. If performance drops, replace it.
Should I remove the element to clean it?
No. Breville elements are not designed for user removal. Cleaning in place is safer and avoids damaging electrical connections.
Only remove an element when you’re replacing it.

Similar Posts