How Long to Cook Chicken Legs in Oven
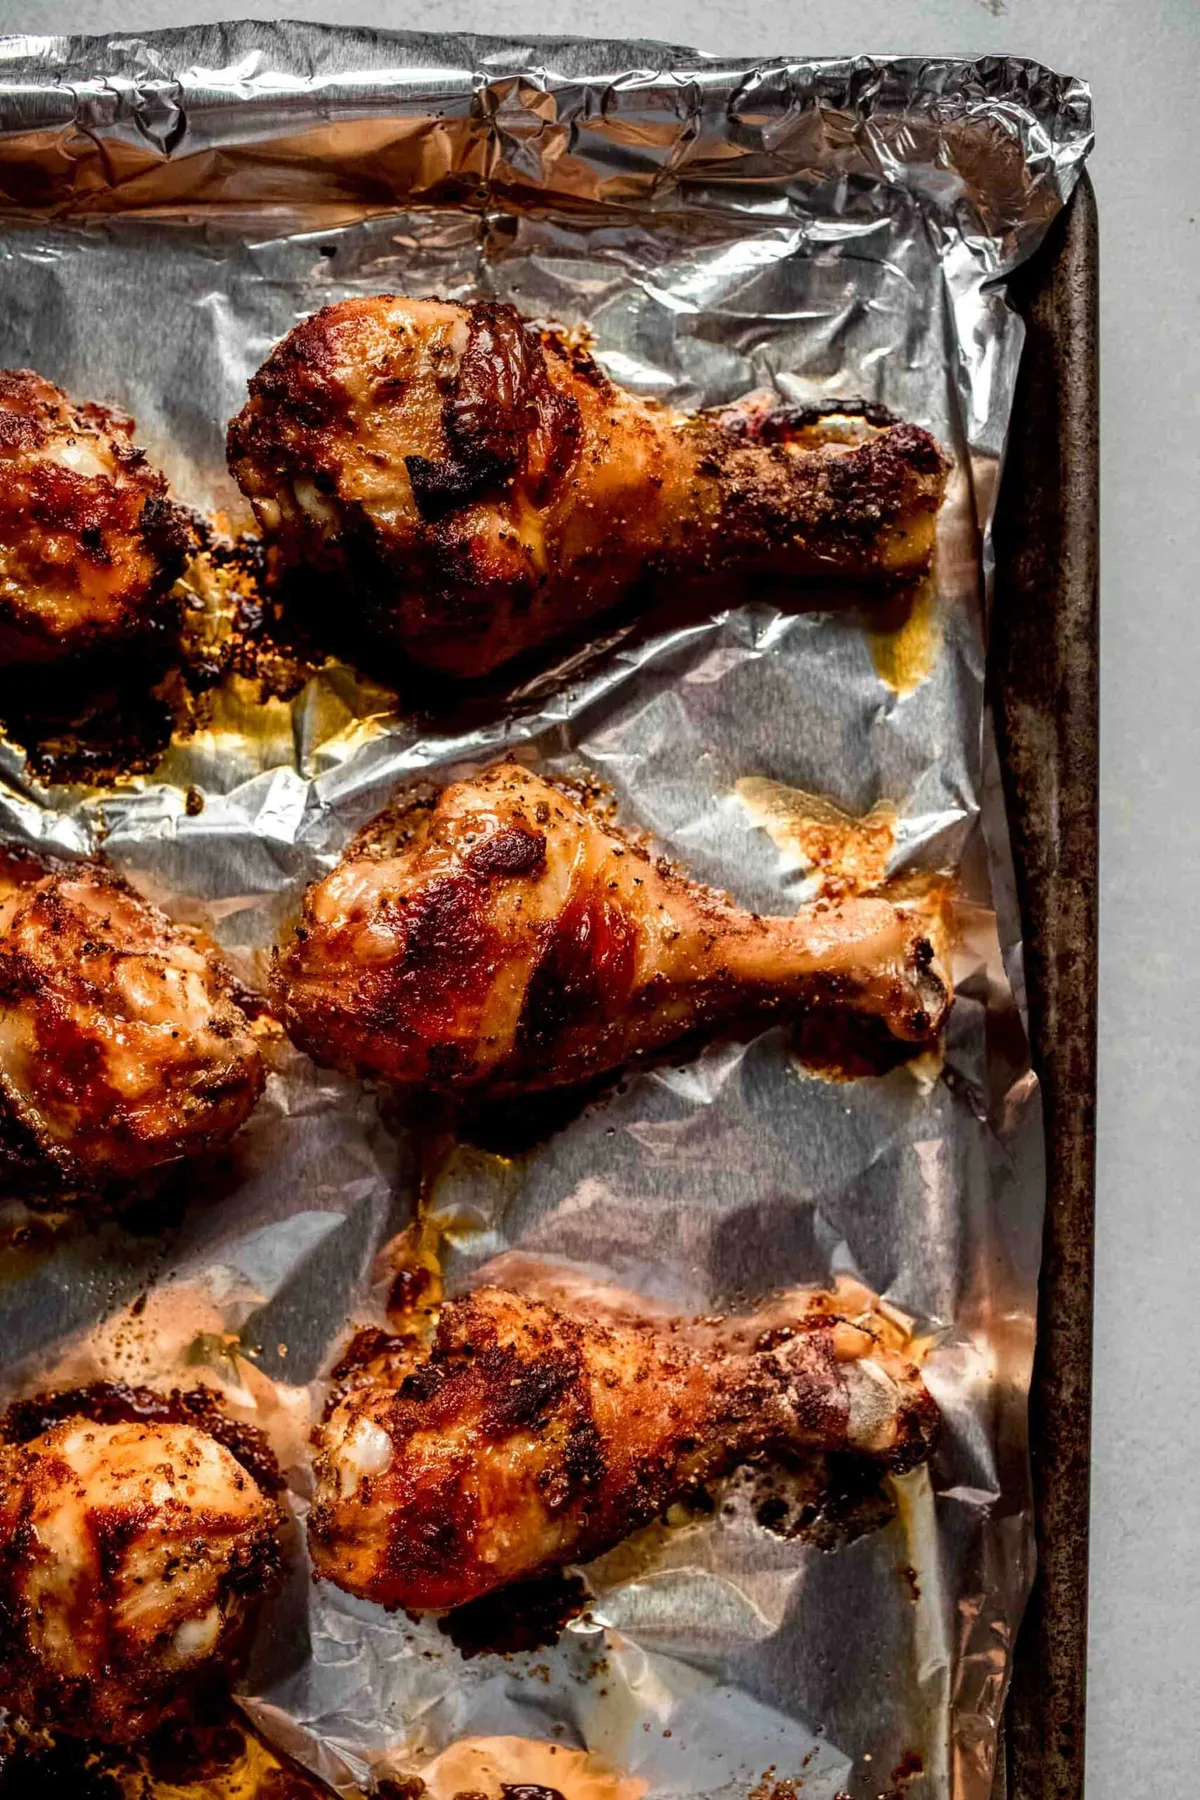
You open the fridge. Raw chicken legs. Dinner in an hour.
And that familiar question pops up: how long to cook chicken legs in oven? It seems simple, but the answer isn't one number. Cook them too short and you risk serving unsafe meat. Leave them in too long and you get dry, chewy drumsticks no one wants to finish.
Getting it right comes down to two things: temperature and internal doneness. The USDA sets the safe internal temperature for all poultry at 165°F (74°C). That's the line between safe and sorry.
Cook to that number, not a clock. But knowing the typical time ranges helps you plan your evening, and that's exactly what we'll walk through together.
Image source: Bing (Web (fair-use with source credit))
Quick Answer
Bone-in, skin-on chicken legs take 35 to 50 minutes in a 375°F oven. At 400°F, expect 30 to 40 minutes. At 425°F, 25 to 35 minutes.
The only reliable doneness test is a meat thermometer inserted into the thickest part, away from bone. Target 165°F. Let them rest 5 minutes before serving.
| Oven Temperature | Approximate Cooking Time (bone-in, skin-on drumsticks) |
|---|---|
| 350°F | 40–50 minutes |
| 375°F | 35–45 minutes |
| 400°F | 30–40 minutes |
| 425°F | 25–35 minutes |
These are guidelines. Your oven's actual temperature, the size of the legs, and whether they're crowded on the pan all shift the timer. That's why the thermometer is your real boss here.
Why Cooking Time Is Just the Starting Point (Temperature Matters More)
Here's the thing about oven timers: they lie. Well, not on purpose. But every oven runs a little differently.
Yours might run 25°F hot. Your neighbor's might run 15°F cool. Set a timer for 40 minutes and you could end up with either overcooked or still-raw meat.
That's why the meat thermometer is the only tool you should trust. Per USDA testing standards, poultry must reach an internal temperature of 165°F to kill harmful bacteria like Salmonella and Campylobacter. Color and juices aren't reliable.
Pink meat near the bone doesn't always mean undercooked, and clear juice doesn't guarantee safety.
So think of the time ranges above as your planning tool, not your finish line. You aim for the middle of the range, then check temp. If it's not there yet, give it 5 more minutes and check again.
Simple, repeatable, and safe.
Aggregate reviews from home cooks confirm that the biggest regret is skipping the thermometer, either serving dry chicken because they cooked too long "just to be safe," or serving undercooked chicken because they trusted a timer and the oven ran slow. Don't be that cook.
The Right Way to Prep Chicken Legs for the Oven
Good prep makes the difference between okay drumsticks and great ones. And it only takes a few minutes.
Start by patting the chicken legs dry with paper towels. Moisture is the enemy of crispy skin. Wet skin steams rather than browns.
So take the extra 30 seconds to dry each leg thoroughly.
Next, consider a dry brine or at least a generous seasoning. A simple mix of salt, pepper, garlic powder, and paprika works every time. Rub it all over the legs, including under the skin if you can gently lift it.
Let them sit at room temperature for 15 to 20 minutes while the oven preheats. This helps the seasoning penetrate and the meat cook more evenly.
Now arrange the legs on a baking sheet. For the crispiest results, use a wire rack set inside the sheet. That way hot air circulates all around each leg instead of having one side sitting in its own juices.
If you don't have a rack, line the sheet with foil and place the legs skin-side up in a single layer. Don't crowd them. Leave a little space between each drumstick so the heat can do its work.
One more prep tip: skip the flipping. Unlike chicken breasts, drumsticks often brown better if you leave them alone. The skin gets crispier without you opening the oven door and letting heat escape.
But if you're worried about even cooking, rotate the pan halfway through rather than flipping each piece.
Oven Temperature Options: 350°F vs 375°F vs 400°F vs 425°F
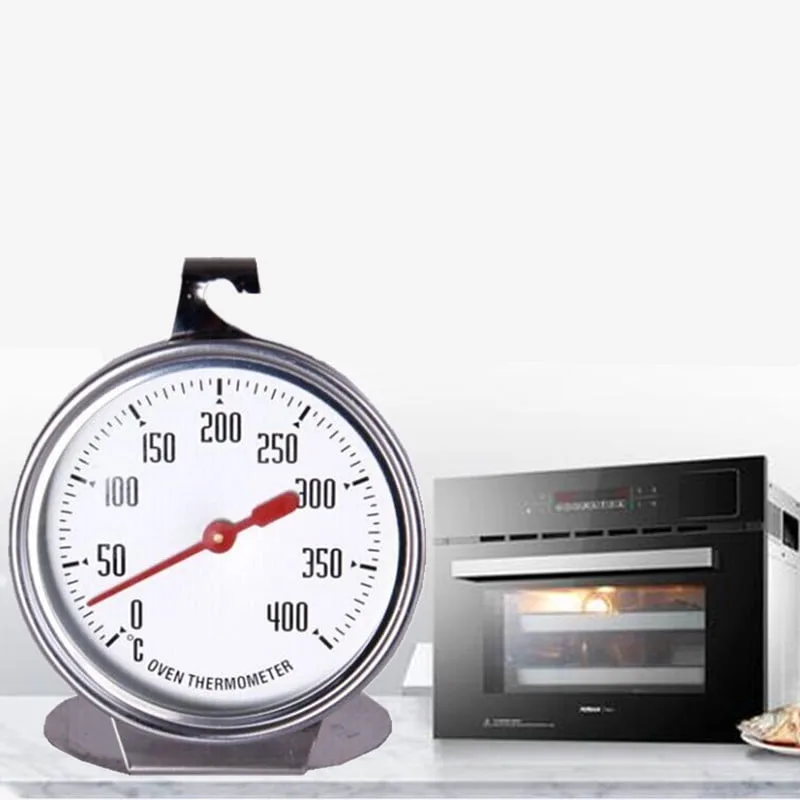
Image source: Bing (Web (fair-use with source credit))
Each oven temperature gives you a different trade-off. Here's how they shake out for bone-in, skin-on chicken legs.
350°F (177°C), Slow and steady. This is your safest bet if you tend to forget things or want to walk away for longer. The meat stays tender and juicy, but the skin won't get very crispy.
Best for when you're cooking a big batch and want minimal fuss.
375°F (190°C), The all-rounder. Most recipes land here because it balances cooking time, moisture retention, and decent browning. You get a crisp skin in about 40 minutes without drying out the meat.
If you're unsure which temp to start with, pick 375°F.
400°F (204°C), Faster cook, crispier skin. The higher heat pushes the skin to brown and crisp sooner. But you have to watch closely.
The window between done and overdone narrows. Check temp at 30 minutes.
425°F (218°C), High heat for maximum crunch. Good if you want that almost-fried texture. But internal temperature climbs fast, and the skin can burn before the meat near the bone hits 165°F.
Use this only if your oven is accurate and you're using a thermometer. Start checking at 25 minutes.
For convection ovens, reduce the temperature by 25°F or cut cooking time by about 25 percent. The fan moves hot air faster, so things cook quicker and brown more evenly.
How to Tell When Chicken Legs Are Done (Thermometer, Visual Cues, and Resting)
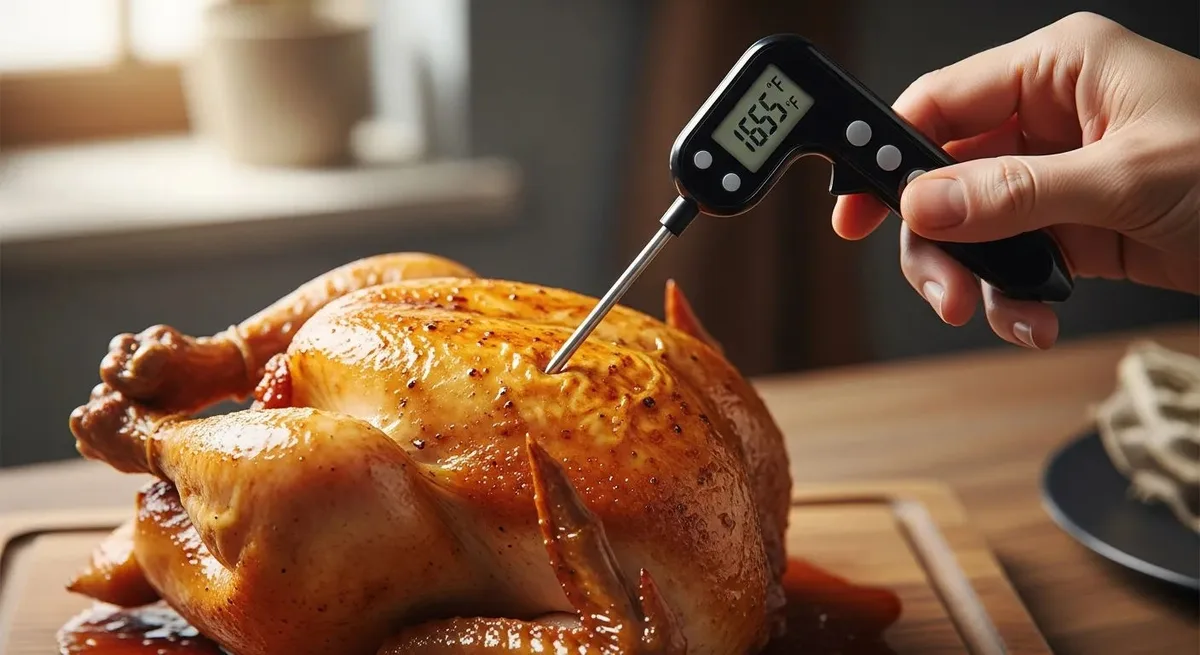
Image source: Bing (Web (fair-use with source credit))
Let's cut through the old wives' tales. Piercing the leg and looking at the juice color? Not reliable.
Checking if the meat pulls away from the bone? Vague at best. The only trustworthy method is a digital instant-read thermometer.
Insert the probe into the thickest part of the drumstick, making sure you're not touching the bone. Bone conducts heat differently and will give you a false reading, usually lower than the actual meat temperature. Wait for the reading to stabilize.
You need at least 165°F.
If you're using an oven-safe probe thermometer, you can leave it in while the chicken cooks. Set the alarm for 165°F and relax. That's the gold standard for busy home cooks.
But here's a nuance that matters: carryover cooking. When you pull the chicken from the oven, the internal temperature continues to rise by about 5 to 10 degrees over the next few minutes. So you can actually pull the legs at 160°F if you let them rest, and they'll coast up to 165°F safely.
This also helps the juices redistribute so the meat stays moist.
Resting is not optional. Let the drumsticks sit on the pan or a cutting board for 5 minutes before serving. Cover them loosely with foil if you want, but don't wrap tight, you'll trap steam and soften that crispy skin you worked for.
One last visual check that actually helps: the skin should be golden brown and slightly pulling away from the exposed bone tip. That's a good sign, but always back it up with the thermometer.
Common Mistakes That Ruin Baked Chicken Legs
Even experienced home cooks fall into the same traps. Here are the most common mistakes, and how to avoid each one.
Skipping the thermometer. This is the number one mistake. Without it, you're guessing. You either overcook (dry, tough meat) or undercook (safety risk).
A $10 digital thermometer solves both problems permanently.
Crowding the pan. When legs touch each other, they steam instead of roast. Steam softens the skin and slows browning. Leave at least half an inch between each drumstick.
Use two pans if you need to.
Starting from cold. Straight-from-fridge chicken cooks unevenly. The outside dries out while the inside lags behind. Let the legs sit at room temperature for 15 to 20 minutes before baking.
This simple step improves both texture and safety.
Opening the oven door too often. Every peek drops the oven temperature by 25 to 50 degrees. That extends cooking time and messes with browning. Use the oven light and window instead.
If you must check, do it quickly and close the door.
Trusting the timer alone. As we covered earlier, ovens vary. A timer is a reminder to check, not a guarantee of doneness. Always verify with a thermometer before serving.
| Mistake | Why It Hurts Results | The Fix |
|---|---|---|
| No thermometer | Overcooked or unsafe meat | Use instant-read probe |
| Crowded pan | Steamed skin, uneven cook | Single layer with space |
| Cold chicken | Uneven cooking | Rest 15-20 min at room temp |
| Frequent door opening | Temperature drop, longer cook | Use oven light |
| Timer only | False sense of doneness | Always verify with temp |
Frequently Asked Questions
Can I cook frozen chicken legs in the oven?
Yes, but expect 50 to 60 minutes at 375°F. Do not thaw them first. Arrange frozen legs in a single layer.
Check internal temperature at the thickest part. They must reach 165°F. The texture may be slightly less juicy than thawed legs.
Do I need to flip chicken legs while baking?
No. Leaving them skin-side up produces the crispiest skin. Flipping disturbs the browning and releases heat from the oven.
If you want even cooking, rotate the pan once halfway through instead of flipping each piece.
What if my chicken legs are done but the skin isn't crispy?
Crank the oven to broil for the last 2 to 3 minutes. Watch closely. Broiling dries and browns the skin quickly.
You can also pat the legs dry before baking and brush them with a thin coat of oil or butter for better crisping.
How long do baked chicken legs keep in the fridge?
Cooked chicken legs stay safe in the refrigerator for 3 to 4 days. Store them in an airtight container. Reheat to 165°F before eating.
For longer storage, freeze them for up to 3 months. Thaw overnight in the fridge.
Why are my chicken legs tough and dry?
Most likely you cooked them too long or at too high a temperature. Dark meat like drumsticks can handle higher heat, but only up to a point. Next time use a thermometer and pull them at 165°F.
A dry brine or marinade also helps retain moisture.
Can I use the same oven for chicken legs and other dishes?
Yes, but adjust for temperature conflicts. If you're cooking chicken at 375°F alongside roasted vegetables at 400°F, the vegetables may cook slower or the chicken faster. Use separate pans and stagger start times.
Check each dish at its own temperature target.
Final Safety Check and Your Best Approach
Here is the bottom line on cooking chicken legs in the oven. Use a meat thermometer. Aim for 165°F at the thickest part, away from bone.
Let the legs rest for 5 minutes before serving. That single habit eliminates guesswork and guarantees safe, juicy results every time.
For the best balance of crisp skin and tender meat, start at 375°F and check at 40 minutes. Adjust for your oven's personality on the next batch. If you want faster cooking, 425°F works well but requires closer attention.
At 350°F you get more forgiveness but less crunch.
Remember the USDA guideline for poultry: 165°F minimum internal temperature. That's the rule that matters more than any timer or recipe. Follow it and you will never serve undercooked chicken again.
One last tip: write down what works for your oven. Note the time, temperature, and whether the legs were thawed or frozen. Over a few cooks you will have a personalized guide that beats any generic recipe.
That is real kitchen confidence.

Similar Posts