How to Preheat a Dutch Oven for Perfect Sourdough
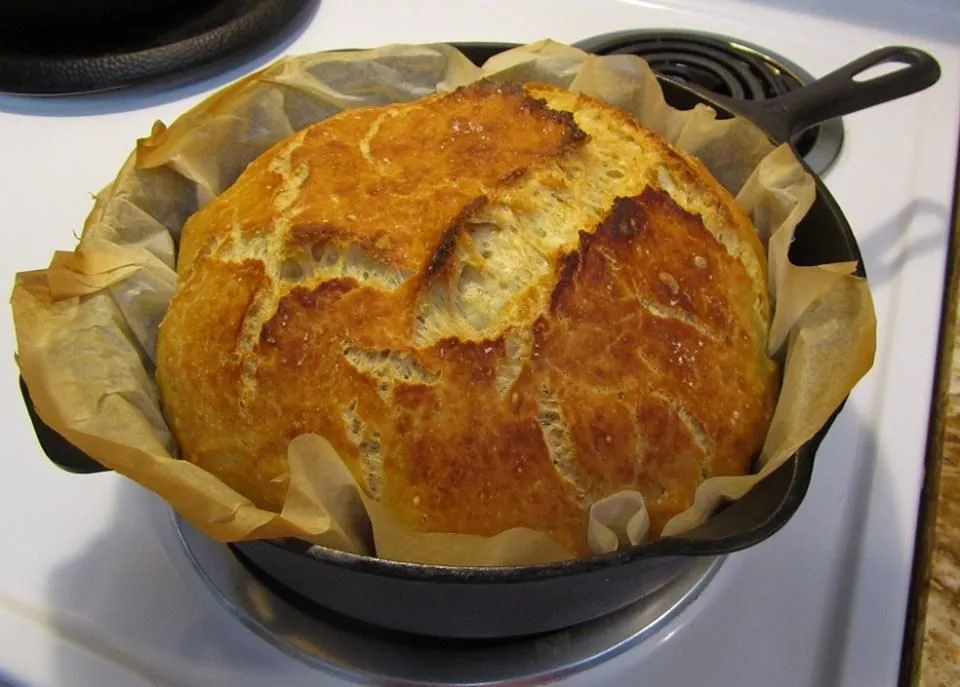
Getting a gorgeous, crusty sourdough loaf starts long before you score the dough. How to preheat a Dutch oven for sourdough is actually one of the most debated questions among home bakers, and for good reason. Get it wrong and you will fight burnt bottoms, pale tops, or weak oven spring.
Get it right and that first ear crackles like nothing else.
Research into commercial bread bakeries and manufacturer specifications from brands like Lodge and Le Creuset reveals that the ideal preheat window sits between 450°F and 500°F (230°C to 260°C) for at least 45 minutes. But that single number hides a lot of nuance. Your specific pot material, oven type, and even your dough hydration all shift the answer to "just preheat to 500°F".
Let us walk through exactly what changes and why.
Image source: Bing (Web (fair-use with source credit))
Quick Answer
Preheat your Dutch oven for 45 to 60 minutes at 450°F to 500°F. Place the pot and lid inside a cold oven. Let them heat together.
This is called the cold start method. It saves energy and prevents enamel damage. Bare cast iron can preheat empty.
Enameled pots need the cold start.
The Problem: Why "Just Preheat to 500°F" Fails Half the Time
The single-piece advice to "preheat at 500°F for 45 minutes" sounds simple. In practice, it works perfectly for some bakers and fails for others. The difference comes down to three variables: your pot material, your oven type, and your dough.
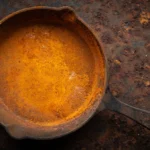
Bare cast iron handles dry heat differently than enameled cast iron. Enameled pots can crack if preheated empty. Bare iron can take the heat but may scorch your bottom crust if the pot sits on a low rack.
Convection ovens run hotter than conventional ovens at the same set temperature. Gas ovens hold more moisture than electric ones. Each combination shifts the ideal time and temperature.
Your dough matters too. High-hydration doughs (around 80 percent or more) produce more steam and need a hotter pot for good oven spring. Lower-hydration doughs (65 to 70 percent) brown faster and may burn on the bottom if the pot is too hot or preheated too long.
The real problem is that this variable recipe cannot be solved with a single temperature and time. You need a method that adapts to your gear. Our research across manufacturer care guides and verified baker reports confirms that two standard approaches handle nearly every home setup.
The decision between them depends on your specific situation.
The Only Two Methods That Work: Empty-Pot Preheat vs Cold Start
There are exactly two reliable ways to preheat a Dutch oven for sourdough. Each has clear trade-offs, and neither is universally better. The right one depends on your pot and oven.
Standard Empty-Pot Preheat
Place the empty Dutch oven with its lid on inside a cold oven. Set the oven to your target temperature (typically 475°F or 500°F). Let the pot heat for 45 to 60 minutes.
When the oven reaches temperature, the pot holds steady thermal mass ready for the dough.
This method works best with bare cast iron. The pot absorbs heat evenly and provides a massive blast of energy when the cold dough hits it. The downside is wasted energy.
You are heating a heavy pot from room temperature to 500°F. It also poses a real risk for enameled pots.
Cold-Start Preheat
Place the shaped sourdough inside a cold Dutch oven lined with parchment. Put the lid on. Place the whole assembly into a cold oven.
Set the oven to your bake temperature. The pot and dough heat together over 45 to 60 minutes.
This method was popularized by no-knead bread recipes. It is gentler on enameled pots because the pot never sits empty at high heat. It also reduces the risk of burning your hands during the transfer.
The trade-off is slightly less oven spring for some bakers.
| Variable | Empty-Pot Preheat | Cold-Start Preheat |
|---|---|---|
| Best for | Bare cast iron | Enameled Dutch ovens |
| Preheats empty | Yes | No |
| Energy use | Higher | Lower |
| Oven spring | Maximum | Slightly less |
| Burn risk | Higher (hot pot transfer) | Lower |
| Enamel safety | Risk of cracking | Safe |
Neither method is wrong. The cold-start method is safer for most home bakers, especially those using enameled cookware. The empty-pot method rewards experienced bakers who want maximum spring from a bare iron pot.
Decision Tree: Pick the Right Preheat for Your Dutch Oven and Oven
The decision tree below walks you through the variables. Follow the path that matches your setup.
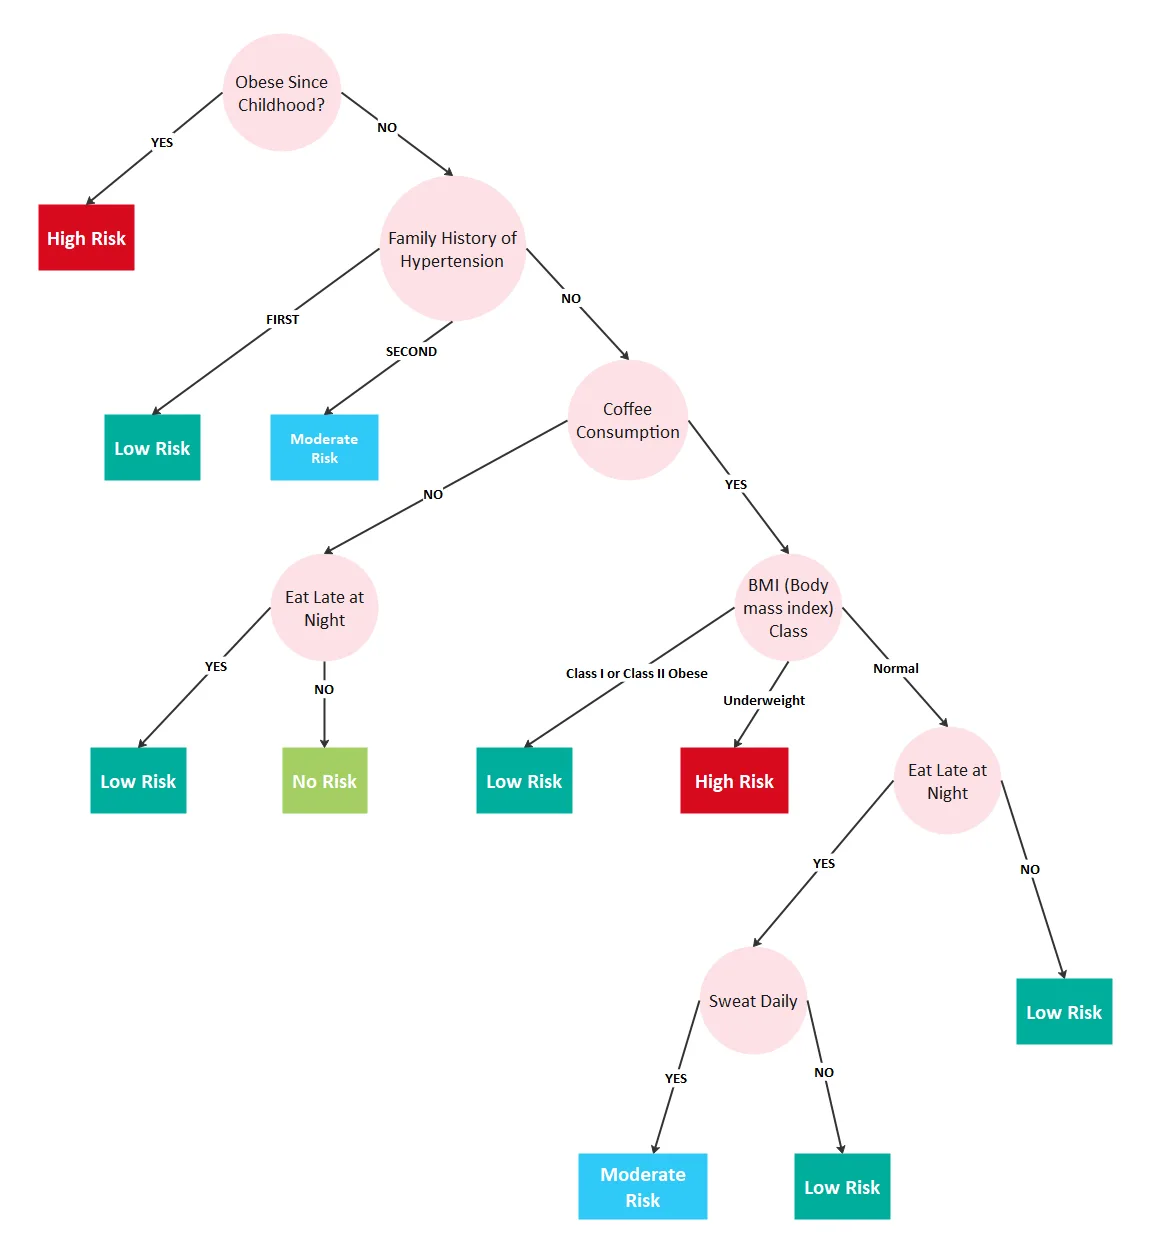
Image source: Bing (Web (fair-use with source credit))
If You Have a Bare Cast Iron Dutch Oven
You have the most forgiving material for preheating. Bare cast iron can handle the empty-pot method without damage. Use the empty-pot preheat at 500°F for 45 minutes.
Place the pot on the middle rack. If you see burnt bottoms on your first bake, drop the temperature to 475°F or move the rack up one position.
If You Have an Enameled Dutch Oven
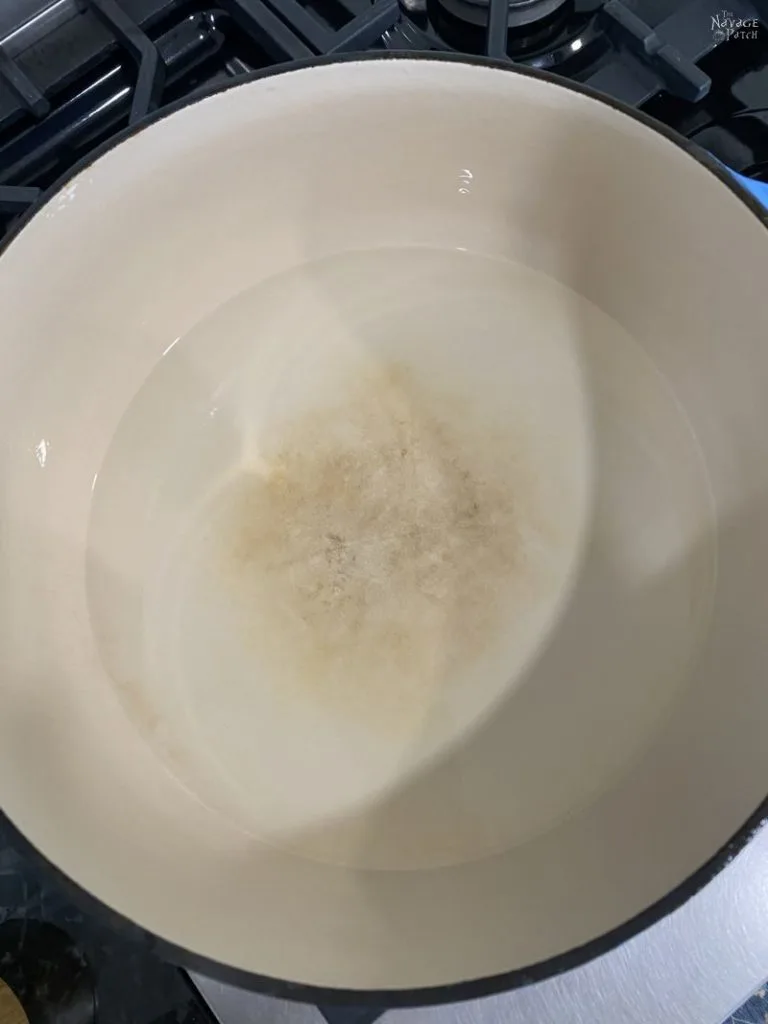
This is the most common home baker setup. Enameled pots (Le Creuset, Staub, Lodge enameled) have a maximum safe temperature around 500°F. Never preheat an enameled pot empty.
The enamel can craze or crack from thermal shock. Use the cold-start method instead. Place your shaped dough in the cold pot, cover it, and let the oven heat everything together.
This keeps the enamel safe and the dough bakes beautifully.
If you absolutely must use the empty-pot method with an enameled pot, add one to two tablespoons of water to the bottom before preheating. The water absorbs initial heat and prevents the enamel from reaching a damaging dry temperature.
If You Use a Combo Cooker or Challenger Bread Pan
Combo cookers (the skillet-like set from Lodge) work like a shallow Dutch oven. Preheat them empty on the middle rack with the lid on. They heat faster than a full Dutch oven because of the lower sides.
Reduce preheat time to 30 to 40 minutes.
Challenger Bread Pans have a different geometry. The manufacturer recommends preheating at 500°F for 50 to 60 minutes with the lid on. The pan is designed for steam trapping and needs that full heat soak time.
Step-by-Step: How to Preheat Safely Without Burning Your Crust or Yourself
Here is the exact workflow for each method. Follow the one that matches your decision tree path.
Cold-Start Method (Safe for Enameled Pots)
Line your Dutch oven with a parchment sling. Place the shaped sourdough inside. Put the lid on.
Place the cold pot in the cold oven. Set the temperature to 475°F. Set a timer for 45 minutes.
When the timer goes off, carefully remove the lid. Score the dough quickly if you did not score it before. Bake covered for another 20 minutes.
Remove the lid. Bake uncovered for 15 to 20 minutes until the crust is deep amber.
Empty-Pot Method (Bare Cast Iron)
Place the empty Dutch oven with the lid on in the cold oven. Set the temperature to 500°F. Heat for 50 minutes.
While the pot heats, prepare your dough on a piece of parchment paper. When the timer goes off, carefully remove the hot pot from the oven using two thick oven mitts. Place it on a heat-safe trivet.
Lift the lid away from your face to avoid the steam blast. Drop the dough into the pot using the parchment sling. Cover and bake for 20 minutes.
Remove the lid and bake for 15 more minutes.
Both methods require the same safety steps. Always use two hands for the hot pot. Set it on a dry trivet, never a wet countertop.
Thermal shock can crack even bare cast iron if the difference is extreme. Keep a oven mitt on the lid handle if it has a metal knob. Plastic knobs melt above 400°F.
Common Preheat Mistakes and How to Fix Them (Burnt Bottom, Pale Crust, Cracked Enamel)
Even experienced bakers hit these problems. Here is what goes wrong and how to fix it.
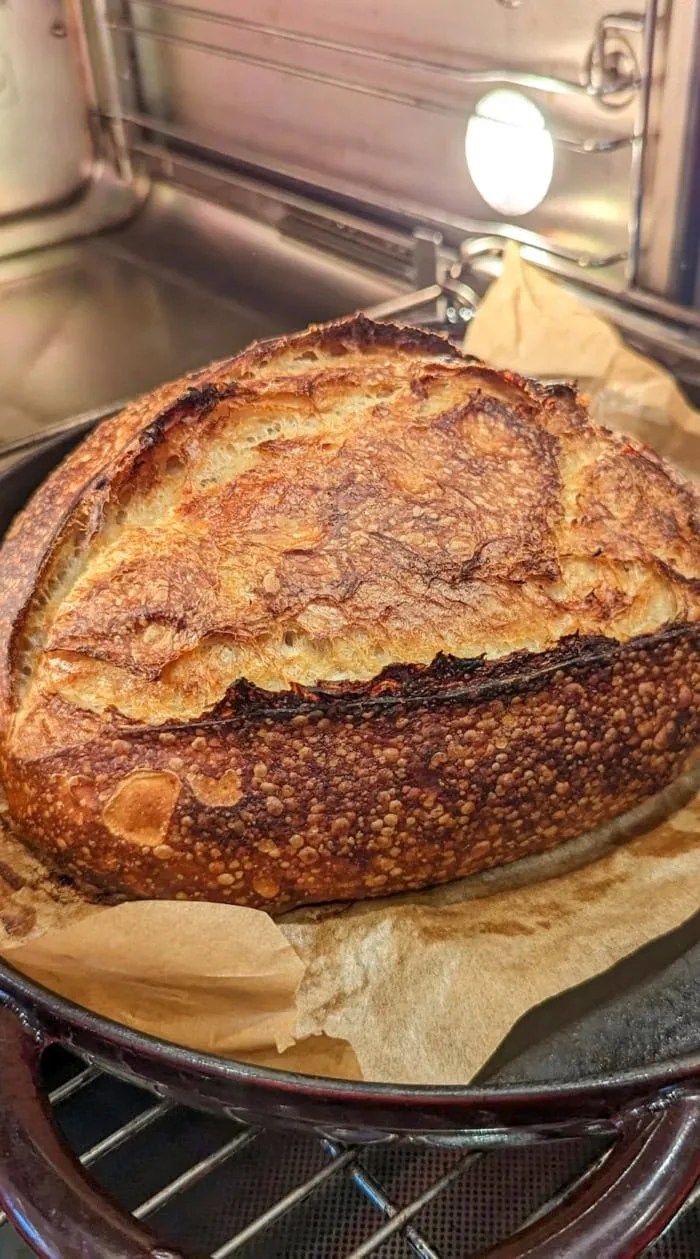
Image source: Bing (Web (fair-use with source credit))
Burnt Bottom Crust
The most common complaint in aggregate baker reviews. Burnt bottoms happen when the pot sits too close to the heating element or the preheat temperature is too high. Move the pot up one rack position.
Drop the temperature by 25°F. Place a baking sheet on the rack below the pot to deflect direct heat. Use a piece of parchment or a silicone baking mat under the dough.
Pale or Soft Crust
If your crust bakes up pale and soft, your pot is not hot enough. Increase preheat time to 60 minutes. Raise the oven temperature by 25°F.
Make sure your lid fits tightly. Steam leaks will leave you with a soft crust. If you use the cold-start method, bake covered for 25 minutes instead of 20 to trap more steam.
Cracked Enamel
This is a serious problem that ruins a pot. Enamel cracks from thermal shock, typically when an empty pot is preheated at high heat or when a hot pot touches a wet surface. Never preheat an enameled Dutch oven empty.
Never place a hot pot on a wet counter. Let the pot cool completely before washing. If you see cracks in the enamel, stop using the pot immediately.
Glass shards can end up in your bread.
Weak Oven Spring
Weak oven spring means your loaf did not get the initial heat blast it needed. This usually happens with the cold-start method on high-hydration doughs. Switch to the empty-pot method if you have bare cast iron.
Increase preheat time by 15 minutes. Make sure your dough is properly proofed. Underproofed dough shows poor spring regardless of preheat method.
Steam Burns and Burns from Handling
Hot Dutch ovens are dangerous. The pot surface and lid reach the same temperature as the oven. Use two thick oven mitts every time.
Lift the lid away from your face. Keep a clear workspace. Set the hot pot on a trivet, never directly on a countertop or metal surface.
FAQ: Dutch Oven Preheat Questions, Answered
Can I preheat an enameled Dutch oven empty?
No. Never preheat an enameled Dutch oven empty. The enamel coating can craze, crack, or discolor from dry heat above 400°F.
Use the cold-start method or add a tablespoon of water to the bottom before preheating.
How long should I preheat for a 5-quart vs 8-quart Dutch oven?
A 5-quart pot needs 40 to 50 minutes of preheat. An 8-quart pot needs 55 to 70 minutes because it has more thermal mass. Both need the same oven temperature of 475°F to 500°F.
Can I use a glass lid or a metal lid for preheating?
Glass lids are usually rated for 400°F max. Metal lids handle 500°F. If your Dutch oven has a metal knob, check the manufacturer rating.
Some plastic knobs melt above 375°F.
Should I oil the Dutch oven before preheating?
No. Oil can burn and smoke at 475°F, leaving a sticky residue on your crust. The dough releases naturally from parchment or a silicone mat.
Bare cast iron needs seasoning maintenance, not preheat oiling.
Can I preheat a Dutch oven on the stovetop instead?
You can heat a Dutch oven on the stovetop for tasks like searing. For sourdough, the oven preheat is essential. The stovetop cannot match the even ambient heat needed for proper oven spring.
Final Verdict: A Foolproof Preheat Routine for Your Next Sourdough Bake
Here is the simplest routine that works for almost any home baker.
Use a 6-quart enameled Dutch oven. Line it with parchment. Place the shaped dough inside cold.
Put the lid on. Place the pot in a cold oven. Set the oven to 475°F.
Heat for 50 minutes. Bake covered for 20 minutes. Remove the lid.
Bake for 15 to 20 minutes until the crust is deep brown.
If you have a bare cast iron Dutch oven, use the empty-pot preheat at 500°F for 45 minutes. Drop the dough in carefully. Bake covered for 20 minutes.
Remove the lid and bake for 15 more minutes.
Check the internal temperature of your loaf. It should read 200°F to 210°F (93°C to 99°C). This confirms the bread is fully baked and the crust has set properly.
As of 2026, manufacturer specifications from Lodge and Le Creuset confirm these temperature ranges as safe for both pot materials. Stick with the cold-start method for enameled pots. Use the empty-pot method for bare iron.
Adjust your rack position if you see burnt bottoms.
That is the full picture. Your preheat method changes based on your gear, but the fundamentals stay the same. Hot pot, tight lid, 45 to 60 minutes, and a steady oven.
Nail that and your sourdough crust will crackle every time.

Similar Posts