How to Clean Rust Off Cast Iron (Step-by-Step)
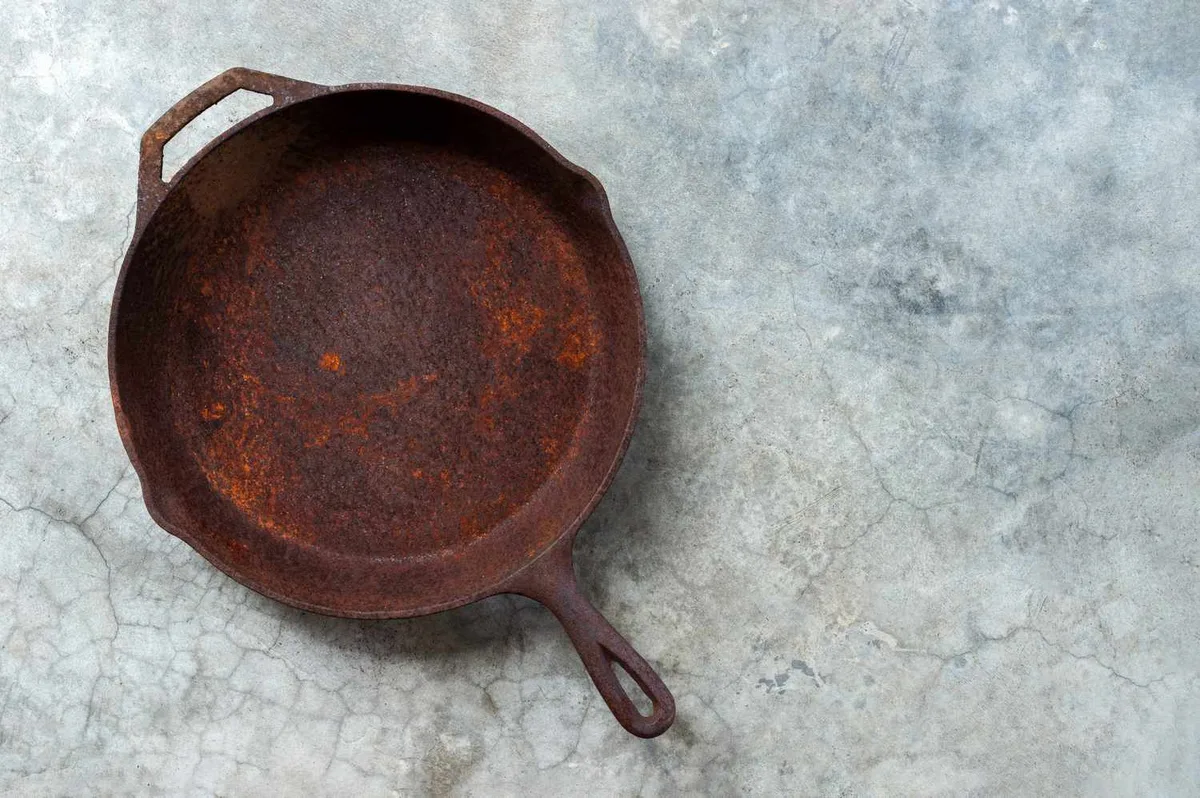
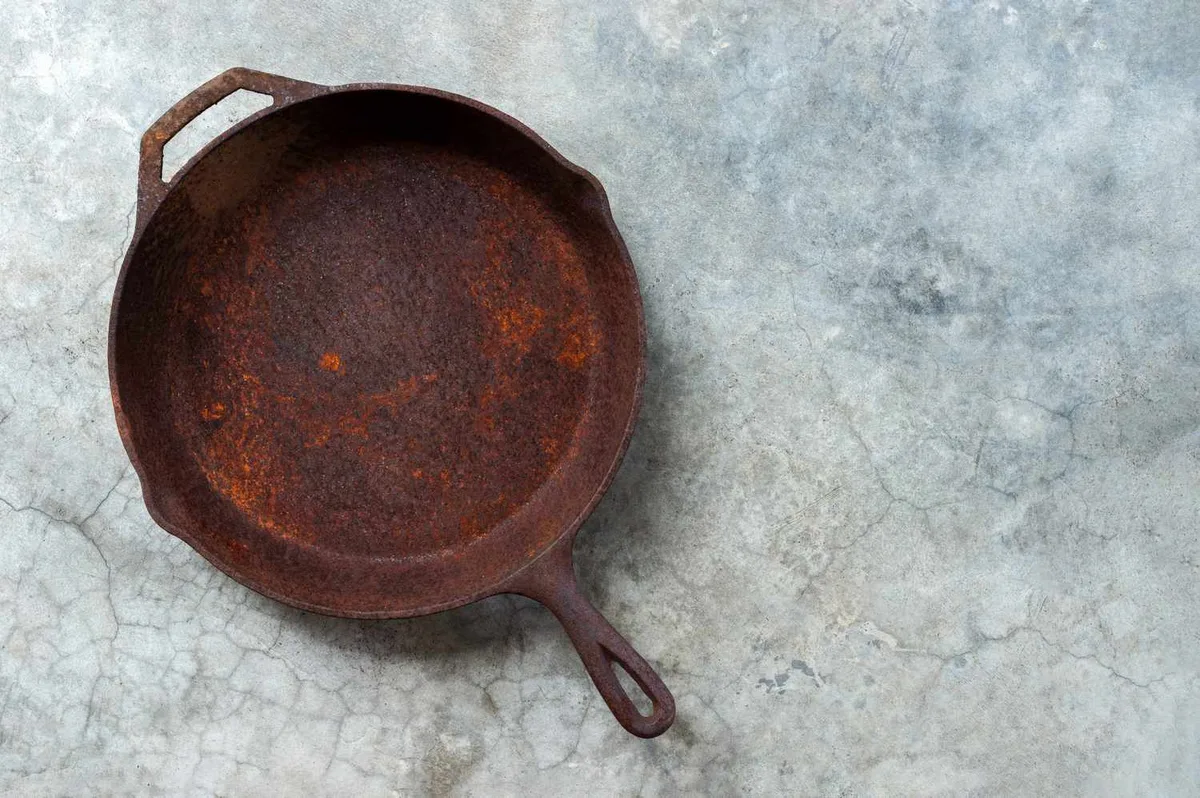
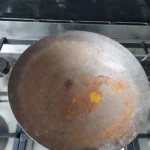
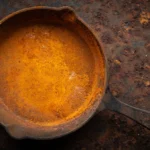
If you've ever pulled a cast iron skillet from a cabinet and found an orange patch staring back at you, you know the sinking feeling. Here's how to clean cast iron from rust without wrecking the pan: match your method to how deep the rust goes. A quick scrub handles light surface rust, while deep corrosion needs a chemical strip or electrolysis.
The trick is knowing which situation you're in before you start.
One hard rule appears in nearly every cast iron manufacturer's care guide: vinegar soaks should never run past 30 minutes. The acid dissolves rust, but it also eats the iron underneath, leaving permanent pits. Way too many pans get ruined at this exact step.
Let's walk through the whole process, starting with what you're actually dealing with.
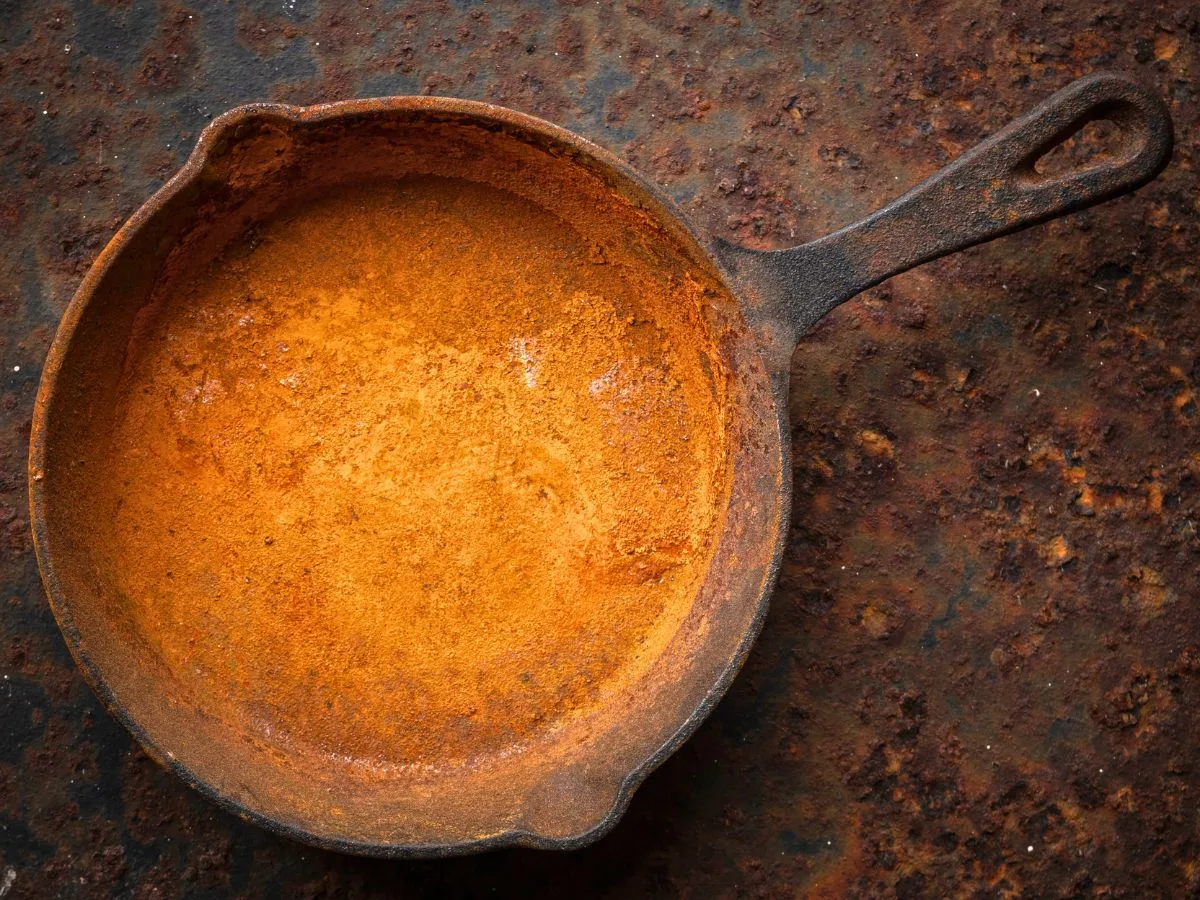
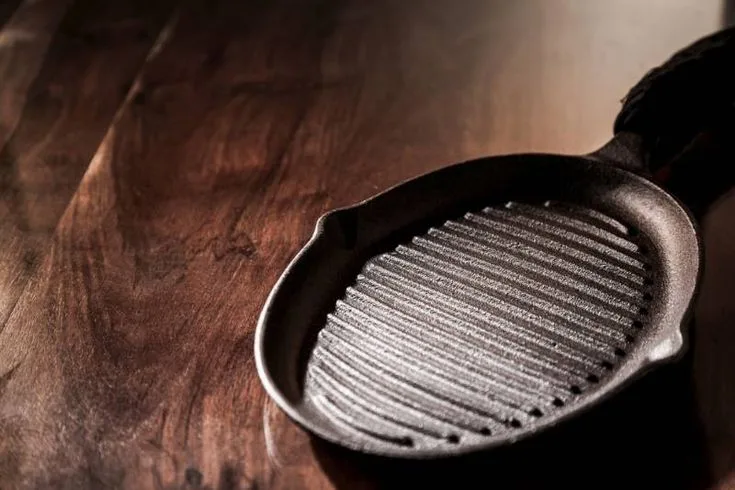
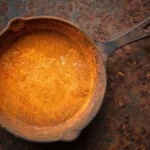
Image source: Web (Bing) / southernliving.com (Web image (fair-use with source credit))
Quick Answer
How to clean cast iron from rust starts with checking rust depth. Light rust scrubs off with coarse salt and oil. Heavier rust needs a vinegar soak, but cap it at 30 minutes.
Deep pits call for electrolysis or a lye bath. Then dry it fast, oil it, and reseason in a hot oven.
How Rust Happens (and Why You Can't Just Ignore It)
Cast iron rusts because of basic chemistry. Iron + oxygen + moisture = iron oxide, the reddish-brown crud that forms when water sits on bare metal. The protective layer on your pan is seasoning, which is oil heated until it polymerizes into a hard, non-stick surface.
That layer is what blocks moisture from reaching the iron underneath. When seasoning wears thin, water sits on the metal, and rust starts forming. Seasoning isn't there for flavor.
It's a barrier that stops iron, oxygen, and water from meetingmeeting. When seasoning fails, rust takes over fast. A washed skillet left in the drying rack can grow orange patches overnight.
Rust isn't just cosmetic. It flakes into your food, and it slowly eats the metal beneath it. Repeated bouts of rust will pit and thin the pan's surface.
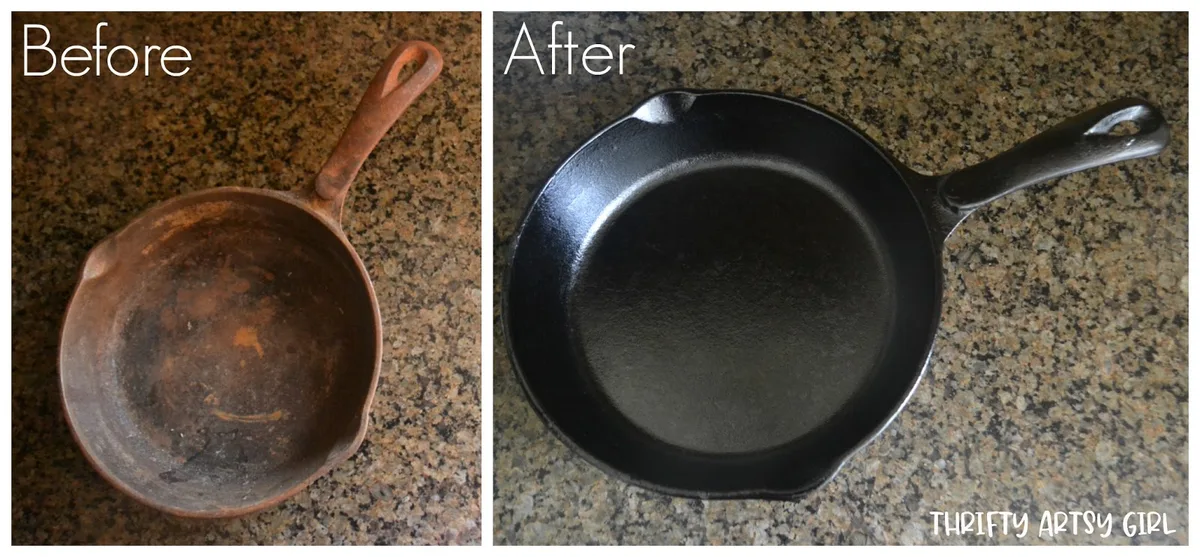
The good news is that rust is reversible in nearly every case. Even a rough, crusty skillet can usually be saved. You just need to match your method to the damage.
Step 1: Figure Out How Bad the Rust Really Is
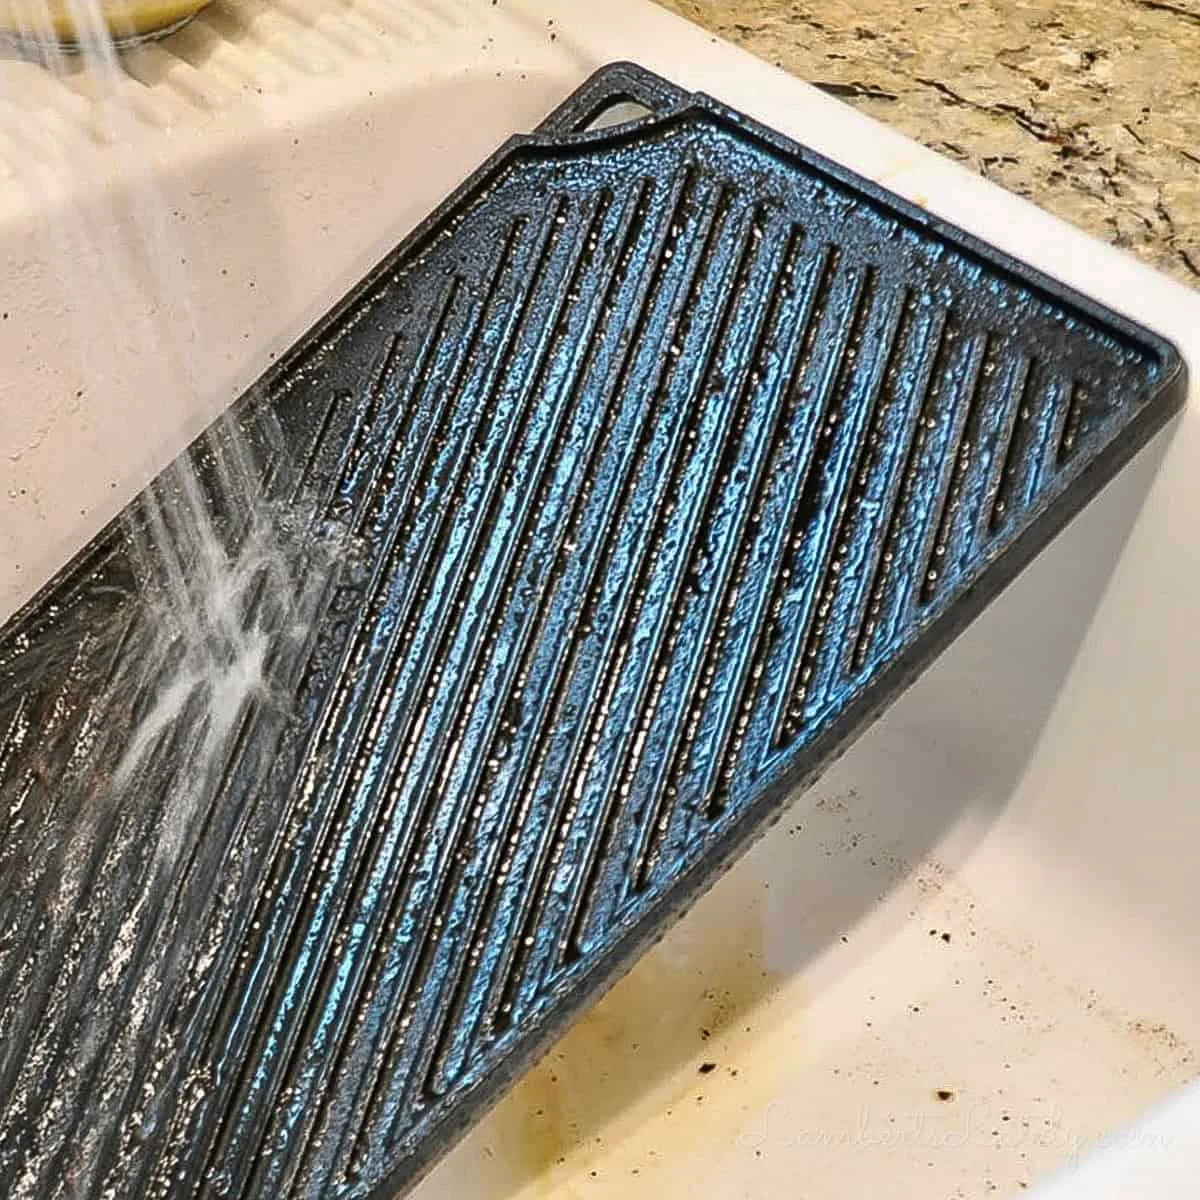
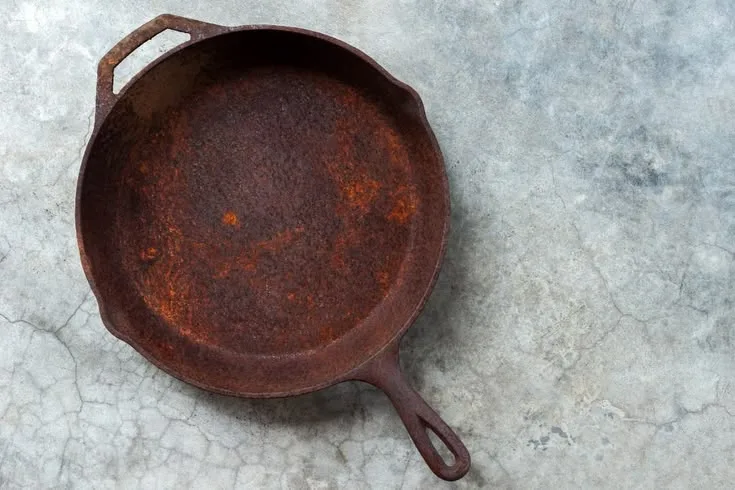
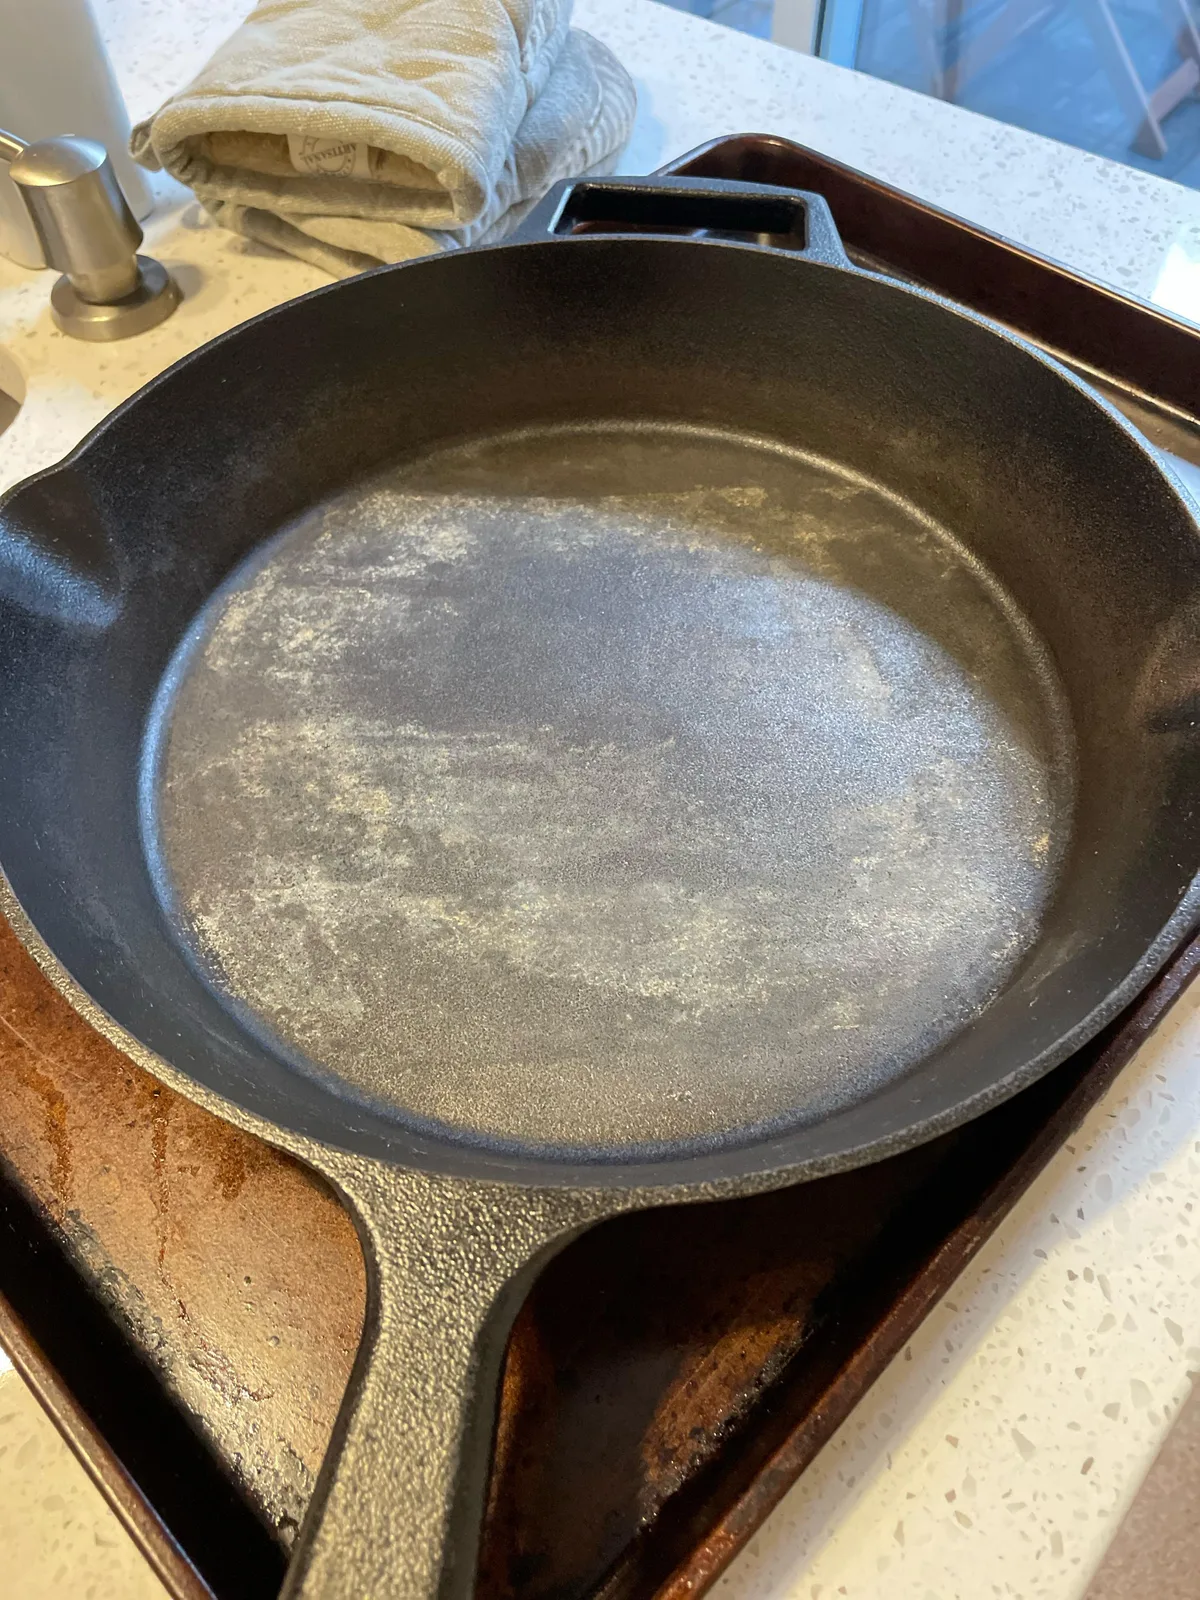
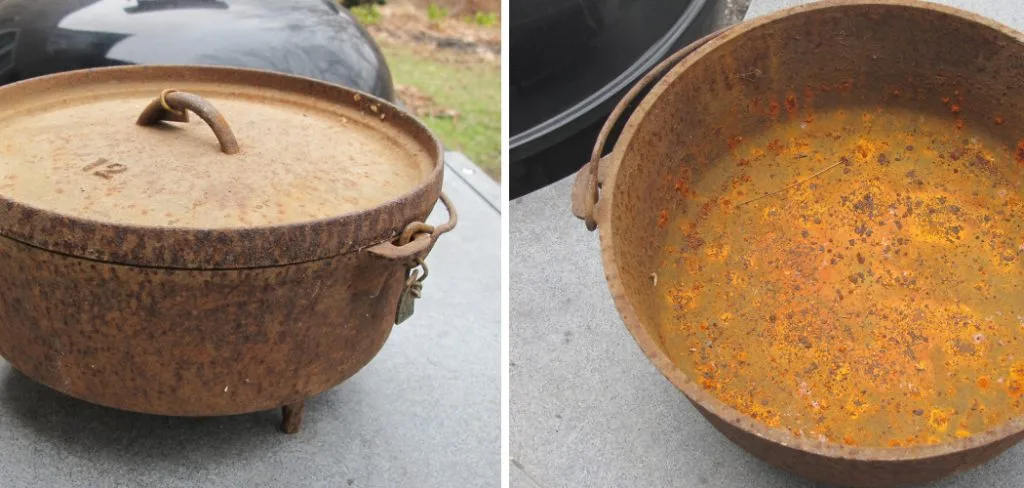
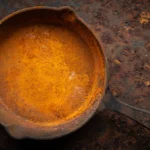
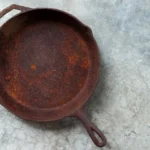
Image source: Bing (Web (fair-use with source credit))
Before you grab any cleaner, put the pan under good light and look closely. Rust severity determines everything that follows. The wrong method either wastes your time or damages the iron.
Here's a simple way to sort what you're looking at:
| Rust level | What it looks like | What's underneath |
|---|---|---|
| Light | Orange powder, no texture | Seasoning still present |
| Moderate | Flaky patches, rough to the touch | Bare iron showing through |
| Heavy / Pitting | Cratered surface, thick rust crust | Metal surface damaged |
Start with the paper towel test
Rub a dry paper towel over the affected area. Orange dust that wipes away easily means light rust. The seasoning likely survived beneath it, so you can skip the heavy restoration and go straight to a scrub.
If the paper towel snags or pulls, the rust has eaten deeper.
Check for texture with your fingernail
Run a fingernail across the rust patch. A smooth, slightly rough surface is still in light-to-moderate territory. If you feel pits or craters, the oxidation has eaten below the surface.
That changes the game entirely. You'll need a chemical or electric restoration method, not just elbow grease.
Know your pan type
Bare cast iron and enameled cast iron need completely different treatment. Enameled pans carry a glass-like coating that scratches easily, so any method involving steel wool or vinegar can permanently ruin them. Check the stamp on the bottom or look for a glossy, dark coating on the interior.
When in doubt, treat it as enameled until proven otherwise.
When the pan is beyond saving
Severe pitting, visible cracks, or a warped base mean the pan's structural integrity is compromised. No cleaning method fixes a crack. At that point, the honest move is repurposing it as decor or recycling the metal.
Step 2: Pick Your Removal Method Based on Rust Level
With the rust level identified, you can choose your method with confidence. Each approach targets a different depth of corrosion, and each has a best-case scenario.
Light rust: the salt and oil scrub
The gentlest fix uses stuff you already own. Pour a couple tablespoons of neutral oil into the pan, add a quarter cup of coarse salt, and scrub with a paper towel or cloth. The salt acts as an abrasive while the oil lifts rust particles without stripping good seasoning.
Rinse, dry completely, and check. Repeat if needed, then move on to reseasoning.
Moderate rust: the vinegar soak
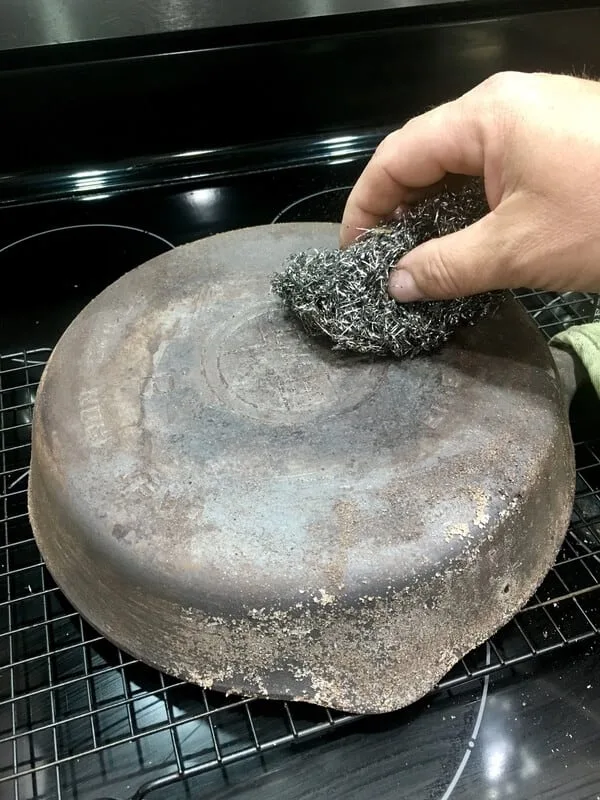
Mix white vinegar with water in a 50/50 ratio. Submerge the pan completely, then set a timer for 30 minutes. Check at the 15-minute mark by scrubbing a small spot with a nylon brush.
If the rust comes off, pull the pan early. The acid eats iron as well as rust, so never walk away from this step. Once the pan is out, neutralize it immediately with warm soapy water, then dry it on a heated stovetop.
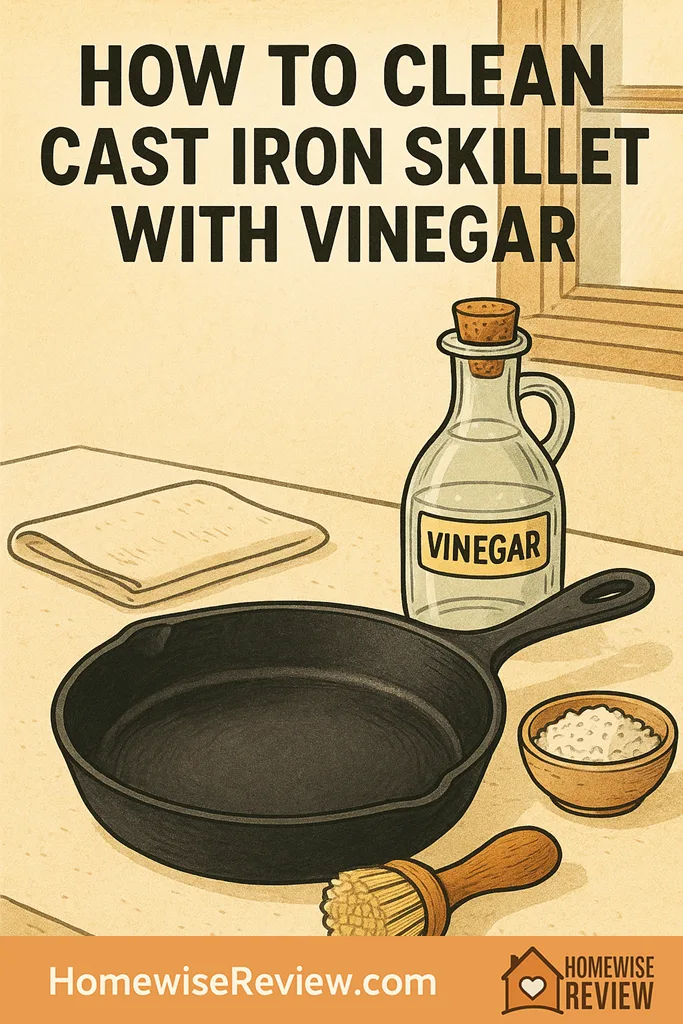
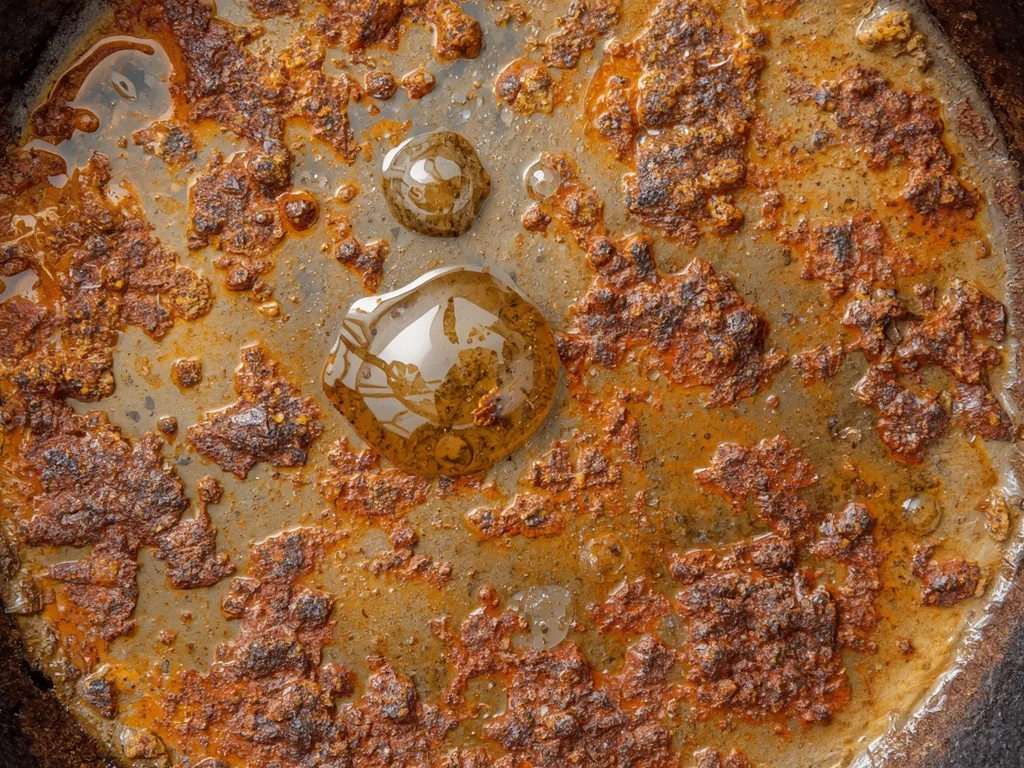
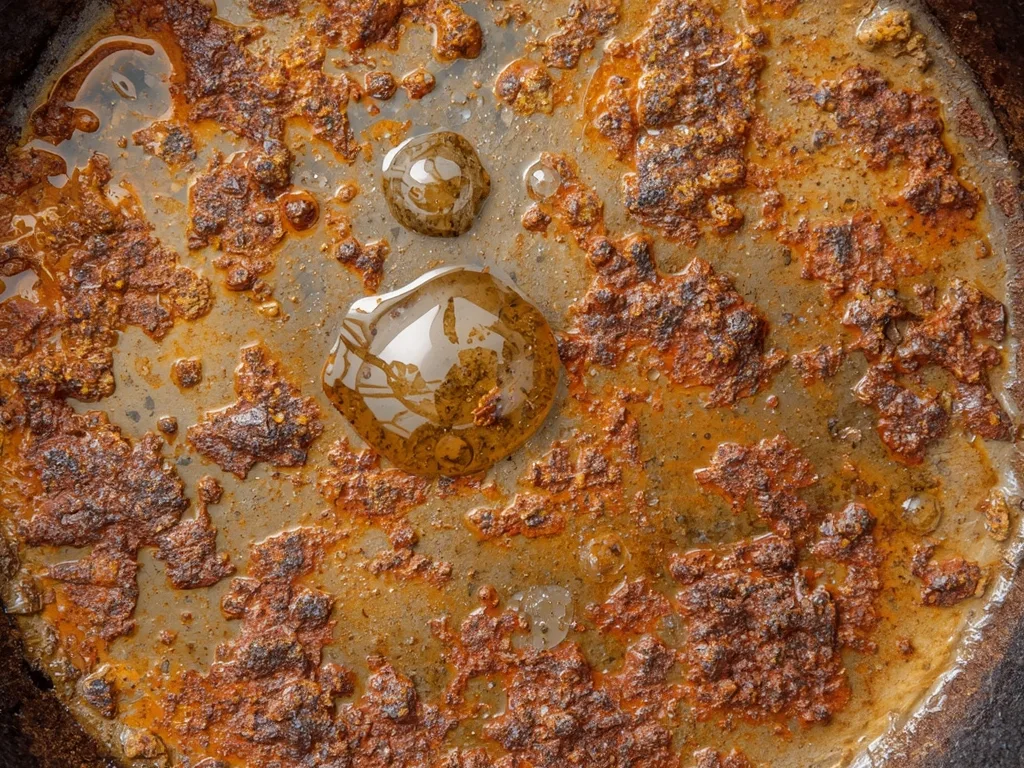
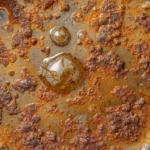
Image source: Web (Bing) / homewisereview.com (Web image (fair-use with source credit))
Heavy rust: electrolysis or lye bath
For thick corrosion or visible pitting, scrubbing and acid soaks won't cut it. Electrolysis uses a battery charger, washing soda, and a sacrificial steel anode to lift rust off the iron. The rust transfers from the pan to the anode, leaving the base metal untouched.
A lye bath works chemically instead: sodium hydroxide dissolved in water strips rust and old seasoning over several days without eating the iron.
| Method | Best for | Time needed | Skill level |
|---|---|---|---|
| Salt + oil scrub | Light surface rust | 10 minutes | Beginner |
| Vinegar soak | Moderate rust | 30 minutes max | Beginner |
| Electrolysis | Heavy rust, pitting | 12-24 hours | Intermediate |
| Lye bath | Rust + old seasoning | 1-3 days | Intermediate |
Enameled cast iron special case
Never use acid, steel wool, or high heat on enamel. Your safest tool is a baking soda paste. Mix baking soda with water, rub it over the rust spot with a soft cloth, and rinse.
For stubborn stains on enamel, an enamel-safe cleanser works. Treat the coating like glass, because it basically is.
Common Mistakes That Ruin Pans (and How to Avoid Them)
Most rust-removal disasters trace back to a handful of predictable errors. Avoid these and you'll save yourself a lot of grief.
| Mistake | The result | What to do instead |
|---|---|---|
| Vinegar soak over 30 minutes | Pitting in the iron | Set a timer, check at 15 minutes |
| Steel wool on enameled pan | Scratched glass coating | Use baking soda paste |
| Air-drying after washing | Flash rust in minutes | Dry on a hot stovetop |
| Too much oil when reseasoning | Sticky, tacky surface | Wipe oil off like the pan was oiled by mistake |
| Scrubbing away all seasoning | Bare iron exposed | Target rust spots only |
Flash rust is sneaky
The cleanest, loveliest stripped pan will oxidize quickly if you set it down wet. Within minutes, a fresh orange haze appears. Always dry the pan over medium heat immediately after cleaning, then apply a thin coat of oil while it's warm.
This single habit prevents more rust than any other practice.
Don't scrub your seasoning away
If you're treating a small rust spot on an otherwise seasoned pan, don't scrub the whole surface. Focus on the corroded area, clean it, dry it, and touch up with a light oven reseason. You want to preserve the existing seasoning wherever it's intact.
Scrubbing everything down to bare iron turns a 10-minute fix into a multi-day project.
The wrong oil trap
Some oils like flaxseed look great for seasoning but dry into a brittle, flaky film over time. Most cast iron manufacturers recommend a neutral oil with a high smoke point, like canola or grapeseed. Many restoration enthusiasts prefer plain shortening.
Butter and olive oil have low smoke points and leave sticky residue, so keep them out of your seasoning routine.
Skipping the protective coat
After washing and drying, rub a tiny amount of oil over the entire pan. A paper towel dip, wiped thinly across the surface, is all you need. That barrier is what keeps moisture from reaching bare iron between uses.
It takes five seconds and costs almost nothing.

Similar Posts