Stop Tossing Rusty Cast Iron: Clean & Reseason
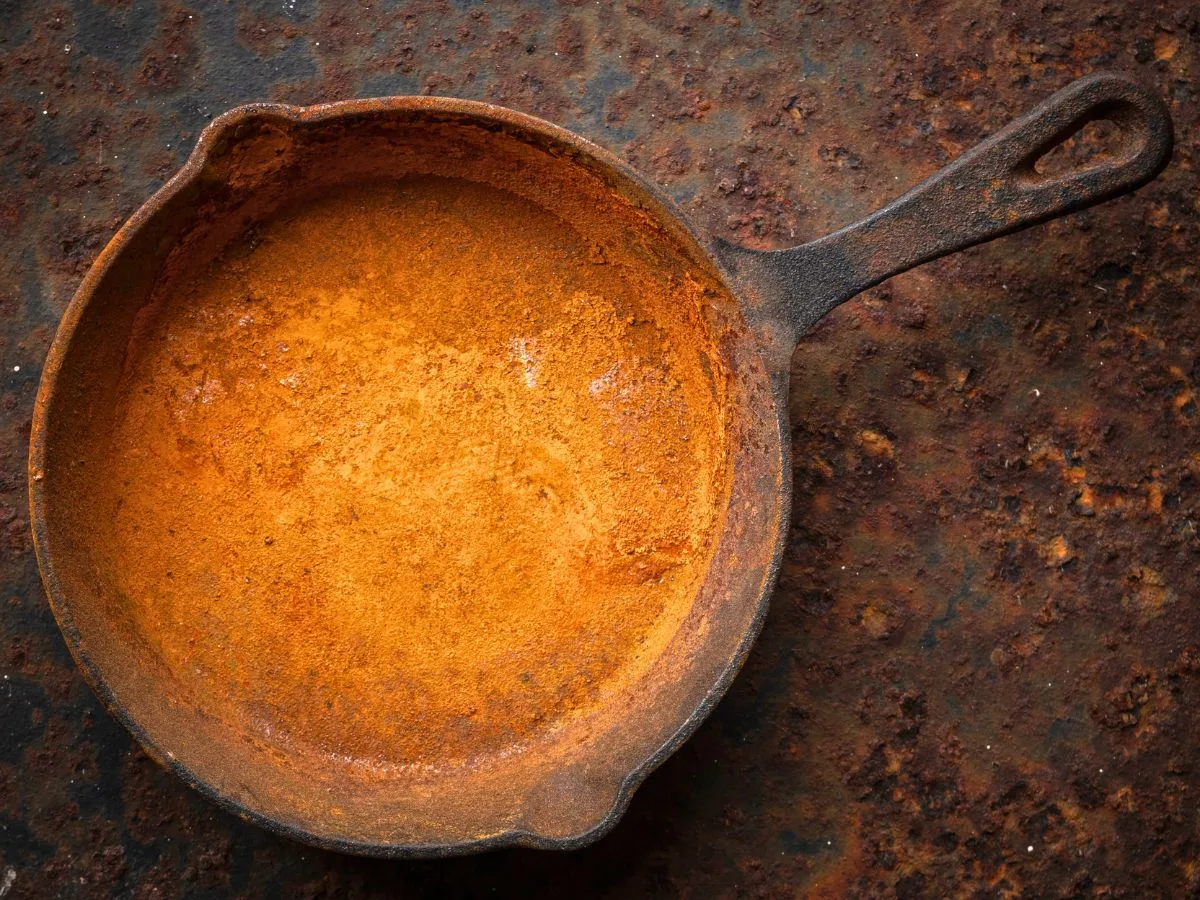
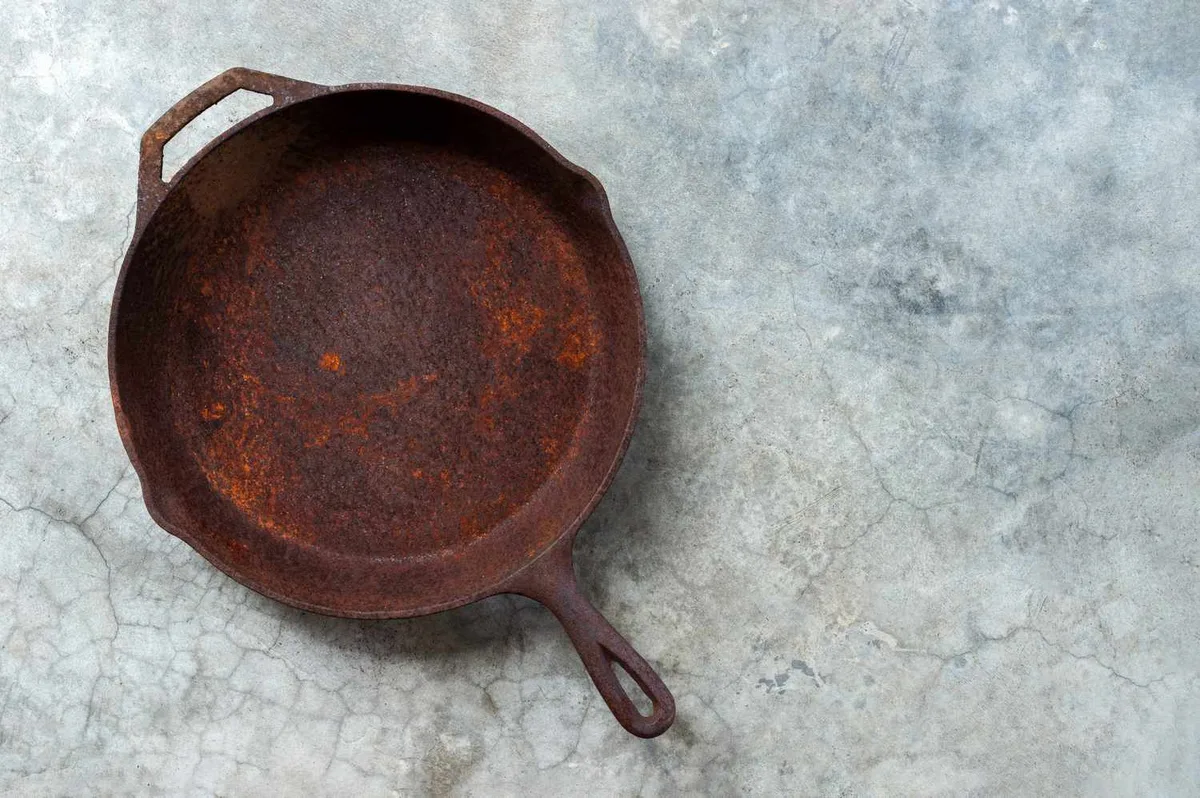
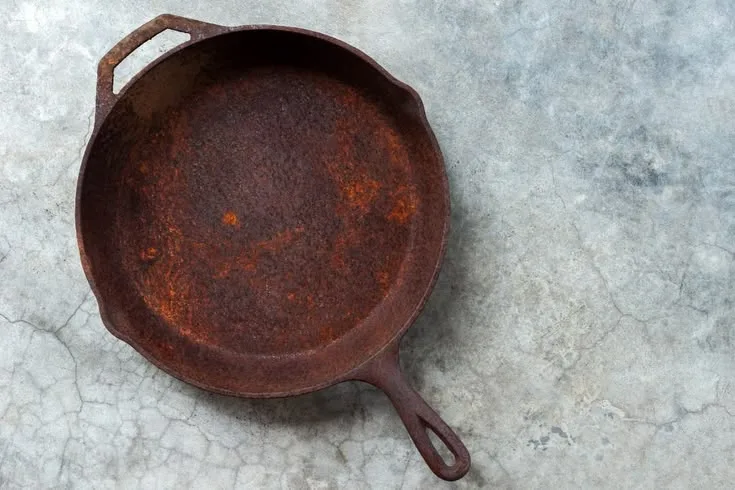
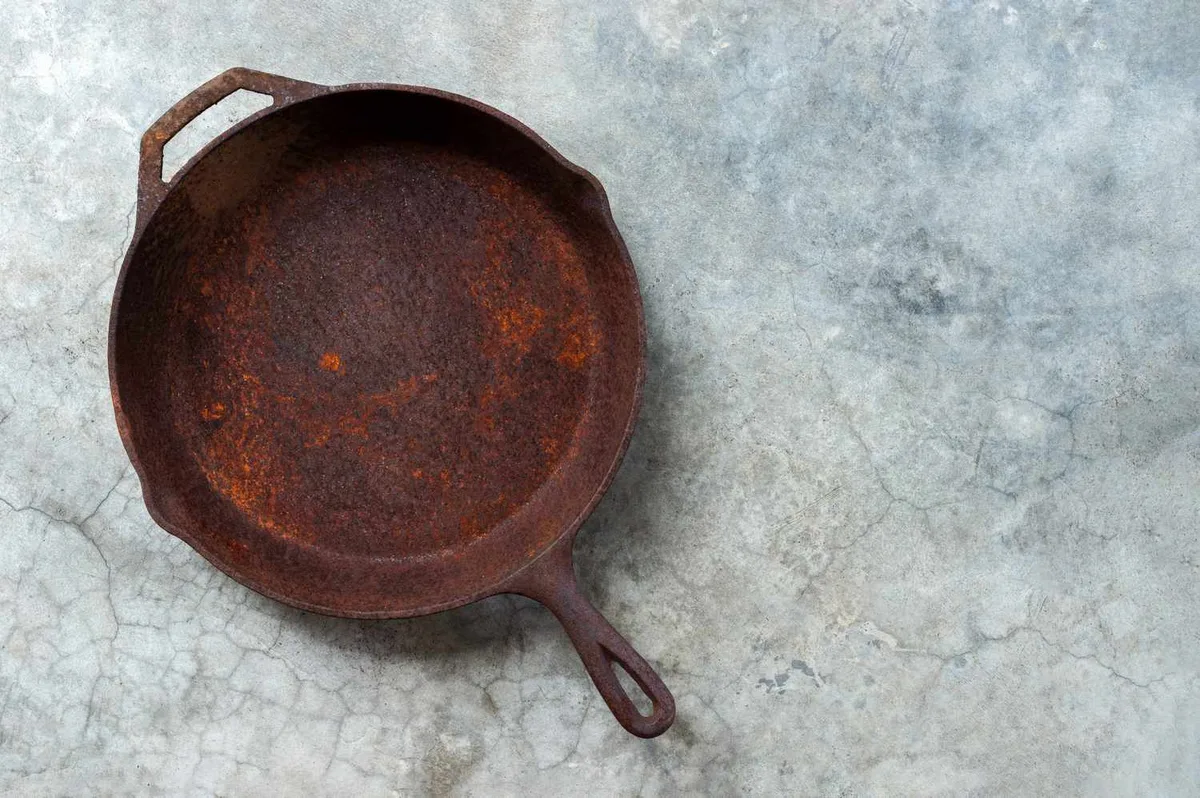
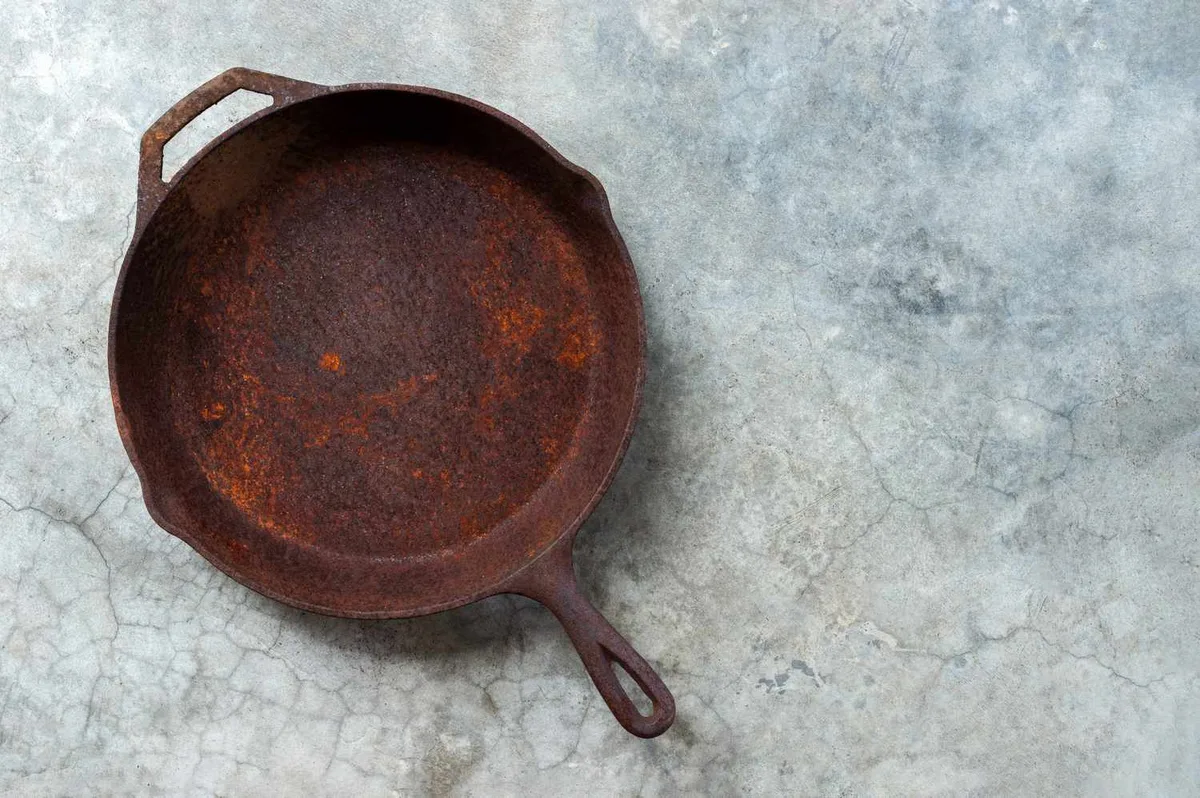
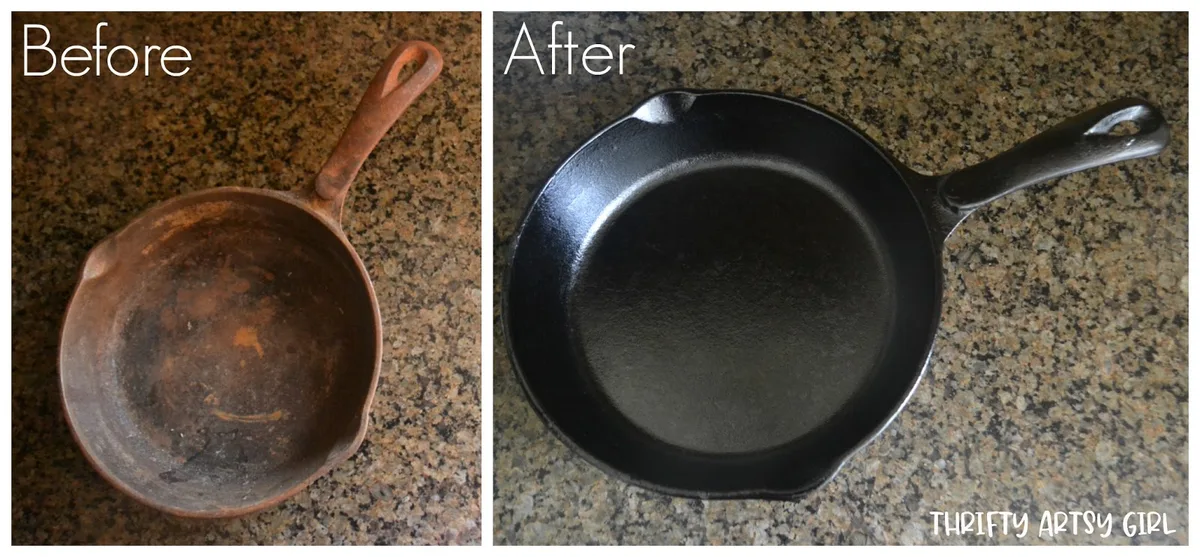
Learning how to clean and reseason rusty cast iron can feel overwhelming, but that pan is almost certainly salvageable. Whether it's a flea-market find or a family heirloom that sat in a damp garage, rust doesn't mean it's ruined.
Manufacturer specifications from major cookware brands show that bare cast iron is virtually indestructible if the metal itself isn't cracked or warped. As of 2026, the standard restoration timeline ranges from 45 minutes for light surface rust to three days for heavy corrosion using a vinegar soak. Let's walk through exactly which path fits your pan.
Image source: Bing (Web (fair-use with source credit))
Quick Answer
Scrub loose rust with fine steel wool under hot water. Soak heavy rust in 50/50 vinegar for one hour. Dry the pan completely on a stove burner.
Wipe on a thin layer of oil. Bake at 450°F for one hour. Repeat the oil and bake cycle three to four times.
First, Know What You're Working With — The 3-Question Readiness Check
Not every rusty pan needs the same treatment. Your first step is diagnosis, not scrubbing. Asking three quick questions will tell you exactly which restoration path to follow.
Question one: Is this bare iron or enameled? Enameled cast iron has a smooth glass coating, usually white or cream on the inside. If you see a glossy layer, stop. Enamel cannot be stripped with vinegar or lye.
You cannot reseason it. The best option for rusty enamel is a baking soda paste scrub, but deep rust means the enamel is compromised.
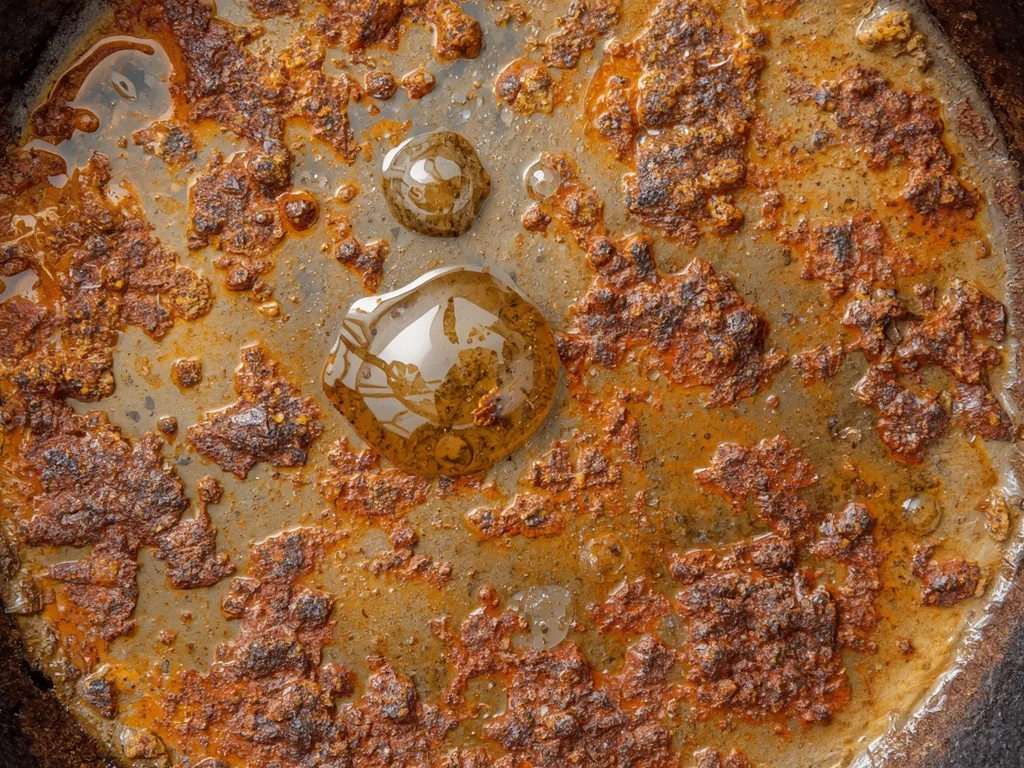
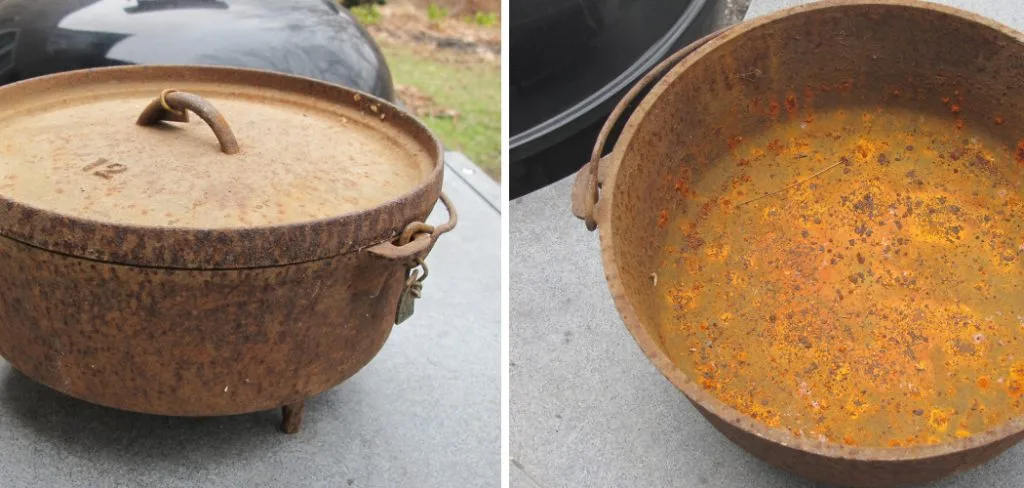
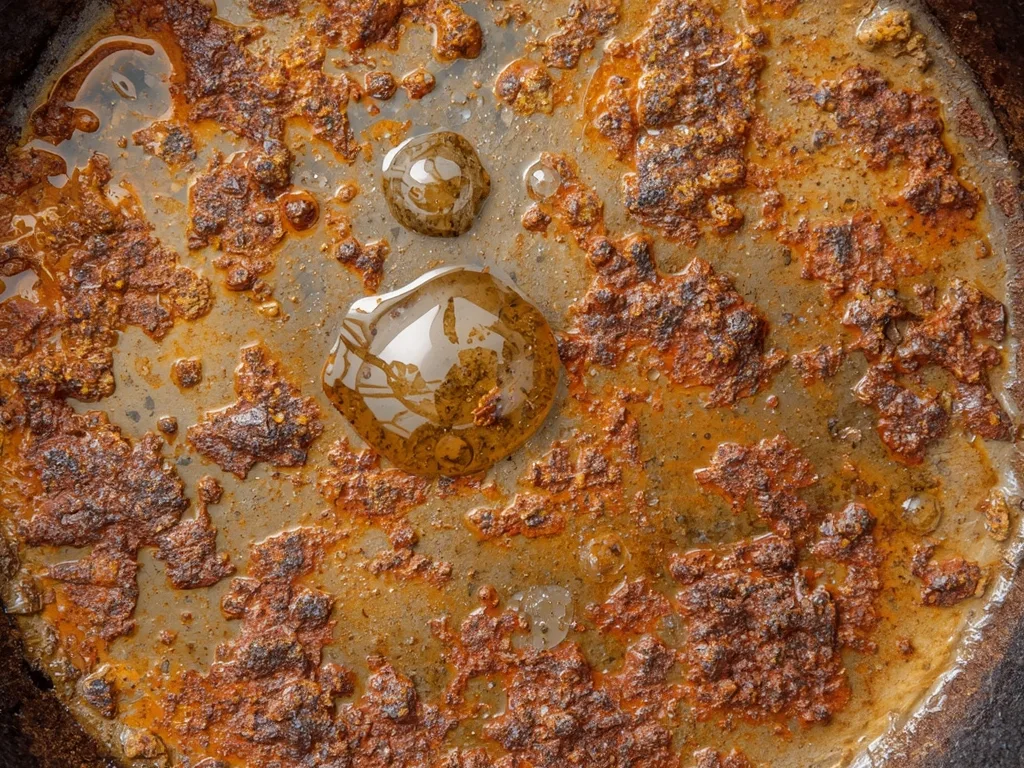
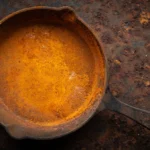
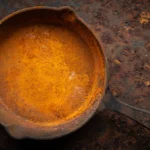
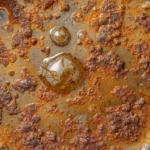
Question two: Is it surface rust or deep pitting? Surface rust looks like orange dust. You can wipe it off with a dry paper towel. Deep rust feels rough to the touch and has visible craters or flaking.
Surface rust takes 30 minutes. Deep pitting takes hours or a chemical strip.
Question three: Are there cracks, warps, or chips? Run your fingers along the rim and cooking surface. Any crack that goes through the metal makes the pan unsafe. Heat expands cracks and they can split during cooking.
Warped pans wobble on flat stove burners. These pans are not worth restoring.
Here is a quick reference for the three common conditions and their best treatment:
| Pan Condition | Recommended Method | Estimated Time |
|---|---|---|
| Light surface rust, smooth metal | Stovetop scrub and reseason | 45 minutes |
| Moderate rust, some flaking | Vinegar soak plus full oven reseason | 2 to 4 hours |
| Heavy rust with pitting, old seasoning | Vinegar or lye strip plus multiple seasoning rounds | 1 to 3 days |
Once you know your pan's condition, pick the right branch. Light rust gets the quick rescue. Heavy rust gets the full rebuild.
Option A: Light Surface Rust — The Quick Stovetop Rescue
If your pan has orange dust or small rust patches on an otherwise healthy surface, you can fix it in under an hour. No vinegar. No lye.
Just soap, steel wool, and heat.
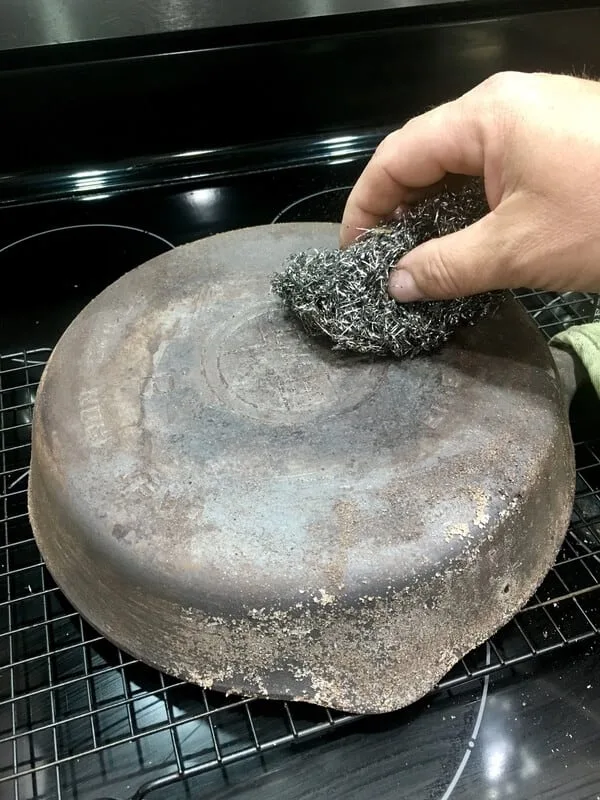
Start by rinsing the pan with warm water. Add a drop of mild dish soap. Scrub the rusty areas with fine steel wool (grade 0000 or 00).
The soap helps lift the rust particles without scratching the iron. Rinse thoroughly and inspect. If you still see orange, scrub again.
Once the rust is gone, dry the pan immediately. Moisture causes flash rust within seconds. Place the pan on a stove burner over medium heat.
Watch the water evaporate. When the pan is bone dry, let it cool enough to handle.
Wipe on a paper-thin layer of high-smoke-point oil. Canola or grapeseed works well. Use a lint-free cloth to rub the oil into the entire pan, then try to wipe it off again.
You want a visible sheen with no pooling.
Heat the pan on the stove over medium heat for five to ten minutes. You will see the oil smoke slightly. That is polymerization happening.
Let it cool. Wipe on another thin layer and heat again. Two or three stovetop cycles will build enough seasoning for cooking eggs.
This method does not strip the existing seasoning underneath the rust. It only removes the rust and patches the coating. For most daily-use pans, this is all you need.
Option B: Heavy Rust or Stripping Old Seasoning — The Full Restoration
Heavy rust means the oxidation has eaten into the metal surface. Old seasoning that is chipping or sticky also needs to come off completely. This takes more time but gives you a fresh start.
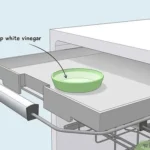
The most reliable home method is a 50/50 white vinegar and water soak. Vinegar's mild acid dissolves iron oxide without damaging the underlying metal. Fill a container large enough to submerge the pan.
Add equal parts distilled white vinegar and water. Submerge the pan completely. Check it every 30 minutes.
Do not soak longer than two hours without checking. Vinegar can etch the iron surface if left overnight. Use a stiff brush or steel wool to scrub off loosened rust under running water.
If rust remains, return the pan to the soak for another 30 minutes.
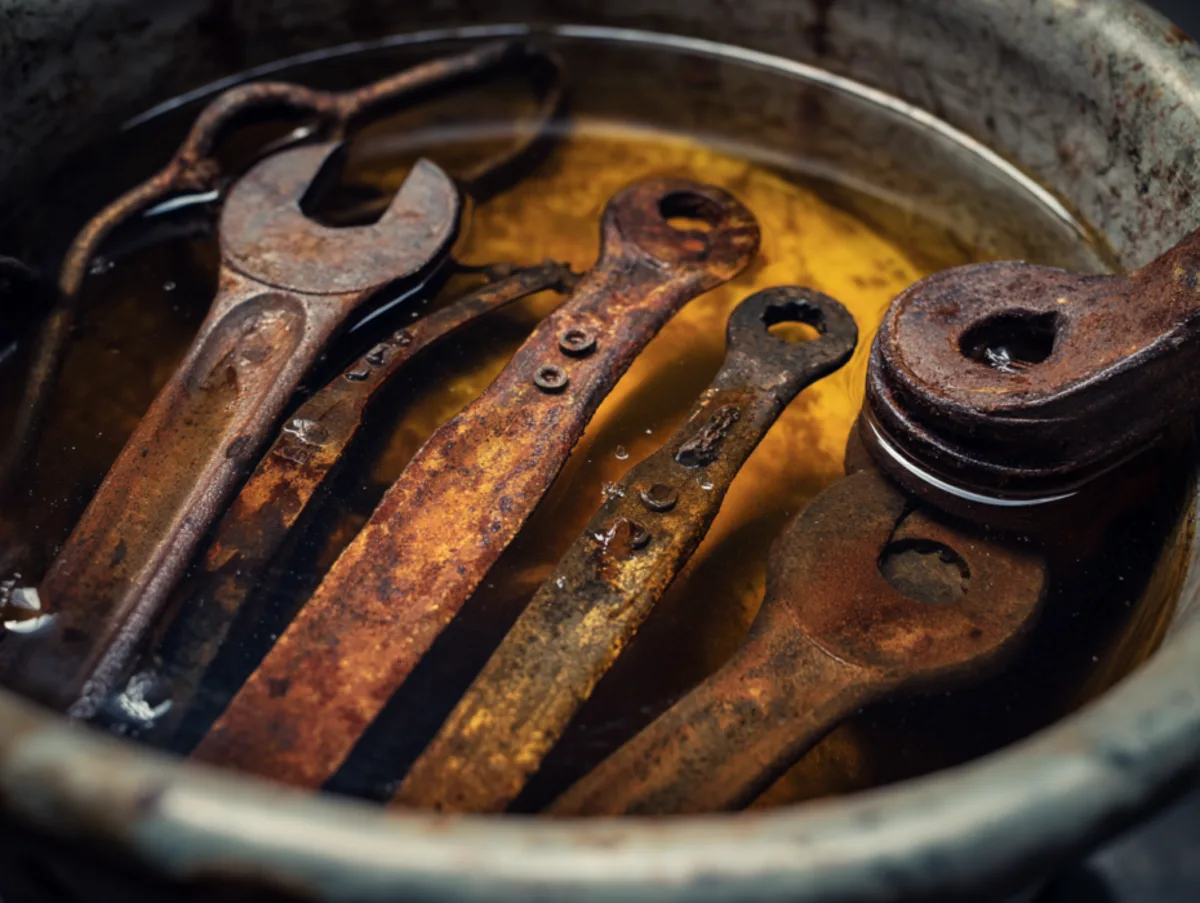
Image source: Bing (Web (fair-use with source credit))
Once all rust is removed, rinse the pan with cold water mixed with one tablespoon of baking soda. This neutralizes any remaining vinegar.
Dry the pan immediately with a towel, then place it on a stove burner over low heat. You must remove every trace of moisture. Even a few drops cause orange flash rust within minutes.
For pans with old seasoning that is flaking or sticky, skip the vinegar and use a lye-based oven cleaner instead. Spray the pan inside and out, seal it in a plastic bag for 24 hours, then rinse. Lye dissolves polymerized oil but does not touch rust.
Use it only for seasoning removal, not rust.
After stripping and drying, your pan is raw gray iron. It will rust instantly if exposed to air. Move directly to reseasoning.
How to Reseason From Scratch (No Matter Which Path You Took)
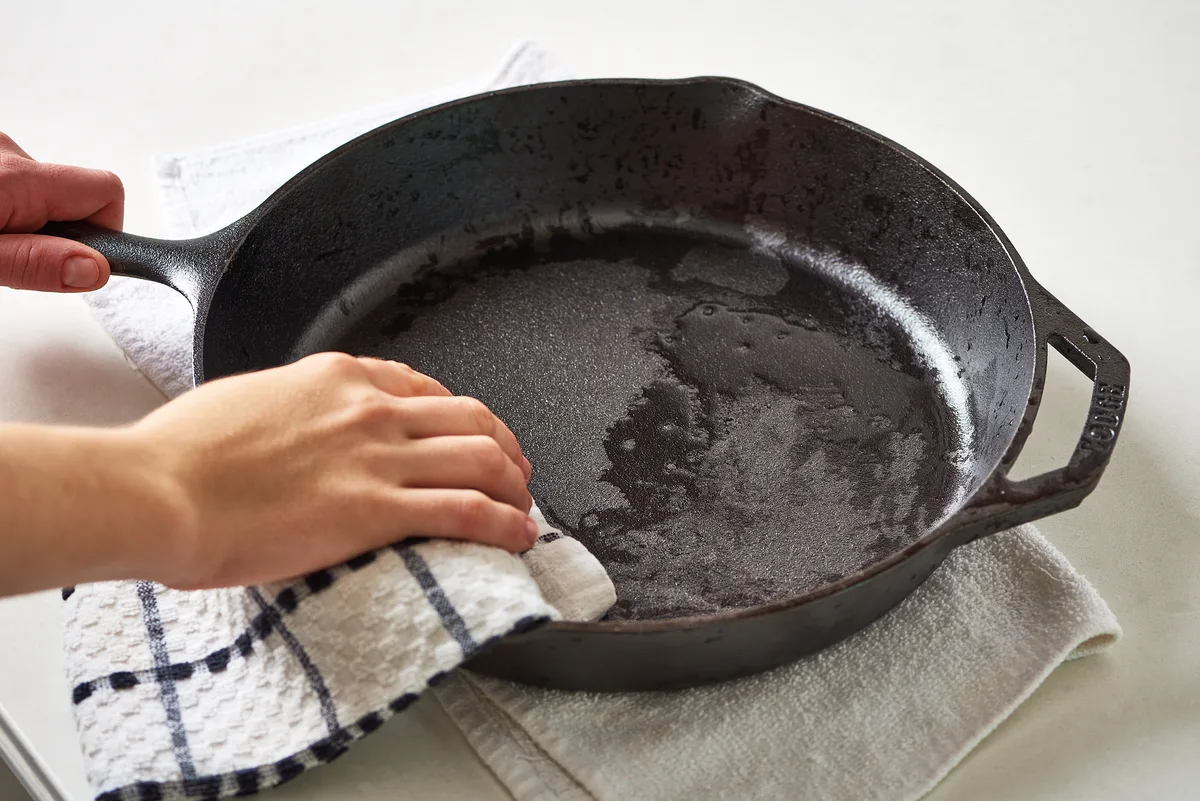
Image source: Bing (Web (fair-use with source credit))
Reseasoning raw iron is the most important step. The process creates a polymerized oil layer that protects the metal and gives you a non-stick cooking surface. The rules are the same whether you used the quick stovetop method or the full vinegar soak.
Preheat your oven to 450°F. Place a sheet of aluminum foil on the bottom rack to catch drips. While the oven heats, wipe your clean, dry pan with a high-smoke-point oil.
Flaxseed oil was once recommended, but aggregate user feedback reports it flakes within months. Grapeseed oil, canola oil, or solid vegetable shortening are more durable choices.
Apply the oil with a lint-free cloth. Rub it into every surface, including the handle and bottom. Then take a clean cloth and try to wipe all the oil off.
This feels wrong, but it is critical. Excess oil pools and creates sticky spots that never cure properly. You want a microscopic film, not a sheen.
Place the pan upside down on the middle oven rack. Bake for one hour. Turn off the oven and let the pan cool inside.
Do not open the door during cooling. Repeat the oil, wipe, and bake cycle three to four times.
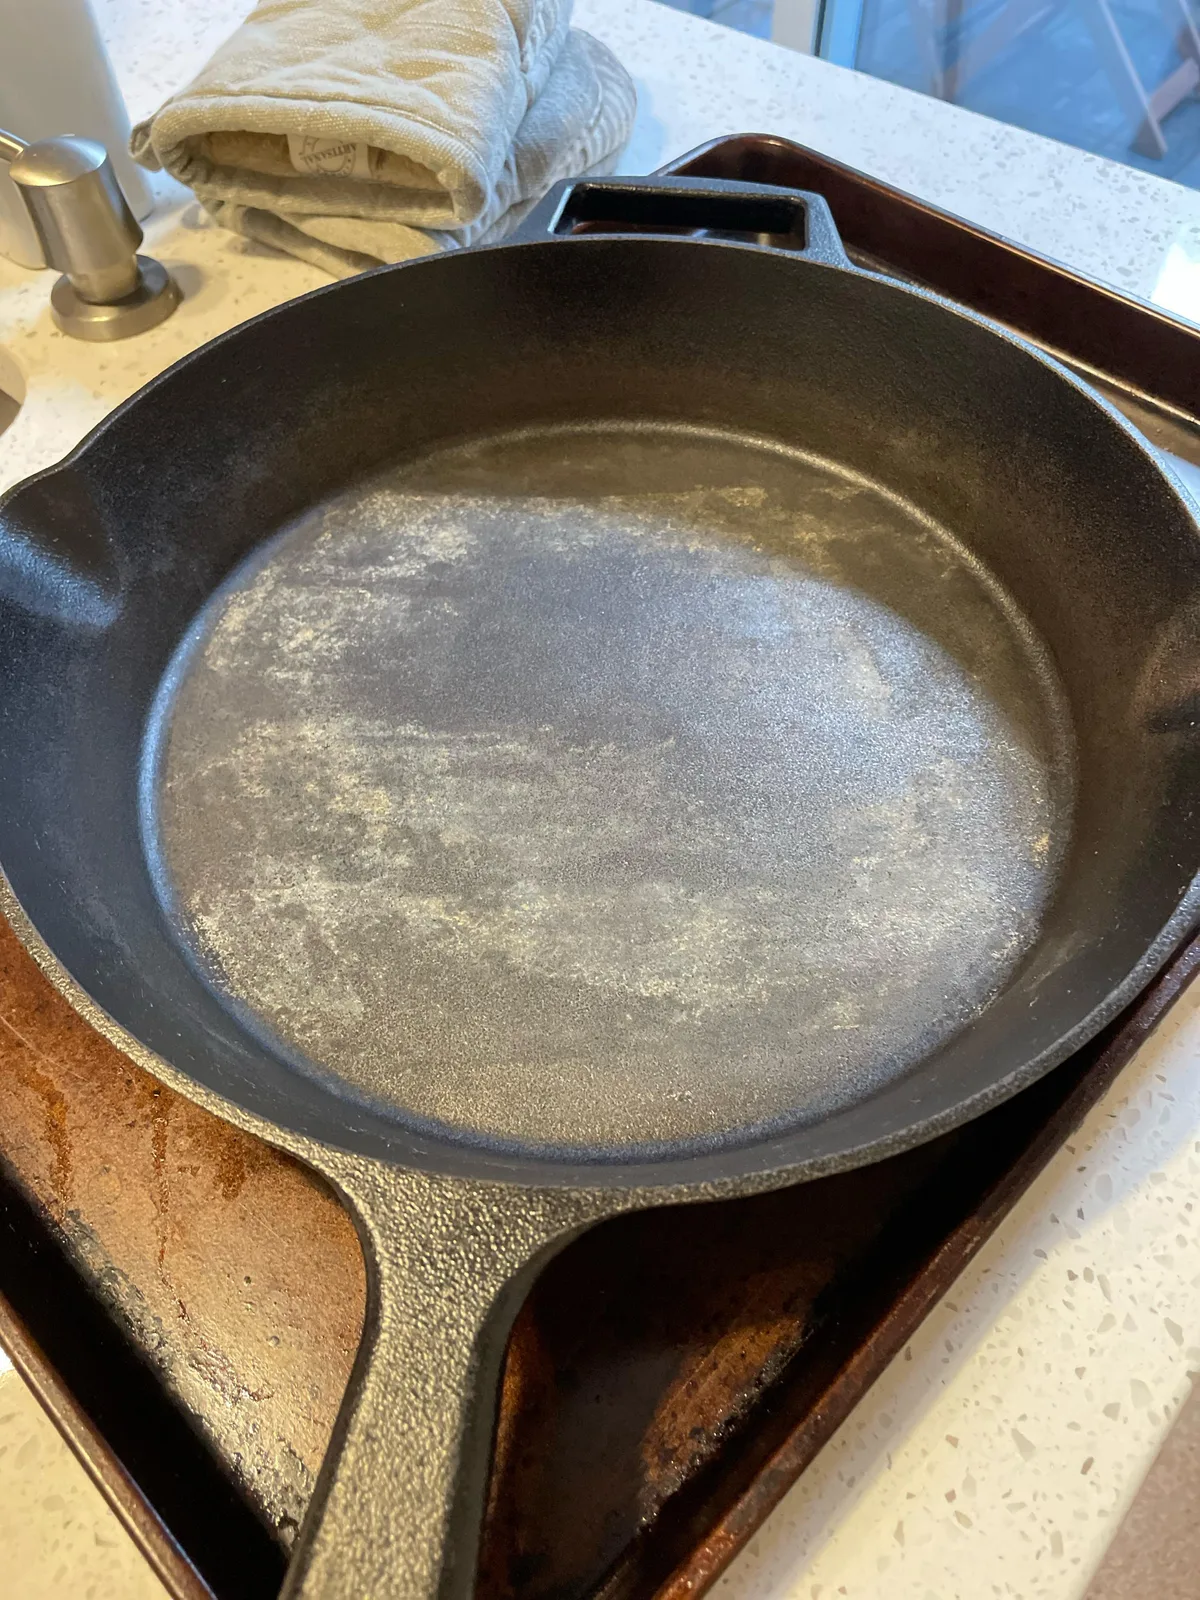
After the final coat, your pan should look dark brown or black with a satin finish. It will deepen to a uniform black with regular use. The seasoning is fragile at first.
Cook fatty foods like bacon or fried eggs for the first few uses. Avoid acidic ingredients like tomatoes or vinegar for the first month.
If you see silver or gray patches after cooking, you did not apply enough seasoning layers. Just repeat one or two more oven cycles and cook another fatty meal.
Where People Mess This Up — And How to Avoid It
Most restoration failures happen for the same four reasons. Knowing them upfront saves you a second round of work.
First mistake: using too much oil. This is the number one cause of sticky, gummy seasoning. Rub oil on, then rub it off like you never wanted it there in the first place.
The layer left behind is enough.
Second mistake: skipping the drying step. Wet iron rusts. Wiping with a towel is not enough.
Heat the pan on the stove until every drop of water evaporates. Touch the handle. It should feel hot and completely dry.
Third mistake: using self-cleaning oven cycles to strip old seasoning. Manufacturer specifications from Lodge Cast Iron explicitly warn against this. The extreme heat of self-cleaning cycles can exceed 900°F, which warps the pan permanently.
Use a lye spray or chemical oven cleaner instead.
Fourth mistake: expecting a single coat to work. One round of oil and heat does not create a durable layer. The polymerization process builds with each cycle.
Three to four coats are the minimum for a reliable cooking surface. Five or six is better for a pan that sees daily use.
Frequently Asked Questions
How long does cleaning a rusty cast iron pan take?
Most restorations finish in a weekend. Light surface rust takes about 30 minutes with fine steel wool. Moderate rust with a vinegar soak runs one to three hours.
Heavy pitting can stretch to several days with repeated soaking.
Is vinegar better than electrolysis for rust removal?
Vinegar is simpler and great for moderate rust. Electrolysis handles heavy corrosion faster, but needs a battery charger, washing soda, and a sacrificial anode. Vinegar also risks etching if you soak too long.
For most home pans, a 50/50 vinegar soak is plenty. For antique collectors, electrolysis is gentler on thin-walled pans.
Does white vinegar damage cast iron?
Short soaks are safe. Vinegar is a weak acid that dissolves rust quickly. Leaving it longer than two hours starts etching the iron itself.
That leaves a rough surface where rust returns even faster. Stick to 30-minute intervals and scrub between sessions. Rinse with baking soda water to neutralize the acid.
Can I restore a rusty vintage cast iron pan?
Yes, with extra care. Vintage pans have thinner walls that warp under high heat or long vinegar soaks. Check for cracks and hairline fractures first.
Test for lead contamination before cooking in it. Use gentler stripping methods like lye spray or electrolysis instead of extended vinegar baths.
Should I reseason after every wash?
No. After normal cooking, wash, dry fully, and rub in a tiny drop of oil. That is enough to keep the seasoning healthy.
Full oven reseasoning is only needed when you strip rust or expose bare iron. Daily reseasoning cycles just create a sticky, uneven layer.

Similar Posts