The Complete Strip, De-Rust, and Oven Reseasoning Walkthrough for Cast Iron
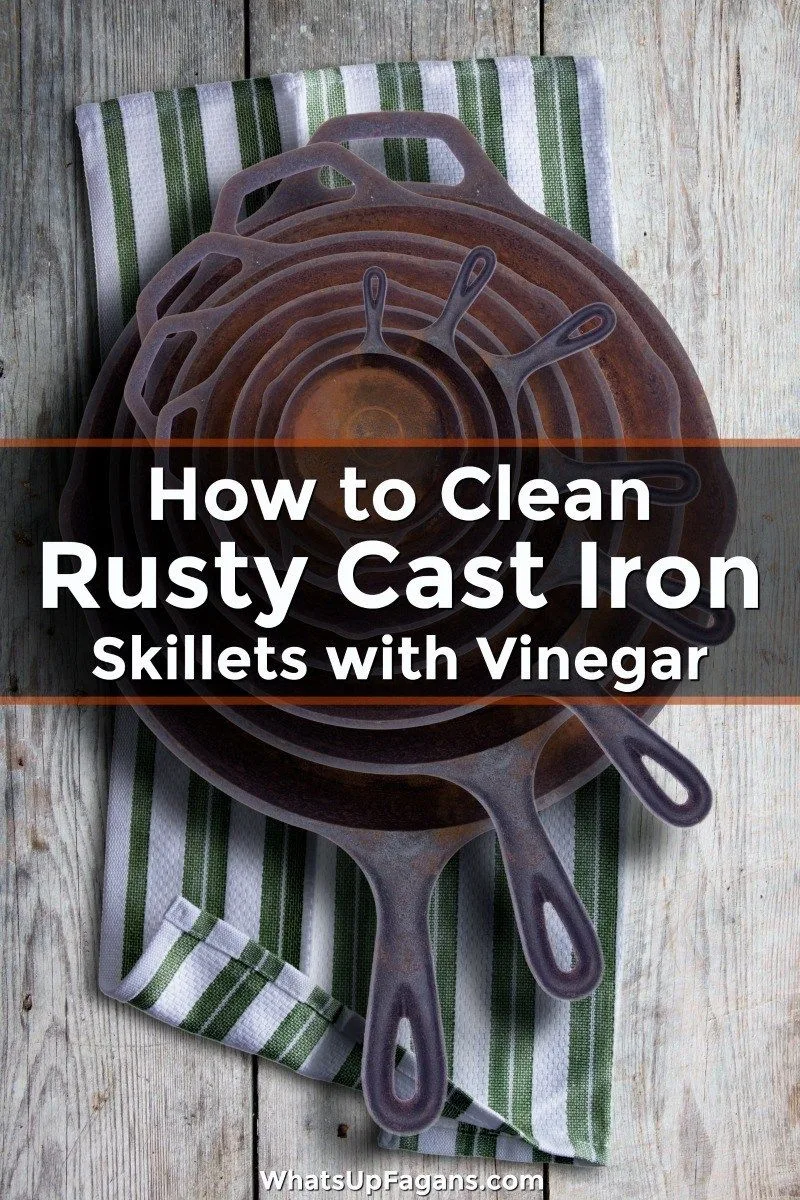
If you've ever pulled a cast iron pan out of storage and found an orange dusting staring back at you, take a breath. Rust happens to pretty much everyone who owns cast iron, especially if you live anywhere with humidity. Knowing how to remove rust and reseason cast iron is a skill that keeps your cookware performing for decades.
Manufacturer guidelines from Lodge indicate that light surface rust can be removed in under 30 minutes with the right approach. Heavy rust with visible pitting requires a completely different method. So the first step isn't grabbing steel wool.
It's figuring out exactly what you're dealing with.
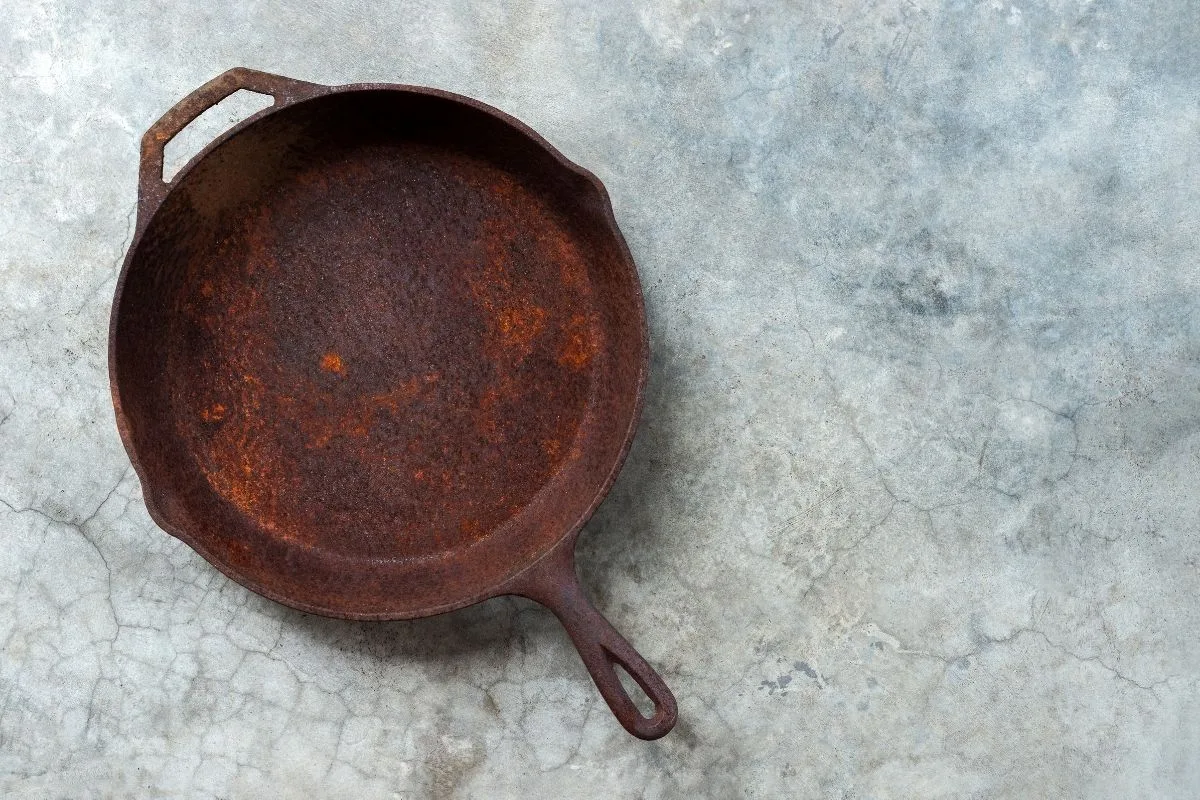
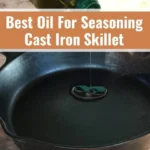
Image source: Web (Bing) / pinterest.com (Web image (fair-use with source credit))
Quick Answer
Scrub rust off with steel wool or a scouring pad. Rinse and dry the pan immediately on the stove. Apply a whisper-thin layer of oil.
Bake it at 450°F for one hour. Repeat this process three to five times. Let the pan cool inside the oven.
Before You Start: What Kind of Rust Are You Dealing With?
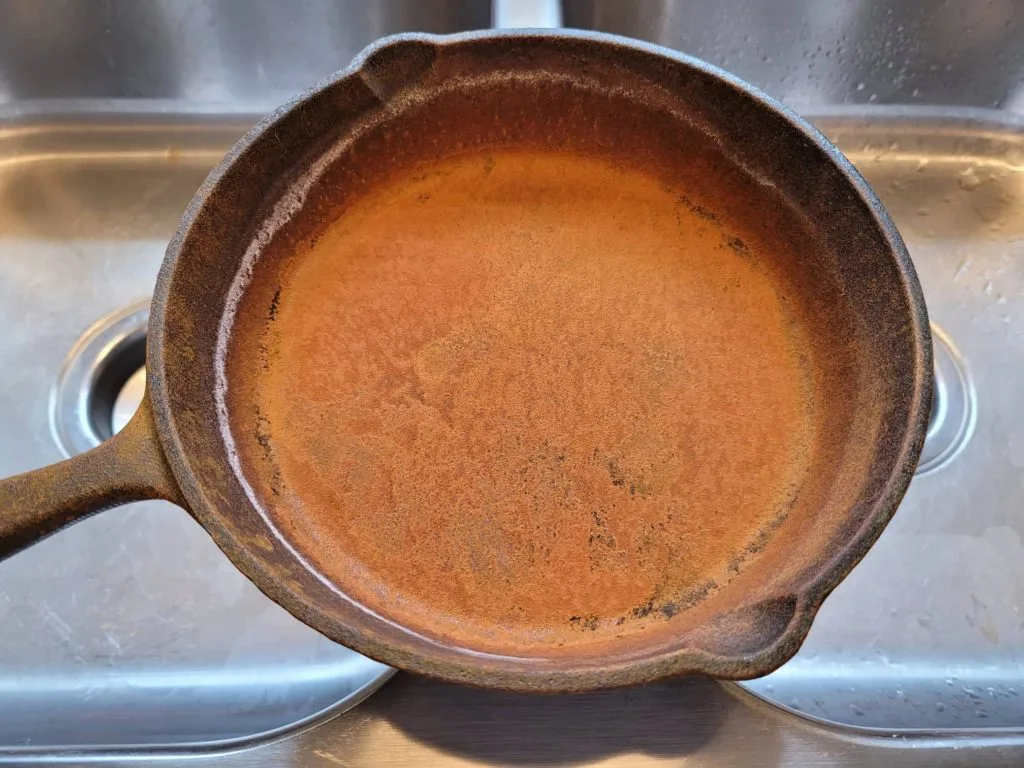
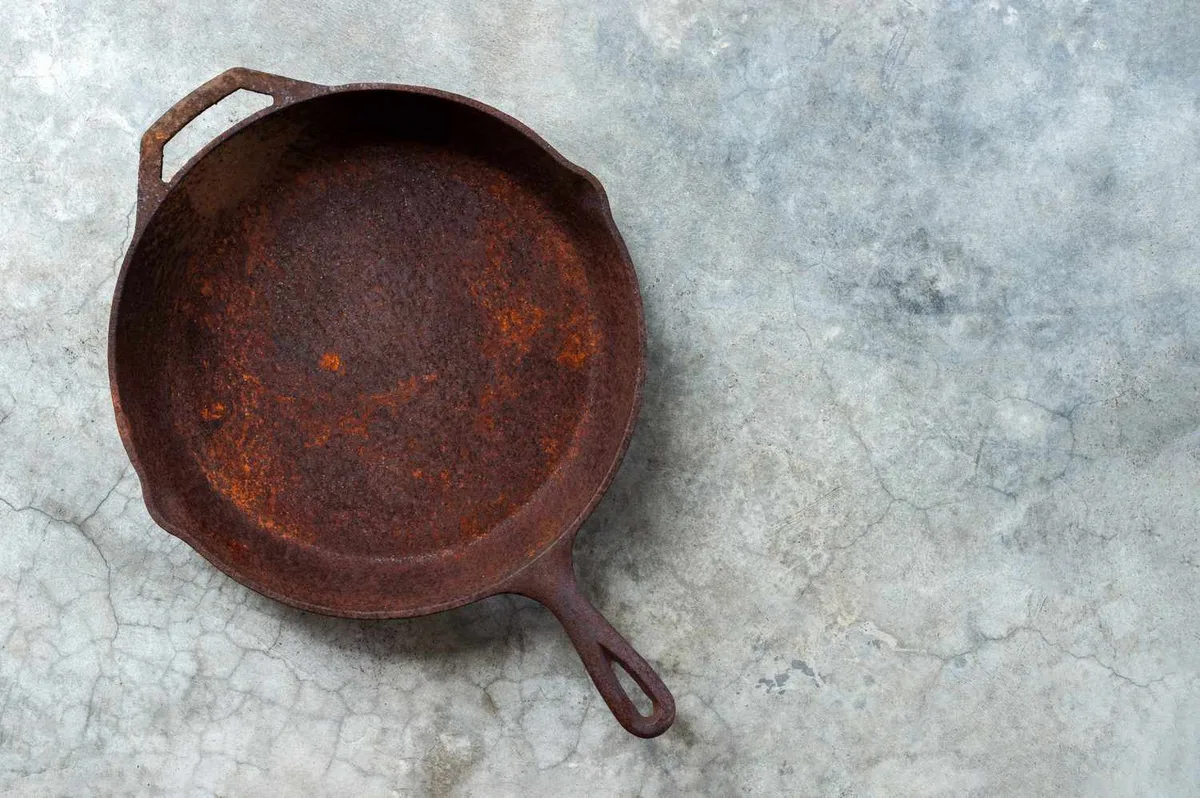
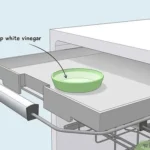
Image source: Web (Bing) / thekitchenly.com (Web image (fair-use with source credit))
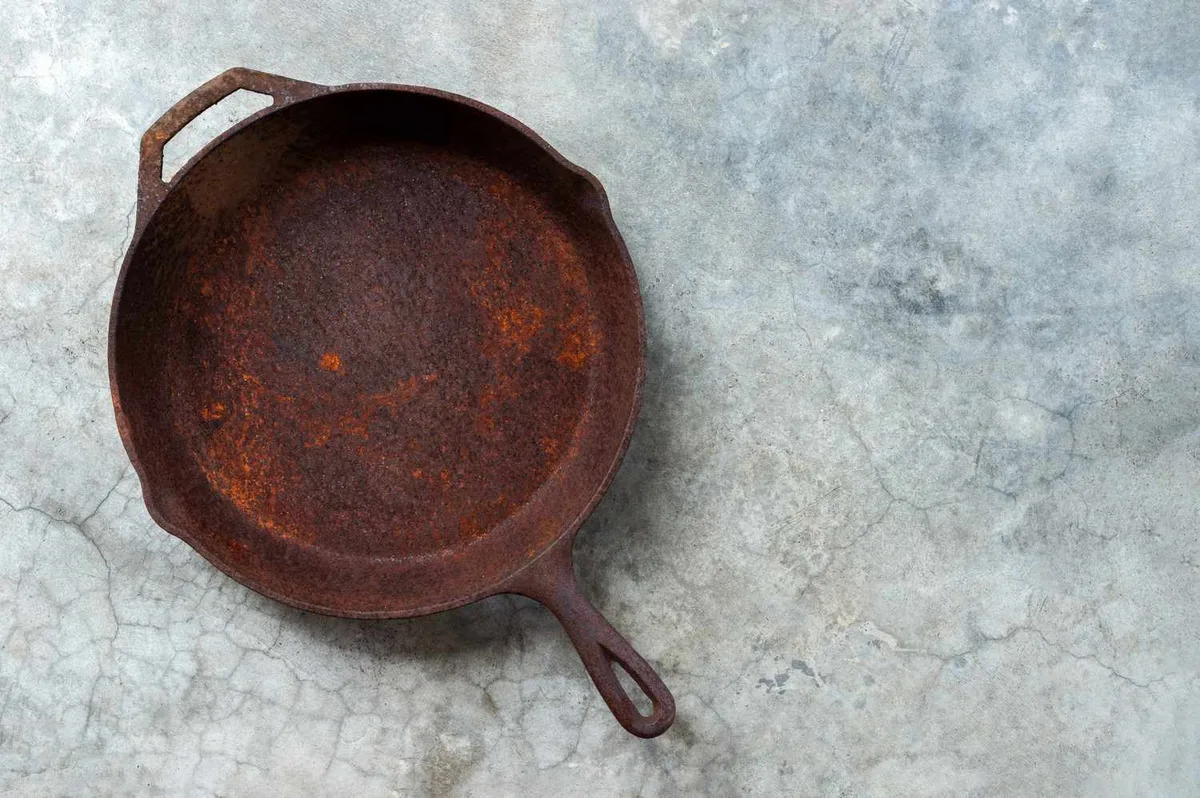
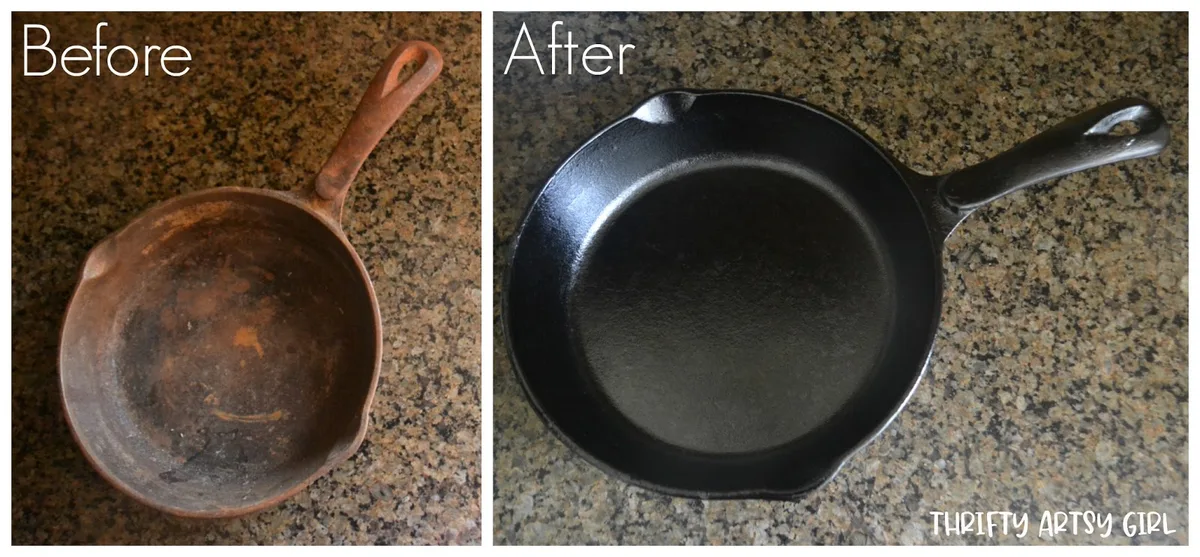
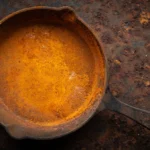
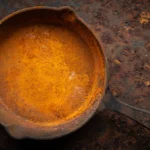
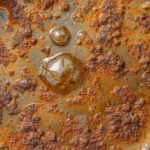
Pick up your pan and run a dry paper towel over the rusty spots. If it comes away with orange dust but the iron underneath feels smooth, you have light surface rust. That is the easiest to fix and usually takes twenty minutes start to finish.
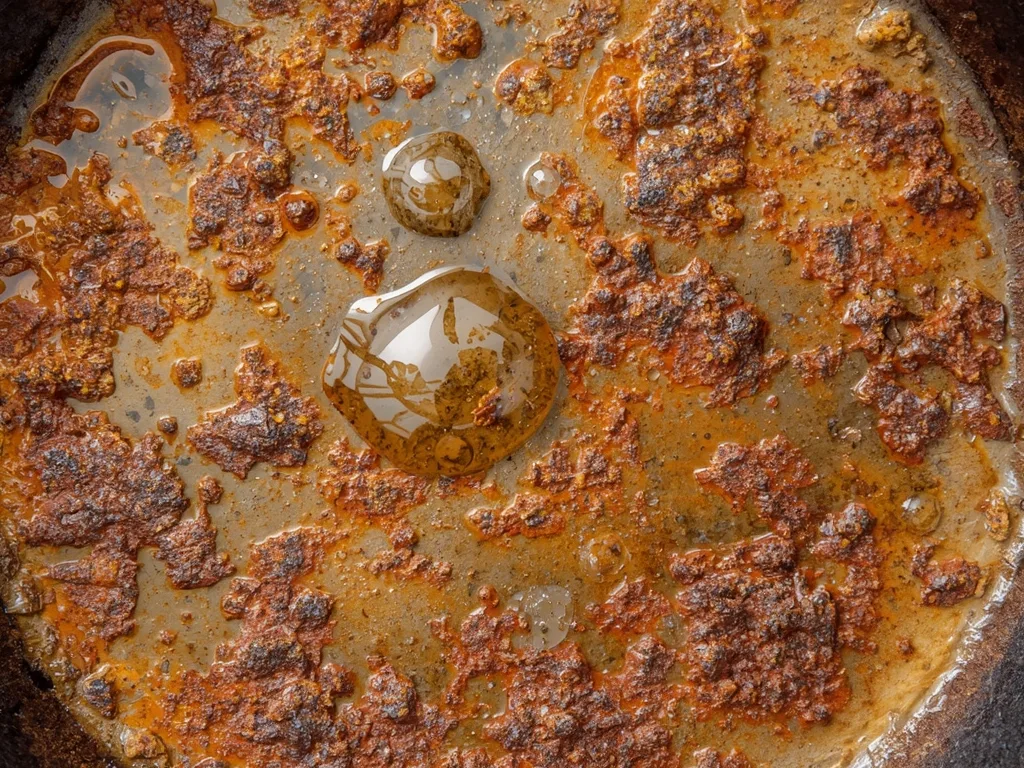
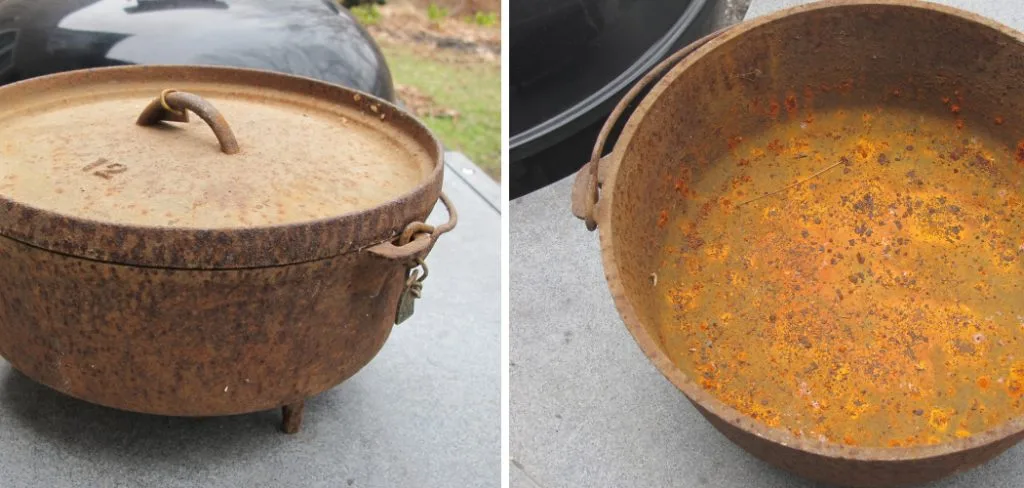
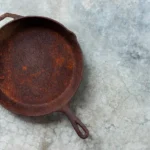
If the paper towel comes off clean but the rust is thick, flaky, or has created craters in the metal, you are looking at heavy rust with pitting. This kind has eaten into the surface and needs a full strip before you can reseason. Do not skip this assessment.
Applying seasoning over heavy rust locks moisture in and guarantees flaking later.
A third scenario happens when a pan has both rust and old seasoning in patches. The seasoned areas look black or brown while the rusty spots are orange. That means you need to strip everything down to bare metal.
A partial fix leaves weak spots that will fail the first time you cook something acidic.
If you are unsure, err on the side of stripping. It takes more time, but it gives you a clean slate. Rushing through a diagnosis is the fastest way to waste an afternoon.
Light Rust: The 20-Minute Fix
Light surface rust is more of a nuisance than a disaster. You do not need harsh chemicals or long soaks. Here is exactly what works.
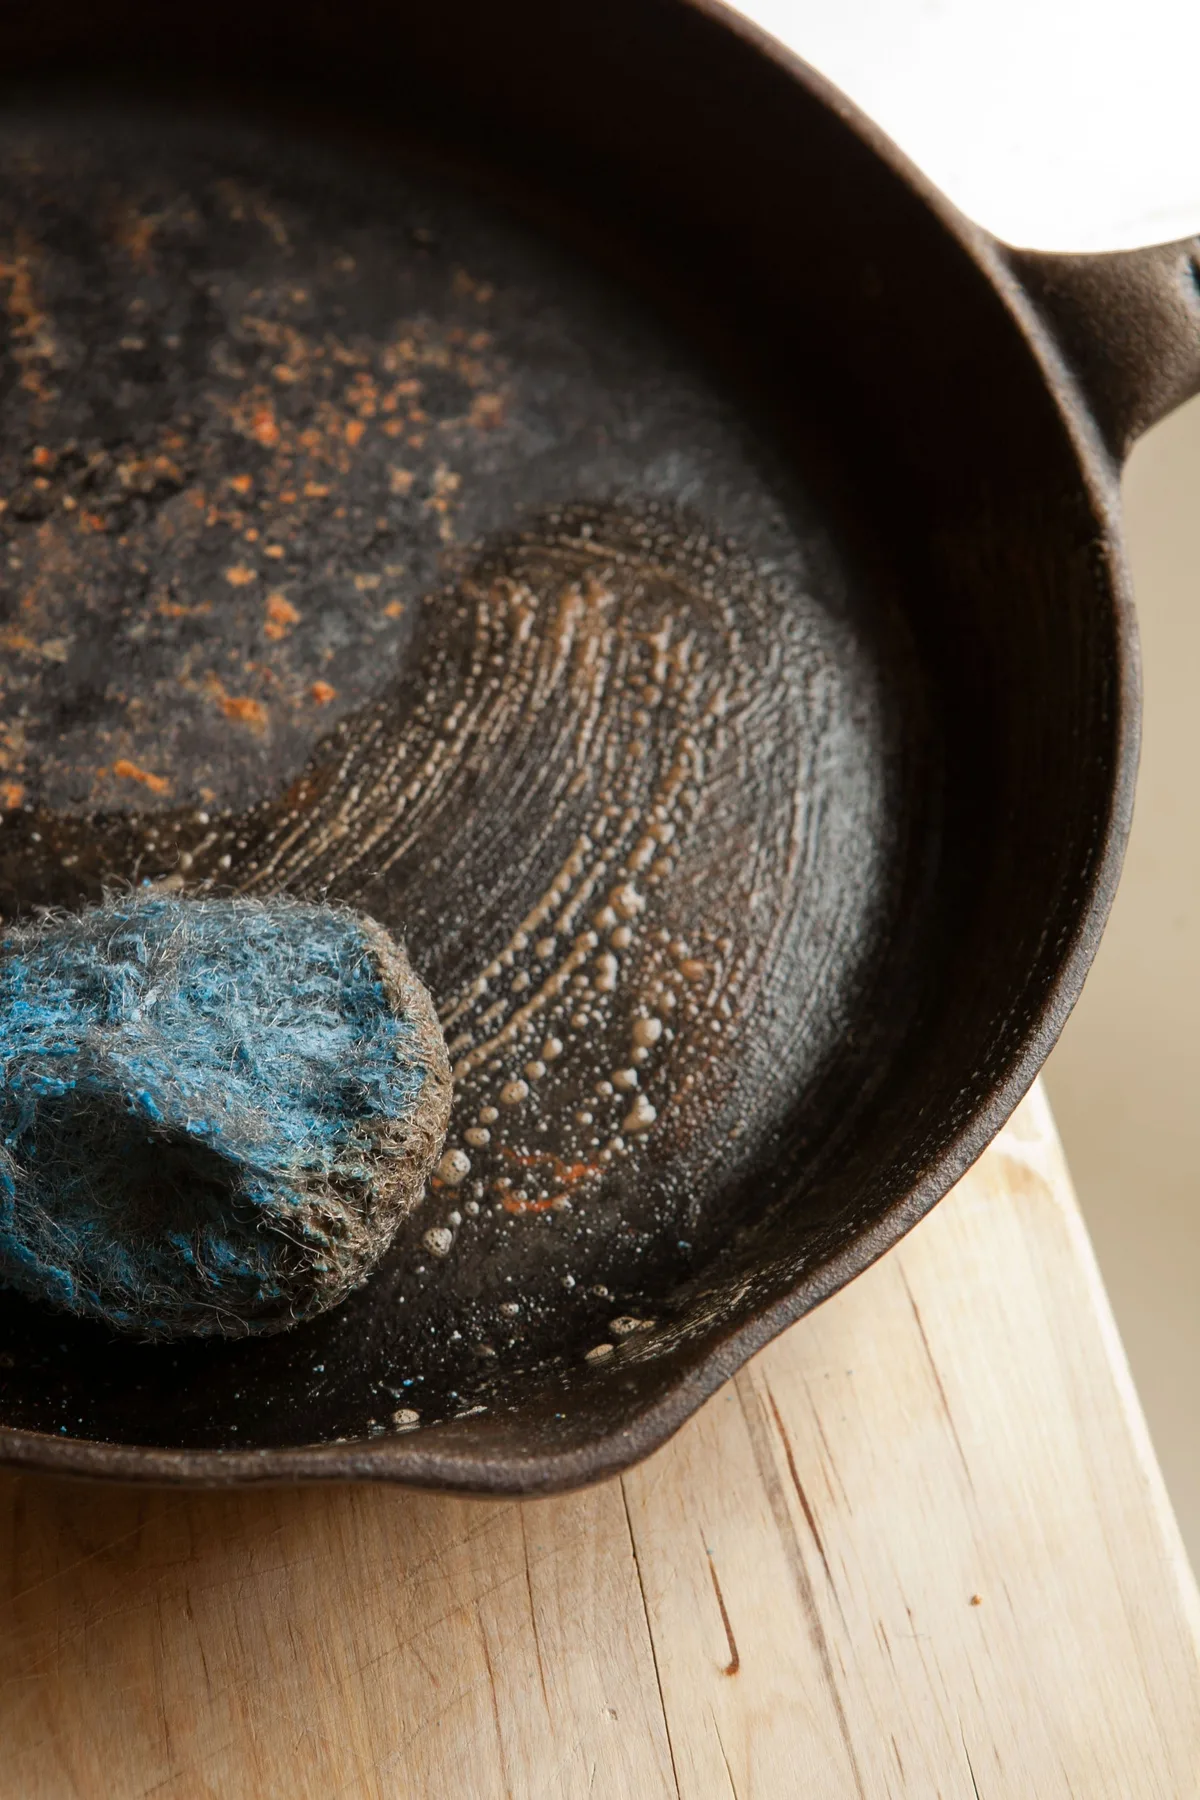
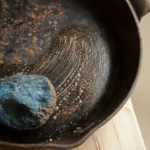
Start by scrubbing the rusty area with 0000-grade steel wool. Use warm water and a drop of dish soap. The soap is fine for one cleaning.
The old rule against soap came from when it contained lye that stripped seasoning. Modern dish soap is safe for a single scrub.
Scrub in circular motions. You will see the rust lift off and the water turn orange. Keep going until the metal feels smooth under your fingers.
Rinse thoroughly and dry the pan immediately with a clean towel.
Here is the step most people mess up. Put the pan on a stovetop burner over medium heat for two to three minutes. You want every drop of water to evaporate.
If you skip this, flash rust will form within minutes. Flash rust is a thin orange bloom that appears as water dries. It is harmless but annoying.
The heat prevents it.
Once the pan is bone dry, rub a drop of oil over the entire surface. Use a paper towel and wipe it in. Then take a clean towel and wipe it out again.
You want the pan to look dry with just a faint sheen. Too much oil leads to sticky seasoning.
At this point the pan has a thin protective coat. You can cook with it right away for light duty like sautéing vegetables. For a full nonstick surface, move to the reseasoning section below.
Heavy Rust and Pitting: When You Need a Full Strip
Heavy rust changes the game. You cannot scrub it off fast enough with steel wool alone, and trying will take hours. You need to dissolve the rust with chemistry.
The standard home method is a vinegar soak. Mix equal parts white vinegar and water in a container large enough to submerge the pan. Submerge the pan fully.
Check it every thirty minutes. Light to moderate rust may need two to three hours. Heavy rust can take up to eight hours, but do not leave it overnight without checking.
Here is the risk. Vinegar is acetic acid. It eats rust faster than it eats iron, but given enough time it will also pit the metal.
Once you see bare grey iron with no orange spots, pull the pan out. Do not wait.
After the soak, scrub the surface with steel wool under running water. The rust should slough off easily. If patches remain, put the pan back in the vinegar for another thirty minutes and check again.
Once all rust is gone, rinse thoroughly and dry on the stove exactly as described for light rust. Then immediately apply a thin oil coat to prevent flash rust.
For heavily pitted pans, you may feel small craters with your fingernail even after the rust is gone. That is fine. Seasoning will fill those pits over time.
Pitting does not affect cooking performance, though it does make the pan harder to clean until several layers of seasoning build up.
There is an alternative for collectors or people restoring multiple pans. Electrolysis uses a low-voltage DC current in a water bath with washing soda. It removes both rust and old seasoning without any scrubbing or acid risk.
Per the University of Minnesota Extension, this method is the safest for antique pans with thin walls. It requires a battery charger, a plastic bucket, and a sacrificial steel electrode. It takes overnight but leaves the pan looking like new.
Avoid the oven self-cleaning cycle for removing rust. The high heat can warp thin pans and may cause cracking in vintage pieces. The Lodge cast iron care guide explicitly warns against it for any pan made before the 1950s.
How to Reseason Your Cast Iron the Right Way
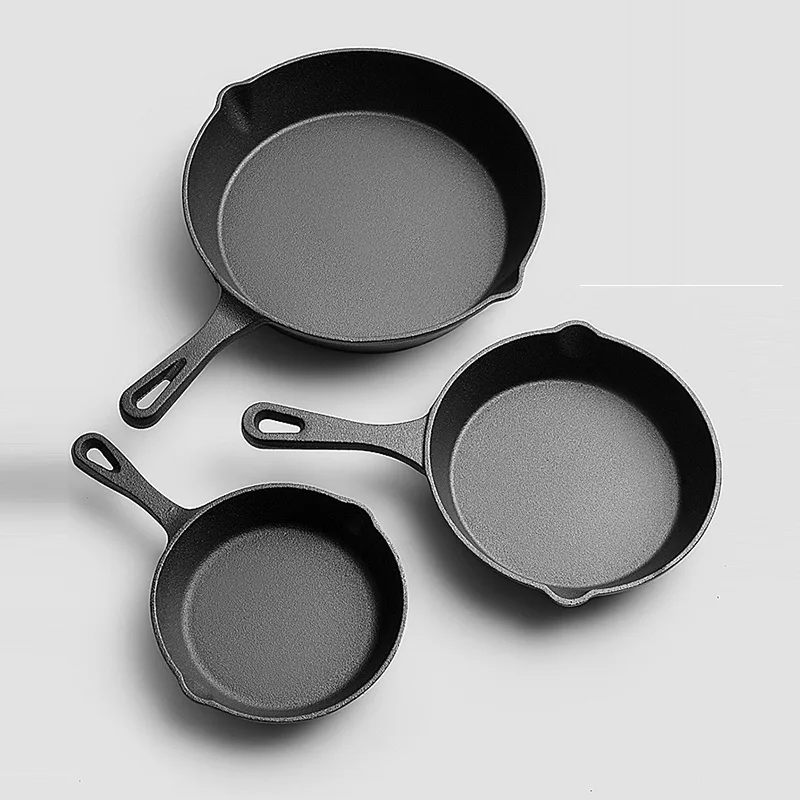
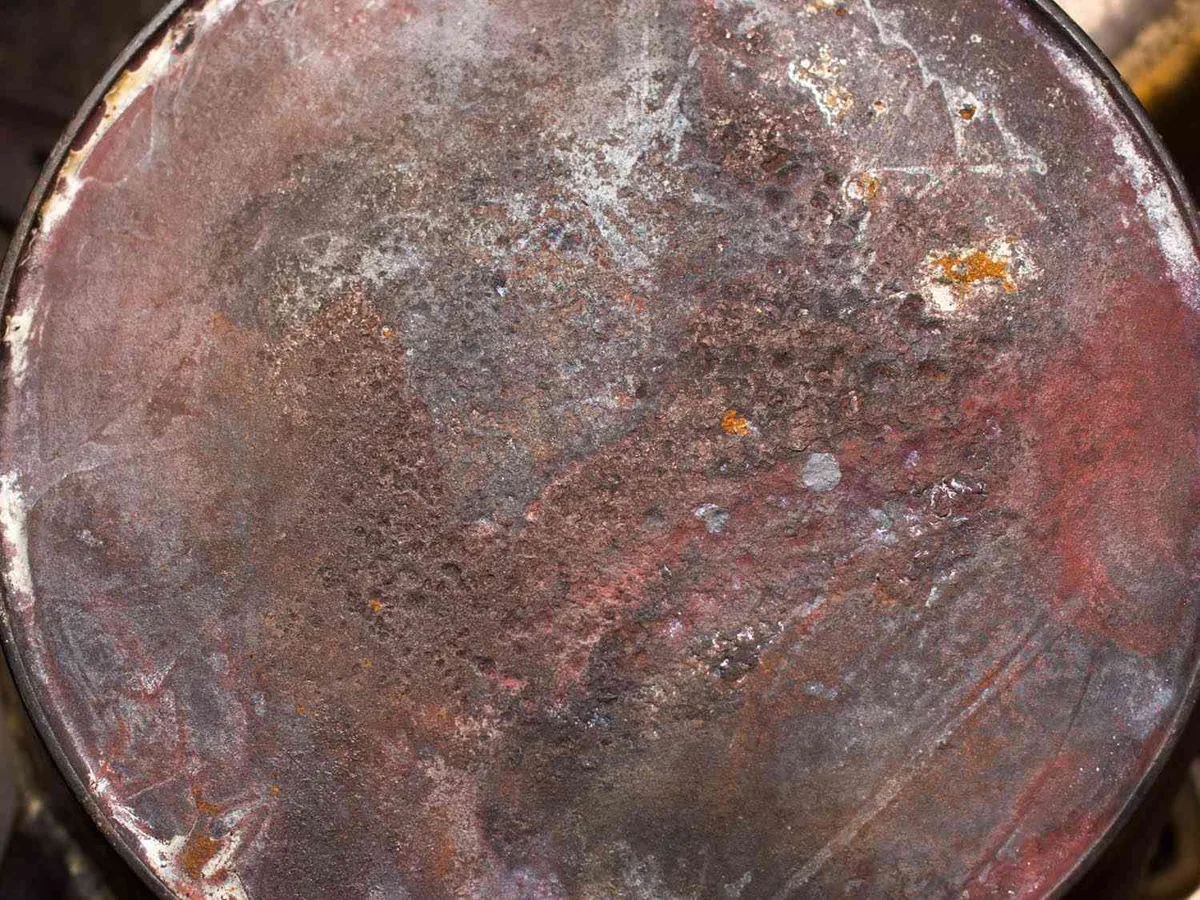
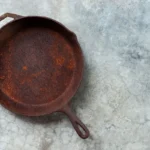
Image source: Web (Bing) / shopatstop.com (Web image (fair-use with source credit))
Once the pan is clean and dry, reseasoning is what gives you that dark, nonstick surface. Seasoning is not a coating. It is a chemical reaction called polymerization.
Heat turns oil into a hard plastic-like layer bonded to the iron.
Choose your oil carefully. Flaxseed oil sounds great because it has a very high smoke point, but user reviews and practical testing show it flakes off within weeks. Stick to grapeseed oil, canola oil, or plain vegetable shortening like Crisco.
These oils produce durable seasoning that holds up to daily cooking.
Preheat your oven to 450°F. Place the bare pan inside for fifteen minutes. This opens the pores of the iron and ensures even heat.
Remove the pan carefully. Apply a small amount of oil to a lint-free cloth. Rub it over the entire pan, inside and out, including the handle.
Now take a clean cloth and wipe all the oil off. Seriously. You want the pan to look dry.
The thinnest possible layer is what creates hard seasoning. Thick oil turns sticky and will never fully polymerize.
Place the pan upside down on the middle oven rack. Put a sheet of aluminum foil on the rack below to catch drips. Bake for one hour.
Turn the oven off and let the pan cool inside the oven. Do not open the door. Rapid cooling can cause the seasoning to crack.
Repeat this process three to five times. The first coat will look patchy. That is normal.
By the third coat the surface should be dark brown and glossy. By the fifth coat it looks like a well-used heirloom.
If you need to speed things up, you can do stovetop seasoning. Rub a thin layer of oil on the pan and heat it on medium until it just starts to smoke. Let it cool, then repeat.
Stovetop seasoning works for touch-ups but is harder to keep even across the whole pan. Oven seasoning is better for a full rebuild.
The Most Common Mistakes (and How They Ruin Good Work)
The biggest mistake is using too much oil during seasoning. It creates a sticky, uneven surface that attracts dust and picks up off-flavors. If your pan looks greasy instead of dry after oiling, you used too much.
Wipe it out with a clean towel and try again.
The second mistake is setting the oven temperature too low or too high. Below 400°F, the oil never fully polymerizes and stays gummy. Above 500°F, the oil burns into a brittle black crust that flakes off.
Stick to 450°F for most oils. If you use shortening, 450°F works well.
Skipping the drying step after washing is the third classic error. Even a few drops of water left on the iron will create flash rust within minutes. Always dry the pan on the stove over low heat until it is warm to the touch.
Then apply a thin oil layer before storing.
Another common trap is cooking acidic foods too soon. Tomatoes, vinegar, and lemon juice will strip a fresh seasoning layer. Give new seasoning at least a week of cooking fatty foods like bacon or fried eggs before you introduce anything acidic.
Finally, do not neglect the outside of the pan. Rust can form on the bottom and handle even if the inside is well seasoned. Every time you oil the cooking surface, give the rest of the pan a thin wipe too.
That five-second habit prevents rust from sneaking up on you.
Keeping Rust Away for Good
Rust always comes back if your storage habits stay the same. The single most reliable habit is drying your pan on the stovetop after every wash. Warm the pan for two or three minutes until the last drop of water evaporates.
Then rub in a tiny layer of oil, even if you cooked something fatty earlier.
| Storage Situation | What Works Best |
|---|---|
| Humid climate or basement | Keep the pan in a dry cabinet, not near a window or washing machine |
| Stacking multiple pans | Put a paper towel between each pan to absorb moisture and prevent scratching |
| Short breaks between meals | Just a thin oil wipe after drying is enough |
| Long-term storage (weeks or months) | Coat the whole pan in oil, wrap it in a paper towel, and keep it somewhere climate-controlled |
If you live in a humid region, climate control matters more than the oil you use. Aggregate user reports show that pans kept in garages or sheds rust far faster than pans stored indoors. A dehumidifier in a basement does more for your cast iron than any fancy seasoning blend.
You also need to watch for rust hiding in places you rarely look. Check the underside of the handle and the outside edges of the pan monthly. Those spots collect water after washing because they cool slower than the center.
A quick wipe with oil after every wash fixes this before rust gets a foothold.
Frequently Asked Questions
Can I use white vinegar to remove rust from cast iron?
Yes, and it is the most popular home method. Mix equal parts white vinegar and water. Submerge the pan and check every 30 minutes.
Light rust takes one to two hours. Heavy rust may take up to eight hours, but never soak overnight without checking.
How long does vinegar take to remove rust?
It depends on rust severity. Light surface rust usually lifts within one hour. Moderate rust takes two to three hours.
Heavy rust with pitting can take several hours. The key is checking frequently and pulling the pan as soon as bare grey iron appears.
What is the best oil for reseasoning cast iron?
Grapeseed oil, canola oil, or vegetable shortening like Crisco work best. They smoke around 420°F to 490°F, which means they polymerize cleanly. Flaxseed oil looks good initially but flakes off in everyday use.
Olive oil has a low smoke point and leaves a sticky finish.
Can I use soap on cast iron?
Yes, modern dish soap is safe for occasional cleaning. The old rule against soap came from formulas containing lye. It only matters for repeatedly washing a freshly seasoned pan.
One soapy scrub before reseasoning is fine.
Why does my cast iron rust after seasoning?
The seasoning layer is too thin or the pan was wet when stored. A single coat of oil will not fully seal the iron. Apply three to five coats, and always dry the pan thoroughly on the stovetop after washing.
Is rust on cast iron dangerous to eat?
No, ingesting small amounts of rust is not toxic. It just tastes metallic and leaves orange streaks. Rust is an iron oxide, and iron is a normal mineral in your diet.
Clean the rust off, reseason, and the pan is perfectly safe to use again.

Similar Posts