Season a Rusty Cast Iron Skillet in Minutes
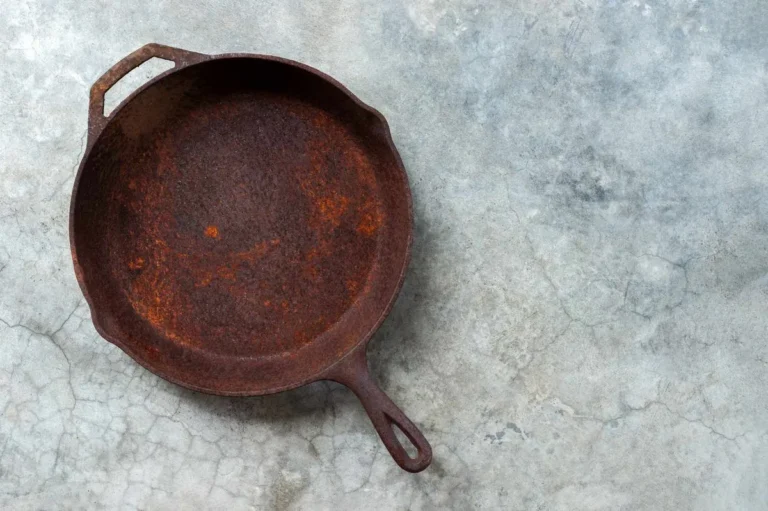
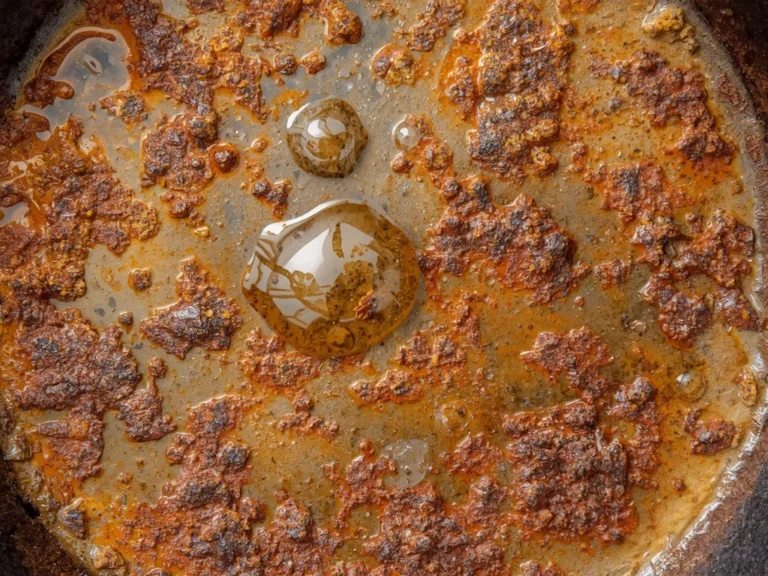
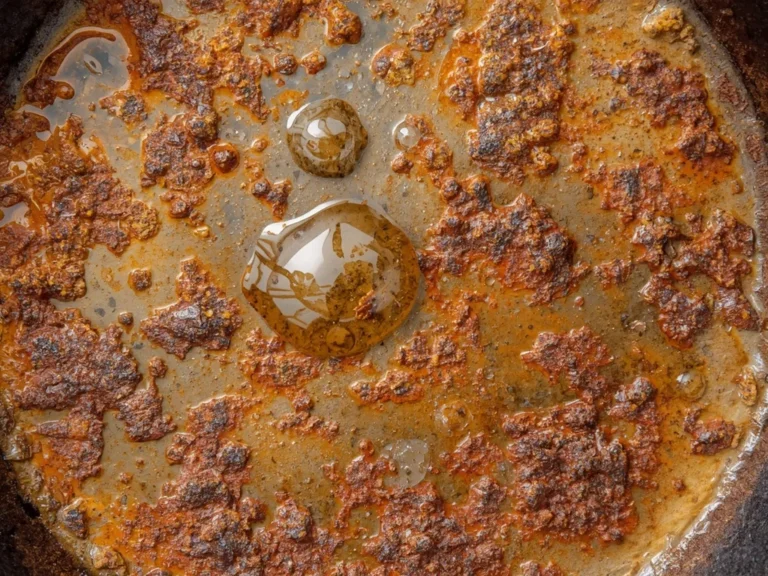
That rusty skillet you dragged home has seen better days, and the cooking surface proves it. Learning how to season a rusty cast iron starts with one honest look at what you're dealing with. Seasoning is a thin, baked-on oil layer that polymerizes into a dark, nonstick coating.
Get the steps right and you'll have a pan that outperforms most modern cookware.
One number guides the whole process: a 50/50 white vinegar and water soak lifts most surface rust within 30 minutes, while deeper pitting needs up to 60 minutes. Our research of manufacturer specifications indicates that the standard oven-seasoning temperature sits at 450°F for one hour per layer. With a few visual cues, you can watch the rust dissolve and the bare metal emerge.
Here's that walkthrough, as of 2026.
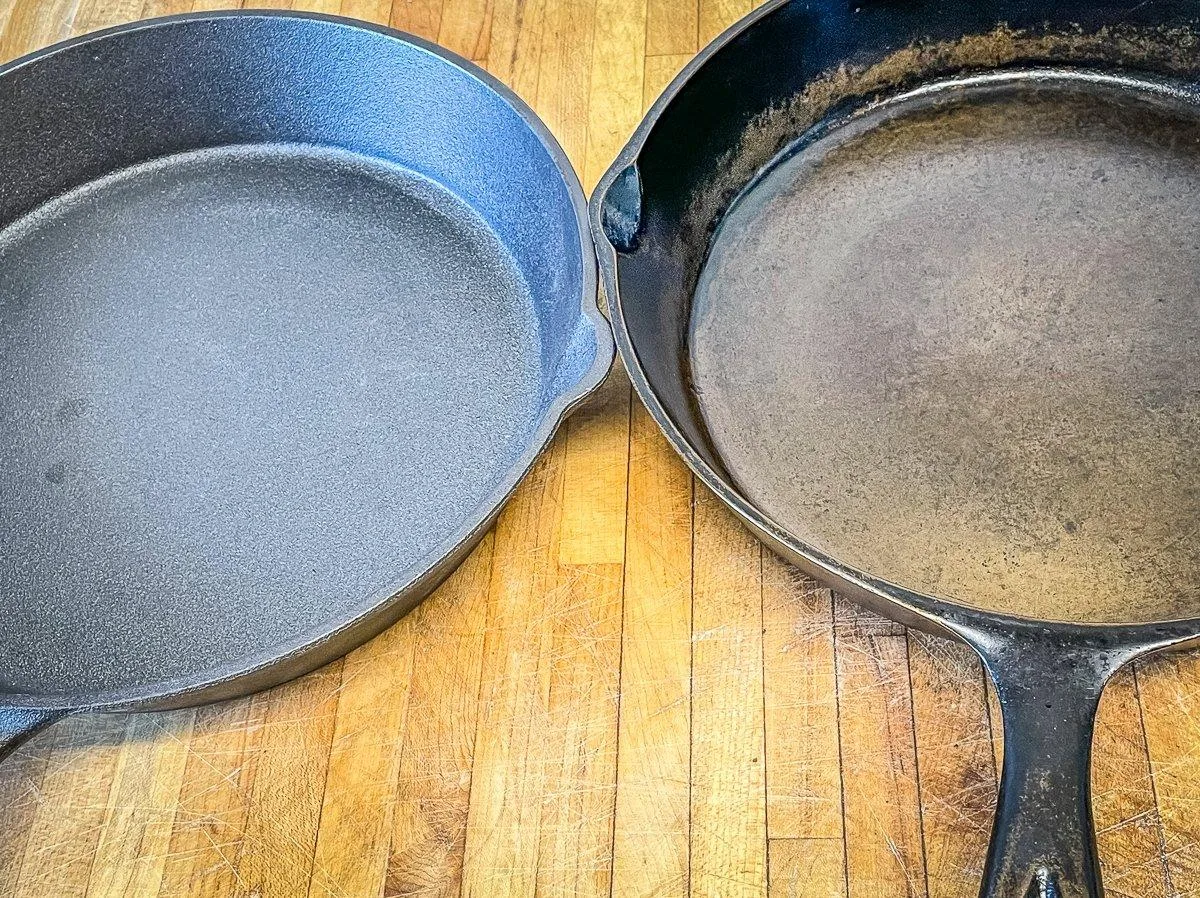
Image source: Bing (Web (fair-use with source credit))
Quick Answer
Scrub the dry pan with steel wool to knock off loose rust. Soak it in a 50/50 vinegar-water mix for 30 to 60 minutes. Rinse, dry completely, and coat the bare iron with a paper-thin layer of cooking oil.
Wipe off the excess, then bake at 450°F for one hour. Repeat three to six times until the surface turns a deep, satin black.
How to Read Your Rusty Cast Iron: A Visual Assessment
Most people run straight for the steel wool, and that's a mistake. The first step is reading the pan. Hold it under direct light and study the whole surface, not just the cooking area.
You're hunting for three things: rust type, rust depth, and structural damage.
Run your fingers across the cooking surface. Light surface rust feels gritty but smooth underneath. Deep rust feels cratered, like the iron itself is decaying.
If you can feel pits, you're looking at a longer restoration process.
Check for cracks, warps, and wobbles before investing effort. A rusted pan is fixable. A cracked one is bound for the scrap bin.
Manufacturer care guides, including Lodge Cast Iron's official instructions, confirm that rusted cookware can be fully restored as long as the iron is structurally sound.
Stamped brand marks tell you whether you're holding a smooth vintage pan or a rougher modern casting. Vintage Griswold and Wagner pans season to a glass-like finish. Modern Lodge pans develop a dependable, slightly textured surface.
Look for grayish-silver flakes of old seasoning. Those are bare spots where moisture loves to hide.
Rust Severity Check: Surface Discoloration vs. Deep Pitting
Not all rust is created equal. The severity drives the treatment. There are three visual categories.
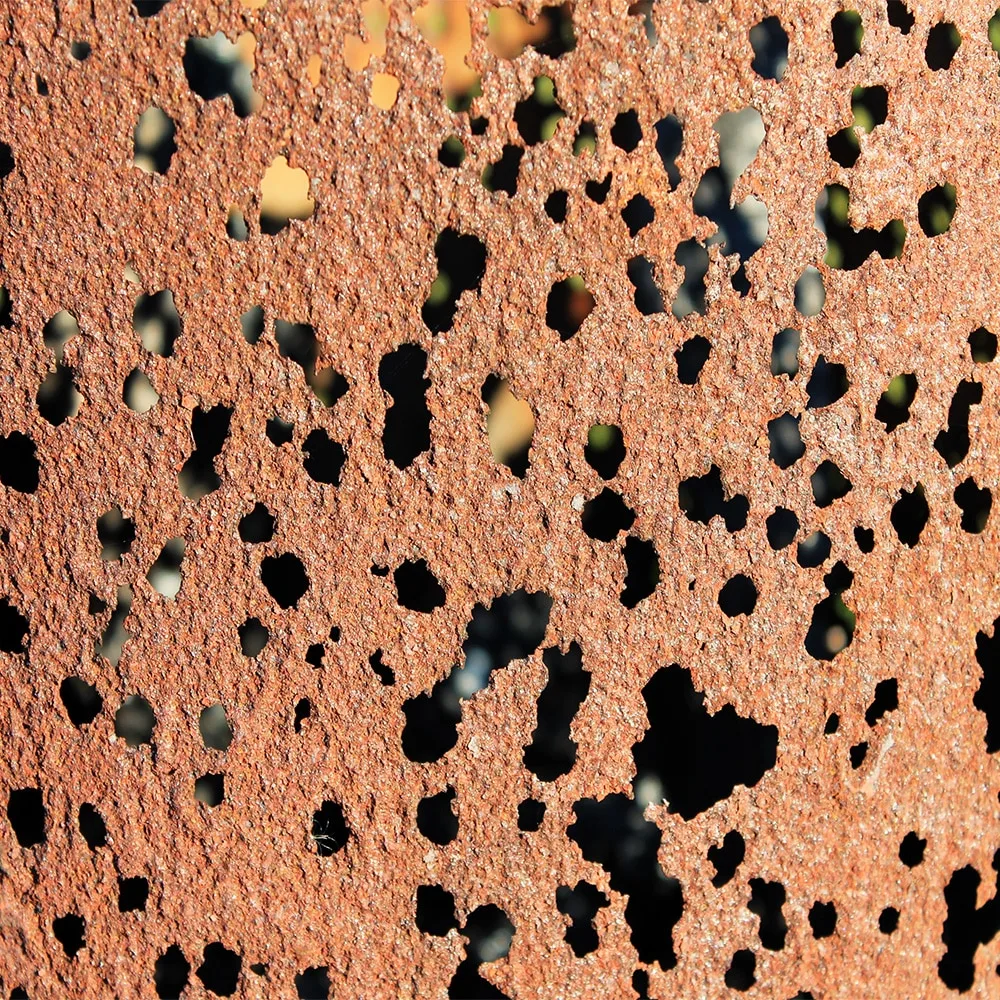
Image source: Bing (Web (fair-use with source credit))
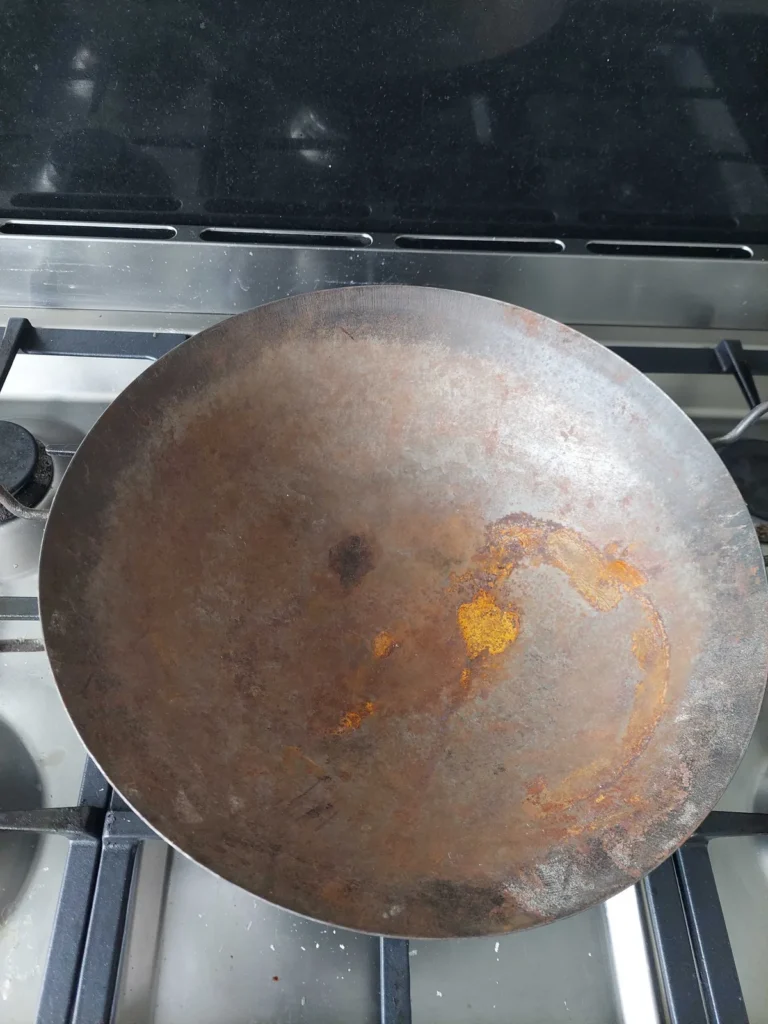
Flash rust is a light orange haze that appears after washing. Your fingers pick up orange dust but feel no texture change. This one is cosmetic.
Wipe it down with an oiled paper towel and move on.
Surface rust is a thicker orange-brown coating that feels rough. Underneath, the iron is still intact. Steel wool and a 30-minute vinegar soak take this down to bare metal.
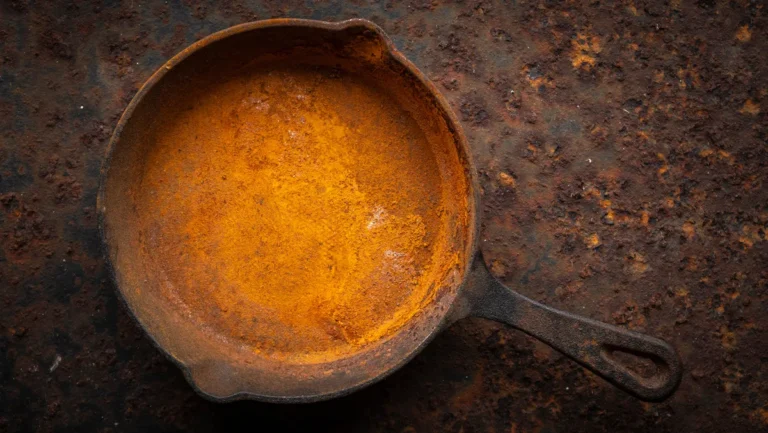
Deep pitting shows up as dark, flaky, crusty spots that feel like craters under your fingertips. This rust has eaten into the iron. It demands repeated vinegar soaks or an electrolysis setup for antique pans.
| Rust Appearance | Treatment | Seasoning Layers Needed | | Light orange dust | Oil and wipe down | 3 | | Rough orange coating | Steel wool + 30-min vinegar soak | 4 to 5 | | Dark, flaky, cratered | Multiple soaks or electrolysis | 6+ |
One caution: vintage pans pit faster than modern ones. Their smoother cast surface gives rust less to grip in the early stages, but any pitting that forms runs deeper. Check the pan's center, the spot that takes the most heat, and let that set your baseline.
The Step-by-Step Visual Process: Restoring and Seasoning Your Pan
Here's the hands-on phase. Each stage has a visual checkpoint. Don't move forward until you see the sign.
Stage 1: Scrub, Scrape, and Remove Loose Rust
Start dry with a stiff wire brush or coarse steel wool. Knock off every loose flake of rust and old seasoning. Work the whole pan, including the walls, bottom, and handle joint.
When you see bare, gray metal, reassess. If only a few rust specks remain, skip to Stage 3. If orange still covers the surface, move to Stage 2.
Stage 2: Vinegar Soak for Deeper Rust
Mix a 50/50 solution of white vinegar and water. Submerge the pan and check every 15 minutes. The liquid will darken and froth as the vinegar dissolves the rust.
The iron is ready when it takes on a dull gray, sandblasted look. Rinse thoroughly with warm water, scrub gently with steel wool, and neutralize the vinegar.
Stage 3: Dry, Oil, and Prep for the Oven
This is where flash rust sneaks in. Dry the pan with a towel, then set it over a warm burner for a few minutes to drive moisture out of the pores. Once fully dry, apply a thin coat of cooking oil.
Then wipe as if trying to remove every drop. The pan should look almost dry with just a faint sheen.
Stage 4: Season Layer by Layer
Place the pan upside down in a 450°F oven for one hour. Cool it in the oven afterward. After layer one, the surface is bronzed and matte.
Layer three darkens it to milk chocolate. By layer six, you'll see deep, semi-gloss charcoal with a slick feel. Stop when the finish is uniform and dry.
Visual Cues at Every Seasoning Stage: What "Done" Actually Looks Like
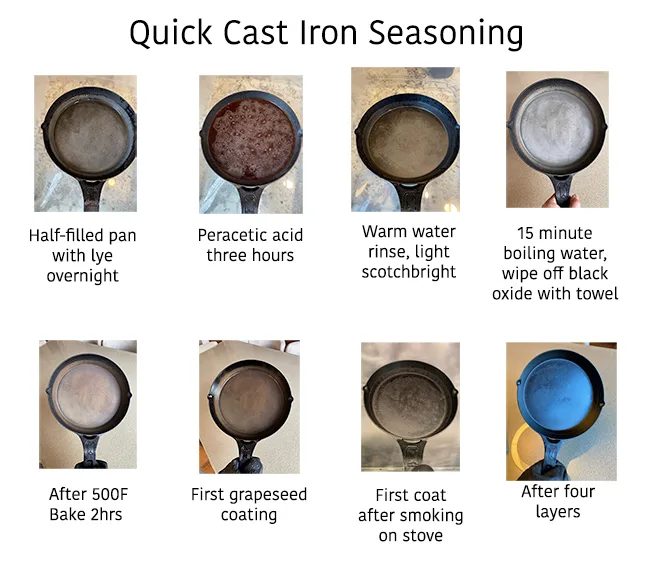
Image source: Bing (Web (fair-use with source credit))
Seasoning follows a predictable color progression. Once you know it, you'll stop second-guessing.
Layer 1: Pale bronze. The pan looks warm and dull, and the surface feels slightly rough. This layer is fragile. Let it cool fully before adding another.
Layers 2 to 3: Milk-chocolate brown. The color deepens, and the surface feels slicker. This is a base that can handle light cooking.
Layers 4 to 6: Satin charcoal black. This is the payoff. The finish has a semi-gloss shine, and eggs slide with minimal butter.
Red flags that scream "wrong":
- Sticky and tacky means too much oil. The finish will smoke and crust.
- Blotchy with darker patches means uneven oil spread.
- Glossy and greasy means the oil baked into a varnish-like film instead of a dry layer.
A fingernail drag test confirms readiness. Gently scrape your nail across the surface. A smooth glide means the seasoning is even.
A rough catch means bare patches need coverage.
Common Visual Mistakes That Sabotage a Seasoning Job
Almost every seasoning failure is diagnosable from across the kitchen. Here's what went wrong and how to spot it.
The sticky, tacky pan. It feels gummy and holds fingerprints. Cause: too much oil before baking. Fix: heat the pan, wipe away as much oil as possible, then bake at 450°F for another hour.
The blotchy leopard look. Dark and light patches side by side. Cause: uneven oil application, or acidic food cooked before the seasoning hardened. Fix: clean gently, add two thin layers, and ease up on the heat for a while.
Silver-gray patches after cooking. Bare iron showing through. Cause: a seasoning layer that's too thin, or metal utensils gouging the finish. Fix: apply three more seasoning passes.
Orange specks within 24 hours. Rust blooming on a supposedly seasoned pan. Cause: trapped moisture under the oil, or humid storage. USDA food safety guidance stresses that cooking surfaces must be clean and dry before coating.
Moisture breeds rust. Fix: scrub the specks, dry over heat, and re-oil.
A black, crusty, peeling film. The pan looks lacquered and flakes off. Cause: oil baked at excessive heat, or layers applied too thick. The oil carbonized instead of polymerizing.
Fix: strip the pan and restart at 450°F with canola or grapeseed oil.
Quick-Reference Chart: Rust Level, Treatment, and Seasoning Layers
If you're juggling three rusty pans at once, this chart keeps you moving. It condenses the whole process into one scan-ready guide.
| Rust Level | Visual Cue | Treatment | Seasoning Layers | | Light dust | Orange haze, no texture change | Wipe with oiled cloth | 3 | | Surface rust | Rough orange coating, intact iron | Dry scrub, 30-minute vinegar soak | 4 to 5 | | Heavy scaling | Red-brown crust, flaking | 60-minute soak, steel wool, repeat cycles | 5 to 6 | | Deep pitting | Cratered, dark, crumbling metal | Electrolysis or lye strip, extended soak | 6 to 8 |
One visual checkpoint ties every row together. Gray metal means the rust is gone. Stop soaking the second you see it.
Continue soaking past that point and the vinegar starts eating the iron itself, turning smooth pans rough.
FAQs: Visual Signals for Rusty Cast Iron Recovery
How do I know if my cast iron is too far gone?
Cracks, warps, and wobbles end the restoration debate. Rust never ruins a pan. Structural damage does.
Check for hairline fractures and a spinning rim on a flat surface.
What does a fully seasoned pan look like?
It has a deep, satin-black finish with a faint gloss. The surface feels silky under a fingernail. No sticky spots, no gray patches, no orange specks.
Why does rust reappear after seasoning?
Trapped moisture under the oil is the usual cause. Dry the pan over low heat before oiling. Store it somewhere dry, ideally with a loose lid so air circulates.
How many seasoning layers does a rusty pan need?
Plan on five to six layers for most rescues. Rust damage removes the original coating and leaves bare iron exposed. Thin builds darken the finish evenly.
Can I season over rust?
No. Seasoning bonds to bare iron, not rust. Rust flakes off, taking the seasoning with it.
Remove every trace of orange before you add oil, or the cycle repeats.