Sharpen Kitchen Knives Like a Pro at Home
A dull knife is more dangerous than a sharp one because it forces you to press harder, and it slips. Learning how to sharpen kitchen knives at home is easier than most cooks think. If you've ever squashed a tomato instead of slicing it, you already understand the problem.
Manufacturer specifications for European kitchen knives put the edge angle at 20 degrees per side. Japanese blades often run 15 degrees. As of 2026, a basic 1000/4000 combo whetstone costs less than one professional sharpening service visit.
Let's move through your options, from fastest to most precise.
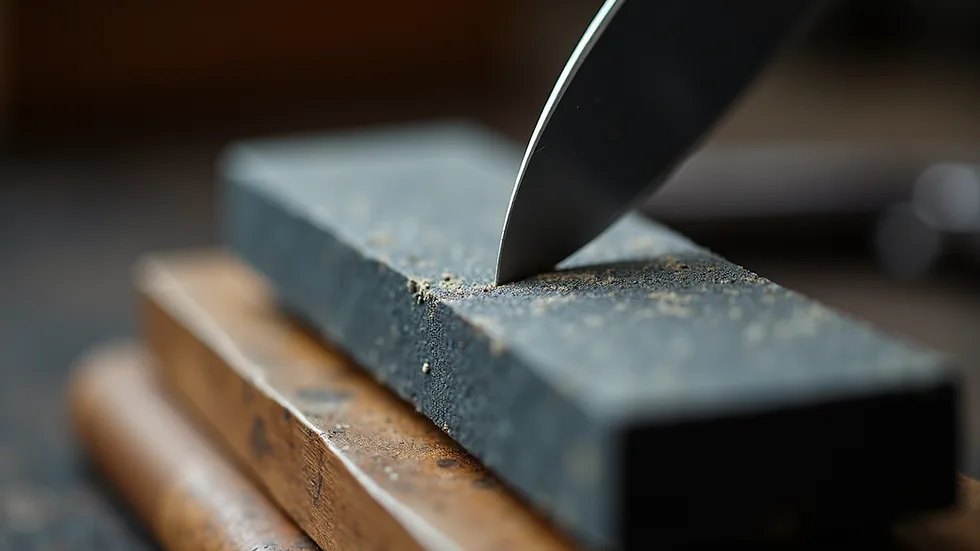
Image source: Bing (Web (fair-use with source credit))
Quick Answer
How to sharpen kitchen knives at home starts with the right abrasive. A 1000-grit whetstone fixes dull edges. A 4000-grit stone polishes them.
Beginners should buy a combo stone. Match your method to your blade.
Your Knife Deserves Better: The Real Problem with Dull Blades
Most home cooks treat a dull knife as a lost cause. They toss it in a drawer and buy a replacement. You don't need to do that.
Learning to maintain an edge is a ten-minute skill.
A dull blade is the real accident waiting to happen. It forces you to push harder. The knife can slip off the food and head straight for your fingers.
A sharp edge slices with controlled pressure, so you stay in control. It also keeps produce intact. Cell walls stay clean and you lose less juice.
Here's the downtime test. Hold the blade over a paper towel. Press down gently.
If it cuts cleanly, you just need a quick hone. If it crushes or bounces, it's time to sharpen. If there are visible chips, you need a coarse stone first.
Most kitchen knives fall into two camps. German-made stainless blades usually sit at 20 degrees per side. Japanese knives often sit at 15 degrees.
The official Wüsthof care guide recommends honing before heavy sessions and sharpening only when honing stops helping. As of 2026, the average home cook sharpens less than once a year. That's why so many expensive blades end up as letter openers.
The fix is not magic. It's matching the method to the knife and the user.
The Quickest Fix: Pull-Through and Electric Sharpeners
Not everyone wants to spend a half hour with a whetstone. If you just want a working edge in two minutes, pull-through and electric sharpeners deliver.
A pull-through sharpener has two or three slots. Carbide cutters in the coarse slot scrape metal away. Abrasive rods in the fine slot realign the edge.
You draw the blade through each slot once or twice. Same angle every time because the plastic housing locks it in.
Electric sharpeners work the same way but with motorized wheels. You slide the blade through at the maker's preset angle. Most have coarse, fine, and polish stages.
Who should use these? If your knives are inexpensive, go for it. They're also great for family members who won't learn a whetstone.
The result won't be a razor edge, but it'll cut better than a dull factory edge.
The big warning is about quality blades. Carbon steel and softer stainless respond okay. Hard Japanese steel can chip under aggressive carbide pull-throughs.
Many premium knife makers void warranties when you use an electric sharpener. Check the knife's care instructions first.
| Sharpener Type | Time | Edge Quality | Risk Level |
|---|---|---|---|
| Pull-through carbide | 1 minute | Decent | Medium on hard steel |
| Electric multistage | 2 minutes | Good | High on premium blades |
Aggregate reviews report that most pull-through damage happens when the blade is drawn backward or with too much pressure. Either way, the cheapest knives handle the abuse fine.
The Whetstone Way: Worth the Learning Curve
This is the method that gives you full control. It takes longer than a pull-through, but a single session teaches you a skill that lasts years.
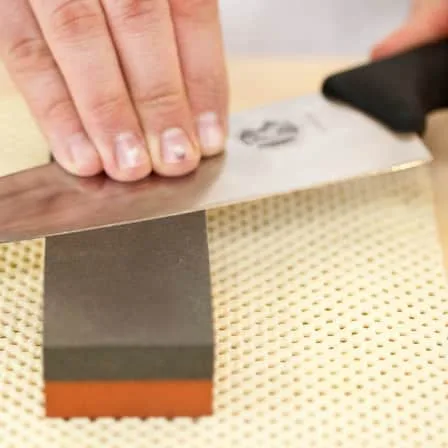
Image source: Bing (Web (fair-use with source credit))
What You Actually Need to Get Started
- A combination whetstone, commonly 1000/4000 grit
- A flat, stable surface and a damp towel
- A bowl of water for soaking
- A flattening stone if your whetstone starts to dish
Water stones soak for 10 to 15 minutes. Splash-and-go stones just need water spray. Check the stone's label because the two behave differently.
The Real Steps — No Fluff
- Soak the stone and place it on the towel, coarse side up.
- Find the existing angle. Hold the blade like you're trying to slice a thin layer off the stone. For a 20-degree Western blade, the spine lifts about the height of two stacked quarters.
- Build a burr. Slide the blade forward in a sweeping motion, edge leading or trailing. Do five to ten passes on one side. Then feel for a rough lip on the opposite edge with your thumb. That's the burr.
- Flip the blade and repeat. Keep the strokes even.
- Switch to the fine side. Repeat the same process, but with lighter pressure.
- Remove the burr with alternating edge-trailing strokes.
- Test the edge on paper. If it catches and slices, you're done.
The burr is the proof. No burr means you haven't ground enough metal. This is where most beginners quit too early.
When a Simple Honing Rod Is Enough
A honing rod is the most misunderstood tool in the kitchen. It looks like a sharpener, but it doesn't remove metal. It straightens the microscopic teeth along your edge.
Think of a saw tooth that bends sideways. Stropping it on a rod brings it back upright.
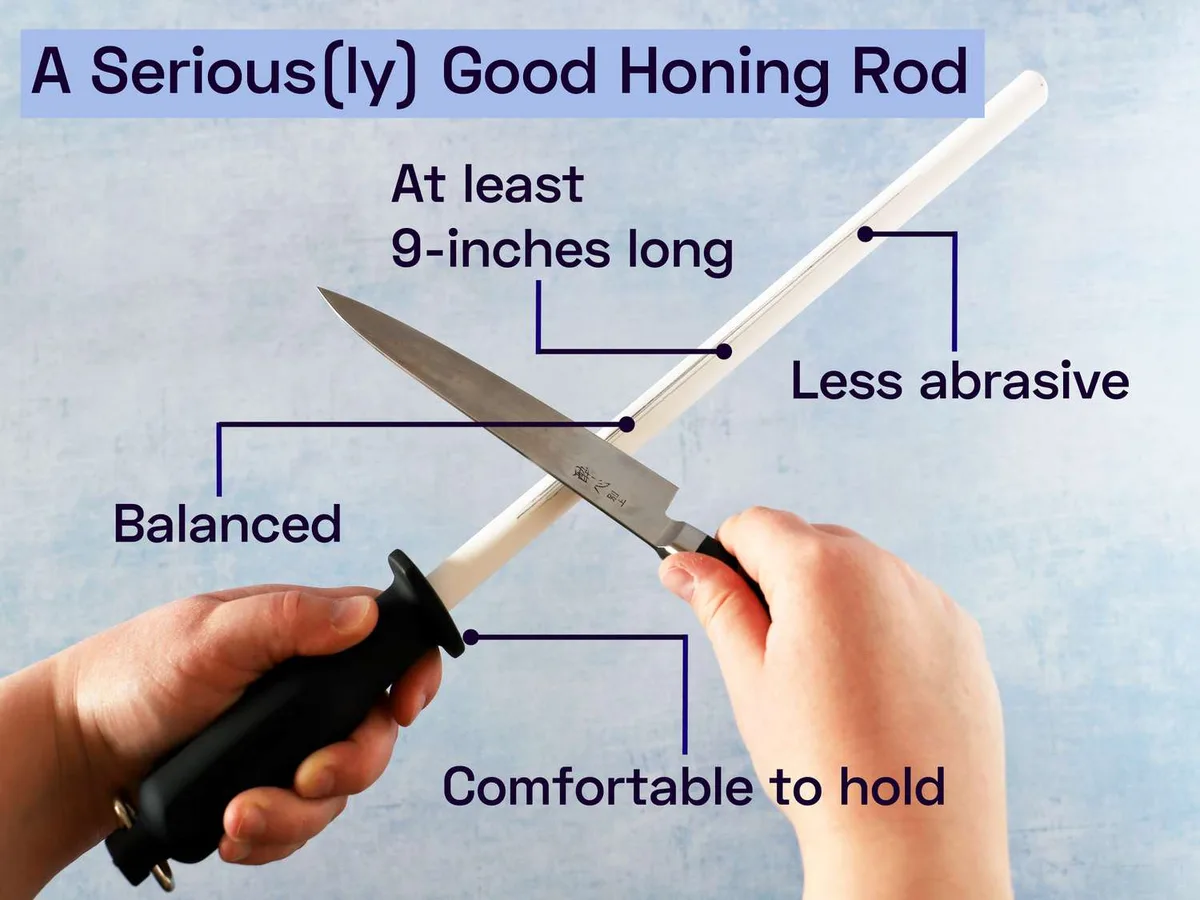
Image source: Bing (Web (fair-use with source credit))
That's why your butcher's steel has a distinct texture. Some rods are ceramic, some are diamond-coated. Ceramic works well on hard Japanese steel.
Steel rods suit softer European blades.
Here's how to use one the right way. Hold the rod vertically with the tip pressed into a cutting board. Place the heel of the blade near your hand, facing you.
Tilt the blade so the edge angle matches your knife, about 20 degrees for Western knives. Pull the blade down toward the tip while applying light pressure. Alternate sides, five to ten passes each.
If the knife still won't catch a tomato after honing, it truly needs sharpening. No amount of rod work fixes a rolled or blunted edge. Honing maintains an edge.
It never creates one.
Common Mistakes That Ruin Your Knives
Sharpening goes wrong when people skip fundamentals. Here are the biggest mistakes we see in kitchen knife maintenance.
- Too much pressure. Pressing hard doesn't speed up the job. It digs the edge into the stone unevenly. Use light, even pressure.
- Going straight to a fine grit. A dull knife with chips needs a coarse stone first. Fine grits just polish the damaged area and leave a fragile edge.
- Ignoring stone flattening. A bowed whetstone creates a curved bevel. You eventually get a rounded edge instead of a crisp one.
- Using an electric sharpener on Japanese blades. Hard steel can chip or crack at the edge.
- Forgetting the burr. Stopping when one side is shiny leaves an unstable edge that rolls over quickly.
- Storing knives loose in drawers. Even a sharp edge crashes into other tools and bends.
The common thread? People skip the step they don't understand. Find the burr and remove it properly.
That single step changes everything.
A Simple Decision Guide for Your Situation
Here's the decision tree in plain language.
If you're new to sharpening, start with a pull-through sharpener. You'll get a usable edge in under two minutes. Once you're comfortable, graduate to a whetstone.
If you own premium knives, skip the electric route. Use a 1000/4000 combo stone. The learning curve pays off with full edge control.
If you cook daily, hone weekly and sharpen monthly. That routine keeps edges aligned without over-grinding. Light cooking means sharpening every three months is plenty.
If the blade has visible chips, don't try to polish them out. Start with a 300-grit stone or take it to a professional. Chips need metal removal, not polishing.
A professional is worth it when the edge is badly damaged, the steel measures 60+ Rockwell hardness, or the knife is serrated. Most services charge $5 to $10 per knife. For a $200 Japanese blade, that's a bargain.
| Method | Best For | Time | Edge Quality |
|---|---|---|---|
| Pull-through | Beater knives, beginners | 1 minute | Functional |
| Electric | Busy households | 2 minutes | Good |
| Whetstone | Premium blades, hobbyists | 15 minutes | Excellent |
| Honing rod | Weekly upkeep | 30 seconds | Maintains edge |
The Maintenance Schedule That Works
- Weekly: Hone before a heavy cooking session.
- Monthly: Light whetstone touch-up.
- Quarterly: Full sharpening for moderate use.
- Yearly: Professional checkup for high-end knives.
Frequently Asked Questions
How often should I sharpen kitchen knives?
Home cooks should sharpen every one to three months, depending on use. Hone weekly to keep the edge aligned. If the knife starts crushing tomatoes instead of slicing them, sharpen it right away.
Timing matters less than feel.
Can I sharpen serrated knives at home?
Yes, but only with a ceramic tapered rod. Slide the rod into each serration, match the angle, and push outward. A few passes per valley.
Never use a whetstone or electric sharpener on serrated edges.
What's the best angle for kitchen knives?
Western knives use 20 degrees per side. Japanese knives often use 15 degrees. When unsure, match the existing bevel.
Use the marker trick: color the edge with a Sharpie, make one pass, and see where the ink wears away.
Do honing rods actually sharpen knives?
No. A honing rod realigns the edge. It doesn't remove metal.
If your knife is genuinely dull, a rod won't fix it. Use it after sharpening and between sessions. Most home cooks overuse the steel and underuse the stone.
How do I know when my knife is sharp enough?
Test it on a sheet of newsprint or a paper towel. A sharp edge catches with light pressure and slices cleanly. A dull edge bounces off.
You should never need to force the cut.