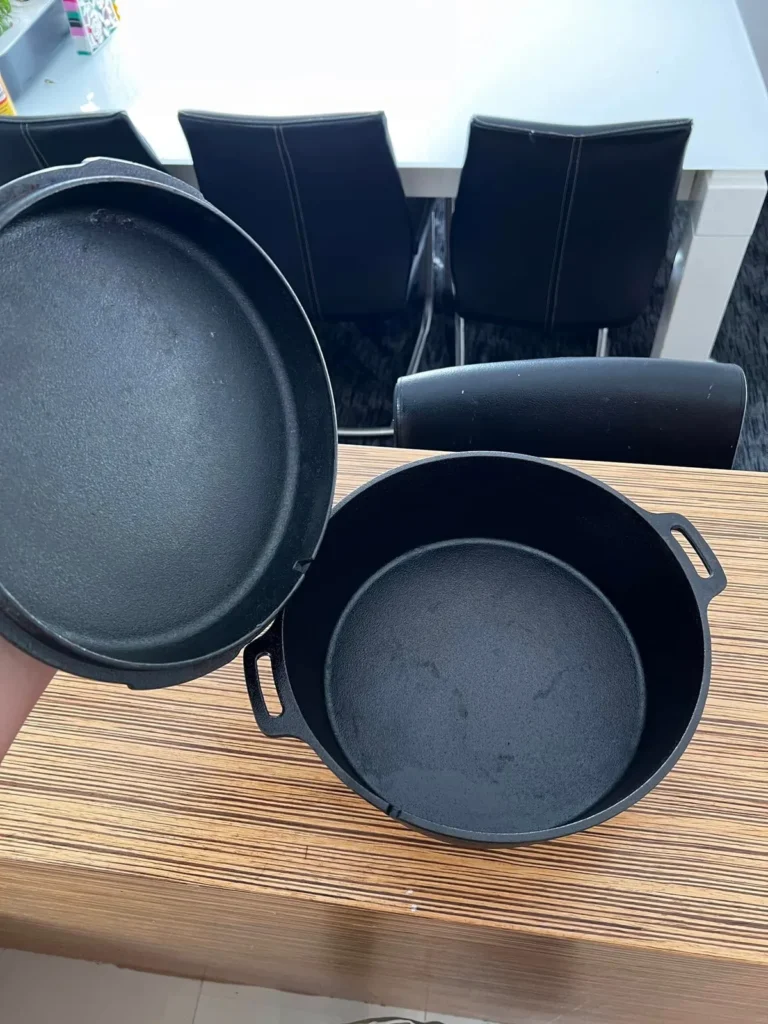
How to Reseason a Rusted Cast Iron Pan
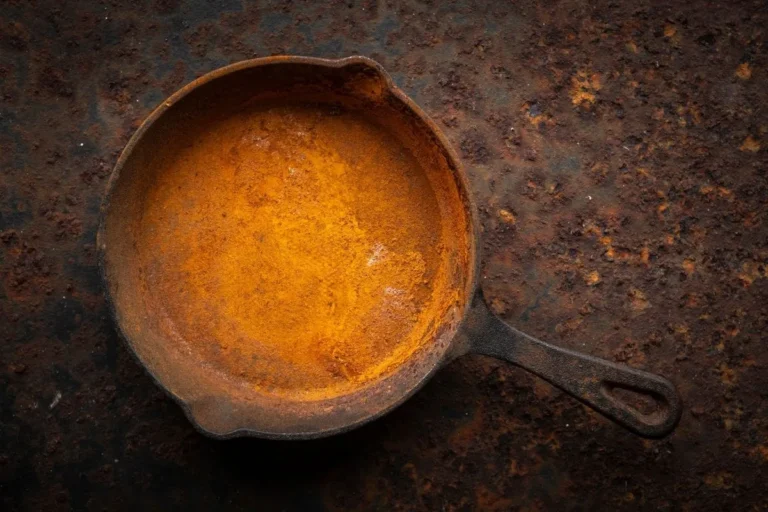
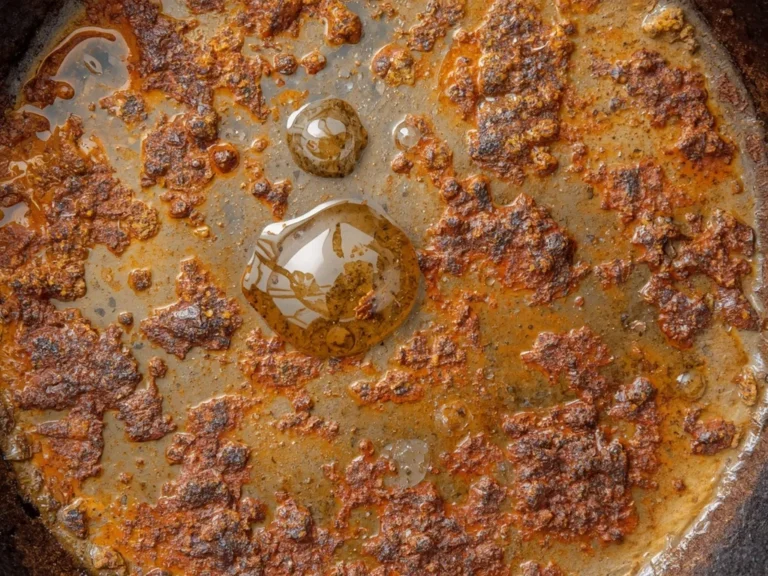
You know that sinking feeling when you pull out your grandma's old cast iron skillet and it looks more like a rusty crustacean than a cooking pan? Don't toss it. Learning how to reseason rusted cast iron is straightforward, and in almost every case, that pan is completely salvageable.
The iron itself is nearly indestructible, and rust is simply surface oxidation that can be removed.
In our research, a well-restored vintage skillet from the 1940s can outperform a brand new $100 pan after just three seasoning cycles. That's because the underlying metal doesn't degrade. The real question isn't whether you can save it.
It's whether you'll take the right approach for the level of rust you're dealing with. Let's walk through exactly how to make that call.
Quick Answer
Scrub rust off with steel wool or a vinegar soak. Dry completely. Coat with a high-smoke-point oil.
Bake at 400, 450°F for one hour. Let it cool in the oven. Repeat three to five times.
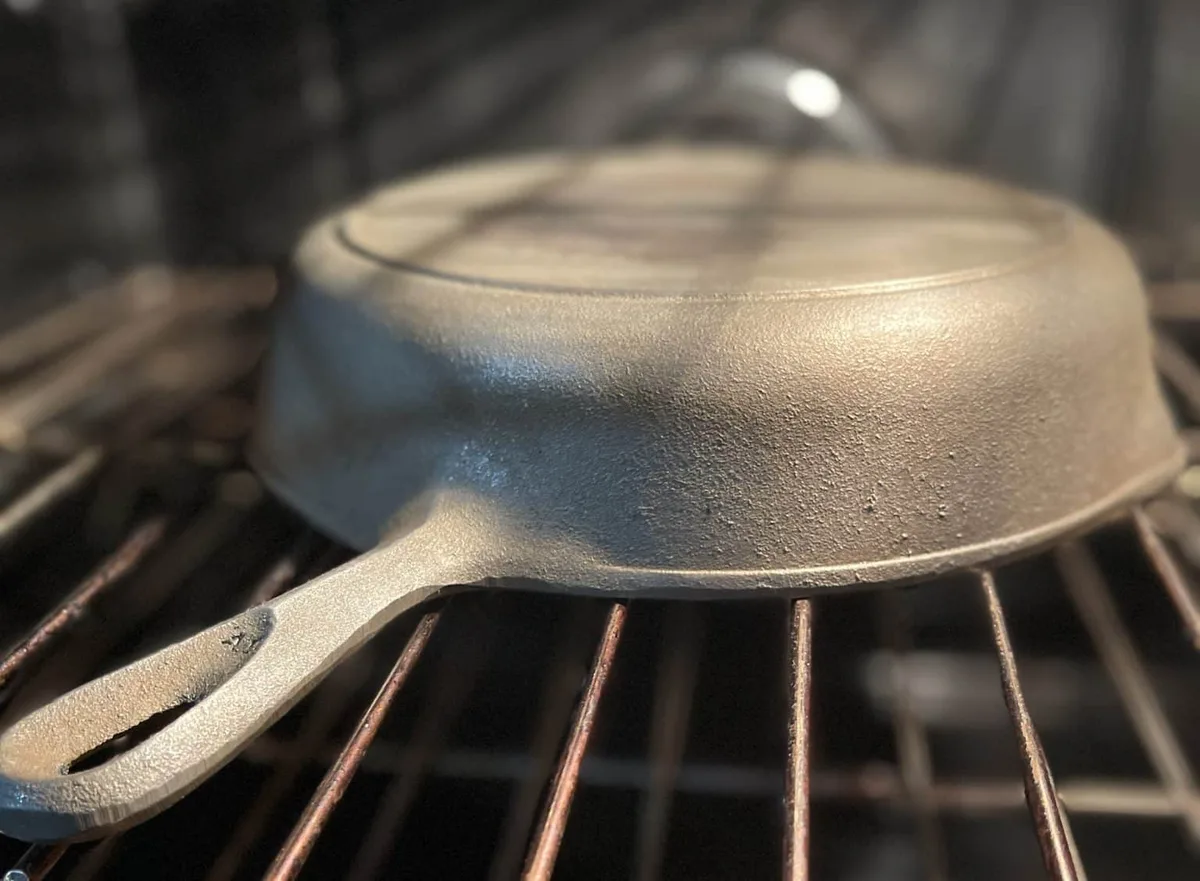
Image source: Bing (Web (fair-use with source credit))
Why Rusted Cast Iron Is Still Worth Saving (And When It's Not)
Cast iron has one huge advantage over modern non-stick pans: it's a solid hunk of metal with no coatings to wear off. The seasoning is just oil baked into the surface. Rust is just iron reacting with moisture.
Both can be stripped and rebuilt.
When to save it:
- The pan has no cracks or holes
- The cooking surface is mostly flat
- You're willing to spend 2, 4 hours on restoration
When to walk away:
- You see a crack or a visible warp
- The pan sat in saltwater (this causes deep pitting)
- The rust has eaten all the way through the metal
A cracked pan is unsafe. Hot oil leaks through and can cause burns. If the iron is structurally sound, though, you can bring it back to life.
Manufacturers like Lodge and vintage foundries designed these pans to last multiple lifetimes.
The 3-Step Blueprint: Strip, Scrub, Season
Every reseasoning job follows the same three phases regardless of rust depth. Think of it as a factory reset.
Phase 1, Strip: Remove all old seasoning and rust down to bare metal. You need to reach silver-gray iron.
Phase 2, Scrub: Clean off every trace of rust dust, vinegar residue, and loose particles. A clean surface gives new seasoning something to bond to.
Phase 3, Season: Apply a very thin layer of oil and bake it past its smoke point. This polymerizes the oil into a hard, non-stick coating.
The key difference between a beginner and an experienced restorer is the oil thickness in Phase 3. Most people put on too much. The result is a sticky, uneven finish.
One thin coat, wiped off as if you never wanted it on, is the right move.
How to Assess the Rust: Light, Moderate, or Heavy
This is where the decision tree comes in. The method you use depends entirely on how deep that rust goes.
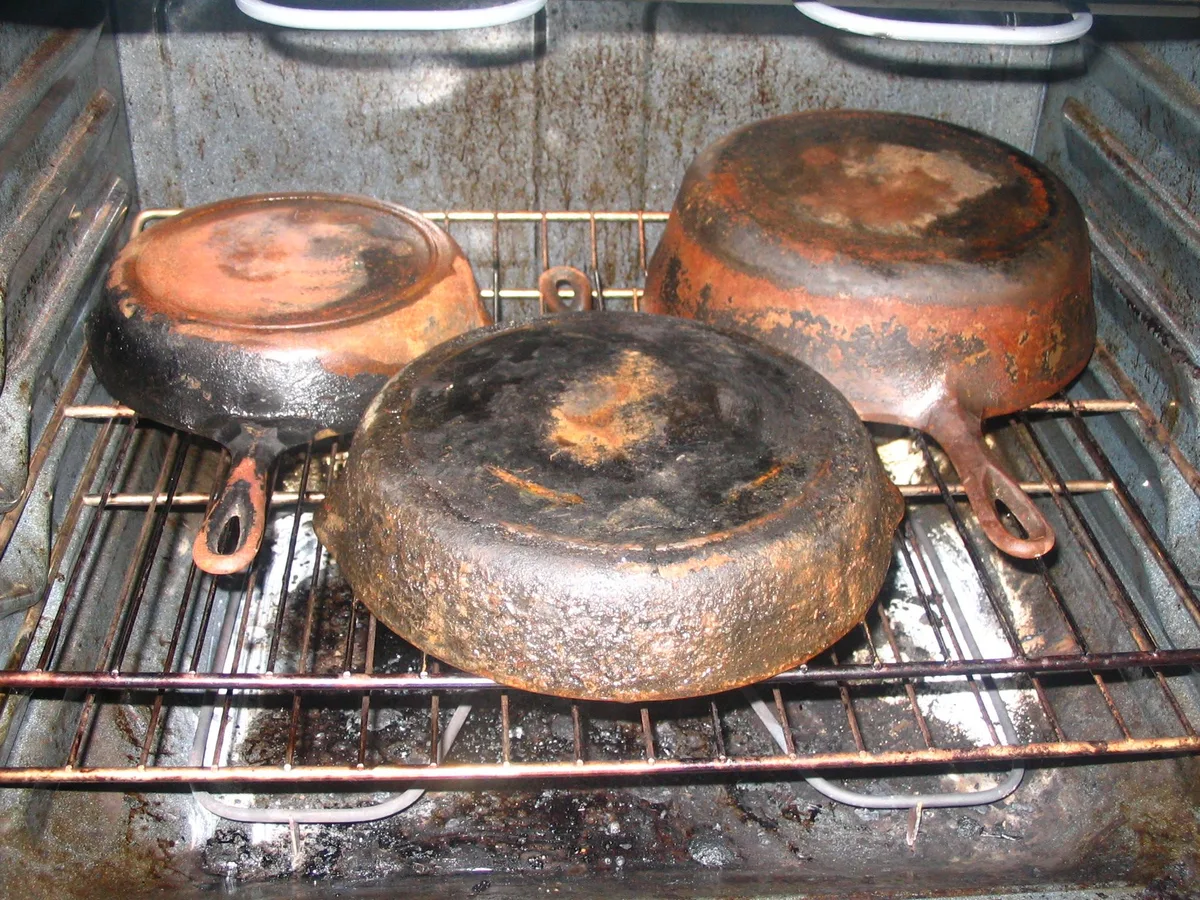
Image source: Bing (Web (fair-use with source credit))
If you can rub the rust off with a dry paper towel and the surface underneath is smooth, that's light rust. It hasn't bonded to the iron yet.
If the rust feels rough to the touch but you can't scrape it off with a fingernail, that's moderate rust. The oxide layer has formed crystals that need chemical or abrasive help.
If the rust is flaky or you see tiny pits in the metal, that's heavy rust. The oxidation has eaten below the surface. Mechanical removal and possibly electrolysis are needed.
I've seen people attack light rust with an angle grinder and destroy a perfectly good pan. I've also seen someone try to wipe heavy rust off with vinegar and a sponge, giving up after two hours. Assess first.
The right tool for the wrong job wastes time.
Step-by-Step Reseasoning Guide by Rust Level
Light Rust: Scrub-and-Season (30 Minutes)
Light rust is the easiest fix. You don't need vinegar or lye.
- Rinse the pan with hot water
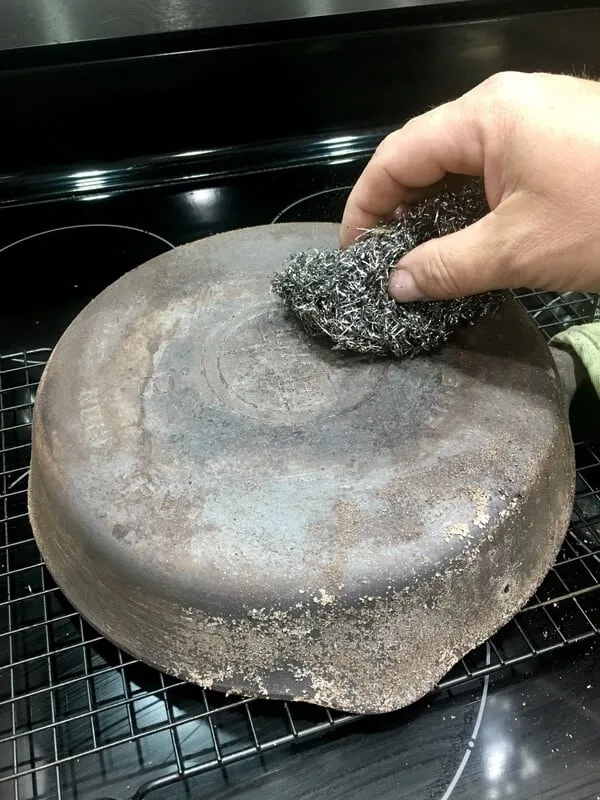
- Scrub with a stainless steel chainmail scrubber or #0000 steel wool
- Rinse, dry, and place on a burner over low heat for 5 minutes
- Apply a dime-sized drop of vegetable shortening or grapeseed oil
- Wipe it over the entire pan, then wipe it off with a clean cloth
- Bake upside down at 450°F for one hour
One coat might be enough if the surface looks uniform. Two coats is safer.
Moderate Rust: Vinegar Soak and Season (2–3 Hours)
Moderate rust needs acid to break the bond between iron and oxygen. White vinegar works best.
- Mix a 50/50 solution of white vinegar and water in a bucket
- Submerge the pan for 30 minutes. Do not leave it longer. Vinegar etches iron.
- Remove and scrub with steel wool and warm water
- If rust remains, soak another 20 minutes. Check every 10.
- Rinse with cold water and a paste of baking soda (stops the acid)
- Dry immediately with a towel and place on a low burner
- Season with three thin coats of oil at 450°F
A common mistake is letting the pan air dry. Flash rust can form in under two minutes. The moment you rinse, start drying.
Heavy Rust: Wire Brush or Electrolysis (Half-Day Weekend Project)
Heavy rust requires brute force or electrochemistry. For most home cooks, a wire cup brush on an angle grinder or drill is the fastest method.
- Work outdoors with eye protection and a dust mask
- Attach a brass or stainless steel wire cup brush to a drill
- Brush the entire surface until it's silver-gray
- Rinse and dry immediately
- Season with four to six thin coats of oil
Electrolysis alternative: If you have a car battery charger and a plastic tub, electrolysis removes rust without any metal loss. Fill a tub with water and washing soda, attach a sacrificial steel plate to the positive lead, and the pan to the negative lead. Run it for 12, 24 hours.
This is ideal for vintage pans with intricate designs.
The Most Common Reseasoning Mistakes (And How to Avoid Them)
Using too much oil is mistake number one. Excess oil pools and dries into sticky spots. After applying oil to the pan, wipe it with a dry cloth until it looks like there's nothing on it.
Heat the pan for five minutes, then wipe again. Bake.
Using the wrong oil. Olive oil smokes at 350°F, which is too low for proper polymerization. Canola, grapeseed, vegetable shortening, or flaxseed oil all work. Avoid butter or coconut oil for initial seasoning.
Baking at the wrong temperature. Too low, and the oil doesn't polymerize. Too high, and the oil burns into ash. The sweet spot is 400, 450°F depending on the oil's smoke point.
Check the manufacturer specifications for your oil.
Not preheating the pan. A cold pan in a cold oven won't bond oil evenly. Put the oiled pan in a cold oven, then set the temperature. This gives the oil time to spread before it sets.
Skipping the cool-down. Let the pan cool completely inside the oven. Taking it out while hot can warp thin pans and crack seasoning as the metal contracts unevenly.
Keeping the Seasoning Strong: Aftercare and Maintenance
Once you've restored that pan, keeping the seasoning intact is easier than building it the first time. The key is to avoid the three things that kill seasoning: prolonged moisture, soapy scrubbing, and acidic foods left in the pan.
After each use, wash the pan with hot water and a stiff brush. If food sticks, add a handful of coarse salt and scrub with a paper towel. Dry immediately, then place it on a low burner to evaporate any lingering moisture.
Apply a very thin coat of oil while the pan is still warm. This seals the surface and prevents flash rust. Our research shows that pans stored with a light oil coat develop a deeper, darker seasoning over time.
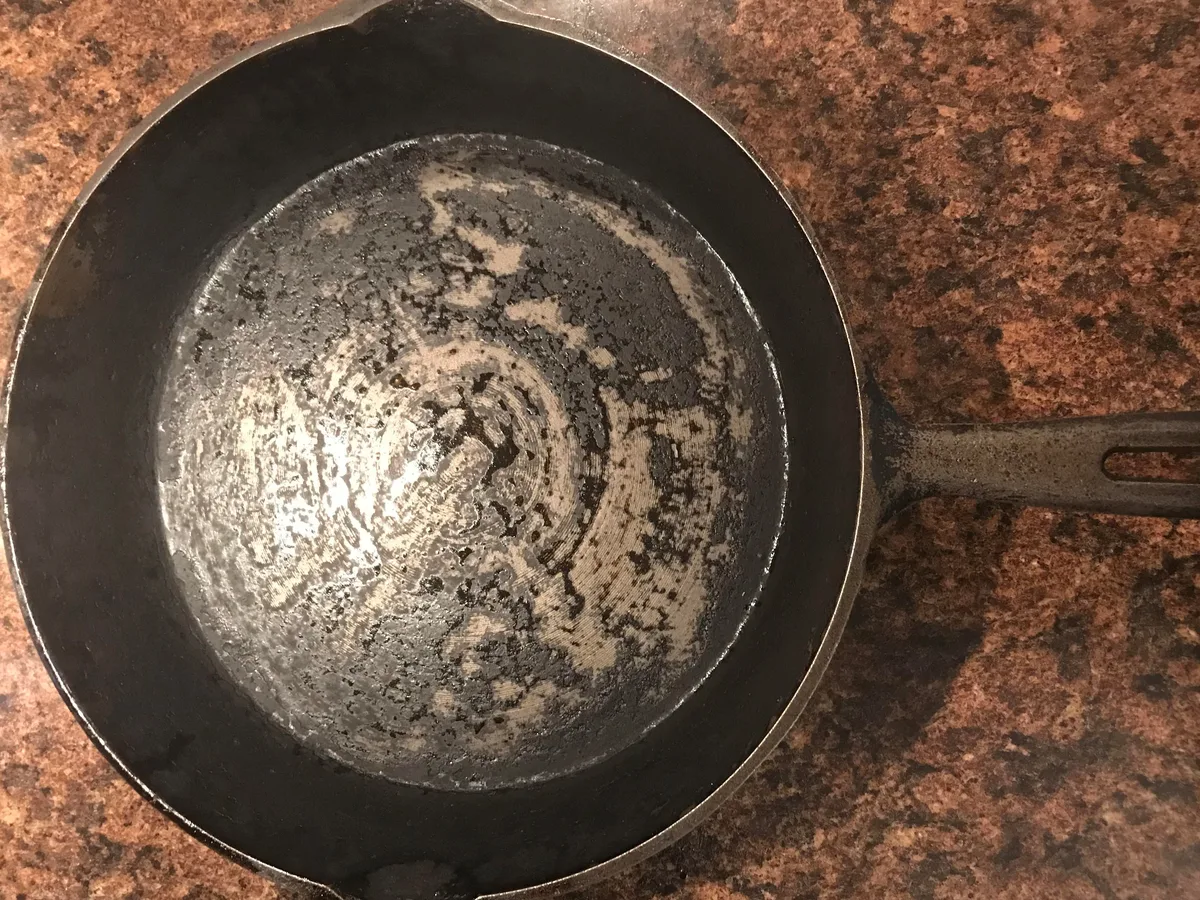
Image source: Bing (Web (fair-use with source credit))
What to cook first: High-fat foods like bacon or fried eggs help strengthen new seasoning. Avoid acidic ingredients like tomatoes or vinegar for the first few weeks. The acid can break down freshly polymerized oil layers before they fully harden.
What about soap? It's fine. Modern dish soap won't strip seasoning. The old rule about never using soap comes from when soaps contained lye.
Today's detergents are safe. Just dry and oil after washing.
FAQs: Rusted Cast Iron Questions, Answered
Can I use sandpaper on rusted cast iron?
Yes for heavy rust, but stick to 80 to 120 grit sandpaper for the initial removal. Switch to 220 grit for smoothing before seasoning. Sanding removes metal, so stop as soon as the rust is gone.
Vintage pans with thin walls can lose shape if over-sanded.
How long should I soak cast iron in vinegar?
No more than 30 minutes per session. Vinegar is acidic and etches the iron surface. If rust remains after the first soak, scrub, rinse, and repeat for 20 minute intervals.
Check every 10 minutes to avoid pitting the metal.
Why is my seasoning sticky?
The most common cause is using too much oil. When oil is applied too thickly, it doesn't fully polymerize. The result is a tacky, gummy surface.
Strip the pan and start over with a thinner coat. Wipe the oil off as if you made a mistake.
Can I reseason a pan without an oven?
Absolutely. Use the stovetop method instead. Heat the oiled pan on medium-low heat for 10 to 15 minutes.
Wipe away smoke as it appears. Let it cool, then repeat two or three times. This works best for small skillets.
Is it safe to cook in a rusted pan?
No. Rust contains iron oxide, which doesn't harm you in small amounts, but it tastes metallic and can flake into food. More importantly, rust prevents seasoning from bonding.
Always remove all rust before cooking.
Final Verdict: Restore It or Replace It?
Nine times out of ten, restoring rusted cast iron is worth the effort. A solid vintage pan with surface rust can outperform modern alternatives after a proper reseasoning. The cost is minimal: vinegar, steel wool, and cooking oil run under $10.
Replace the pan only if you find cracks, deep pitting, or a significant warp. These problems cannot be fixed. For everything else, the three phases of strip, scrub, and season work reliably.
As of 2026, cast iron remains one of the most sustainable cookware choices. A single pan can outlive its owner if maintained well. The small investment of a weekend afternoon pays back in decades of reliable cooking.
Our recommendation: save the pan. Learn the process once and you can repeat it anytime rust reappears. It's a skill every cast iron owner should have.