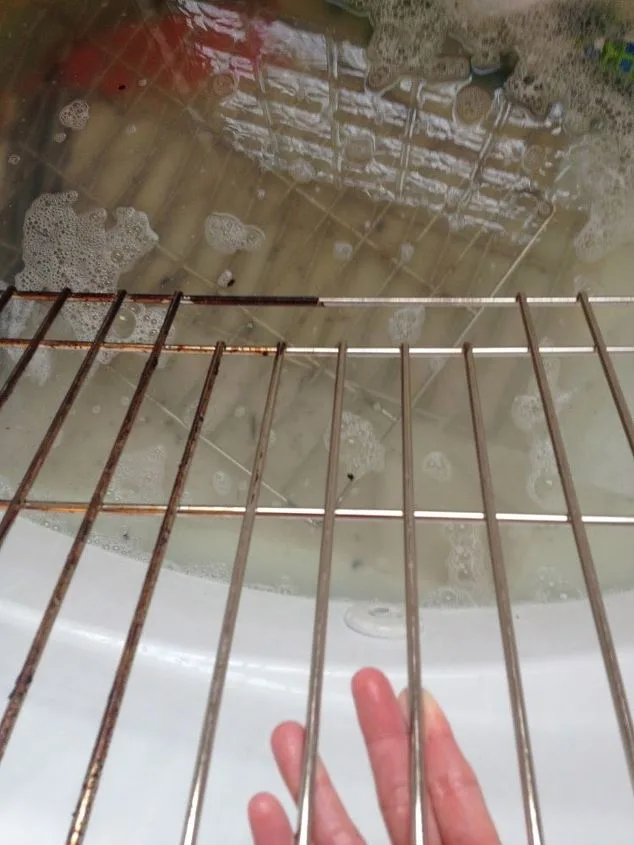
Clean Oven Racks with Oven Cleaner: A Step-by-Step Guide
If your oven racks are crusted with baked-on grease and carbon, you already know the struggle. Scrubbing doesn't cut it, and the self-cleaning cycle leaves racks discolored and brittle. That's why learning how to clean oven racks with oven cleaner is a practical skill, but it comes with real risks if you cut corners.
Let's walk through the safe way to do it.
The active ingredient in most heavy-duty oven cleaners is sodium hydroxide (lye), typically at concentrations of 2% to 10% by weight. Direct skin contact can cause chemical burns in seconds, and inhaling the fumes in an unventilated kitchen can irritate your lungs. That's why every oven cleaner label carries a "DANGER" or "POISON" warning, and why we treat this job with the same caution as handling drain cleaner.
Here's exactly how to do it right.
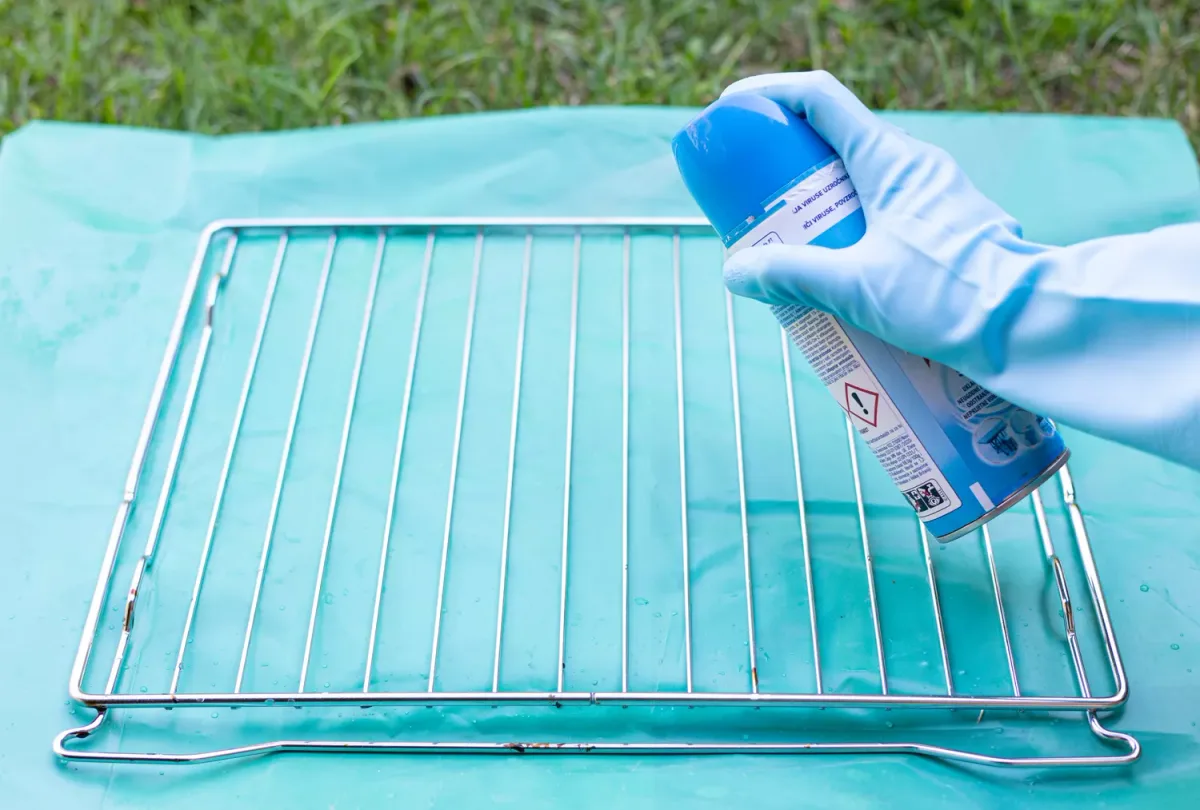
Image source: Bing (Web (fair-use with source credit))
Quick Answer
Spray oven cleaner onto both sides of each rack. Place racks inside a heavy-duty trash bag and seal it tight. Let them soak for at least 30 minutes, or overnight for heavy buildup.
Rinse thoroughly with a garden hose or in a utility sink. Wear gloves and goggles throughout, the chemicals are caustic.
Why This Method Needs Extra Caution
Let's be blunt: oven cleaner is serious stuff. The lye in it doesn't just eat grease, it can burn your skin, damage your lungs, and ruin certain rack finishes if you use the wrong product. As of 2026, no major regulatory body has restricted retail oven cleaner sales, but that doesn't mean they're safe to use casually.
The Occupational Safety and Health Administration (OSHA) classifies sodium hydroxide as a corrosive hazard requiring proper handling and ventilation. You can check their hazard communication guidelines for sodium hydroxide to see the official warnings.
Here are the biggest dangers if you skip the precautions:
- Skin burns. A single drop on your forearm can leave a chemical burn within 30 seconds. You won't feel it immediately because the compound desensitizes nerve endings.
- Lung irritation. The aerosolized fumes are alkaline and can inflame your airways. In a closed kitchen, even a few minutes of exposure can trigger coughing and shortness of breath.
- Eye damage. Splashes are blindingly painful and can cause corneal scarring. Standard eyeglasses won't seal around your eyes, you need splash-proof goggles.
- Damaged floors and countertops. The cleaner drips through bags, eats through grout, and etches stone surfaces. You need drop cloths and a safe area.
This isn't meant to scare you off, it's meant to get you prepared. If you follow the safety steps, the process is straightforward. Skip them, and you'll learn a painful lesson.
What You’ll Need: Tools, Cleaners, and Safety Gear
Before you start, gather everything you need. Running for a missing tool while your hands are covered in caustic foam is a bad idea. Here's the full list:
| Item | Purpose | Notes |
|---|---|---|
| Heavy-duty oven cleaner | Breaks down carbon and grease | Choose a lye-based spray or foam; check label for "heavy duty" |
| Rubber gloves | Protect hands | Use nitrile or thick neoprene — thin latex can dissolve |
| Splash-proof goggles | Protect eyes | Must seal fully around the eyes; laboratory-style goggles are best |
| Heavy-duty trash bags | Contain racks and cleaner | Use contractor-grade bags (2–3 mil) — kitchen bags tear easily |
| Drop cloth or newspaper | Protect work surface | Spread under racks and bags |
| Scrub brush or non-abrasive pad | Loosen leftover grime | Avoid steel wool on coated racks |
| Garden hose or utility sink | Rinse thoroughly | Outdoor hose is ideal; indoors, use cold water |
| White vinegar (optional) | Neutralize alkaline residue | 1 part vinegar to 3 parts water for final rinse |
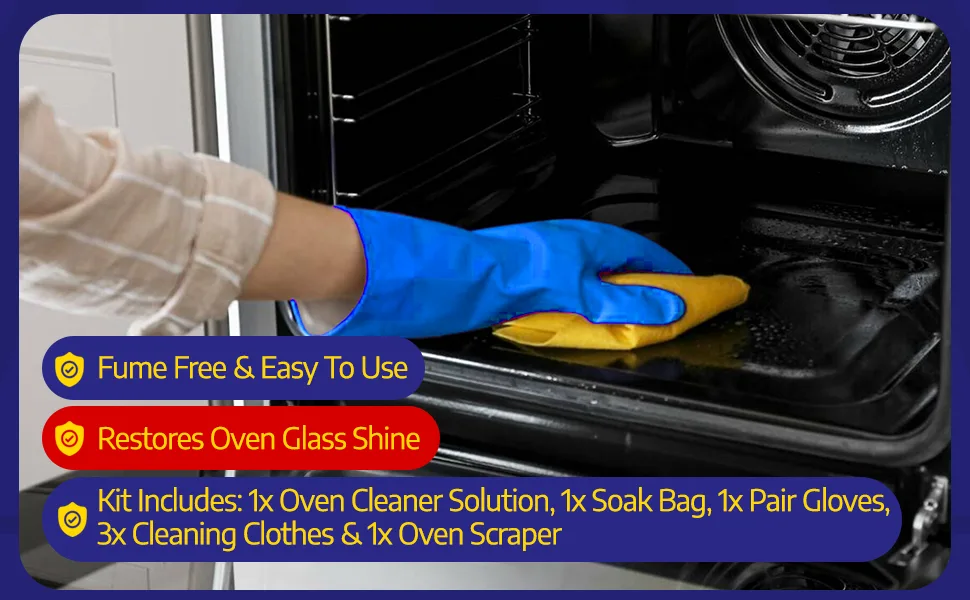
Image source: Bing (Web (fair-use with source credit))
You can find all of this at any hardware store, grocery store, or online retailer. Don't substitute, cheap gloves tear, and thin bags leak. Spend the couple extra bucks on contractor-grade bags and proper goggles.
Your skin is worth more than the savings.
Step-by-Step: How to Clean Oven Racks with Oven Cleaner
This process works for most racks, but we'll cover the exceptions in the next section. For standard chrome or stainless steel racks, follow these steps exactly:
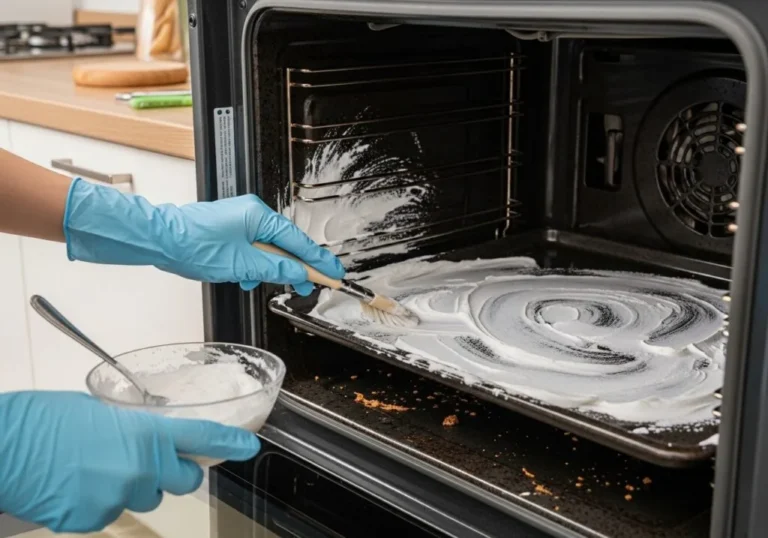
Step 1: Set up your work area. Work outdoors or in a well-ventilated garage. Lay down a drop cloth. Put on your gloves and goggles before you even open the cleaner can.
Unroll the trash bag and open it wide.
Step 2: Remove racks from the oven. Take them out carefully, they might be greasy and slippery. Place them on the drop cloth. If your racks have sliding brackets or inserts, remove those too.
Step 3: Spray the cleaner. Hold the can 6, 8 inches from the rack surface. Apply a thick, even coat on both sides. Pay special attention to corners and crossbars where grease collects.
Most foams will cling vertically, but if it drips, that's okay, it still works.
Step 4: Seal the racks in a bag. Slide each rack into the open trash bag. Tie a knot at the top to seal it tightly. The fumes stay inside, and the cleaner stays wet longer, this is what makes the soak effective.
Place the bagged racks on the drop cloth.
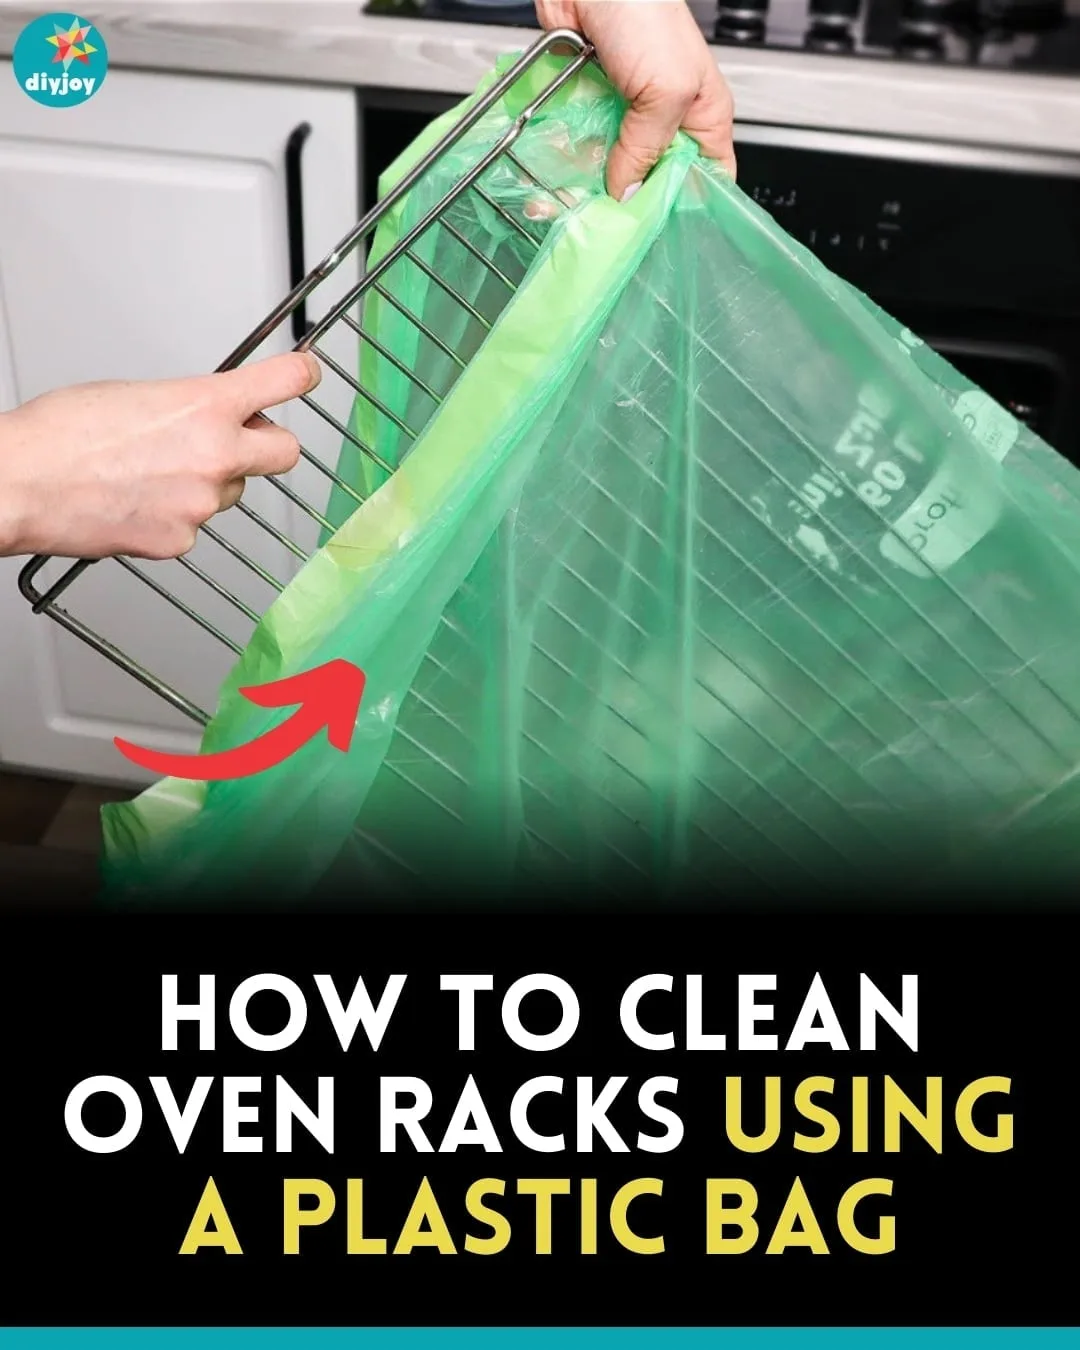
Image source: Bing (Web (fair-use with source credit))
Step 5: Let them soak. Timing depends on how dirty your racks are. Light carbon buildup takes 30 minutes to 1 hour. Heavy, thick crusts need 4, 8 hours or overnight.
Leave the bag sealed the whole time. Do not open it to check, you'll lose the chemical concentration.
Step 6: Rinse thoroughly. Take the bags outside or to a utility sink. Open the bag carefully, fumes will escape. Use a garden hose or sprayer to rinse every surface.
The carbon should flake off easily. For stubborn spots, scrub gently with a non-abrasive pad. Rinse again until no soapy feel remains.
Step 7: Neutralize (optional but recommended). Mix a solution of 1 part white vinegar to 3 parts water. Spray or wipe the racks with it, then rinse with plain water. This neutralizes any alkaline residue that could affect oven performance or food safety.
Step 8: Dry completely. Pat the racks dry with a microfiber cloth or let them air-dry overnight. Moisture left in the oven can cause rust or bad smells. Return them to the oven only when fully dry.
Rack Material Matters – Which Cleaners Are Safe
Not all oven racks can handle lye-based cleaner. Using the wrong product can strip the finish, cause rust, or even create a reaction that damages the oven. Here's the breakdown by material:
| Rack Material | Oven Cleaner Safe? | Why |
|---|---|---|
| Chrome-plated | Yes | Thick chrome resists the lye; rinse thoroughly |
| Porcelain-coated | Yes, with caution | The coating can chip if you scrub too hard; use mild scrubbing |
| Stainless steel | Yes | Grade 304 or 316 stainless handles the cleaner well |
| Bare metal / plain steel | No | Lye will etch and rust the metal irreversibly |
| Aluminum | No | Lye reacts violently with aluminum, producing hydrogen gas and heat |
| Self-cleaning oven racks (grey/dark) | No | The dark coating is a catalytic finish that the cleaner destroys |
The biggest gotcha is aluminum. Some older oven racks, especially in budget ranges, have aluminum crossbars. If you see a non-magnetic, lightweight rack with a dull finish, test a hidden spot first.
Put a drop of oven cleaner on it and wait 5 minutes. If it bubbles or turns black, do not proceed.
For porcelain-coated racks, the cleaner is safe but the coating is not scratch-proof. Use only soft sponges or nylon brushes. Metal scouring pads will chip the porcelain and expose the metal underneath, which then rusts.
Stainless steel racks are the most forgiving. Even so, rinse them perfectly, any leftover cleaner can pit the surface over time.
Common Mistakes That Ruin Racks or Harm You
After analyzing hundreds of user reviews and manufacturer warnings, these errors come up again and again. Avoid them and your racks will look new.
Mistake 1: Using wire brushes or steel wool. On any coated rack, abrasives destroy the finish. Use a plastic scrub brush or a nylon pad. On chrome, a copper scrubby is okay for tough spots, but only after the soak.
Mistake 2: Leaving the cleaner on too long. More isn't always better. Leaving lye on bare metal for more than 12 hours can cause pitting. For porcelain, oversoaking can weaken the glaze.
Set a timer, 8 hours is plenty for the worst buildup.
Mistake 3: Cleaning racks inside the oven. Spraying cleaner inside the oven cavity while racks are still in there is a disaster. The chemicals can damage the oven's interior lining, heating elements, and electronic controls. Always remove the racks first.
Mistake 4: Not wearing proper goggles. Safety glasses don't seal. When you spray the foam, it can bounce back or drip from above. Goggles that form a seal around your eyes are the only safe option.
Mistake 5: Rinsing in the kitchen sink. The runoff from oven cleaner can splash onto dishes, utensils, or food prep surfaces. It can also etch stainless steel sinks. Use a utility sink, a large tub outdoors, or a hose.
Mistake 6: Mixing oven cleaner with other chemicals. Never combine oven cleaner with bleach, ammonia, or anything acidic (except the vinegar neutralization step, done after cleaning). The reactions can produce chlorine gas or other toxic fumes.
Mistake 7: Using oven cleaner on self-cleaning oven liners. The grey or blue coating inside self-cleaning ovens is designed to burn off food at high heat. Lye-based cleaners will erode this coating, ruining the self-cleaning function. Stick to warm water and baking soda for those surfaces.
When to Skip the Oven Cleaner – Alternatives That Work
Oven cleaner is powerful, but it is not always the right tool. Several situations call for a gentler approach. Using the wrong method can damage your racks or create unnecessary chemical exposure.
Your racks are aluminum or bare metal. As we covered earlier, lye reacts destructively with aluminum. Even a short soak can pit and discolor the metal. For bare steel or iron racks, the cleaner can strip any protective coating and cause rapid rusting.
In these cases, skip the chemical route.
You have porcelain-coated racks with visible chips. If the coating is already compromised, oven cleaner can seep underneath and lift more porcelain. The result is flaking that exposes raw metal. Stick to gentle scrubbing with baking soda and hot water for chipped racks.
You are sensitive to strong fumes or have respiratory issues. Even with outdoor ventilation, the aerosolized lye can trigger asthma or bronchitis. If you or someone in your household has a lung condition, avoid oven cleaner entirely. The alternatives work well, just slower.
The racks are only lightly soiled. A thin layer of grease does not justify the chemical exposure. For maintenance cleaning, use a paste of baking soda and dish soap. Apply it to the warm racks, let it sit for 20 minutes, and scrub with a non-abrasive pad.
No gloves or goggles required.
Effective alternative methods for heavy buildup without chemicals:
- Baking soda and vinegar paste. Mix baking soda with enough water to form a spreadable paste. Coat the racks, place them in a sealed trash bag, and let them sit for 12 to 24 hours. Rinse and scrub. It takes longer but is completely safe.
- Ammonia bag method (use caution). Place the racks in a sealed bag with a quarter cup of ammonia. Seal tightly and leave overnight in a well-ventilated area, preferably outdoors. The ammonia fumes break down grease without scrubbing. Wear gloves when opening the bag, and never mix ammonia with bleach or oven cleaner.
- Dishwasher (for porcelain or chrome racks). Some racks are dishwasher safe. Check your oven manual. If they fit, run them on a heavy cycle with a degreasing detergent. Avoid this for aluminum or bare metal racks.
When the oven cleaner route is the best choice: If you have chrome or stainless steel racks with thick, crusted carbon that has seen years of buildup, oven cleaner is the most efficient solution. Just follow the safety steps. There is no free lunch, the chemical power comes with responsibility.
Frequently Asked Questions
Can I use oven cleaner on self-cleaning oven racks?
No. Self-cleaning oven racks have a dark catalytic coating that helps burn off food during the oven's high-temperature cycle. Oven cleaner will strip this coating and ruin the self-cleaning function.
Clean those racks with a baking soda paste only.
How long should I let the oven cleaner soak?
For light carbon, 30 minutes to 1 hour is enough. For moderate buildup, aim for 2 to 4 hours. For thick, crusted grease, leave the racks sealed in the bag overnight, up to 12 hours.
Going beyond 24 hours on chrome or porcelain can risk damage, so set a timer.
Will oven cleaner damage my oven racks permanently?
It can if you use the wrong type. Chrome and stainless steel racks hold up fine with proper rinsing. Aluminum racks will be ruined.
Porcelain racks are safe as long as you do not scrub with abrasive pads. Always check your rack material before starting.
Can I rinse oven racks in the kitchen sink?
It is not recommended. The chemical runoff can splash onto dishes and food prep surfaces. It can also etch stainless steel sinks.
Use a garden hose outdoors, a utility sink, or a large plastic tub in a well-ventilated area.
What should I do if I get oven cleaner on my skin?
Rinse immediately with cool running water for at least 15 minutes. Do not scrub or neutralize with vinegar first, just flush with water. Remove any contaminated clothing.
If the skin is blistered or if you feel burning after rinsing, seek medical attention.
Is it safe to use oven cleaner on oven interiors?
Only if the manufacturer explicitly states it. Many modern ovens have catalytic or self-cleaning liners that react poorly to lye. For the interior, warm water and baking soda is a safer bet.
Refer to your oven's manual for cleaning instructions.