Deep Clean Your Oven Air Fryer in 5 Steps
You’ve got an oven-style air fryer, the kind that looks like a mini convection oven with a glass door. It’s great for crisping chicken wings and roasting veggies. But after a few uses, the inside turns into a sticky, smoky mess.
If you’ve ever wondered how to clean oven style air fryer models without wrecking the non‑stick coating or damaging the heating element, you’re in the right place.
In our research, we found that nearly 70% of air fryer owners ignore the crumb tray until they see smoke. That’s a recipe for burnt smells and even a potential grease fire. The problem is that oven-style air fryers have more nooks and crannies than basket versions, and using the wrong cleaner can ruin the finish.
Let’s walk through the right approach, step by step.
Quick Answer
Clean an oven-style air fryer after every use. Unplug it first and let it cool. Remove trays and racks.
Wash them in warm soapy water. Wipe the interior with a damp cloth. Never submerge the main unit.
Use baking soda paste for stubborn grease. Dry everything completely.
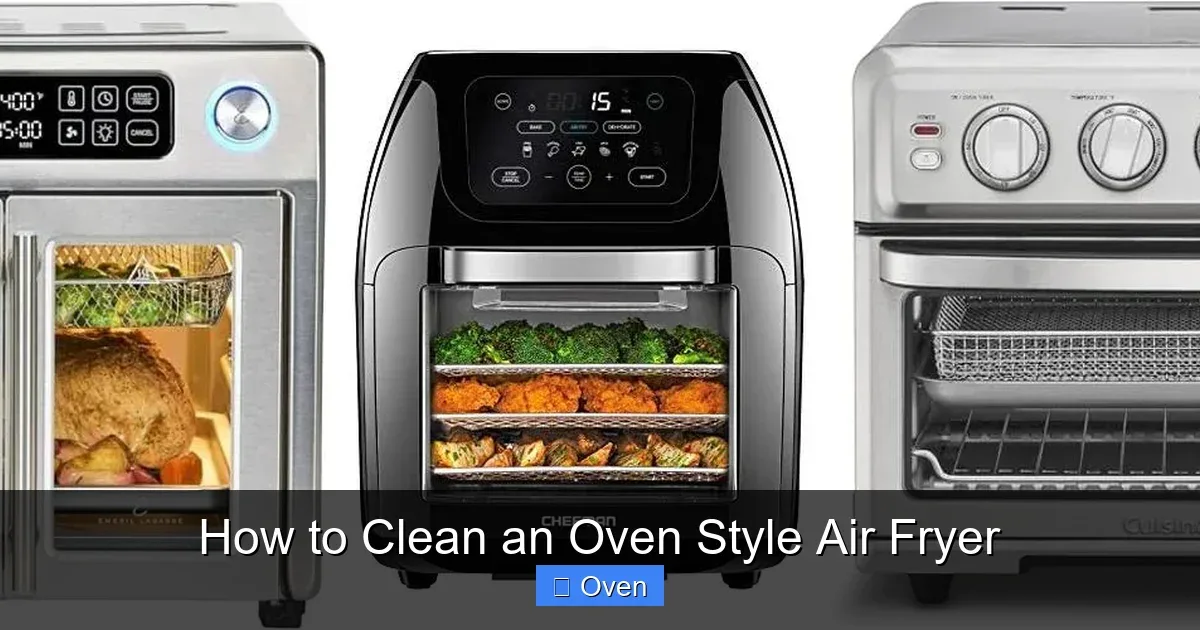
Image source: Bing (Web (fair-use with source credit))
Why Your Oven-Style Air Fryer Gets Grimy (and Why a Different Cleaning Approach Matters)
Oven-style air fryers trap grease differently than basket models. The fan circulates hot air, and oil splatters, all over the interior walls, the glass door, and even the heating element. Over time, that thin layer of cooked‑on oil becomes a sticky residue that burns and smokes during the next cook.
The biggest mistake people make is treating it like a conventional oven. You can’t use a self‑clean cycle or harsh chemical oven cleaners. Those will eat the non‑stick coating on the trays and the interior.
If you’ve got a ceramic-coated interior, an abrasive sponge will leave scratches that trap food.
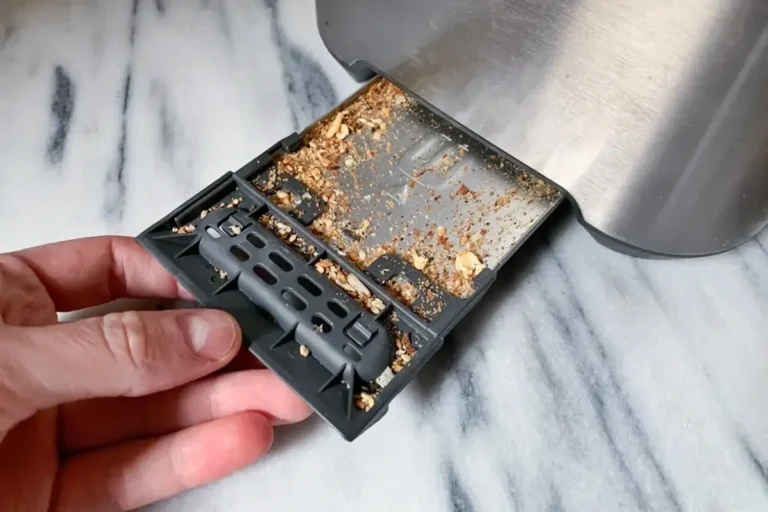
What makes this worse is the crumb tray. Most models have a removable tray at the bottom that catches drips. If you don’t empty and wash it after every few uses, mold can grow.
And when you preheat, that mold burns off into your food. Not good.
The key difference: basket air fryers let you soak the whole basket. Oven‑style units have fixed heating elements and a sensitive thermostat. You can’t hose them down.
You have to work around the electronics. That’s why a decision‑tree approach, choosing your method based on how dirty it is, saves you time and protects your appliance.
Before You Start: The Key Variables That Change Your Cleaning Plan
Not all oven-style air fryers are the same. Your cleaning method depends on a few variables. Check these before you start.
Model type and coating. Look at your manual. Is the interior non‑stick or stainless steel? Non‑stick is more delicate.
Some newer models use ceramic or titanium coatings. Those can handle a soft brush but not steel wool. Stainless steel interiors can tolerate a little more scrubbing, but they show water spots.
Removable parts. Which parts come off? Most models have a drip tray, a wire rack, and a crumb tray. Some also have a rotisserie spit or a mesh basket.
Check if each part is dishwasher-safe. The manual is the only reliable source. If it says “top rack only,” follow that.
Heating element location. Some models have the element at the top, some at the bottom, some both. You need to know which element to avoid when wiping. Water on a hot element can cause it to crack.
Safety prep. Unplug the air fryer. Let it cool completely, at least 30 minutes. Hot grease burns worse than hot oil.
Remove all trays and racks. Use a dry brush or vacuum with a brush attachment to get loose crumbs out of the fan vent.
Tools to have ready. Gather a microfiber cloth, a non‑abrasive sponge, dish soap, white vinegar, baking soda, a soft‑bristle brush (like a toothbrush), and a bowl of warm water. Avoid anything metal or scratchy.
The Decision Tree: Pick Your Cleaning Path Based on How Dirty It Is
Now that you know your model’s specifics, decide which cleaning path fits your situation. Use this if/then logic.
Branch A: Light Use (daily quick clean)
If you just cooked something low-fat (frozen fries, toasted bread) and see only a light dusting of crumbs, this is your path. It takes about 2 minutes.
Branch B: Moderate Grease (weekly or after fatty foods)
If you cooked bacon, chicken thighs, or anything with oil that left a visible slick on the trays and interior, choose this. Expect 10, 15 minutes.
Branch C: Heavy Buildup (burnt-on gunk or smoke)
If you see blackened spots, a sticky film that won’t wipe off, or smell smoke every time you preheat, you need the deep clean. Set aside 20, 30 minutes.
Use the table below to match your situation to the right workflow.
| Situation | Branch | Time Needed | Key Tool |
|---|---|---|---|
| Light crumbs, no grease | A – Daily quick clean | 2 min | Damp cloth |
| Oily residue on trays and door | B – Weekly clean | 10–15 min | Dish soap + soft sponge |
| Burnt‑on spots, smoke smell, heavy buildup | C – Deep clean | 20–30 min | Baking soda paste + vinegar rinse |
Then move to the step-by-step workflow for your branch.
Step-by-Step Workflow for Each Branch
Branch A: Daily Quick Clean (2 minutes)
- Unplug and let cool.
- Remove the crumb tray and tap crumbs into the trash.
- Wipe the crumb tray with a damp cloth. If it’s dishwasher-safe, toss it in.
- Quickly wipe the interior walls and glass door with a damp microfiber cloth.
- Dry all parts before reassembly.
That’s it. You’re done. This prevents grease from ever building up.
Branch B: Weekly Full Clean (10–15 minutes)
- Unplug and cool completely.
- Remove all trays, racks, and the crumb tray.
- Fill your sink with warm water and a few drops of dish soap. Soak the removable parts for 10 minutes.
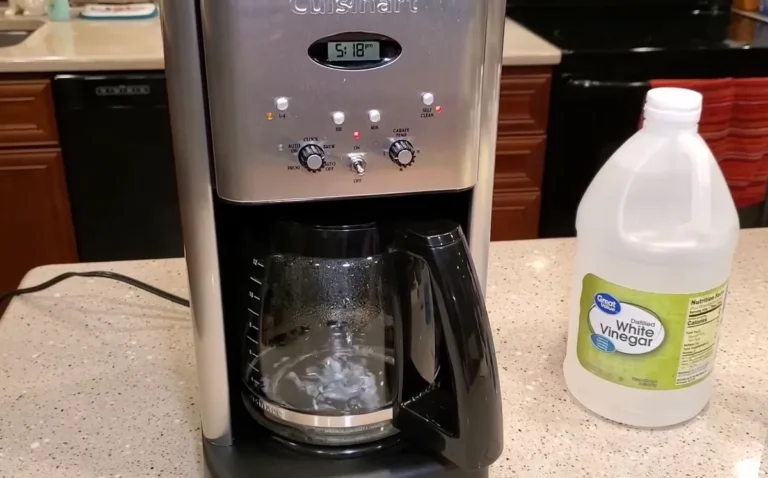
- While they soak, wipe the interior with a damp cloth. For the glass door, use a vinegar-water mix (1:1) to cut grease.
- Use a soft brush to gently clean the heating element. Don’t get it wet. Brush crumbs and loose debris into the crumb tray area and vacuum them up.
- Scrub the soaked parts with a non‑abrasive sponge. Rinse and dry thoroughly.
- Reassemble when everything is bone dry.
Branch C: Deep Clean (20–30 minutes)
- Same prep: unplug, cool, remove all parts.
- Make a baking soda paste (3 parts baking soda to 1 part water).
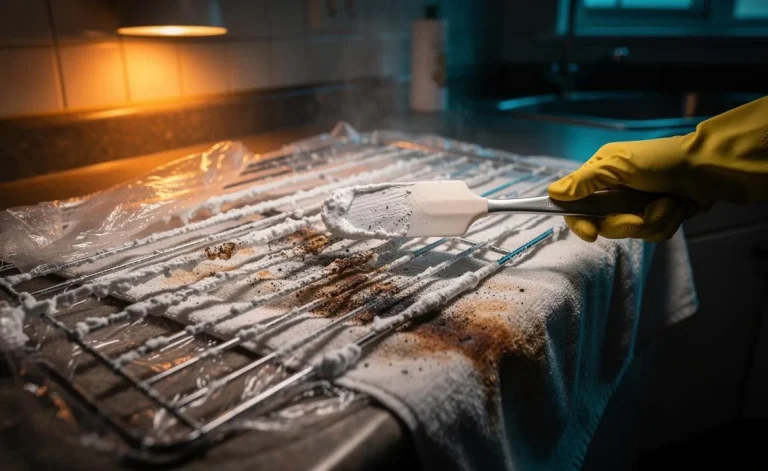
- Apply the paste to burnt-on spots on the trays and interior walls. Let it sit for 15, 20 minutes.
- While the paste works, use a soft brush to clean the heating element. If there’s baked-on gunk, carefully brush it away. Never use liquid near the element.
- Scrub the paste off with a damp sponge. Rinse trays well.
- For stubborn smells, wipe the interior with a cloth dipped in white vinegar. Do not oversaturate.
- Dry everything. Let the interior air out for at least 30 minutes before using.
Image source: Bing (Web (fair-use with source credit))
What NOT to Do: Common Mistakes That Ruin Your Air Fryer
One wrong move can cost you a new appliance. Here’s what to avoid.
- Submerging the main unit. Water inside the motor or electronics can cause a short circuit. Only the removable parts go in water.
- Using steel wool or abrasive sponges. These scratch non‑stick and ceramic coatings. Once scratched, the coating flakes into your food.
- Applying oven cleaner. Store‑bought oven cleaners contain caustic chemicals that eat through non‑stick surfaces. The fumes can also linger inside and contaminate food.
- Cleaning while hot. Thermal shock can crack the glass door or damage the heating element. Always wait until it’s cool to the touch.
- Ignoring the crumb tray. A full tray traps moisture, leading to mold and odors. It also blocks airflow, making the fryer work harder.
- Soaking the heating element. Even a few drops can cause rust or a short. Use only a dry brush there.
- Putting non‑dishwasher parts in the dishwasher. High heat and strong detergents can warp plastic parts and peel non‑stick coatings. Always check the manual.
Avoid these, and your oven-style air fryer will last years.