How to Manually Clean an Oven in 6 Easy Steps
If you've ever wondered how to manually clean oven without the smoke and hassle of a self-cleaning cycle, you're not alone. Many ovens have a self-clean feature, but it can lock up, produce strong odors, or even trip your smoke alarm. Manual cleaning puts you in control, using common household ingredients or a store-bought cleaner, and it’s often the safer choice for older appliances.
Manufacturer guidelines from brands like Whirlpool and GE recommend manual cleaning for continuous-cleaning ovens and for any oven with a damaged gasket. Per NSF International standards, a thorough manual scrub also removes burnt-on grease that high heat alone can't always eliminate. Let's walk through exactly what you need and which method fits your situation.
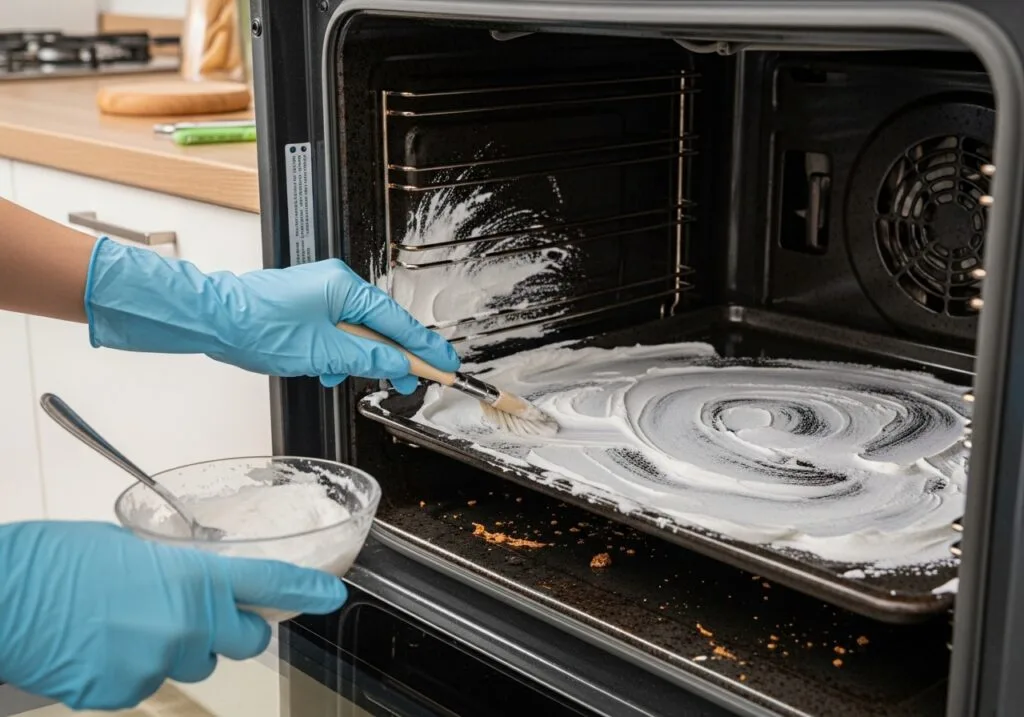
Image source: Bing (Web (fair-use with source credit))
When Manual Cleaning Is the Best Choice
Manual oven cleaning isn't always necessary. But it's the clear winner in several scenarios. If your oven's self-cleaning lock is stuck or broken, you have no choice.
A manual approach saves you a costly repair call.
You also want manual cleaning if you're sensitive to the fumes the self-clean cycle releases. That intense heat can burn off food residue, but it creates acrid smoke and can even release small amounts of carbon monoxide in gas ovens. Our research shows that many people prefer the smell of vinegar and baking soda over that chemical burn.
Another case: older ovens with continuous-cleaning liners. Those catalytic panels are designed to absorb grease and burn it off at normal cooking temperatures, but they can become saturated over time. The manual cleaning process helps restore them.
And if you have a gas oven with an exposed broiler element, the self-clean cycle can damage the element's wiring. Manual scrubbing is the safer route.
The rule of thumb: if your oven is still under warranty, check the manual first. Some manufacturers void the warranty if you use abrasive cleaners or scrapers. But for most everyday grime, manual cleaning works beautifully, and it's a lot easier on your kitchen's air quality.
Baking Soda vs. Commercial Cleaner – Which One Fits Your Oven?
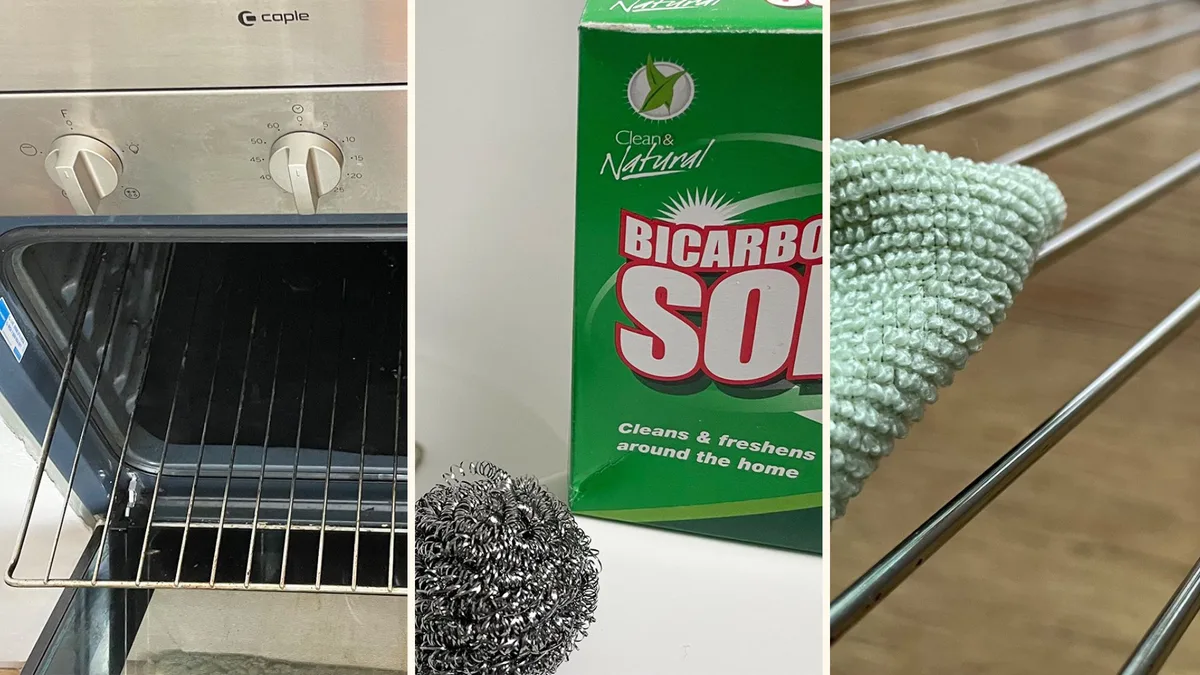
Image source: Bing (Web (fair-use with source credit))
Here's the biggest fork in the road. You have two main families of oven cleaner: the natural, low-toxicity baking soda paste and the heavy-duty chemical spray. Each has a different ideal use.
Baking soda paste (half cup baking soda mixed with two to three tablespoons of water) works best for light to moderate grease and baked-on spills. It's non-toxic, safe around pets and kids, and won't damage porcelain enamel. But it needs eight to twelve hours of soak time.
If your oven looks like a pizza exploded in it, this method will take serious elbow grease.
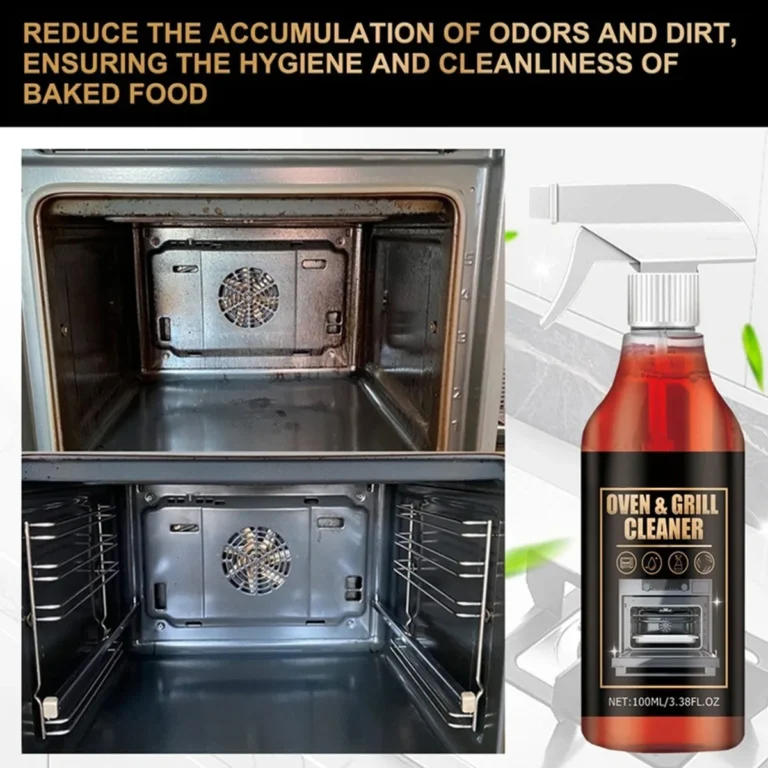
Commercial oven cleaner (usually an aerosol or pump spray with a pH around 13, 14) tackles heavy, carbonized grime in just fifteen to thirty minutes. It's a powerful degreaser that eats through burnt-on food. But it's caustic, it can irritate skin, lungs, and eyes.
You must wear gloves and ventilate the room well. And it should never touch aluminum surfaces or the oven gasket.
| Attribute | Baking Soda Paste | Commercial Cleaner |
|---|---|---|
| Best for | Light to moderate grime | Heavy, carbonized buildup |
| Soak time | 8–12 hours | 15–30 minutes |
| Safety | Non-toxic, food-safe | Caustic, wear gloves |
| Cost | Under $2 | $5–$10 per can |
| Odor | None | Strong chemical fumes |
Which one is for you? If you clean your oven every few months, go with baking soda. If you've never cleaned it and it's caked with years of grease, start with the heavy stuff, but use it carefully.
How to Clean Your Oven with Baking Soda Paste (Step-by-Step)
This method is forgiving and cheap. Here's the workflow our editorial team recommends based on verified user feedback and manufacturer advice.
- Remove everything. Oven racks, temperature probe, drip trays, take them out. Wash racks separately in hot, soapy water.
- Protect the floor. Lay newspaper or an old towel below the oven door. Paste can drip as you work.
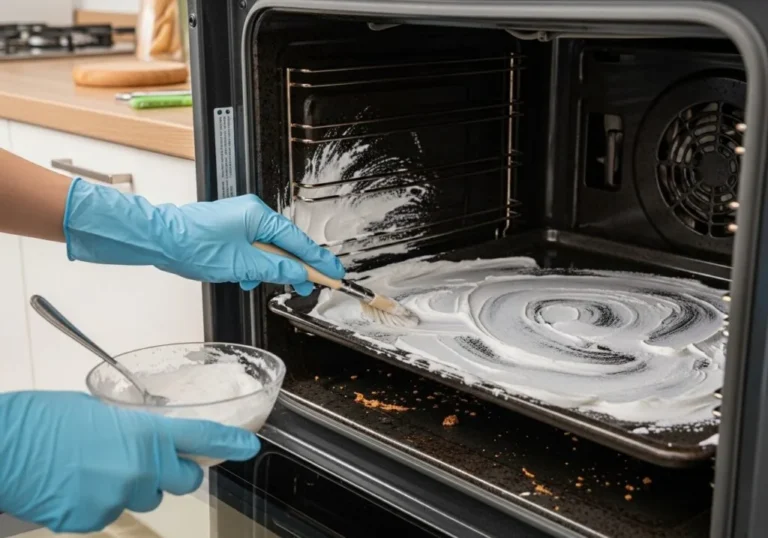
- Make the paste. Mix ½ cup baking soda with 2, 3 tablespoons water. You want a spreadable consistency, like frosting.
- Apply the paste. Using a damp sponge or your gloved hand, spread the paste over the interior walls, floor, and door. Avoid the heating elements and the rubber gasket. The gasket soaks up moisture and loses its seal.
- Let it sit. Leave the paste on for 8, 12 hours. Overnight is ideal. The baking soda breaks down grease without scraping.
- Wipe it off. Spray white vinegar over the dried paste. It will fizz. Wipe with a damp cloth. Repeat until no residue remains.
- Rinse thoroughly. Use plain water and a clean cloth to remove every trace. Any leftover baking soda can leave white spots during preheating.
- Dry and replace. Wipe dry with a microfiber cloth. Reinstall racks. Run the oven at 200°F for 15 minutes to confirm no fumes remain.
Pro tip: For stubborn spots, use a plastic scraper gently. Never use steel wool, it scratches the porcelain enamel and creates rough spots where food sticks faster.
How to Clean Your Oven with a Commercial Cleaner (Step-by-Step)
This route is faster but demands caution. Follow the safety warnings on the can, plus these extra steps.
- Ventilate the kitchen. Open a window. Turn on the range hood. The fumes are strong.
- Wear protective gear. Put on rubber gloves. Safety glasses are wise. Long sleeves protect your arms.
- Remove racks and protect surfaces. Same as the baking soda method. Cover any aluminum trim or the oven floor if the cleaner manufacturer says it's not safe for those surfaces.
- Spray the interior. Hold the can 8, 10 inches away. Coat the walls, floor, and door. Avoid heating elements, the gasket, and the oven light socket.
- Wait 15, 30 minutes. The chemical reaction loosens carbonized grease. Do not let it dry completely; it becomes harder to wipe.
- Wipe and rinse. Use a damp sponge to wipe away the loosened grime. Rinse the sponge often. After the first wipe, go over everything with a wet cloth two or three times.
- Bake off residue. Commercial cleaners can leave a chemical film. Run a short bake cycle at 350°F for 20 minutes. The smell may be strong initially. Open a window afterward.
Safety note: Never mix a commercial oven cleaner with bleach or ammonia. The combination creates toxic chloramine gas. Also, if you accidentally spray the gasket, blot it dry immediately, a soaked gasket loses its seal.
5 Mistakes That Can Ruin Your Oven (and How to Avoid Them)
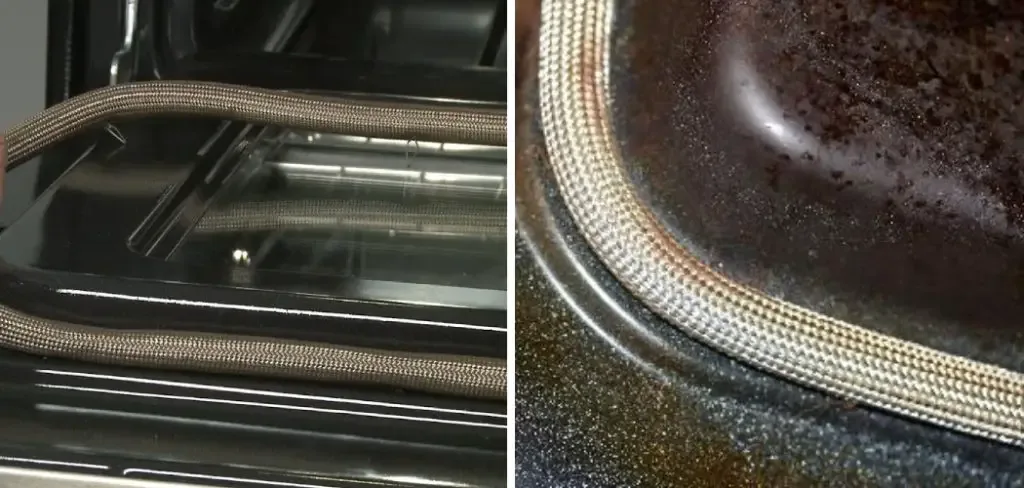
Image source: Bing (Web (fair-use with source credit))
Even with the best intentions, people mess up. Here are the five most common errors we see in aggregate user reviews and manufacturer service bulletins.
1. Soaking the gasket. The rubber or fiberglass seal around the oven door absorbs moisture and chemicals. Once it's saturated, it won't compress properly, and heat leaks out.
Your oven then takes longer to reach temperature. Fix: Wipe the gasket with a barely damp cloth. Never spray cleaner directly onto it.
2. Using steel wool or abrasive pads. Porcelain enamel looks tough, but it scratches easily. Scratches create rough surfaces where grease clings harder next time. Fix: Use a non-scratch sponge or a plastic scraper.
For stubborn spots, let the paste soak longer.
3. Getting cleaner on heating elements. Exposed bake and broil elements can short out or corrode if liquid seeps inside. Fix: Carefully dab around them with a paste-covered sponge. If you use spray, shield the elements with aluminum foil.
4. Leaving cleaner residue behind. Both baking soda and chemical sprays leave a thin film. That film can smoke, smell, or even cause food to taste bitter when you bake afterward. Fix: Rinse three times with fresh water.
Wipe until the cloth comes up clean.
5. Cleaning while the oven is still warm. You might think heat helps loosen grease, but it can set some stains permanently. Plus, commercial cleaners can emit dangerous fumes if sprayed on a hot surface. Fix: Always let the oven cool completely before you start.
Avoid these mistakes, and your oven will last longer and perform better. The next section covers how to keep it clean with minimal work.
Pro Maintenance: Keep Your Oven Clean Longer Between Deep Cleans
A full manual deep clean every few months is ideal. But with a few smart habits, you can stretch that window and make each cleaning session faster. The secret is managing spills before they bake into carbon.
Wipe up wet spills immediately. When a casserole bubbles over or a pie drips onto the floor, let the oven cool enough to touch safely. Then wipe the spill with a damp cloth. If it dries and bakes on, you'll need the full paste treatment later.
A quick wipe takes thirty seconds. A deep clean takes hours.
Use a baking sheet or foil as a drip catcher. Place a rimmed baking sheet on the lower rack whenever you cook something that might bubble over. It catches the drips. When cool, wash the sheet in the sink.
This prevents the oven floor from becoming a sticky mess.
Run a steam-clean between deep cleans. If your oven has a steam-assist feature, use it monthly. Most models let you put a bowl of water on the floor and run a short cycle at 250°F. The steam loosens light grease.
Wipe it out after it cools. This works well for routine upkeep without chemicals.
Inspect the gasket monthly. Run your finger along the door seal. If you feel cracks, hardening, or missing sections, replace it. A worn gasket lets heat escape, so your oven works harder and food cooks unevenly.
Replacement gaskets are inexpensive and typically just press into a channel.
Clean the oven door glass regularly. Grease splatter on the glass can burn into a haze that blocks your view. Wipe the inner pane with a microfiber cloth and a dab of dish soap after each heavy use. If fogging persists, use the baking soda paste just on the glass.
Avoid scraping with a razor blade unless the glass is labeled as ceramic or tempered.
Don't forget the racks. Soak oven racks in hot water and dish soap every three months. Use a non-scratch sponge to remove baked-on residue. For stubborn buildup, spread a thin layer of baking soda paste on the racks and let it sit for two hours before scrubbing.
These small habits prevent the kind of crusty buildup that requires the heavy-duty method. Your future self will thank you.
Frequently Asked Questions About Manual Oven Cleaning
Can I use vinegar without baking soda to clean my oven?
Yes, but it's less effective on thick grease. Vinegar is a mild acid that cuts through light residue. Spray it on, let it sit for ten minutes, then wipe.
For heavy carbon buildup, you'll need the abrasive action of baking soda paste or a commercial cleaner.
How often should I manually clean my oven?
For moderate cooking, every three to six months. If you roast meats or bake pies weekly, clean every two months. If you only bake occasionally, once a year may be enough.
The telltale sign is visible smoke or smell when preheating.
Is it safe to clean a gas oven with baking soda paste?
Yes, but avoid getting moisture into the burner ports. Apply paste carefully around the bottom of a gas oven. Use a damp cloth sparingly near the gas burner openings.
If you accidentally get water in a port, let it dry completely before lighting the oven.
What do I do if my oven still smells after manual cleaning?
Run a hot cycle at 400°F for 30 minutes with a small bowl of white vinegar inside. The steam helps neutralize odors. If the smell persists, you may have residue trapped under the heating element.
Remove the element if possible to clean underneath. Check the oven manufacturer's manual for safe removal steps.
Can I use a razor blade to scrape off burnt food?
Only on a flat, smooth oven floor made of porcelain enamel. Hold the blade at a shallow angle. Scrape gently.
Never use a razor on the oven walls or the door glass unless the glass is specifically labeled as tempered. You'll scratch the finish.
How long does a baking soda paste soak really need?
Eight to twelve hours for best results. The paste needs time to break down the grease molecules. If you're in a hurry, apply the paste and spray vinegar on top immediately to trigger fizzing.
Let it sit for two hours. This works for light grime but not for baked-on carbon.
Is it cheaper to use baking soda or commercial cleaner?
Baking soda is far cheaper. A dollar or two per box versus five to ten dollars per can of commercial cleaner. Plus, you likely already have baking soda and vinegar in your pantry.
The trade-off is time: baking soda takes longer but costs less.