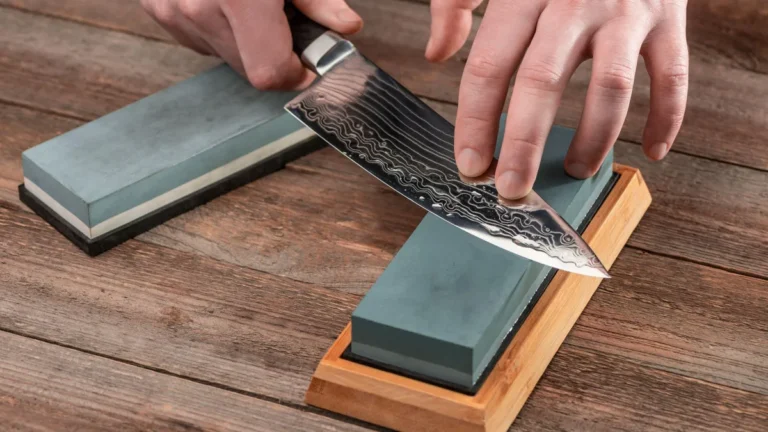
How to Sharpen Tomodachi Knives Properly
Knowing how to sharpen tomodachi knives correctly is the difference between a blade that glides through a ripe tomato and one that crushes it into juice. These Japanese-style knives use hard stainless steel and a precise edge, which means the wrong sharpening method can wreck a perfectly good blade. Most owners don't ruin their Tomodachi from heavy use.
They ruin it at the sharpening station.
Per manufacturer specifications, Tomodachi blades sit around 58-61 HRC on the Rockwell scale. The standard double-bevel edge is ground to roughly 15 degrees per side. That hardness gives excellent edge retention, but it makes the blade fussy about how you sharpen it.
Let's start with the single biggest mistake.
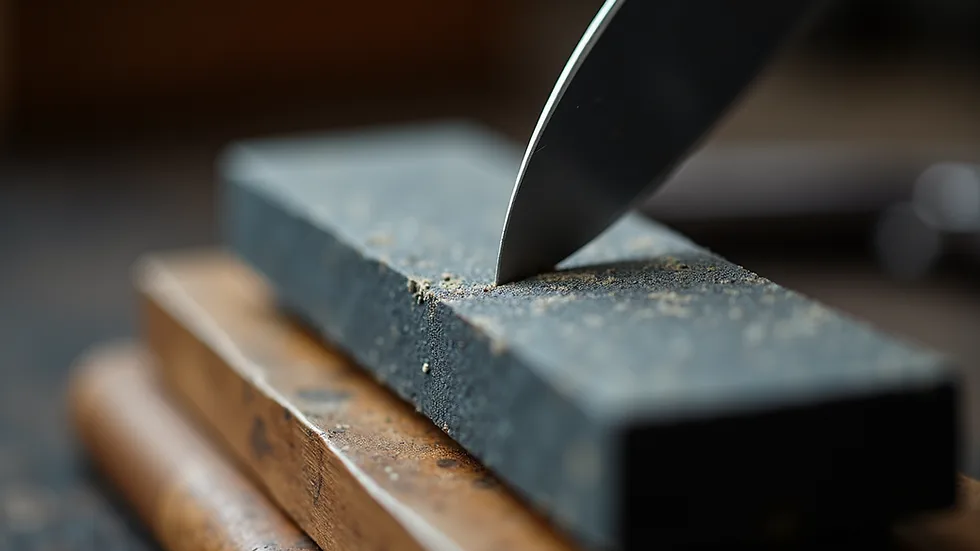
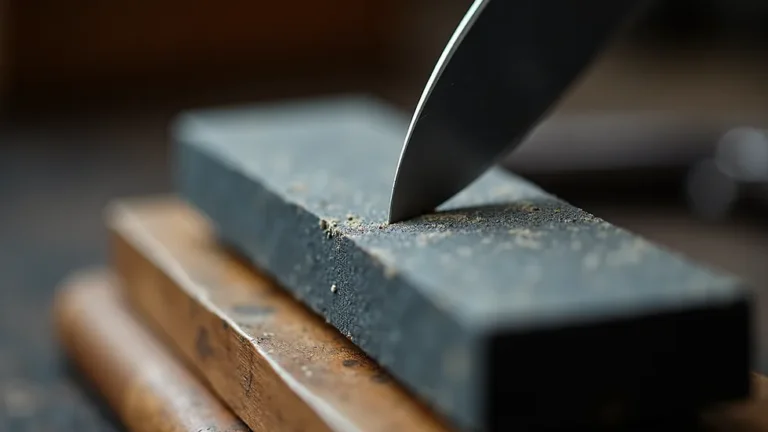
Image source: Bing (Web (fair-use with source credit))
The One Mistake That Ruins Most Tomodachi Knives
Pull-through sharpeners and electric sharpeners. Together, those two tools cause nearly every ruined Tomodachi blade you see in review threads and repair-shop forums. Aggregate user reports and manufacturer care guides agree: abrasive V-tools scrape away steel at an angle the blade wasn't designed for.
The result is an edge that looks fine but cuts poorly.
Here's what happens mechanically. A pull-through sharpener drags the blade through fixed carbide or ceramic notches. On softer European steel, that works fine because the metal deforms and reforms.
On 58-61 HRC stainless steel, the carbides tear chips out of the edge instead. You get a rough wire edge that folds over during the first hard slice.
Pull-through models are tempting because they take 10 seconds. That convenience is exactly what ruins hard Japanese-style steel. The fixed notch angle rarely matches your blade's existing bevel, so the edge gets a new micro-angle that's too steep to hold.
Within a month, you run it through again, and the cycle keeps scraping away steel.
Electric sharpeners are worse in a different way. High-speed wheels generate friction heat. Heat above roughly 150°C softens the steel near the edge.
That loss of temper is permanent. No whetstone pass, no matter how precise, brings the hardness back. The blade drops from its original 58-61 HRC rating to something far softer, and it loses its bite for good.
Tomodachi's care documentation, along with most professional knife-sharpening services, explicitly recommends against powered sharpening for high-hardness blades. When you send a damaged knife for repair, the service typically charges extra to re-establish a proper edge angle.
Warning signs that your blade has already been damaged:
- The edge reflects light like a mirror along the whole length
- The knife was sharp, then suddenly dull right after one sharpening
- Visible chips or a wavy edge line appear under strong light
If any of these sound familiar, stop using powered sharpeners. You'll need to grind past the damaged zone with a coarse stone, which costs blade life. That's why checking the blade first matters so much.
Start With What You've Got
Before you buy a stone or watch a tutorial, you need to see the actual condition of your knife. Sharpen a slightly dull edge with a coarse 400-grit stone and you'll grind away years of blade life. Sharpen a chipped edge with a fine 5000-grit stone and you'll never reach the chip.
Three edge conditions
| Condition | What it looks like | Where to start |
|---|---|---|
| Very dull or damaged | Chips, rolled edge, reflects light | 400-grit stone |
| Slightly dull | Cuts paper but drags, fails on tomato | 1000-grit stone |
| Just lost its bite | Cuts fine but feels slick | 3000-5000 grit or strop |
Take the thumbnail test. Gently rest the edge against a thumbnail at a shallow angle and apply light pressure. If it grips, the edge has bite.
If it slides, you're dealing with a dull or rolled edge. Keep the blade angled away from your thumb so it can't bite you if you push too hard.
Another quick check is the light reflection test. Tilt the blade under a direct light source. A sharp edge shows almost no reflected light.
A worn edge catches the light and glints along the bevel. That glint is where steel has rounded over.
Which Tomodachi do you own?
Most Tomodachi chef knives sold today are double-bevel blades with a 50/50 grind. That means the edge is symmetrical, one angle per side. A smaller line of single-bevel knives uses a traditional Japanese chisel grind.
Sharpening those with double-bevel technique will flatten the flat side and ruin the geometry.
Check the product listing or box for "single bevel" or "double bevel" before you begin. When in doubt, look at the tip. Single-bevel knives often have a visible concave back side and a different tip curve.
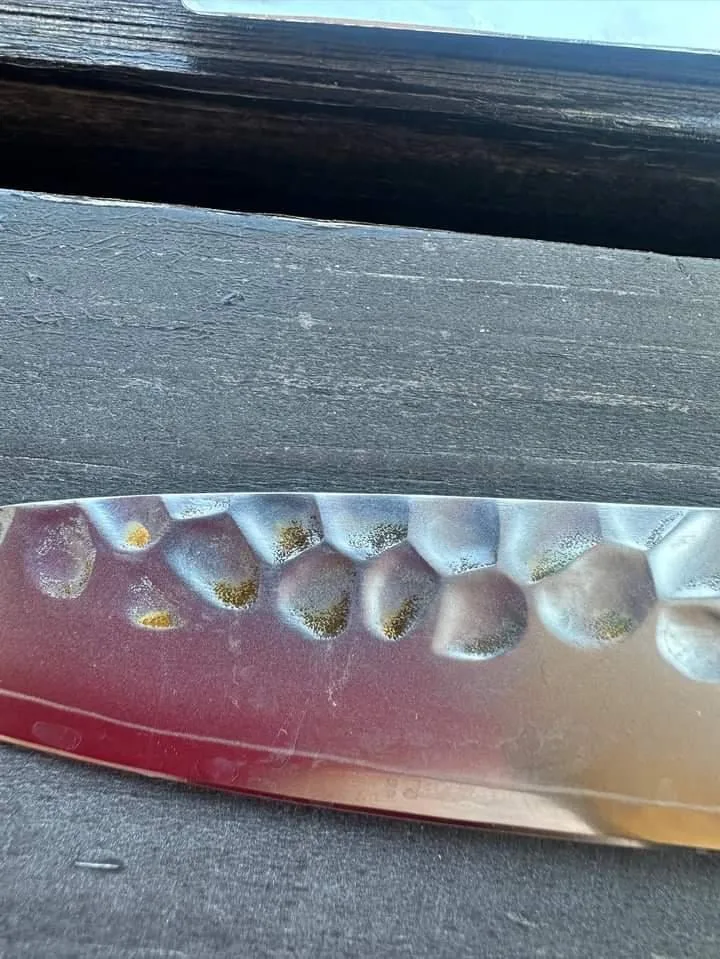
Also note the blade finish. Tomodachi offers plain, Damascus, and Tsuchime hammered finishes. Damascus and hammered surfaces scratch more easily, so you'll want good contact control when you sharpen.
That affects the technique we cover in the step-by-step section.
Once you know the condition and the bevel type, the path forward is simple.
The Decision Tree: Which Sharpening Path Fits Your Situation?
As of 2026, most Tomodachi knives sold in North America are double-bevel. The right sharpening path depends on condition and your skill level. Here's the if/then breakdown, with a grit chart to keep it visual.
Branch A: Very dull or damaged
If your edge has chips or reflects light like a mirror, you need to create a new edge. Start with a 400-grit coarse stone. Work until you raise a burr along the entire edge, then move up to 1000 grit and optionally 3000 grit for polish.
That's a full reshaping pass, and it removes the most steel. Only use this branch when the edge genuinely needs it.
Branch B: Slightly dull
If it cuts but not cleanly, your edge is rolled or lightly worn. Skip the coarse stone entirely. Go straight to a 1000-grit medium stone, refine with 3000 grit, and you're done.
This is the most common route for home cooks. It removes far less steel and keeps your blade shape intact.
Branch C: Just losing its bite
If it was sharp last week and now it feels slick on tomato skin, you just need to realign the edge. A 3000-5000-grit finishing stone, or a leather strop, restores the bite in five minutes. No heavy sharpening session needed.
This branch preserves the most blade life.
Branch D: Your Tomodachi is single-bevel
Stop here. Single-bevel sharpening is a different workflow. The flat side stays flat, and the hollow grind on the back never touches the stone.
Treating it like a double-bevel blade will ruin the geometry. Look for a single-bevel-specific sharpening guide before you start.
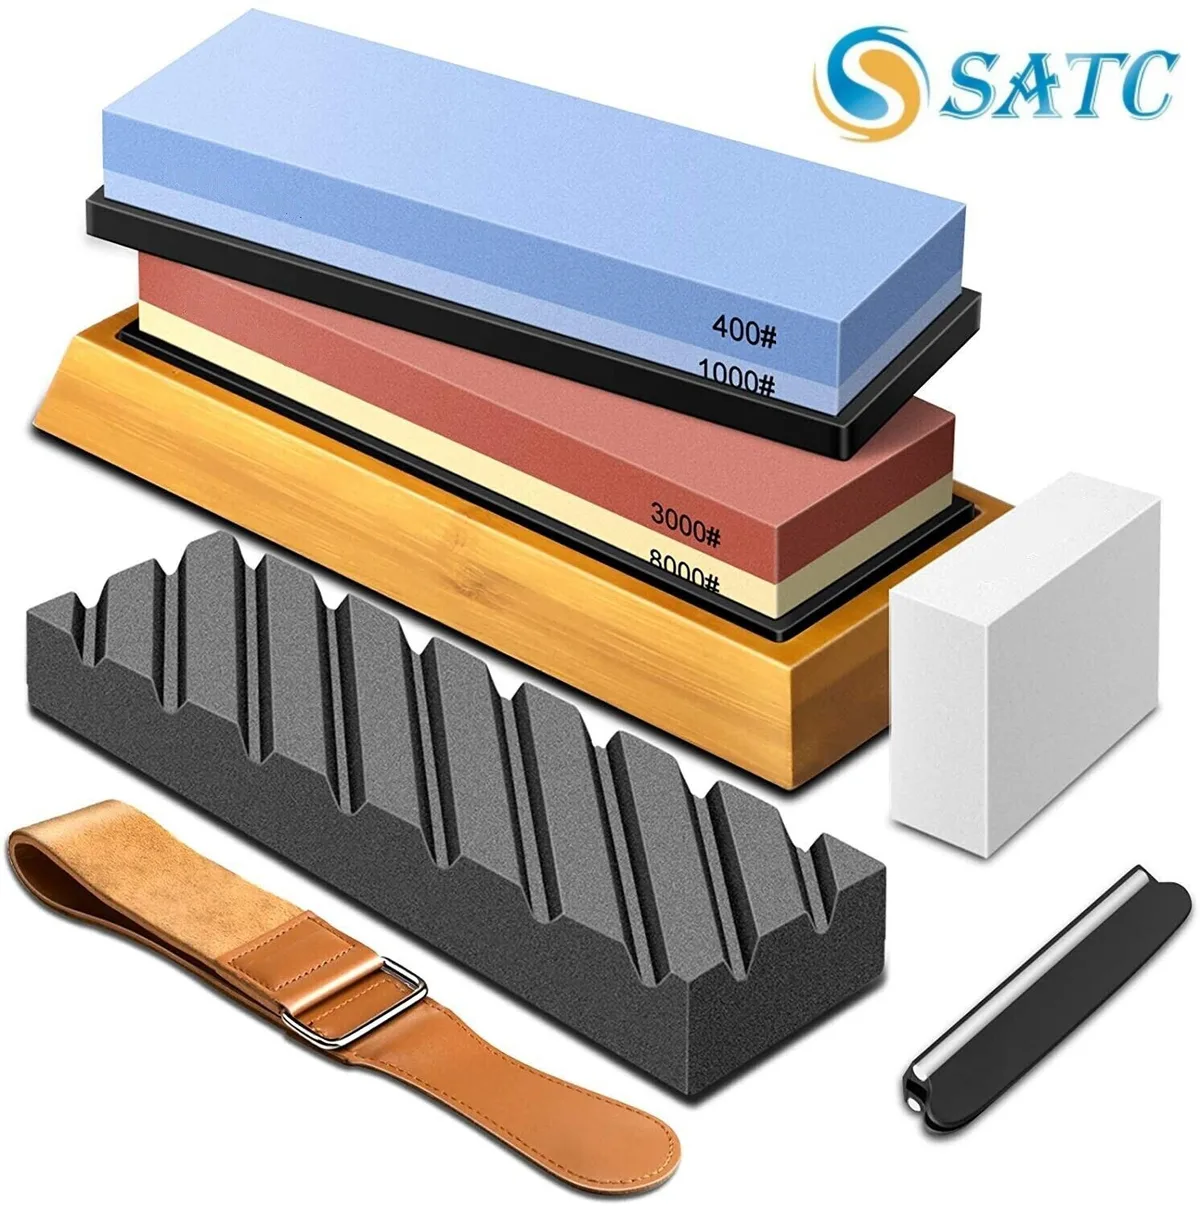
Image source: Bing (Web (fair-use with source credit))
Aggregate reviews show most Tomodachi owners fall into Branch C within four to six months of regular home use. That's the sweet spot for a quick touch-up routine. If you're just starting out, Branch B is the safest place to build your technique.
Step by Step: Sharpening a Double-Bevel Tomodachi
This is the route for a standard double-bevel Tomodachi that's slightly dull or worse. The full run takes 10-20 minutes once you've done it a few times. Here's the workflow.
Step 1: Set up your station
Soak your whetstone in water for 10-15 minutes. Place it on a damp paper towel or non-slip base so it doesn't slide. If you have a combo stone, start with the coarser side up.
Keep a small dish of water nearby to splash the stone as you work.
Step 2: Find the 15-degree angle
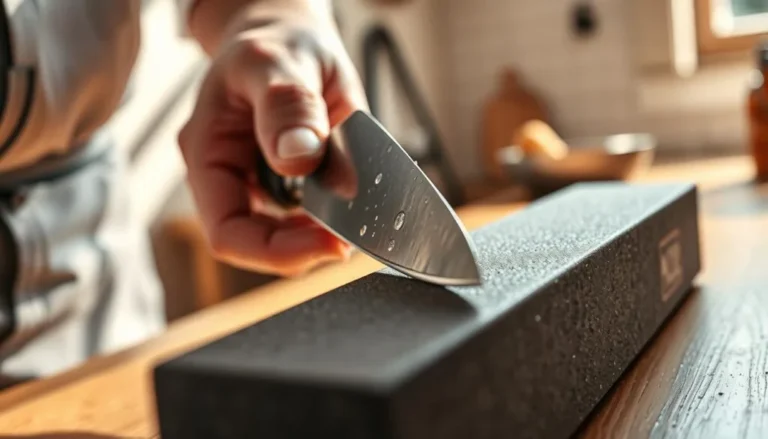
Tomodachi's double-bevel edge is ground to about 15 degrees per side, a 30-degree total angle. A visual trick: the spine sits about one inch above the stone for a blade that's about two and a half inches wide. Lock that angle with your supporting fingers and don't let it drift.
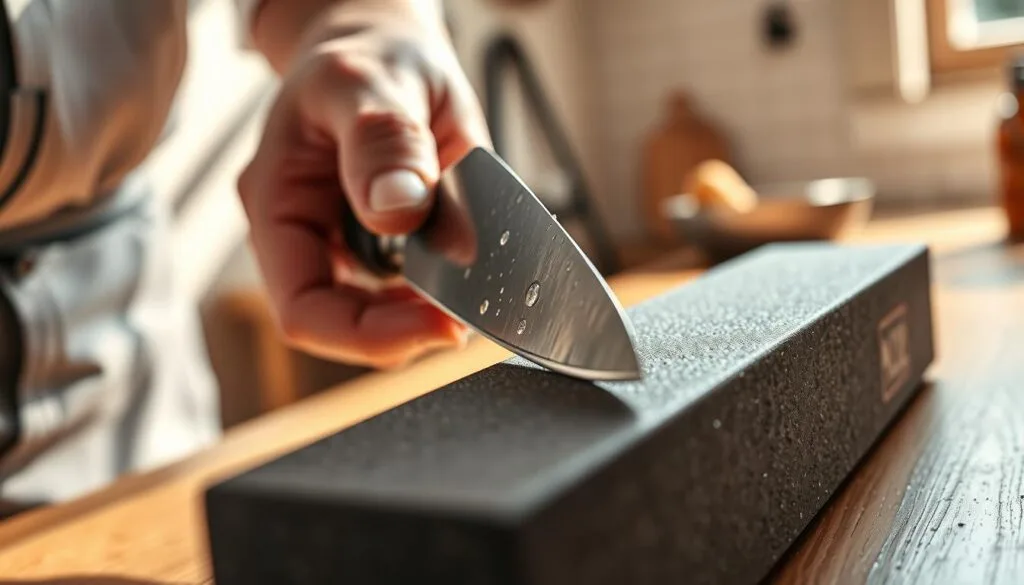
Image source: Bing (Web (fair-use with source credit))
Step 3: Build a burr
Hold the blade with your fingers flat near the edge. Push it away from you, edge-leading, drawing from heel to tip across the stone. Keep the angle locked.
Repeat 10-15 passes on the same side. Then feel the opposite edge with a fingertip. A tiny rough lip, the burr, should be there.
If you don't feel it, keep going.
Step 4: Flip and mirror
Do the exact same strokes on the other side, same number of passes. The burr flips to the first side. Watch your angle here, it's usually weaker.
A common beginner mistake is holding the blade slightly steeper on the second side, which creates an uneven edge.
Step 5: Deburr
The burr folds over during cutting if you leave it. Switch to a fine stone at 3000 grit or above. Do light alternating strokes, one pass per side, with gradually less pressure.
End with a few featherweight passes on high grit. That's what takes the wire edge off.
Step 6: Strop (optional)
A leather strop with a light polishing compound takes the edge from sharp to scary. Home cooks can skip this. Enthusiasts love it.
Five passes per side, edge trailing, with almost no pressure.
Step 7: Test and clean
Slice a piece of paper or rest the edge against a thumbnail at a shallow angle. If it grips, you're done. Rinse the blade, dry it completely, and store it in a dry spot.
That aligns with standard food-safe handling guidance from the USDA.
The Mistakes That Cost You Hardness
Steel at 58-61 HRC holds an edge beautifully, but it's unforgiving when sharpened wrong. Here are the errors that cause permanent damage.
Pull-through sharpeners
Fixed-angle scrapers don't match your existing bevel. They create a micro-bevel that's uneven and too weak to last. On hard steel, they often tear instead of grind.
This is the fastest way to turn a Tomodachi into a mediocre knife.
Electric sharpeners
High-speed wheels overheat the thin apex. Once the temper is gone, no whetstone pass can bring it back. A knife that was 60 HRC becomes softer near the edge and loses its bite within weeks.
Aggregated review analysis suggests this is the most common reason Tomodachi knives end up at professional services for repair.
Honing rods
Steel and ceramic rods assume the edge is soft enough to realign. A hard Tomodachi edge can chip along the rod instead. If you need a touch-up, use a fine stone.
Skip the rod entirely.
Sharpening the whole blade face
You only sharpen the edge bevel. Laying the blade flat grinds off the Damascus finish and thins the blade too far up the spine. Don't do flat passes on the stone unless you specifically know what you're doing.
Skipping the deburring step
People test sharpness after raising one burr, then call it done. The burr folds over during cutting and the edge dies in a day. Always deburr before you finish.
Using too coarse a stone for minor dullness
A 400-grit stone removes serious steel. If your edge just lost its bite, coarse grit shortens the blade's lifespan without making it sharper. Match the grit to the condition, not to your patience level.