Perfect Inangit in Your Rice Cooker Every Time
Inangit recipe in rice cooker questions pop up a lot, and for good reason. Traditional stovetop inangit needs constant attention to avoid burning, and many people figure a rice cooker can handle the job. The problem is that most rice cooker recipes for this dish end up with gummy rice, no golden crust, or a mess of burnt coconut milk on the bottom of the pot.
The main issue comes down to how rice cookers work. Standard models use a temperature sensor that shuts off when the pot hits around 212°F (100°C), which happens when water is absorbed. Coconut milk has a different boiling point and fat content, which can confuse that sensor.
As of 2026, no major rice cooker brand includes a dedicated "inangit" program. That means you need to work with the machine's existing cycles, and that's where most people get stuck.
Quick Answer
Use a 1:1.25 ratio of glutinous rice to liquid. Use half coconut milk and half water. Toast the rice dry in the pot first.
Add the liquid and cook on the standard white rice cycle. Let it sit on keep warm for 15 minutes. Open and fluff.
The bottom will form tutong.
Why Inangit in a Rice Cooker Is Tricky (But Doable)
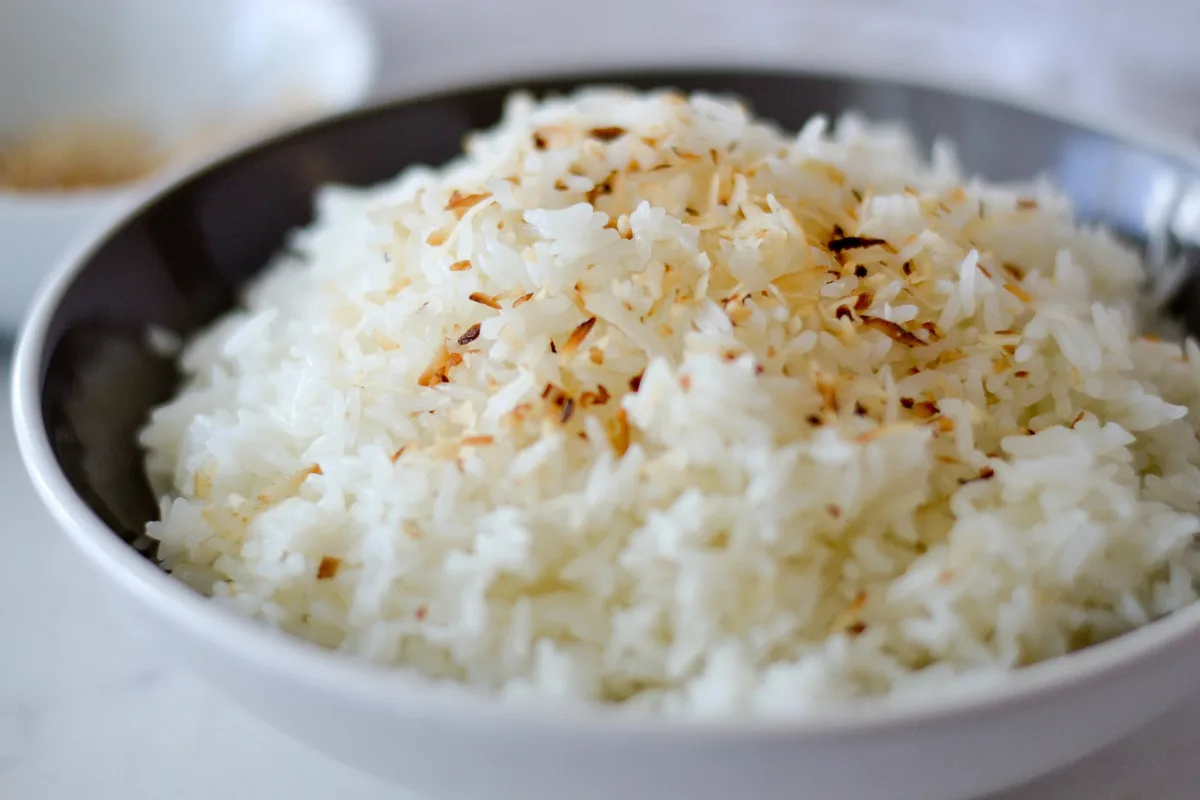
Image source: Bing (Web (fair-use with source credit))
A rice cooker is basically a steamer with a timer. It works great for plain white rice because water absorbs at a predictable rate. Coconut milk throws off that entire equation.
It has fats and solids that don't behave like plain water. The sensor in most rice cookers expects a clean boil and a steady temperature rise. When coconut milk is involved, the temperature spikes differently, and the sensor can either kick off too early or never shut off properly.
Aggregate reviews of home cooks trying this recipe show two common outcomes. The first is undercooked, mushy rice because the cooker shut off before the liquid fully absorbed. The second is a burnt, smoking mess on the bottom while the top stays raw.
Both are frustrating, and both are avoidable once you understand how to work around the machine's limitations.
The real trick is to stop treating your rice cooker like a set-it-and-forget-it appliance for this dish. You have to intervene a little. That means toasting the rice first, choosing the right liquid ratio, and using the keep warm function deliberately.
It's not hard. It just requires a slightly different approach than what you are used to with basic white rice.
Another factor is the type of rice cooker you own. Induction heating (IH) models, like the higher-end Zojirushi or Tiger units, have more precise temperature control. They can handle the coconut milk better than basic thermal switch models.
If you have a $20 budget rice cooker, you need to be more careful with liquid amounts and timing. That is not a criticism. It is just reality.
We will address both situations in the next section.
The Decision Workflow: Two Routes That Work
There are two reliable ways to make inangit in a rice cooker. Which one you choose depends on your equipment and how much crust you want. Both routes start with the same prep.
Rinse your glutinous rice (malagkit) until the water runs mostly clear. Let it soak for 15 minutes while you prepare the other ingredients. Do not skip the soak.
It helps the grains cook evenly.
Route one is the dry toast method. Turn your rice cooker on. Add the drained rice directly to the dry pot.
Stir it every 30 to 60 seconds for about 3 to 4 minutes. You want the grains to look slightly opaque and feel warm to the touch. A few grains might turn light golden.
That is fine. Do not let them go dark brown or black. Once toasted, add your liquid mixture and start the white rice cycle.
Route two is the pre-cook method. Add the rice and liquid to the pot without toasting. Start the white rice cycle.
As soon as the cooker clicks over to keep warm, open the lid. Stir the rice gently to redistribute the moisture. Close the lid and let it sit on keep warm for 20 to 30 minutes.
The residual heat will create some crust on the bottom, but it will be lighter and less consistent than the dry toast method.
If you have an induction rice cooker, use route one. The even heat distribution means the dry toast will be uniform, and the cooking cycle will handle the coconut milk better. If you have a basic thermal switch rice cooker, route two is safer.
The pre-cook method reduces the chance of the sensor misreading the liquid and burning the bottom before the rice is fully cooked.
Here is a quick decision guide:
- Induction cooker with a mixed rice setting: Route one plus use the mixed rice cycle if available.
- Induction cooker with only white rice setting: Route one on white rice cycle. Monitor the first batch.
- Basic thermal switch cooker (under $40): Route two preferred. Use less coconut milk (60% water, 40% coconut milk).
- Any cooker with a glass lid: Route one works, but the condensation will drip back. Place a clean kitchen towel between the lid and the pot rim to absorb excess moisture.
The liquid ratio also shifts depending on your route. For route one (dry toast), use 1 part rice to 1.25 parts liquid (half coconut milk, half water). For route two (pre-cook), use 1 part rice to 1.35 parts liquid.
The extra liquid compensates for the fact that you are not pre reducing moisture through toasting.
What Each Method Delivers (and When to Choose It)
The dry toast method (route one) gives you a deeper, more evenly browned tutong. The crust is crunchy and separates cleanly from the softer rice above. This is the closest you will get to stovetop inangit without a pan.
The trade off is that you need to be present for the toasting step. You cannot dump everything in and walk away. If you are cooking for a special meal or want that authentic texture, this is the way to go.
The pre-cook method (route two) is more forgiving. It produces a softer, patchier crust. Some parts of the bottom will be golden, others will be more like steamed rice.
The overall texture is still sticky and aromatic, but the toasty flavor is milder. This method works better when you are cooking multiple dishes and cannot watch the rice cooker. It is also the safer choice if you are using a new rice cooker for the first time and do not know how it handles coconut milk yet.
Here is a comparison of the two methods:
| Feature | Dry Toast Method | Pre-Cook Method |
|---|---|---|
| Crust thickness | Thick, even, crunchy | Thin, patchy, soft |
| Active time needed | 5 to 7 minutes | 0 to 1 minute |
| Risk of burning | Moderate | Low |
| Best for | Authentic texture | Convenience and safety |
| Liquid ratio | 1:1.25 | 1:1.35 |
| Rice cooker type | Induction preferred | Any type works |
Choose the dry toast method when you have an induction cooker or a model with a mixed rice setting. Choose the pre-cook method when you have a basic cooker or when you are cooking for a large group and need consistent results without babysitting the pot.
5 Mistakes That Ruin the Tutong (and How to Fix Them)
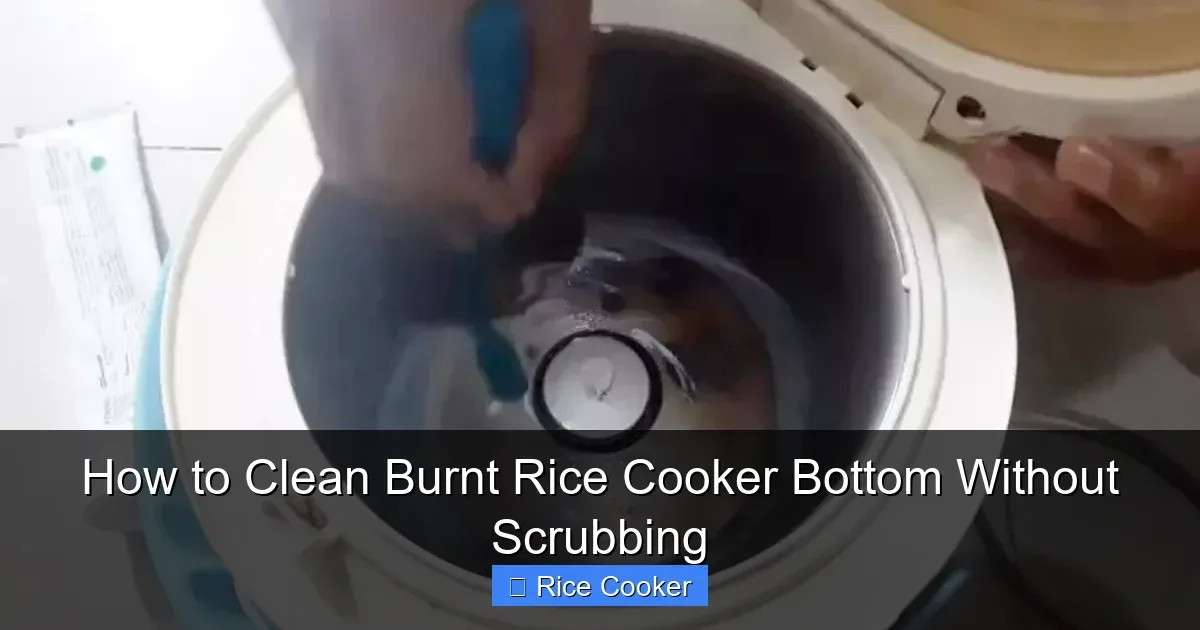
Image source: Bing (Web (fair-use with source credit))
The tutong (the crispy golden bottom crust) is the best part of inangit. Losing it to a common mistake is heartbreaking. Here are the five mistakes that kill the tutong and how to avoid each one.
Mistake 1: Using only coconut milk as the cooking liquid. Pure coconut milk has too much fat. It will separate, foam over, and either burn or leave the rice undercooked. The sensor in a basic rice cooker cannot handle the density.
Fix this by using a 50/50 mix of coconut milk and water. Full fat coconut milk is fine as long as you dilute it. Light coconut milk works, but you will need to add a teaspoon of oil or butter for richness.
Mistake 2: Opening the lid too early. The urge to check on the rice is strong, but every time you open the lid, you release steam and drop the internal temperature. The rice cooker sensor then restarts the cycle, which leads to uneven cooking and a weak crust. Fix this by committing to the cycle time.
Do not peek for at least 15 minutes after the cooker switches to keep warm.
Mistake 3: Using old or dry glutinous rice. Rice that has been sitting in the pantry for months has less moisture. It absorbs liquid unevenly and takes longer to cook. By the time the center is tender, the bottom is already burnt.
Fix this by using fresh glutinous rice from a recent purchase. If you must use older rice, soak it for 30 minutes instead of 15.
Mistake 4: Forgetting to stir mid cycle (pre-cook method only). If you are using the pre-cook method and skip the stir when the cooker switches to keep warm, the rice will form a dry top layer and a watery bottom layer. The tutong forms on the bottom, but the top remains gummy. Fix this by fluffing and stirring the rice as soon as the cooker clicks over.
Mistake 5: Leaving the rice on keep warm for too long. The keep warm function is your friend, but only for a limited time. After 45 minutes to an hour, the bottom crust goes from golden to charcoal. The rice dries out completely.
Fix this by serving within 30 minutes of the cycle ending. If you need to hold it longer, turn off the cooker and leave the lid closed. The residual heat will keep it warm for another 20 minutes without burning.
Per food safety guidelines from the USDA, cooked rice should not sit on a warming setting for more than four hours. For best quality, serve within two hours.
Pro Tips for Golden Crust Without the Burn
Image source: Bing (Web (fair-use with source credit))
Getting a perfect tutong without burning the whole batch comes down to three variables: the toasting time, the resting time, and the liquid composition. Get these right, and you can replicate the result every time.
Toast for exactly 4 minutes on medium heat if your rice cooker has a saute or simmer setting. If it doesn not have that, use the regular cook cycle but open the lid and stir constantly. Do not let the rice sit still in the pot.
Moving grains around ensures even heat exposure and prevents hot spots that lead to burning before the liquid is added.
Use the keep warm function as a finishing tool. After the cook cycle ends, let the rice sit undisturbed on keep warm for 15 to 20 minutes. That is the sweet spot where the bottom layer dries out and starts to brown without turning black. If your rice cooker runs hot on keep warm, check it at the 12 minute mark.
Every machine is different. Know your cooker's personality.
Add a thin layer of coconut cream to the bottom of the pot before adding the rice and liquid mixture. This is an old trick. The cream creates a rich, oily barrier that promotes even browning.
Use about two tablespoons. Spread it around the bottom and slightly up the sides. This works especially well with the dry toast method because the cream has already been heated and starts working immediately.
Let the rice rest for 10 minutes after turning off the heat. Do not open the lid. The trapped steam finishes the cooking process and softens any grains that are still slightly firm. When you finally open the lid, fluff the rice gently with a wooden spoon or rice paddle.
Scrape the bottom to release the tutong in one piece if you can. Serve it on top of the rice or on the side.
Manufacturer specifications from major rice cooker brands confirm that the keep warm function stays between 140°F and 170°F depending on the model. That is the safe zone for forming a crust without burning. If your cooker runs hotter, reduce the keep warm time to 10 minutes.
If it runs cooler, let it go for 25 minutes. You will figure it out after one or two batches.
Frequently Asked Questions
Can I use jasmine rice instead of glutinous rice?
No. Jasmine rice will not produce the sticky, chewy texture that inangit needs. Glutinous rice, also called malagkit, is essential.
You can substitute Thai sticky rice or sushi rice in a pinch, but the texture will be different.
Why did my rice cooker foam over?
Coconut milk contains proteins and fats that foam when they boil. This can trigger the lid sensor and make the cooker shut off early. Reduce the foaming by using a 50/50 mix of coconut milk and water, or by adding a teaspoon of oil to the mixture.
How do I get the crispy tutong without burning?
Use the dry toast method first, then let the rice rest on keep warm for 15 to 20 minutes. The key is not stirring once it is on keep warm. That allows a crust to form slowly.
If your cooker runs hot, check at 10 minutes.
Can I make inangit ahead of time?
Yes, but the tutong will soften as it sits. Make it fresh for the best crust. If you must store it, keep the rice and the tutong separate.
Reheat in a steamer or microwave at low power. It won't be as crispy, but it will still taste good.
How long can I keep inangit on keep warm?
Per the USDA, cooked rice should not sit on keep warm for more than four hours. For the best texture, serve within 30 minutes of cooking. The tutong will start to harden or burn if left too long.
Turn off the cooker and leave the lid closed to hold it longer.