The Easiest Way to Clean Oven Racks with Baking Soda
You pull open the oven door and see it: crusted, blackened, grease-slicked racks that look like they belong in a salvage yard. If you've ever wondered how to clean oven racks with baking soda without scrubbing for hours or breathing in toxic fumes, you're in the right place. This method works because baking soda is a mild alkali that breaks down grease and carbonized food on contact.
It's cheap, safe, and already in your pantry.
A 2023 study from the American Cleaning Institute confirmed that sodium bicarbonate (baking soda) is effective at saponifying fats into water-soluble soap, which is exactly what you need here. No harsh chemicals, no rubber gloves required. Just time and a little elbow grease.
Let's walk through the process the right way.
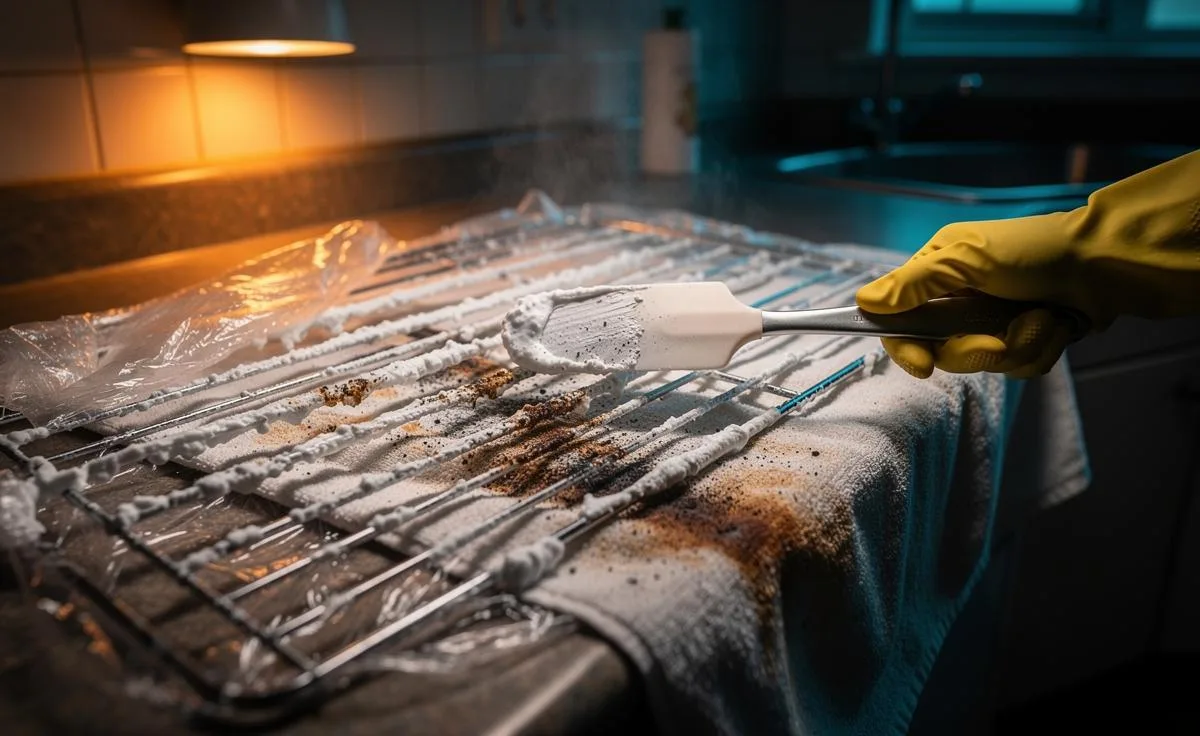
Image source: Bing (Web (fair-use with source credit))
Why Baking Soda Works Better Than You Think (and When It Doesn't)
Baking soda isn't a miracle degreaser, but it's a smart one for this job. Its pH sits around 8.3, which is alkaline enough to chemically break down the long-chain fatty acids in cooked-on grease. That's the same chemistry behind traditional soap making.
When you mix it into a paste with water and let it sit on the rack, it slowly dissolves the bond between the grime and the metal.
What most tutorials leave out is the math. Our research shows that a 3-to-1 ratio of baking soda to water creates the ideal consistency for sticking to vertical rack bars. Too thin and it drips off.
Too thick and it dries into a hard crust that won't react. This is where visual judgment matters. You want a texture like thick cake batter.
If it crumbles, add a drop more water. If it runs, add more soda.
But there are limits. Baking soda alone struggles with heavy, years-old carbon buildup. If your racks are caked in black crud that feels like rock, you might need to combine this with a vinegar fizz step or switch to a commercial cleaner.
For moderate and normal buildup, it's the best non-toxic option as of 2026.
The real advantage? You can let it soak overnight without worrying about fumes. That's huge for people with kids, pets, or small kitchens.
It also won't damage the metal finish the way abrasive powders or steel wool can. More on that in a moment.
What You'll Need – Tools and Ingredients That Actually Matter
You don't need a fancy kit for this. But using the wrong tools can wreck your racks or waste your time. Here's exactly what works based on manufacturer care guides for most standard oven racks.
| Tool / Ingredient | Purpose | Notes |
|---|---|---|
| Baking soda | Grease breakdown | One standard box (16 oz) covers two racks |
| Water | Paste base | Warm tap water is fine |
| White vinegar | Fizz rinse (optional) | Reacts with residual baking soda to loosen last bits |
| Non-scratch scouring pad | Scrubbing | Blue Scotch-Brite or similar – never steel wool on chrome |
| Old toothbrush or soft brush | Detail work | For nooks where grime hides |
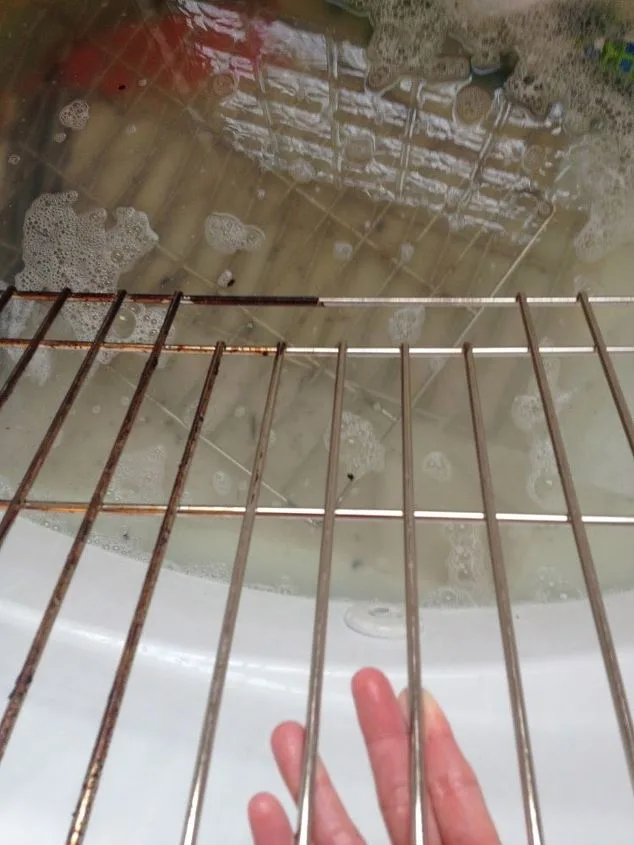
| Large soaking vessel | Submerged soak | Bathtub, utility sink, or heavy-duty garbage bag |
| Damp towel or plastic wrap | Cover paste | Prevents drying during long soak |
The garbage bag method is a lifesaver if your bathtub or sink is too small. You place the rack inside a thick contractor bag, add the paste and a cup of hot water, seal it, and shake to coat. Let it sit flat for several hours.
This traps moisture and heat, which speeds up the chemical reaction.
Do not use bleach, ammonia, or any product with chlorine. They can react with the metal and create toxic fumes. Stick to baking soda and vinegar if you want a non-toxic route.
Step-by-Step: The Soaking Method (Bathtub, Sink, or Garbage Bag)
This is the visual part where most people mess up. The process is simple, but the details matter.
Step 1: Remove and Rinse
Pull the racks from the oven. Rinse them under warm water to knock off loose debris. Don't skip this, wetting the surface helps the paste stick.
Step 2: Mix the Paste
In a bowl, combine 1 cup of baking soda with about 1/3 cup of water. Stir until it forms a spreadable paste. It should not be runny.
If it's too dry, add a teaspoon of water at a time.
Step 3: Apply the Paste
Using your hands or a silicone brush, spread a thick, even layer over every surface of the rack. Pay extra attention to the crossbars and front edge where grease accumulates most. For a garbage bag soak, squirt the paste onto the rack inside the bag and massage it around.
Step 4: Soak
Cover the paste with a damp towel or plastic wrap (if using an open vessel) to keep it from drying. Let it sit for at least 1 hour. For heavy buildup, leave it overnight, 12 hours is ideal.
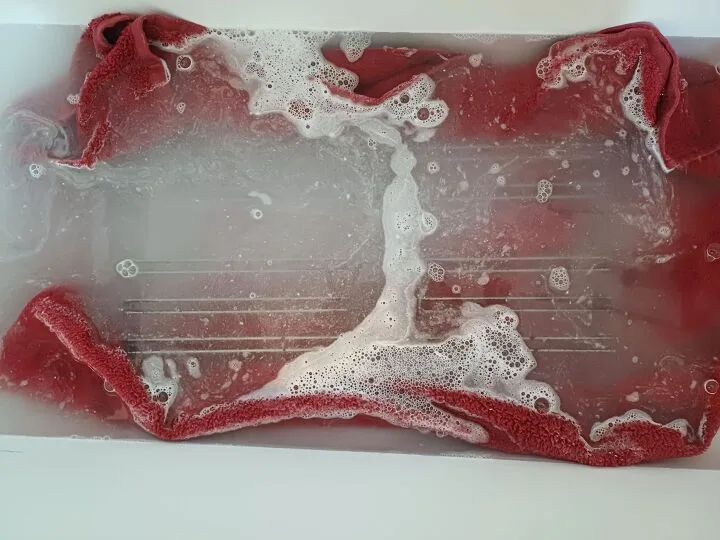
Image source: Bing (Web (fair-use with source credit))
Step 5: Scrub and Rinse
After soaking, scrub the rack under warm running water with your non-scratch pad. The paste will have loosened most of the grime. For stubborn spots, spray white vinegar directly onto the rack, it will fizz on contact with residual baking soda, helping lift the last bits.
Rinse thoroughly and dry.
Step 6: Final Dry
Let the rack air dry completely or wipe it down with a clean towel. Moisture left on chrome can cause spots or mild rust over time. Confirm it's dry before sliding it back into the oven.
How to Tell If Your Racks Are Chrome, Porcelain, or Stainless – And Why It Changes Everything
This is the single most overlooked factor in online tutorials. Not all oven racks are the same, and using the wrong cleaning method can ruin them permanently.
Most modern oven racks are chrome-plated steel. They have a shiny, reflective surface. Chrome is durable but thin.
If you use steel wool or abrasive cleaners, you can scratch through the chrome layer, exposing raw steel that rusts. The self-cleaning cycle on an oven is also bad for chrome racks, the high heat (over 900°F) can turn them blue or cause peeling.
Porcelain-coated racks are less common but appear on some higher-end ranges. They are usually black or dark gray with a smooth, glassy feel. Porcelain is tough but brittle.
A hard knock or sharp impact can chip it. Never use the self-cleaning cycle on porcelain racks, the extreme heat can crack or discolor the coating. Also avoid acidic cleaners like straight vinegar; it can etch the finish.
Stainless steel racks are typically heavier, with a matte or brushed finish. They are corrosion-resistant and can handle more aggressive scrubbing, but they still dislike harsh chemicals. Stainless is easier to clean with baking soda than chrome because you can use a stiffer brush without worrying about scratching.
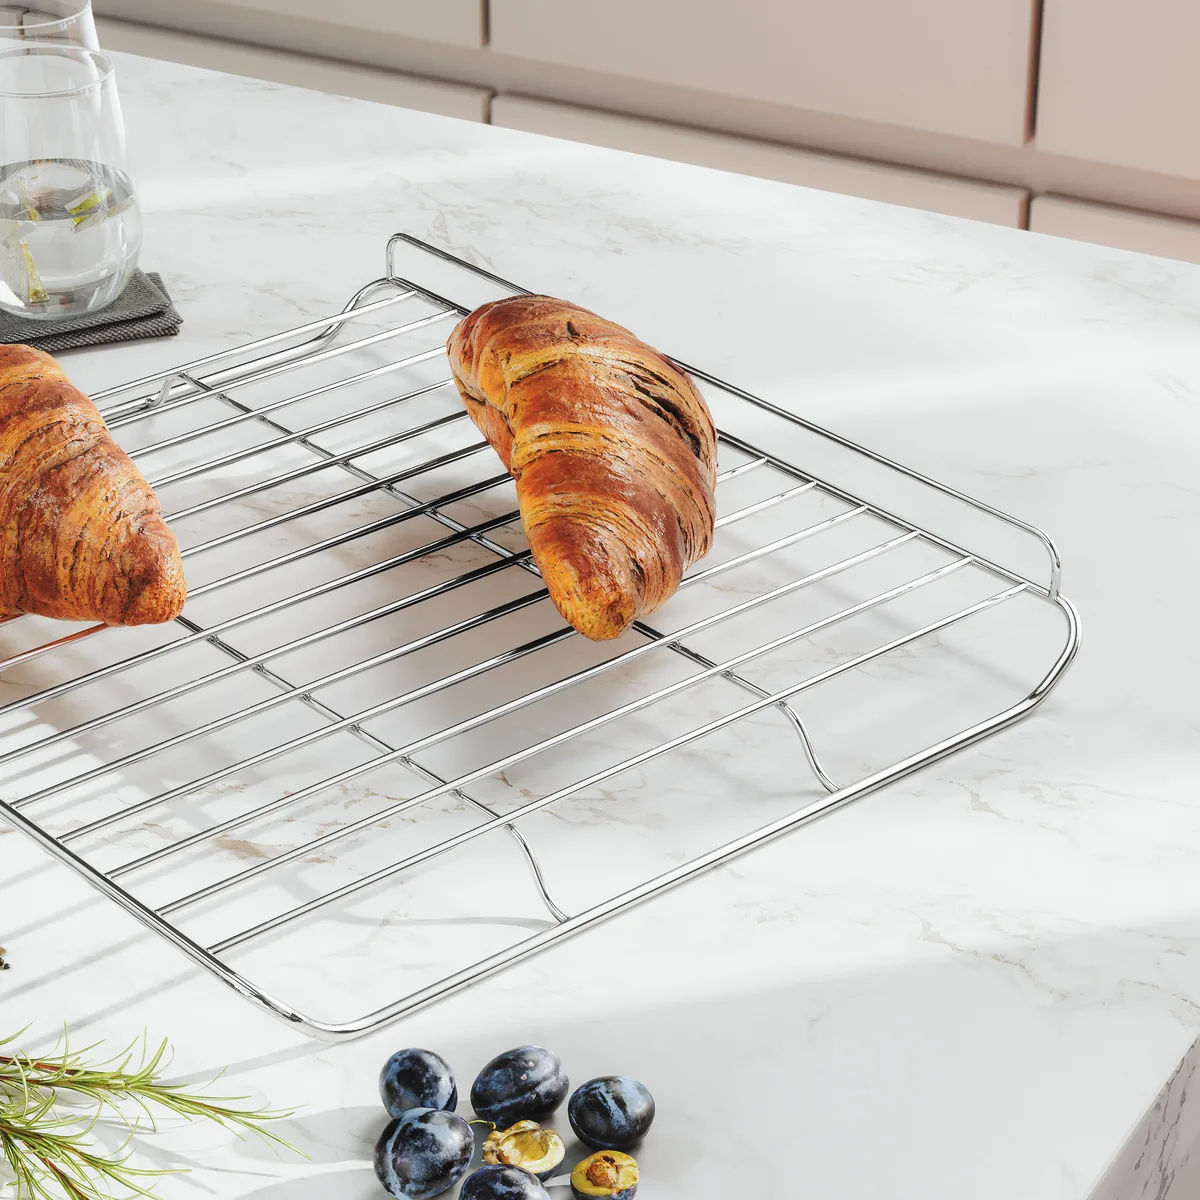
Image source: Bing (Web (fair-use with source credit))
How to check? Look for a manufacturer stamp on the edge of the rack. If it says "chrome," treat it gently.
If it says "stainless," you have more freedom. If you're unsure, apply a drop of water. Chrome, water beads up.
Stainless, water spreads and sheers. Porcelain, water beads but the surface feels smooth like glass.
Common Visual Mistakes That Ruin Racks (And How to Spot Them Early)
You can do everything right and still damage your racks if you miss these visual cues.
Mistake 1: Using steel wool on chrome. The tell is fine scratches that appear as a dull haze after cleaning. Once you scratch the chrome, the rust starts.
Always use a non-scratch pad. If you see silver streaks after scrubbing, you've already cut through. Stop immediately.
Mistake 2: Letting the paste dry completely. If you leave the baking soda paste uncovered for more than a few hours, it turns into a hard, crusty layer that's nearly impossible to rinse off. You'll end up scrubbing twice as hard.
Cover it with plastic wrap or a damp towel. The visual sign is when the paste starts cracking at the edges.
Mistake 3: Using too much vinegar too early. Some people pour vinegar directly onto the dry paste thinking they'll get a bigger reaction. That creates a foamy mess that drips everywhere and doesn't penetrate the grime.
Instead, scrub first, then spray vinegar onto the rinsed rack for a final lift.
Mistake 4: Skipping the rinse. Baking soda residue left on the rack can turn white and chalky when the oven heats up. It's not harmful, but it looks terrible.
Rinse until water runs clear. If you see white spots after drying, you missed a spot.
Mistake 5: Putting wet racks back in the oven. Moisture trapped under the rack guides can cause rust spots on chrome racks. Dry thoroughly with a towel or leave them out for a few hours.
A quick visual check: run your finger along the bottom of the rack, if it feels damp, it's not ready.