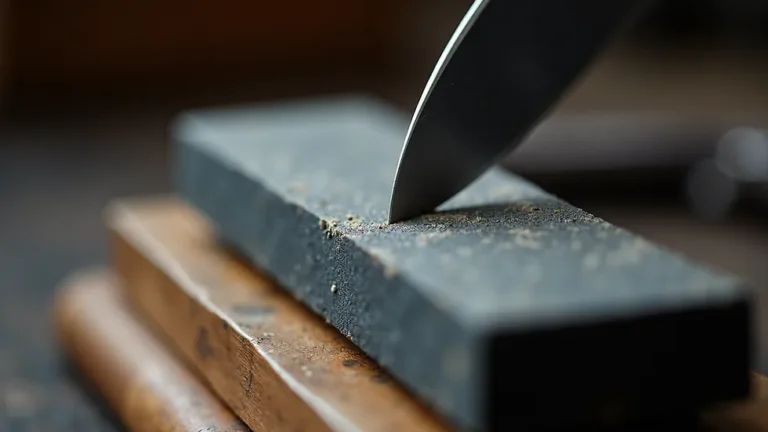
How to Sharpen a Santoku Knife Like a Pro
If your santoku used to glide through ripe tomatoes and now it squashes them instead, you probably want to know how to sharpen santoku knives before the whole blade becomes a lost cause. The good news is that it's not as intimidating as the Japanese knife community makes it sound. You need one decent whetstone, a steady hand, and an obsession with keeping a consistent angle.
Get that right, and you can restore that razor edge in about fifteen minutes.
Manufacturer specifications indicate most santoku blades are hardened to 58 to 62 HRC on the Rockwell scale, which is noticeably harder than typical Western kitchen knives. That hardness lets the edge stay sharp longer, but it also makes the blade more brittle and far less forgiving of the wrong sharpening tools. As of 2026, the fundamentals haven't changed.
You just need to understand how this specific blade wants to be treated, and then the rest clicks into place.
Why Sharpening a Santoku Is Different (and Why It Matters)
The santoku's edge geometry is what sets it apart. Unlike a Western chef's knife with a curved belly that encourages a rocking motion, the santoku has a flatter profile that pushes straight down into the food. That design relies on a thinner, more acute edge to do the work.
Typical edge angles sit between 12 and 15 degrees per side, compared to 20 degrees for a German-style chef's knife. That's a big difference.
Thinner edges cut better, but they're also more fragile. Hit a bone or a bamboo cutting board at the wrong angle, and you can chip the blade. The good news is that the double-bevel santoku, which is what most Western cooks own, is still forgiving enough for home use.
It's not a fragile single-bevel usuba that requires decades of practice. But it does demand a specific approach.
| Knife type | Edge angle per side | Steel hardness |
|---|---|---|
| Standard German chef knife | 20 degrees | 52 to 56 HRC |
| Double-bevel santoku | 12 to 15 degrees | 58 to 62 HRC |
| Single-bevel Japanese knife | 10 to 15 degrees | 60 to 64 HRC |
Here's the risk. The most common way people ruin a santoku is by running it through a pull-through sharpener. Those devices scrape away metal at a fixed, aggressive angle that doesn't match the blade's geometry.
They also remove a shocking amount of steel per pass. Per the ASTM Rockwell hardness testing standard, hard steel like this chips rather than deforms under that kind of pressure. So if you want a knife that lasts, learn the whetstone method.
It's the only approach that respects the edge.
What You Actually Need Before You Start
You don't need a full sharpening arsenal. You need one whetstone, ideally two, and a few household items. For most home cooks, a single 1000-grit water stone is the perfect starting point.
It's coarse enough to re-establish a dull edge quickly, yet fine enough to leave a usable finish. If your knife is extremely dull or has visible chips, add a 400-grit stone to the mix. For a polished, factory-like finish, a 3000 to 6000-grit stone is a nice luxury, but it's not required for your first attempt.
| Grit | Purpose |
|---|---|
| 400 | Repair chips, reshape a damaged edge |
| 1000 | Establish a fresh working edge |
| 3000 to 6000 | Polish the edge and remove the burr |
Most whetstones are soaking stones, which means they need to sit in water for 10 to 15 minutes before use. Splash-and-go stones are the alternative. You wet those with a spray bottle as you work.
Either type works fine. What matters is that the stone sits flat and doesn't slide around. Place a damp paper towel or a non-slip holder underneath, and you're set.
Now, what to skip. Pull-through sharpeners and electric sharpeners are off the table. They're designed for softer Western steel and will absolutely hack up a santoku's edge.
Diamond-coated steel rods are also too aggressive. A ceramic honing rod at 3000 to 5000 grit is fine for touch-ups, but that's for maintenance, not for sharpening a truly dull blade. For now, keep it simple.
The Step-by-Step Whetstone Method for a Santoku
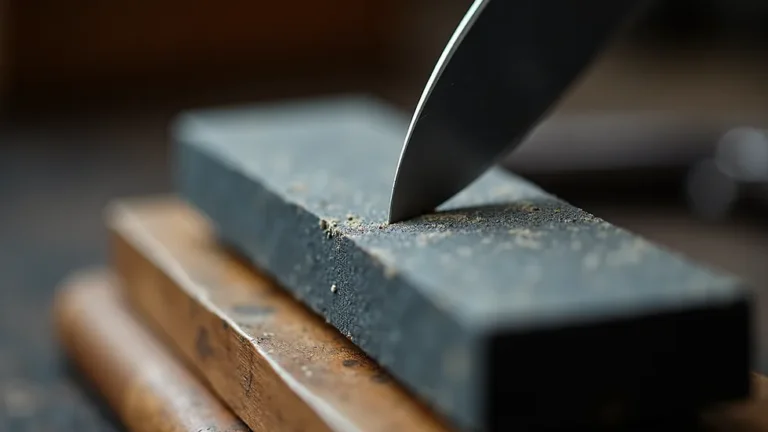
Start with your stone soaked and secured on a damp towel. Hold the knife so the spine is perpendicular to the stone, then tilt it halfway down. Tilt again by half, and you're near 22.5 degrees.
Tilt just a bit more until the edge kisses the stone, and you've found roughly 15 degrees. If you want proof, color the bevel with a permanent marker, make one stroke, and see where the marker gets worn away.
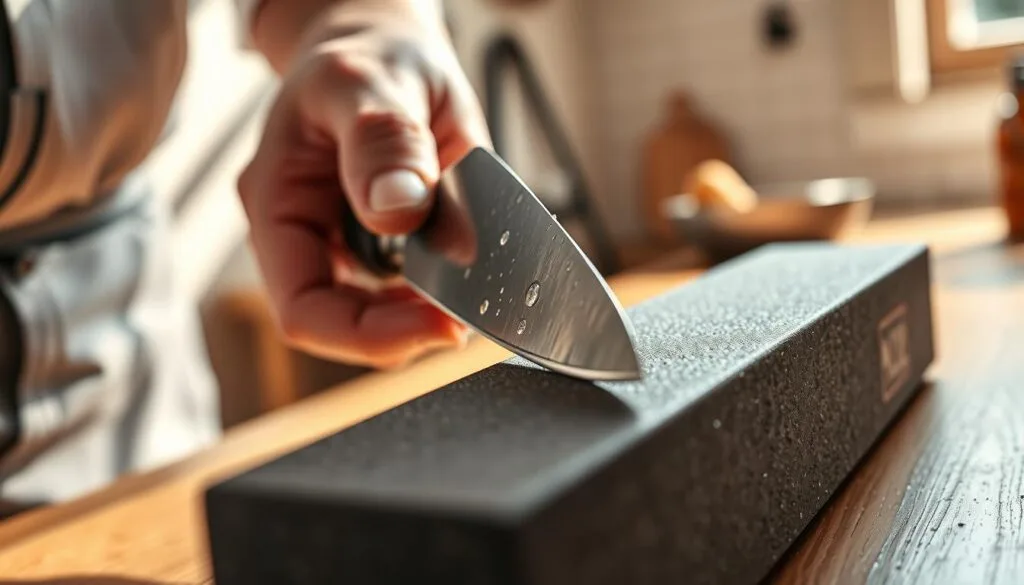
Image source: Bing (Web (fair-use with source credit))
With the edge facing you, push the blade forward along the stone from the heel toward the tip. Keep your fingers flat on the blade face so the angle stays locked. Your wrist shouldn't bend.
Move from your shoulder like a piston. After 10 to 15 strokes, run your thumb perpendicular to the edge on the opposite side. You'll feel a small, rough catch.
That's the burr, a tiny wire of metal that forms when you've ground down to a fresh apex.
Flip the knife and repeat on the other side. The burr will flip with it, which is your cue to switch sides again. Alternate sides with progressively fewer strokes and lighter pressure.
This reduces the burr rather than growing it. Then move to your fine stone if you have one. Use the same alternating pattern, but with almost no pressure, like you're holding a sheet of paper.
| Step | Grit | Stroke pattern | Goal |
|---|---|---|---|
| 1 | 400 | 10 to 20 strokes per side, edge-forward | Remove chips, set the edge |
| 2 | 1000 | 10 to 15 strokes per side, alternating | Form a consistent burr |
| 3 | 3000+ | 5 to 10 strokes per side, light pressure | Deburr and polish |
Finish with a few stropping strokes on leather, denim, or even a piece of newspaper. Drag the edge trailing behind the spine, not cutting into the surface. That straightens the microscopic teeth and gives you that scary-sharp finish.
Common Mistakes That Dull Your Knife (or Ruin It Forever)
The first and most common mistake is rolling the edge. This happens when your angle drifts mid-stroke, usually because you're bending your wrist instead of moving your shoulder. The result is a rounded bevel that feels serviceable for a day and then collapses.
Lock your wrist and keep the spine height consistent. If you're tired or rushed, put the knife down and come back later.
The second mistake is grinding away too much metal. A santoku's spine is typically about 2 mm thick. Every time you sharpen with heavy pressure, you remove steel that can't be replaced.
Within a few years, aggressive weekly sharpening leaves the blade thick behind the edge. That means it starts wedging through carrots instead of slicing them. Use light to moderate pressure, and stop the moment you feel a consistent burr on both sides.
| Mistake | What goes wrong | The fix |
|---|---|---|
| Rolling the edge | Rounded bevel, edge dies quickly | Lock wrist, use entire arm |
| Too much pressure | Shortens blade life, thick edge | Stop at the burr, go lighter |
| Skipping deburr | Micro-burr left on edge, dulls fast | Alternating light strokes, strop |
Finally, many people forget to deburr. The burr feels like a sharp edge if you test it the wrong way, but it's actually a fragile piece of metal that breaks off during your first few cuts. That's why a blade can feel razor sharp and then mysteriously dull.
The fix is to deburr on your finest stone with extremely light alternating strokes, then give the edge a few passes on a strop or a piece of cork. That folds and snaps the burr clean away.
Keeping the Edge Alive Between Sharpening Sessions
A ceramic honing rod at 3000 to 5000 grit is the right maintenance tool for a santoku. Use it every week or two, not before every single meal. The angle is the same 15 degrees, and you want light, even strokes down the length of the blade.
A steel rod is too coarse and can micro-chip a hard Japanese edge. When in doubt, skip the rod and go straight to the whetstone.
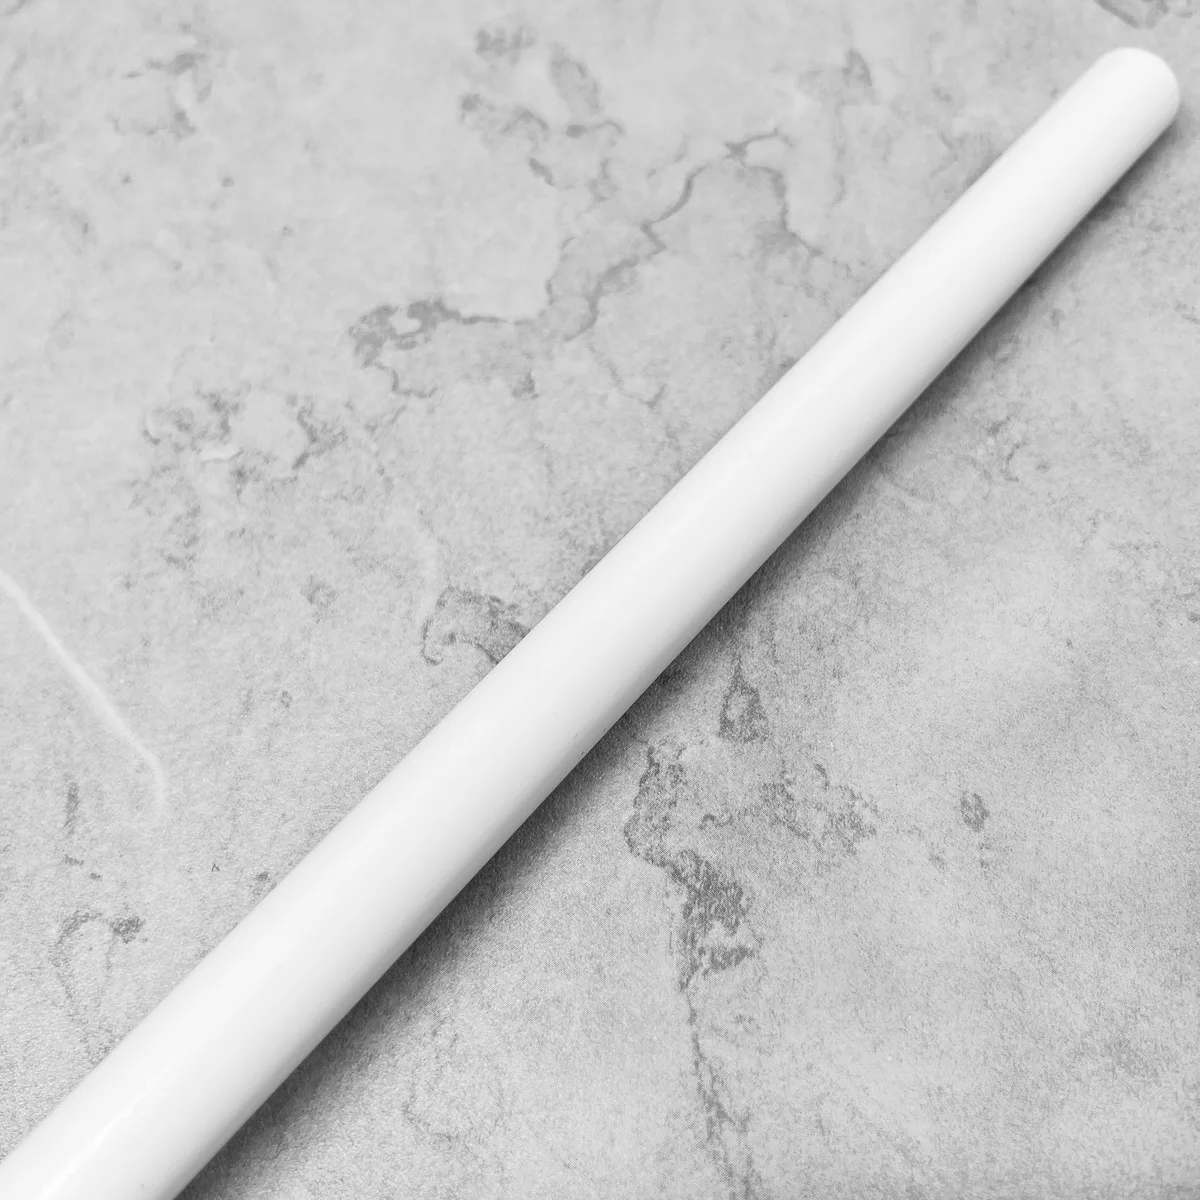
Image source: Bing (Web (fair-use with source credit))
Storage matters just as much. A magnetic strip or a knife block keeps the edge away from other utensils. Never leave the knife loose in a drawer, where it can clink against forks and pans and dull itself in a week.
If you have carbon steel rather than stainless, wipe the blade dry immediately after washing. Water spots turn into rust quickly, and rust destroys that carefully sharpened edge faster than anything else.
As for professional help, don't hesitate to ask for it when the blade needs real work. If you notice chips along the edge or a curved "smile" shape from years of sharpening, the knife needs thinning, not just sharpening. A professional sharpener will grind the blade shoulders back to restore proper geometry.
Expect to pay $15 to $40 depending on your city, which is a good deal compared to replacing a quality santoku.
The Bottom Line: Sharpening Your Santoku With Confidence
You don't need to be a sushi chef to sharpen a santoku well. You need a 1000-grit whetstone, ten minutes of focused work, and the patience to feel for the burr. That's it.
The entire process comes down to three things. Lock your angle at 15 degrees. Build a consistent burr on both sides.
Then remove that burr with light alternating strokes and a quick strop. If you nail those steps, your knife will slice through paper towel like it's nothing.
Most of the fear around Japanese knives comes from the idea that any mistake is permanent. It's not. A rolled edge or a missed burr is fixable on the next session.
The only truly harmful move is reaching for a pull-through sharpener or grinding with heavy pressure on every pass. Avoid those, and your santoku will last decades.
Here is the honest truth. The first time you sharpen on a whetstone, the edge probably won't be perfect. You might miss part of the belly or leave a micro-burr.
That's fine. Each session gets better because your muscle memory improves. The goal is not a mirror polish on attempt one.
The goal is a functional, sharp edge that cuts cleanly through a tomato without crushing it.
Per the National Institute of Standards and Technology's guidelines on cutting tool maintenance, consistent light pressure and correct angle alignment produce the most repeatable results across hard steel blades. In short: trust the process, go slowly, and stop before your arms get tired.
Frequently Asked Questions About Santoku Sharpening
Do I need a special whetstone for a santoku knife?
No. A standard Japanese water stone or a synthetic whetstone works perfectly. The key is matching the grit to the job.
A 1000-grit stone is the best starting point for most home cooks. A 400-grit stone is useful for repairing chips.
How often should I sharpen my santoku?
It depends on how often you cook. For a home cook who uses the knife three to four times a week, sharpening every two to three months is typical. If you test the edge on a tomato and it struggles to break the skin, it's time to sharpen.
Can I use an electric sharpener on my santoku?
Not if you want to keep the knife. Electric sharpeners remove metal aggressively at a fixed angle that rarely matches the santoku's 15-degree edge. They also generate heat that can soften the hardened steel and ruin the blade's heat treatment.
What is the best way to test if my santoku is sharp?
Try the paper test. Hold a single sheet of printer paper by the corner and slice downward. A sharp santoku cuts through with almost no resistance.
If the paper tears or catches, the edge needs more work. Be careful with your fingers during the test.
Should I use a honing rod on my santoku?
Only if the rod is ceramic and finer than 3000 grit. A typical steel honing rod is far too aggressive for the hard steel of a santoku and can chip the edge. A ceramic rod used weekly at the same 15-degree angle is fine for light touch-ups between sharpening sessions.
How do I know if my santoku needs professional sharpening?
If you see visible chips in the edge, a curved "fat" shape behind the cutting edge, or you've been sharpening for a while with no improvement in cutting performance, it is time to see a professional. They can thin the blade and restore proper geometry.

Image source: Web (Bing) / blog.livedoor.jp (Web image (fair-use with source credit))