How to Use a Knife Sharpener for Razor-Sharp Blades
A dull knife is more dangerous than a sharp one. That's not a cliché, it's physics. You push harder, the blade slips, and then you're bleeding into your dinner.
Learning how to sharpen knives with a knife sharpener is one of the most practical kitchen skills you can pick up, and it doesn't take fancy equipment or hours of practice.
Manufacturer specifications across major knife brands consistently recommend a 15- to 20-degree edge angle for Western-style chef's knives. That narrow window is where the real work happens. Pull-through sharpeners, electric models, and guided rod systems all approach that angle differently.
The visual cues at each stage are what separate a razor edge from a frustrated afternoon. Let's walk through what to look for.
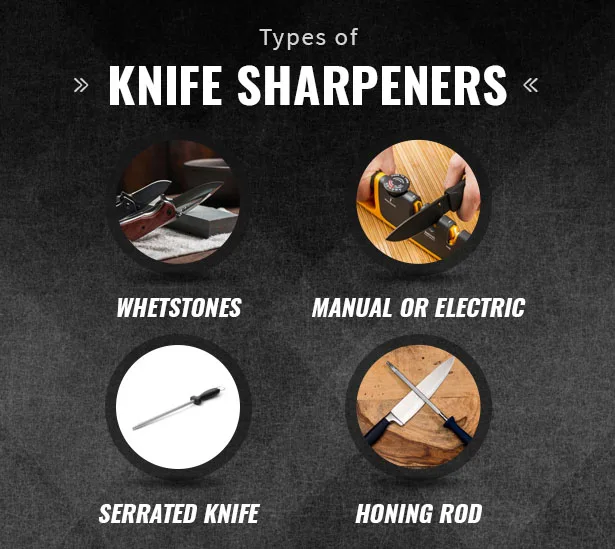
Image source: Bing (Web (fair-use with source credit))
Quick Answer
You sharpen a knife by passing its edge across an abrasive surface at a fixed angle. Coarse grit removes damaged metal. Fine grit polishes the edge.
A burr forms on one side, then you flip and repeat. Test the edge on paper or a tomato skin.
Why Sharpening Is a "See and Feel" Skill (Not Just Steps)
Most sharpening guides tell you to run the blade through a slot five times. That's a trap. Five passes on your knife might be too few, or five might be too many.
The real indicator isn't a number. It's what you see and feel.
The first thing to look for is the burr. A burr is a tiny lip of metal that forms on the opposite side of the edge when you sharpen. You can feel it by running your thumb lightly perpendicular to the edge (never along it).
If you feel a small hook or rough ridge, you've ground enough. If you don't feel one, keep going.
The second visual cue is the reflection at the edge. A dull edge catches light like a flat mirror. A sharp edge disappears.
When you hold the blade under a bright light and rotate it, a sharp edge won't flash back at you. That's your target.
Aggregate reviews of popular sharpeners confirm the same pattern. Users who ignore tactile feedback get inconsistent results. Users who watch and feel the burr form get a repeatable edge every time.
The process shifts from blindly following steps to actually reading the knife.
First Things First: What Kind of Sharpener Are You Using?
Not all sharpeners work the same way. Your technique changes depending on the tool. Here's how to identify yours and what to watch for.
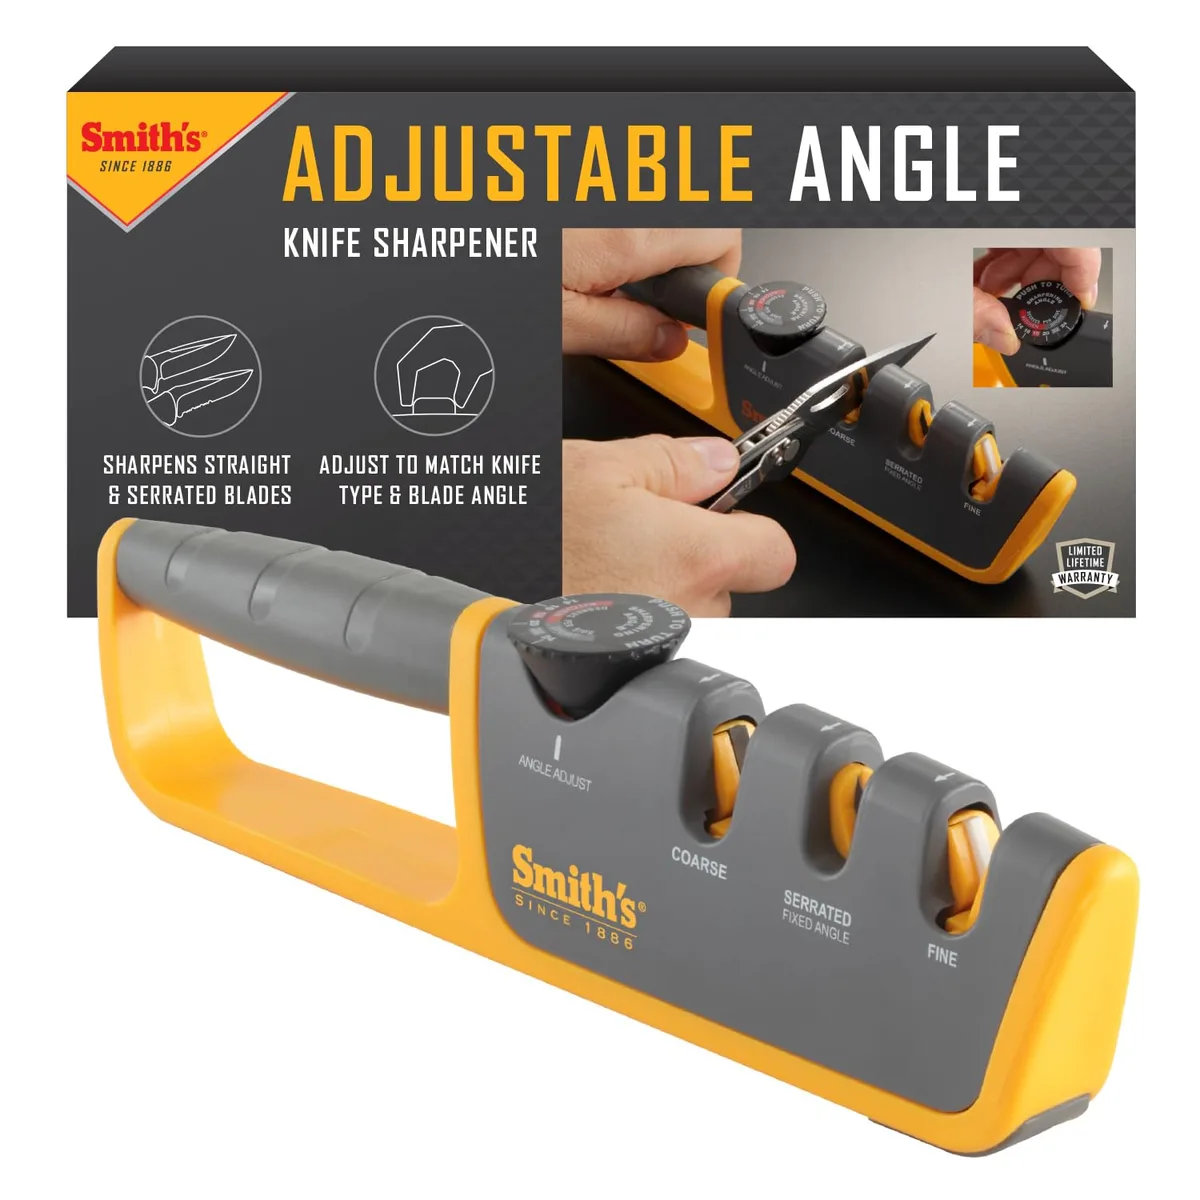
Image source: Bing (Web (fair-use with source credit))
Manual Pull-Through
This is the V-notch sharpener with two crossed carbide or ceramic blades inside. You pull the knife through the slot from heel to tip. It's fast and cheap.
The risk is that carbide blades remove a lot of metal very quickly. Overuse can shorten your knife's life.
Visual cue: the burr should form evenly across the entire edge. If it only forms at the heel or the tip, your pull angle is off. Keep the blade perpendicular to the base and pull straight through without twisting.
Electric Sharpener
Electric models use motor-driven abrasive wheels. They work best on very dull knives because the motor does the work. The downside is heat.
If you press too hard or linger too long, the edge can reach temperatures that ruin the blade's heat treatment.
Visual cue: watch for blue or brown discoloration near the edge. That's a burn. If you see it, stop immediately.
Let the blade cool completely before continuing. Fewer passes at a steady pace produce better results.
Guided Rod System
These systems clamp the knife in place and use rods at preset angles. They're the easiest way to learn proper technique because the angle never changes. You simply move the rod across the edge in a sweeping motion.
Visual cue: the scratch pattern on the bevel should be consistent from heel to tip. If you see scratch marks only on one part of the bevel, you're not following the blade's curve properly. Adjust your rod motion to match the blade shape.
The 4-Step Process: What to Look For at Every Stage
Every sharpening session follows the same progression. You start coarse and move to fine. Here's what happens at each stage and what you need to see before moving on.
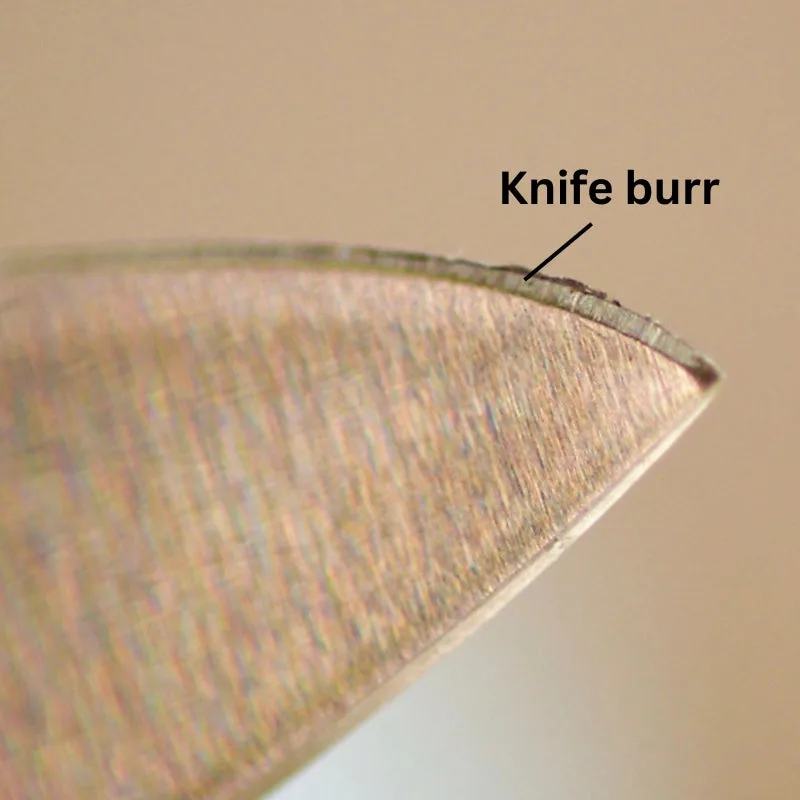
Image source: Bing (Web (fair-use with source credit))
Step 1: Coarse Grit (Reprofiling)
This stage only applies if the knife is very dull or has visible chips. You grind on the coarsest slot or stone until the edge forms a consistent burr on one side. Flip the knife and repeat.
The burr should feel rough and uniform along the entire edge. If it's patchy, you need more passes on the low spots.
Step 2: Medium Grit (Refining)
Switch to the medium slot. Your goal here is to smooth the burr and thin the edge. The burr gets smaller and starts to feel less aggressive.
Visual cue: the edge begins to reflect light more evenly. You should see a narrow polished line where the bevel meets the flat of the blade.
Step 3: Fine Grit (Polishing)
This is where the edge starts to feel truly sharp. The fine slot removes the last roughness and aligns the microscopic teeth of the edge. The burr becomes barely detectable.
Visual cue: hold the blade under a light and rotate it. The edge should vanish. No flash, no reflection.
Step 4: Deburring (Final Cleanup)
After polishing, a tiny wire edge often remains. Run the blade through the finest slot one or two very light times. Then test with your thumb perpendicular to the edge.
If you feel no catch, the burr is gone. Some people finish on a leather strop, but a final pass on the fine slot works just as well.
For each step, apply light pressure. Let the abrasive do the work. Heavy pressure only gouges the edge and creates more work on the next grit.
The 3 Most Common Visual Mistakes (and How to Catch Them)
Most sharpening problems show up visually before they ruin the knife. Here are the three you're most likely to run into.
1. The Uneven Burr
You sharpen one side perfectly but rush the other. The result is a blade that feels sharp on one side and dull on the other. Visual cue: the burr only appears on one side when you test with your thumb.
Fix: go back to the side without the burr and do extra passes until you feel a burr form evenly.
2. Oversharpening (The Chewed-Up Edge)
You keep grinding past the point of usefulness. The edge starts to look rough or jagged under bright light. Visual cue: the bevel is noticeably wider than the factory edge.
You've removed more metal than necessary. Fix: stop as soon as you form a burr. More passes don't make it sharper.
They make the blade weaker.
3. Burned Edge (Electric Sharpener Warning)
This one is specific to electric sharpeners. The edge turns blue, brown, or shows a rainbow tint. That's the steel losing its temper.
Once the temper is gone, the edge won't hold sharpness. Fix: you can't undo a burn. You have to grind past the damaged metal on a coarse setting and start over.
The best fix is prevention. Never hold the knife in the electric slot for more than a few seconds at a time.
How to Test Sharpness Without Guessing
You don't need a special device to know if your knife is sharp. Your kitchen has everything you need. The trick is using tests that give clear, repeatable feedback.
The Paper Test
Hold a single sheet of printer paper by one edge. Draw the knife through it, starting at the heel and slicing toward the tip. A sharp blade cuts cleanly without tearing.
A dull blade catches, crinkles, or refuses to cut at all. If the knife slices through with a clean whisper, you're done.
The Tomato Skin Test
A ripe tomato has thin, delicate skin. Rest the knife on the tomato's surface without pressing down. Pull the blade toward you.
A sharp edge catches and sinks in immediately. A dull edge skids across the surface. This test reveals whether your edge has the fine bite needed for prep work.
The Thumbnail Test (Careful)
Hold the edge perpendicular to your thumbnail at a shallow angle. Pull the blade across the nail very lightly. A sharp edge digs in slightly.
A dull edge slides. Move slowly and use minimal pressure. This test tells you about micro-burrs you might have missed.
The Hair Shave (Advanced)
This is the gold standard. A truly sharp knife will shave arm hair without tugging. If it grabs and pulls, you still have work on the fine grit.
If it passes cleanly, your knife is ready for anything.
Keeping the Edge Longer Between Sharpenings
Sharpening removes metal. Every session shortens the blade's life a little. The goal is to sharpen less often and hone more often.
Honing vs. Sharpening
A honing steel realigns the edge. It doesn't remove metal. You should hone your knife every few uses.
A sharpener removes metal and should only come out when honing stops working. If your knife cuts well after a few passes on the steel, it doesn't need sharpening yet.
Good Cutting Habits
Use a proper cutting board. Wood or soft plastic protects the edge. Glass, stone, or ceramic boards destroy sharpness instantly.
Never cut on metal surfaces. Never twist the blade while cutting. Never scrape the edge across the board to move food.
Use the spine of the knife instead.
Proper Storage
A knife block, magnetic strip, or blade guard keeps the edge from knocking against other utensils. Loose drawers are the enemy of sharpness. Each bump chips or dulls the microscopic teeth you just worked to create.
How Often Should You Sharpen?
For a home cook using a knife daily, once every 1 to 3 months is reasonable. If you're in a professional kitchen, weekly sharpening might be necessary. The key is to wait until honing stops restoring the edge.
Then sharpen, but only enough to form a fresh burr.
Frequently Asked Questions
Should I use water or oil on my sharpening stone?
It depends on the stone. Water stones require soaking before use. Oil stones need a light layer of mineral oil.
Never mix the two. Manufacturer specifications for your stone will tell you which one it needs. Using the wrong lubricant clogs the pores and ruins the abrasive.
Can I sharpen serrated knives with a standard sharpener?
Not easily. Most pull-through and electric sharpeners have a dedicated serrated slot. It uses a thin tapered rod that fits between the scallops.
If your sharpener lacks this slot, you need a conical diamond rod or a professional service. Forcing a serrated blade into a standard slot damages both the knife and the sharpener.
Why does my knife feel sharp but won't cut tomatoes?
You likely have a burr that hasn't been fully removed. The edge feels sharp because the burr acts like a tiny hook. Under pressure, the burr folds and the edge skids.
Run the blade through the fine slot one or two more times with very light pressure. Then test on paper again.
How do I know when my sharpener is worn out?
Manual pull-through sharpeners lose effectiveness after dozens of uses. The carbide blades get dull. The ceramic rods glaze over.
Electric sharpener wheels also wear down. If you notice you're doing more passes than usual to get results, the abrasive is probably gone. Replacement units are widely available from the manufacturer.
Is it safe to sharpen a knife with a damaged tip?
Yes, but with caution. A broken tip creates an uneven geometry. You need to grind the entire edge to match the new tip profile.
This takes more time on the coarse grit and produces an edge with a different look. The knife will cut fine, but it won't look factory fresh. Focus on forming that even burr from heel to new tip.
Can I fix a chipped edge at home?
Small chips can be ground out on a coarse grit. Large chips or cracks may be beyond home repair. If the chip is deeper than the width of the bevel, you risk removing too much metal and weakening the blade.
In that case, a professional sharpener is the safer option.