How to Season Cast Iron Without an Oven
You just bought a cast iron skillet and it’s sitting there with that dull gray finish, begging for protection. Maybe your apartment has no oven, your camper van has only a two-burner stove, or you’d rather not heat your whole kitchen for one pan. Knowing how to season cast iron without oven is a basic cook’s skill, and it’s easier than you think.
With the right oil and a steady heat source, you can build a glossy, nonstick surface anywhere.
Experts agree on the basics. Seasoning is oil heated past its smoke point until it polymerizes into a hard, plastic-like coating. The reaction needs temperatures between 400 and 500 degrees Fahrenheit.
As of 2026, the stovetop method is a recognized alternative to oven seasoning for maintenance and quick fixes. So let’s get your pan protected.
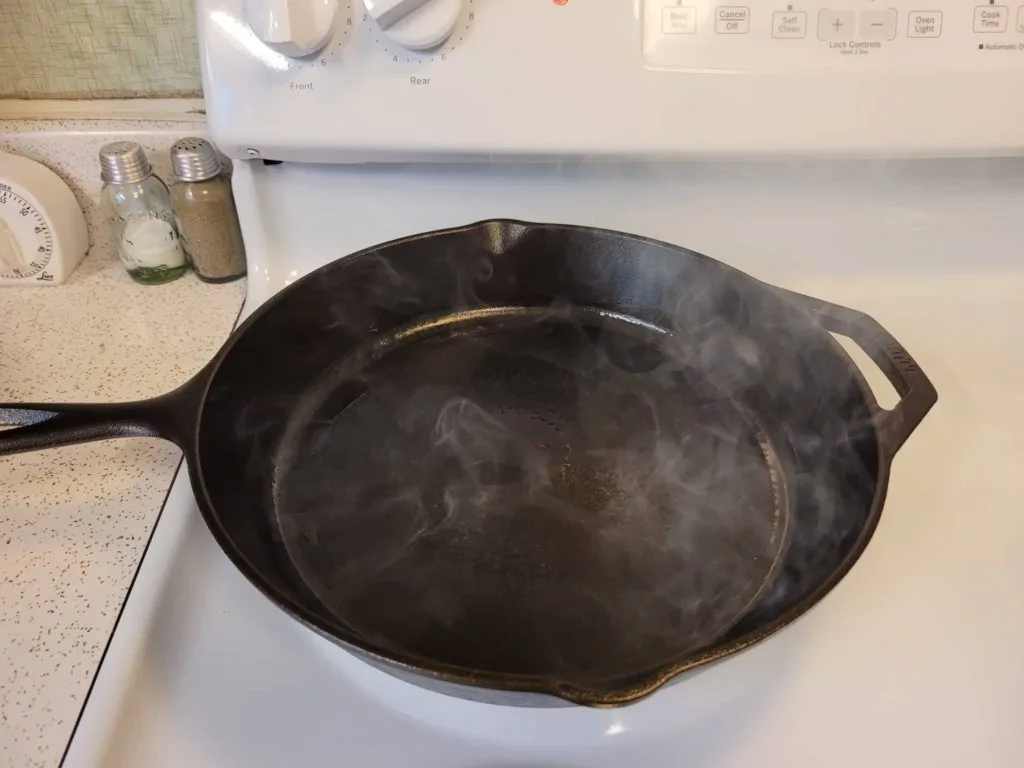
Image source: Bing (Web (fair-use with source credit))
Why You’re Here: No Oven, No Problem
Maybe you live in a dorm and the only kitchen is one hot plate. Maybe you’re restoring a rusty skillet at a campsite. Or maybe your oven just broke and you need dinner tonight.
The fix is the same: season on the heat source you already have.
The science is simpler than it sounds. When oil gets hot enough, it breaks down and bonds to the iron in thin layers. That bond is called polymerization.
Each thin layer makes the pan smoother and more nonstick. You don’t need a fancy range hood to pull this off.
What you need is heat around 450 degrees, an oil with a smoke point above 400 degrees, and a clean dry pan. A stovetop works. A gas grill works.
A charcoal chimney works. An open campfire works with patience.
In an apartment, the main concern is smoke. Open a window and use the stove hood if you have one. In an RV, the size of your burner matters more than the size of your oven.
On a campsite, you get fresh air and unlimited heat but less control. The method shifts with the setting.
Is stovetop seasoning as durable as oven seasoning? Honestly, it depends. Oven seasoning heats the entire pan evenly for a full hour, so the layers bond more consistently.
Stovetop seasoning has hot spots, which is why you rotate the pan. For a quick refresh, the durability is close. For a brand-new bare pan, treat stovetop seasoning as a base, then repeat the process over the next few weeks.
Manufacturer guidance confirms this. Lodge’s official care instructions describe stovetop seasoning as a valid way to refresh bare cast iron. So the next time someone says oven-only, you can politely ignore that.
The Short Version: What You Actually Need
Here’s the whole process in five steps: scrub, dry, oil, heat, cool. Repeat the last three steps two or three times for a freshly stripped pan.
The trick is to use almost no oil. A thin layer feels greasy but doesn’t pool. If it drips anywhere, you’ve added too much.
That’s the number one reason seasoning turns out sticky.
Here’s what you need on the counter:
| Tool or ingredient | Why you need it |
|---|---|
| Bare cast iron cookware | The pan you’re seasoning |
| High-smoke-point oil | Canola, grapeseed, or avocado oil |
| Paper towels or lint-free cloth | To wipe the oil on and off |
| Heat source | Stovetop, gas grill, charcoal grill, campfire, or hot plate |
| Chainmail scrubber | To remove rust or old food before you start |
You can skip the chainmail if your pan is clean. You cannot skip the oil. And you cannot skip the heat, since heat is what turns liquid oil into a solid coating.
A single maintenance layer after cooking takes about 10 minutes. A full new seasoning takes three short rounds, each followed by a cool-down. Most people can finish in under an hour.
That’s shorter than most oven cycles.
How do you know it worked? The surface should feel slick even after cooling. A drop of water should sit on top like dew on wax instead of spreading into a wet patch.
If your pan looks dull but feels smooth, you’re on the right track.
One more note. Some people use vegetable oil, and that’s fine. Just use real oil from a bottle, not cooking spray with additives.
The additives leave a sticky residue that’s hard to scrub off.
Your Heat Source, Your Method: The No-Oven Decision Tree
The fastest method depends on what you already own. Let’s match you to the right one.
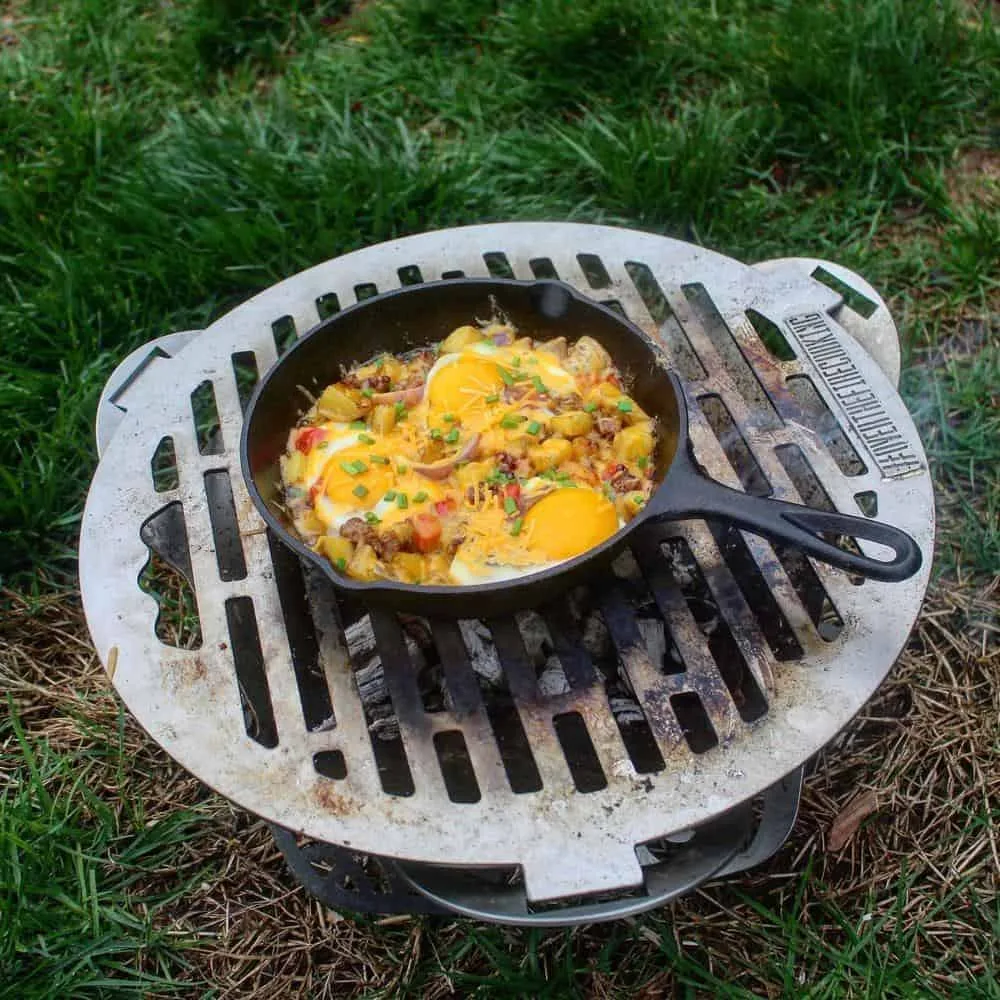
Image source: Bing (Web (fair-use with source credit))
Stovetop
The stovetop is the most common alternative. Start with medium-low heat and let the pan warm up slowly. Electric coils have hot spots, so rotate the pan every few minutes.
Gas burners heat more evenly, but you still need to move it around for full coverage.
If you have an induction cooktop, rest easy. Cast iron is magnetic, so it usually works fine. Just check that your pan’s bottom is flat and centered on the burner.
Thin portable induction plates can struggle to stay hot enough for seasoning, so give them extra preheat time.
Gas Grill
Set the pan over indirect heat and close the lid. Medium heat is enough. Let it smoke lightly for 10 minutes per layer.
A gas grill is basically a large outdoor oven with better airflow, which makes it great for whole pans and big woks.
Charcoal Grill
Light a chimney of charcoal and wait until the coals are covered in gray ash. Set the pan on a grate above the coals, not directly in the flame. You want radiant heat, not fire licking up the sides.
Campfire
Use a grate to keep the pan stable. Wait for a calm bed of coals, not a blazing fire. Rapid flames make uneven seasoning and can burn the handle.
If the pan has a wooden or plastic handle, remove it first or choose an all-metal pan.
Hot Plate or Outdoor Burner
A portable hot plate works if it gets hot enough. Wall-outlet models often top out around medium heat, so allow more time per layer. A high-output propane burner works too, but never use those indoors.
They burn through oxygen fast and produce carbon monoxide.
If you have no heat source at all, you can’t season on this side of physics. Heat is the catalyst. No microwave, no toaster oven, sorry.
Five Mistakes That Ruin Stovetop Seasoning
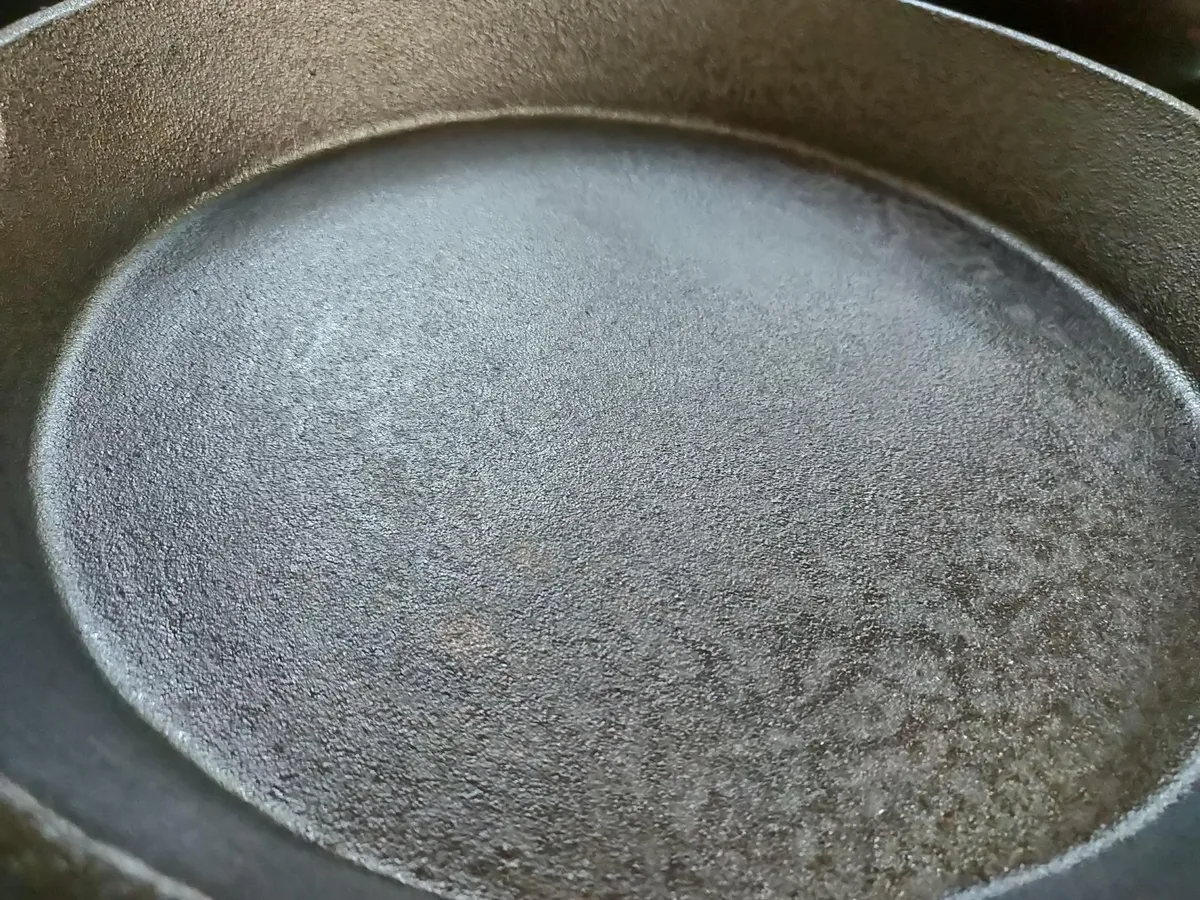
Image source: Bing (Web (fair-use with source credit))
Before we talk about mistakes, know that one of these usually causes the others. Start with the first one and the rest get easier.
Too Much Oil
The most common failure. Excess oil turns into a sticky, gummy layer. Fix: apply oil, then wipe it off like you made a mistake.
If it still looks wet, you used too much. A good seasoning layer should almost look dry.
Heating Too Fast
Blasting a cold pan on high causes oil to burn before it bonds. The result is a rough, blotchy surface that looks like carbon instead of seasoning. Let the pan warm gradually on medium-low, then bring it up to smoking.
Seasoning a Damp Pan
Water and oil don’t mix. Any moisture trapped under the oil turns into steam and pushes the coating off. After washing, dry the pan on the stove for a few minutes.
Then wait for it to cool slightly before adding oil.
Cutting the Cool-Down Short
Layers need to harden before the next one goes on. Rushing creates a soft, fragile film that scratches off with the first pancake flip. Let the pan cool completely between rounds.
If you’re impatient, do one layer per day.
Using the Wrong Oil
Butter, olive oil, and flaxseed oil can burn or flake. Stick with grapeseed, canola, or avocado oil. Check the smoke point before you pour.
Higher smoke point means more room for error.
If a pan does come out sticky, don’t panic. Put it back on low heat and wipe the surface with a paper towel. The heat softens the gummy layer.
Then scrub, dry, and re-season with a thinner coat. If it looks black and flaky, that’s charred oil. Scrub it off and start clean.
Don’t Burn Your House Down: Safety First
Seasoning without an oven usually means high heat in a room that wasn’t designed for smoke. That deserves respect.
Open a Window and Use a Fan
The smoke is a sign that oil is polymerizing, but it’s still not great to breathe. Crack a window and turn on the hood if you have one. A box fan blowing out through a window works too.
Keep a Lid Close
If oil catches fire, you won’t have time to search for a pot lid. Keep one within reach and know how to smother a grease fire. Never pour water on a grease fire.
That spreads burning oil across the kitchen.
Watch Your Oil’s Flash Point
Every oil has a flash point, the temperature where its vapors ignite. Canola oil flashes around 600 degrees. Your pan should stay well below that, which is why medium heat beats high heat every time.
If you see wisps of smoke, that’s normal. If you see flames, you’ve gone too far.
Season Outdoors When You Can
For a first full seasoning, an outdoor grill or campfire is safer and easier. Indoor stovetop seasoning is fine for maintenance, but outdoors gives you ventilation and space. And never, under any circumstances, use a gas grill or charcoal chimney inside.
Not in the kitchen, not in a garage, not in a shed. Carbon monoxide is silent and fatal.
Dispose of Oily Rags Safely
Oil-soaked paper towels can spontaneously combust if left in a pile. Lay them flat to dry, or soak them in water before throwing them away. That’s not an urban legend.
The National Fire Protection Association warns about this exact scenario.
Never Walk Away
A cast iron pan is heavy and holds heat for a long time. It’s easy to think “just five minutes,” but smoke alarms and fires happen in that window. Stay in the kitchen for the entire cycle.