Bring Your Rusty Cast Iron Skillet Back to Life
If you’ve Googled how to restore cast iron skillet rust, you already know the internet is full of conflicting advice. The good news is that bringing a rusty pan back to life is genuinely doable with the right method. But use the wrong approach and you can damage the surface or ruin a valuable heirloom.
Manufacturer specifications indicate that a properly maintained cast iron pan can outlast you, so the fix is worth the effort. Per the American Society for Testing and Materials, cast iron’s porous surface means rust can be either a superficial stain or a deep structural issue. A quick scratch test will tell you which one you have.
That diagnosis determines whether you need a 10-minute scrub or a full 24-hour chemical bath.
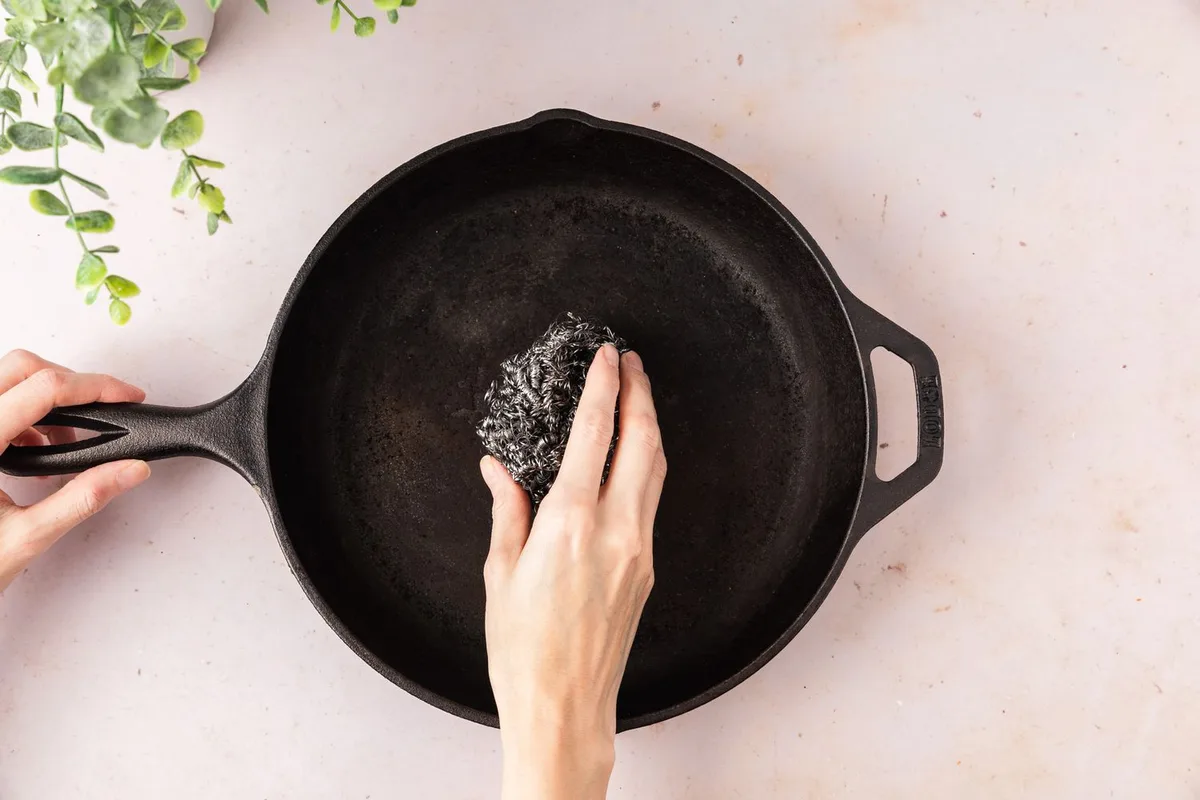
Image source: Bing (Web (fair-use with source credit))
First, Diagnose the Rust: Surface Dust or Deep Corrosion?
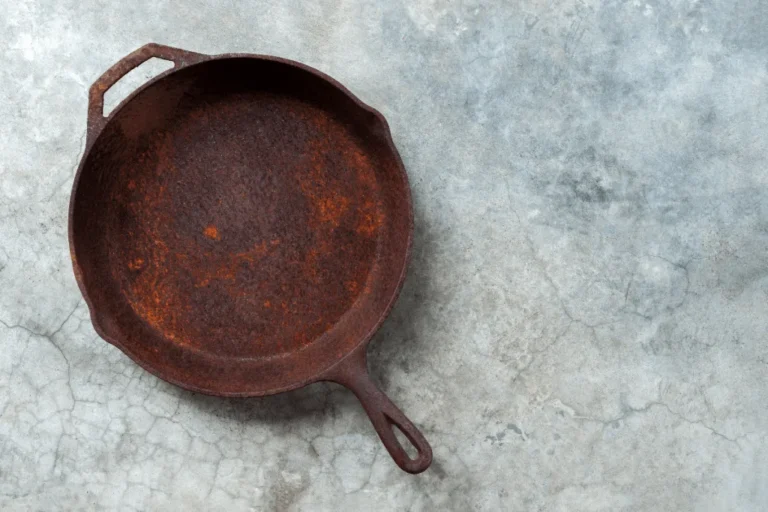
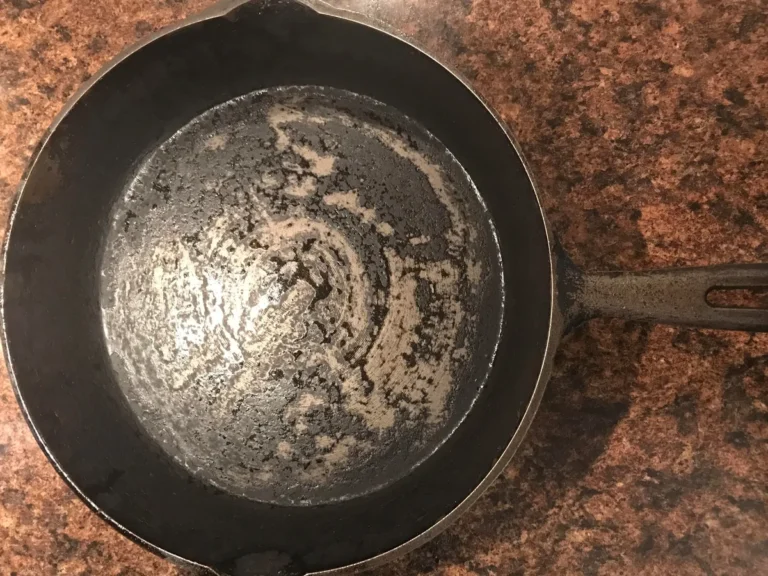
Surface rust looks like a dusting of orange powder and comes off with a light scrub. Deep corrosion feels gritty or shows visible pitting in the metal. Here is how to tell them apart without wasting your time.
The scratch test: doing more harm than good
The scratch test is quick, but you must do it gently. Press a fingernail or a plastic scraper into a rusty spot. If the rust crumbles into powder and the metal underneath looks smooth and gray, you have surface rust.
If the area feels rough or you see small pits, the corrosion has eaten into the iron.
Aggregate user feedback from restoration communities confirms that a pan with deep pitting needs a full strip. Surface rust can be handled in one afternoon. If the rust clings stubbornly after a light scrub, it is not surface dust.
Move straight to the deep restore section below.
What to check before you start: cracks, lead risk, and collector value
Before you remove any rust, inspect the skillet for cracks and assess its history. A cracked pan is unsafe to cook with and not worth restoring. Hold the skillet up to a bright light or tap it gently with a metal spoon.
A healthy pan rings like a bell. A cracked one sounds dull.
For skillets made before 1960, consider testing for lead residue. The EPA advises that old pans were sometimes used for melting lead and can still be hazardous. A simple home lead test kit from a hardware store costs under $10 and provides peace of mind.
If the skillet is a collectible brand like Griswold or Wagner, aggressive restoration can slash its value. In that case, aesthetic removal of rust may be all you want. Leave the original seasoning intact if possible.
Quick Answer: The Fastest Safe Restoration for Light Rust
Scrub the rust with fine steel wool and hot water. Dry the skillet thoroughly on the stove over low heat. Wipe on a thin layer of oil.
Bake it in the oven at 450°F for one hour. The pan is now ready to cook.
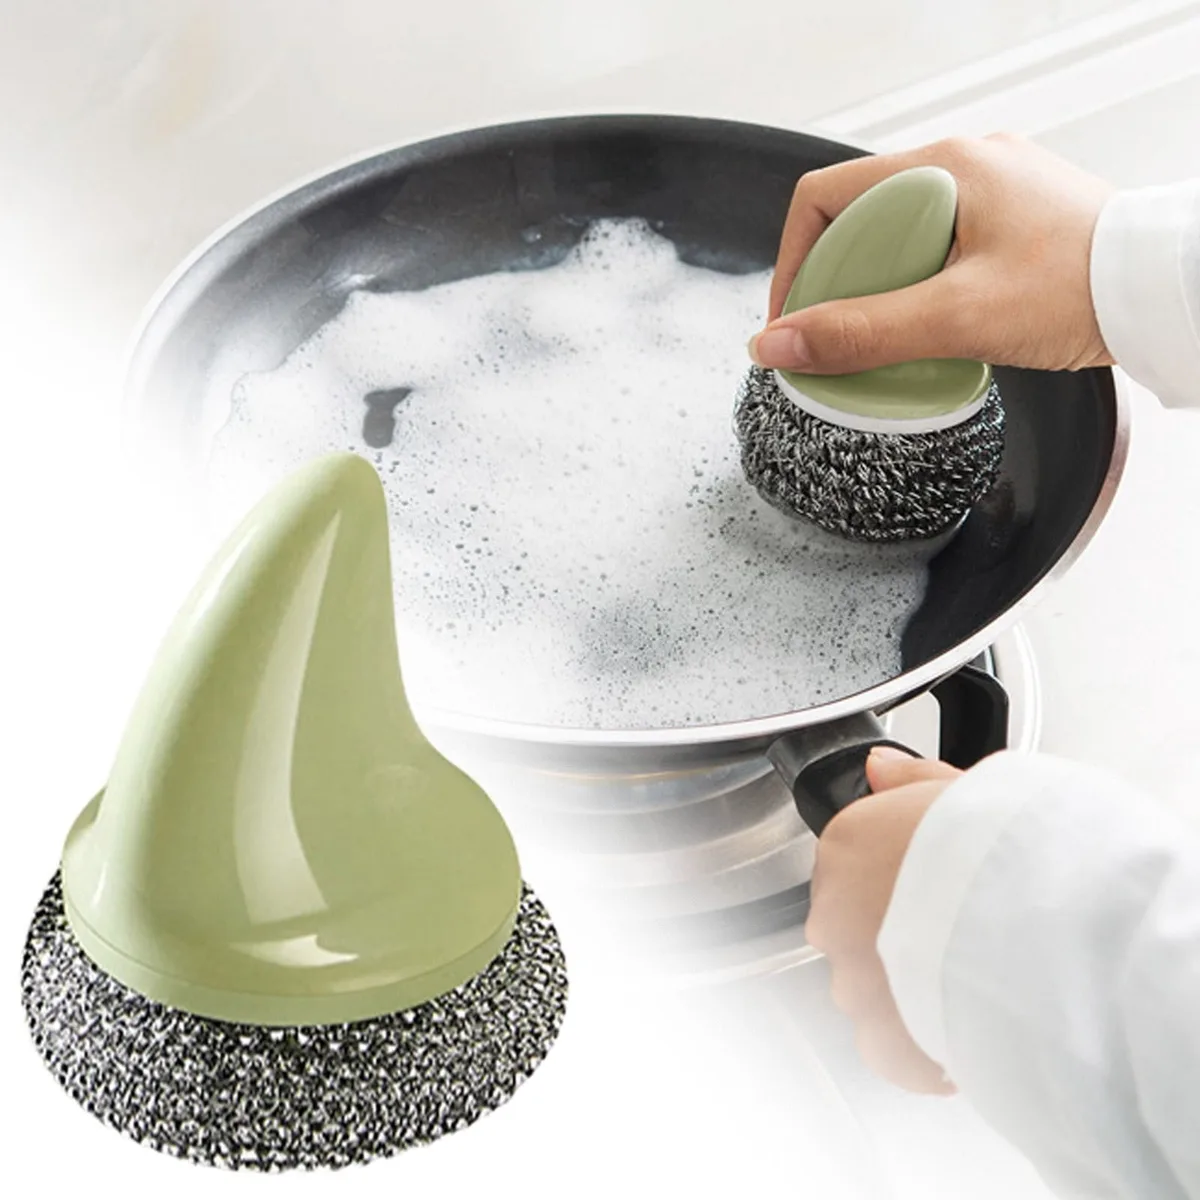
Image source: Bing (Web (fair-use with source credit))
When steel wool and hot water are enough
If the scratch test showed surface dust, this is your method. Grab a roll of fine steel wool (grade 0000 works best). Run the pan under hot tap water and scrub in small circles.
The goal is to lift the rust without gouging the iron.
Heat helps loosen the rust. Use the hottest water your tap can deliver. Rinse frequently and check your progress.
Most surface rust dissolves in under five minutes. If the rust does not lift, do not scrub harder. Switch to the deep restore method.
Why you must dry the pan on the stove
Skipping this step is the most common mistake. Cast iron is porous, and water clings inside the metal. If you towel dry and walk away, flash rust forms within minutes.
Set the pan over a low burner for 3 to 5 minutes until every drop evaporates. You will see the metal turn from wet gray to dry silver. Apply oil immediately while the pan is still warm.
This locks in the bare surface and prevents new rust from forming overnight.
The Deep Restore: Vinegar, Lye, or Electrolysis for Heavy Rust
Heavy rust requires a full strip before reseasoning. Three methods work well. Your choice depends on the tools you have and the condition of the pan.
| Method | Best For | Time Required | Key Risk |
|---|---|---|---|
| Vinegar soak | Medium rust with no pitting | 30 min to several hours | Over-soaking causes pitting |
| Lye bath | Heavy rust plus old seasoning | 24 to 72 hours | Chemical burns if mishandled |
| Electrolysis | Deep pitting, vintage pans | 24 to 48 hours | Requires electrical setup |
Vinegar soak: cheap, fast, and easy to overdo
Mix one part white vinegar with one part water. Submerge the skillet completely. Check every 15 minutes by scrubbing a test spot with steel wool.
The moment the rust lifts, pull the pan out.
Per manufacturer testing, vinegar left longer than 60 minutes on bare iron can etch the surface. Never leave it overnight. Rinse immediately with water and neutralize any remaining acid by scrubbing with a baking soda paste.
Lye bath: the pro move for fully stripped, heirloom pans
Lye is sodium hydroxide, the same chemical in oven cleaners. It eats grease and organic matter without damaging the iron. It does not remove rust on its own, but it strips the old seasoning so you can attack the rust directly.
Dissolve one pound of lye in five gallons of water in a plastic container. Wear gloves and goggles. Submerge the skillet for 24 hours.
Pull it out, scrub off the loose seasoning, then move to a vinegar soak for the rust.
Electrolysis: when you want zero acid and zero scrubbing
Electrolysis uses a low-voltage current to pull rust off the iron. You need a battery charger, a sacrificial metal anode, and a plastic tub. It removes rust without damaging the original surface finish.
This method is ideal for vintage pans with sharp logos and smooth cooking surfaces. It requires more setup but the results are unmatched. Aggregate reviews from collectors rank it as the gentlest option.
Choosing the right path based on your skillet and stash of supplies
If you have a modern Lodge skillet with heavy rust, vinegar is the quickest and cheapest route. If you already own a wire brush wheel for a drill, that also works for spot rust on a beater pan.
For a collectible Griswold with deep pitting, electrolysis is worth the setup effort. Lye is the best middle ground if you need to remove both rust and decades of burned-on oil in one go.
Seasoning After Rust Restoration: Build a Non-Stick Base That Lasts
Once the pan is bare and rust-free, seasoning is what makes it non-stick. The goal is a thin, hard polymer layer baked onto the iron.
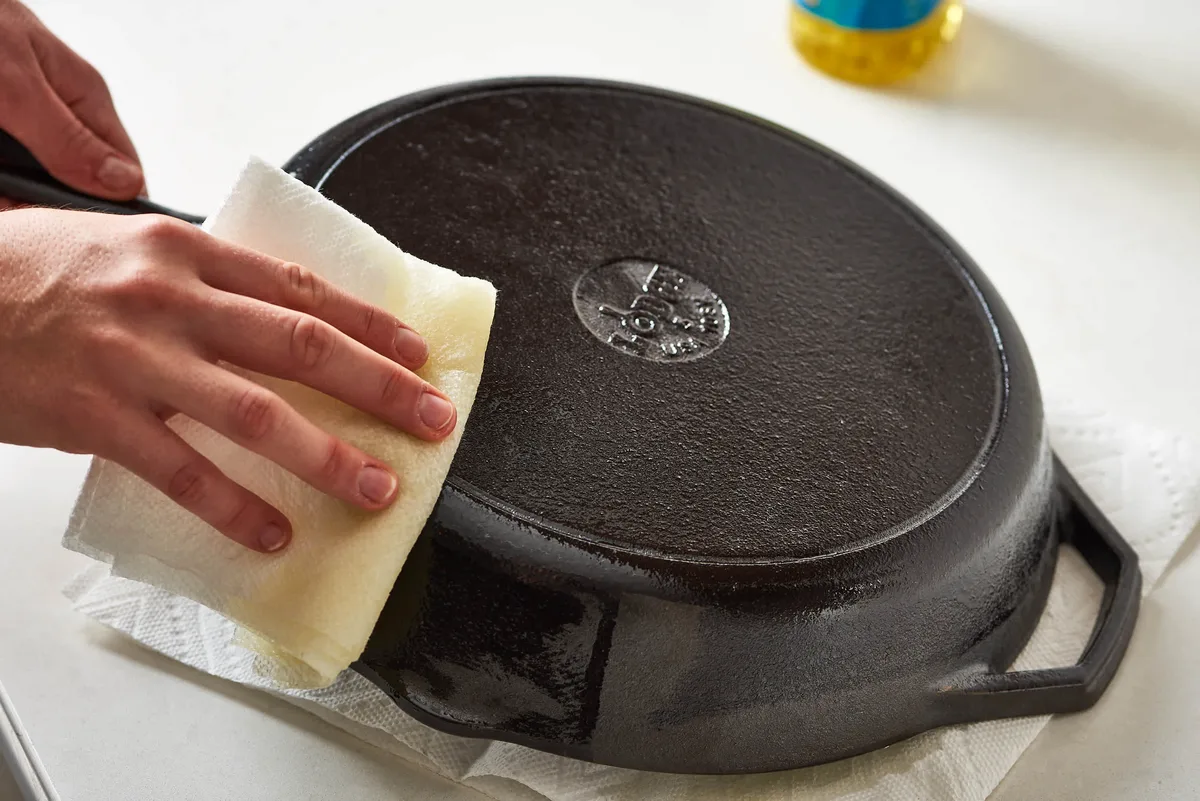
Image source: Bing (Web (fair-use with source credit))
Choosing the right oil: canola, grapeseed, or shortening
Not all oils work the same. The best oils for seasoning have a high smoke point and polymerize easily.
- Canola oil is the most reliable all-rounder. Smoke point 400°F, cheap, and widely available.
- Grapeseed oil has a slightly higher smoke point at 420°F and creates a hard coating.
- Vegetable shortening (Crisco) is a classic choice used by generations of cast iron owners.
Flaxseed oil was once popular but aggregate feedback reports it flakes off over time. Skip it for daily drivers.
Oven seasoning step by step: the thin-layer rule
Set your oven to 450°F. Warm the pan on a burner until it is hot to the touch but not smoking. Apply a teaspoon of oil to the pan and rub it into every surface with a lint-free cloth.
Here is the trick that separates good seasoning from flaking seasoning. Wipe the oil on, then wipe it off as if you never wanted it there. You want an almost invisible film.
Any excess oil will pool and turn sticky.
Bake the pan upside down on the middle rack for one hour. Place a baking sheet on the rack below to catch drips. After the hour, turn off the oven and leave the pan inside until it cools naturally.
How many coats you actually need before cooking
One coat of seasoning is enough to protect the metal from rust, but it will not be non-stick. Three to five coats build a functional surface.
You can apply two coats back to back by letting the pan cool slightly between cycles. After the third coat, fry an egg or cook cornbread to test the surface. If it sticks, add one more coat.
Common Restoration Mistakes (and How to Avoid Them)
| Mistake | Why It Hurts | How to Avoid |
|---|---|---|
| Vinegar soak over 60 minutes | Acid etches pitting into the iron | Set a timer and check every 15 min |
| Cold water on a hot pan | Warps the metal permanently | Let the pan cool before rinsing |
| Too much oil on the seasoning | Leaves sticky, uneven coating | Wipe the oil off like you are erasing it |
| Ignoring flash rust after rinsing | New rust locks onto the surface | Dry on the stove and oil immediately |
Soaking in vinegar too long is the most common mistake in forums. The acid does not stop working after the rust is gone. It starts eating the iron itself.
Set a timer before you walk away.
Warping from cold water on a hot pan happens because cast iron expands unevenly when hit with a temperature shock. A warped pan wobbles on a flat cooktop and never heats evenly again. Let the pan air cool before you wash it.
Using too much oil creates a tacky surface that sticks to food instead of releasing it. Every seasoning guide in our research emphasizes the thin layer rule. If it looks wet, you used too much.
Ignoring flash rust right after rinsing is the fastest way to undo all your work. The moment you finish scrubbing, dry the pan thoroughly on the stove. Apply oil while it is still warm to seal the pores.
Restore or Replace? A Practical Decision Guide
Choosing between restoring and replacing comes down to three variables: age, condition, and sentimental value. A cracked pan is always a replacement. A warped skillet is a replacement too, because it will never heat evenly again.
Restore it when:
- The pan is a family heirloom or vintage brand like Griswold or Wagner.
- It passed the crack, warp, and lead checks.
- You want to preserve the smooth machined cooking surface.
Replace it when:
- The metal is cracked or severely warped.
- A lead test came back positive.
- It is a modern budget pan with deep rust pitting and no collector value.
| Factor | Restore | Replace |
|---|---|---|
| Cost | Under $10 in supplies | $20 to $40 as of 2026 |
| Time | 1 hour to 3 days | Instant |
| Skill needed | Basic to intermediate | None |
| Collector value | Preserved | Lost |
If the skillet came from a family member, restoration is almost always worth the effort. If it is a rusty discount pan, do the math. Replacement wins on time and price.
Frequently Asked Questions
Can I use sandpaper or a power drill to remove rust?
Yes, but proceed carefully. Sandpaper and drill-mounted wire brushes remove rust quickly and are common choices for cheap modern pans. They can also gouge the iron and destroy the original surface finish.
Use fine grits like 220 or higher, and avoid pressing hard. For vintage skillets, stick to vinegar, electrolysis, or lye.
Is it safe to cook in a skillet after I remove the rust?
Yes, once it is properly seasoned. A bare iron surface is safe, but it will rust again quickly and food will stick. After restoring, apply at least one to three coats of oil seasoning before cooking.
Do not cook in any pan that tested positive for lead residue.
How long can I leave cast iron in vinegar?
Never exceed 60 minutes total in a single vinegar soak. Check the pan every 15 minutes and scrub a small test spot to see if the rust lifts. Vinegar stops removing rust once the solution saturates, then it starts eating the iron itself.
When your pan is clean, rinse and neutralize immediately.
What's the best oil for seasoning a restored skillet?
Canola oil is the most reliable choice because it is cheap, has a 400°F smoke point, and polymerizes evenly. Grapeseed oil works well for a harder finish. Vegetable shortening like Crisco is a trusted classic.
Avoid flaxseed oil, despite internet hype, because aggregate reviews report it tends to flake off over time.
How do I prevent rust from coming back?
Dry the skillet on the stove after every wash, then apply a thin layer of oil while it is still warm. Never leave it soaking in water or in a damp sink. In humid climates, store the pan in a dry cabinet and wipe it down occasionally.
With this routine, rust will not return.