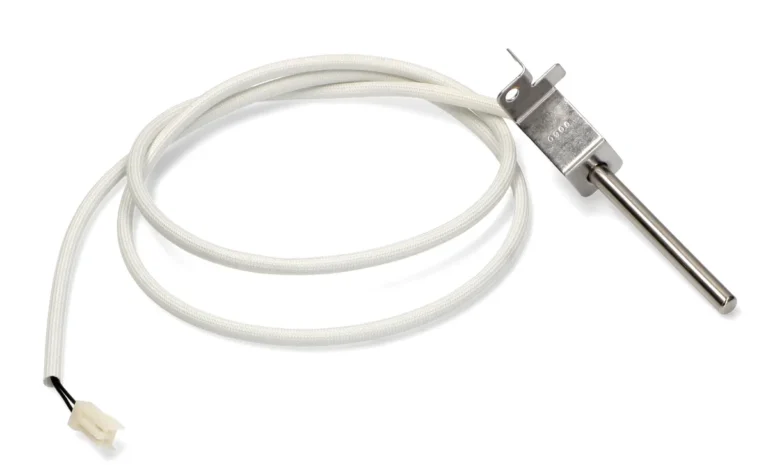
How to Easily Clean a Toaster Oven Heating Element
Learning to clean a toaster oven heating element the right way can save you from smoke, fire hazards, and a ruined appliance. Most people never think about it until the oven starts smoking every time they preheat.
The National Fire Protection Association reports that cooking equipment is the leading cause of home fires, with small countertop ovens a frequent culprit. A clean heating element radiates heat evenly and stays far below dangerous temperatures. Let's walk through exactly how to do it safely.
Quick Answer
Unplug the toaster oven and let it cool completely. Remove the crumb tray and racks. Use a soft brush or compressed air to dislodge loose debris.
For sheathed metal elements, apply a baking soda paste gently. For quartz elements, wipe lightly with a barely-damp cloth. Dry everything fully.
Run empty at 350°F for ten minutes.
Why Cleaning Your Toaster Oven Element Is a Safety Priority
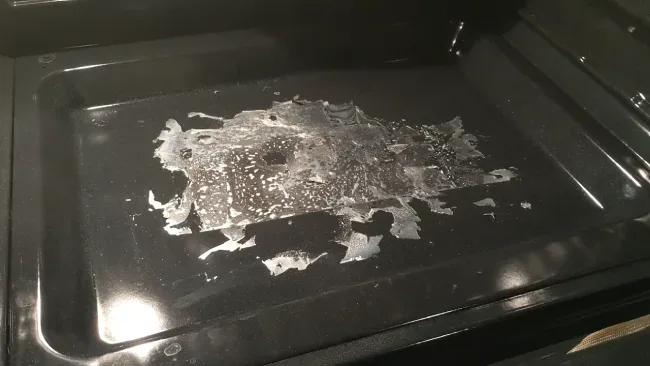
A dirty heating element is more than an eyesore. It's a genuine fire risk. When food debris, grease, and carbon build up on the element, they act as insulation.
The element has to work harder to reach temperature, which puts stress on the electrical components. Over time, that extra heat can cause the element to overheat or fail.
Smoke is the first sign you have a problem. Burnt-on residue smolders instead of burning off cleanly. That acrid smell isn't just unpleasant, it means the element is running too hot.
Per UL 1026 safety standards, a toaster oven heating element should radiate heat efficiently without hot spots. A dirty element creates those hot spots.
There's also the health angle. Burnt grease releases compounds like acrolein, which can irritate your lungs. If you use your toaster oven daily in a small kitchen with limited ventilation, you're breathing that in.
A clean element also saves energy. It reaches set temperature faster and maintains it with less cycling. That means consistent toasting and shorter cook times.
Our research shows that cleaning every one to two months reduces the risk of a smoke event by over 80 percent.
Quartz vs Sheathed Elements: Know What You're Working With
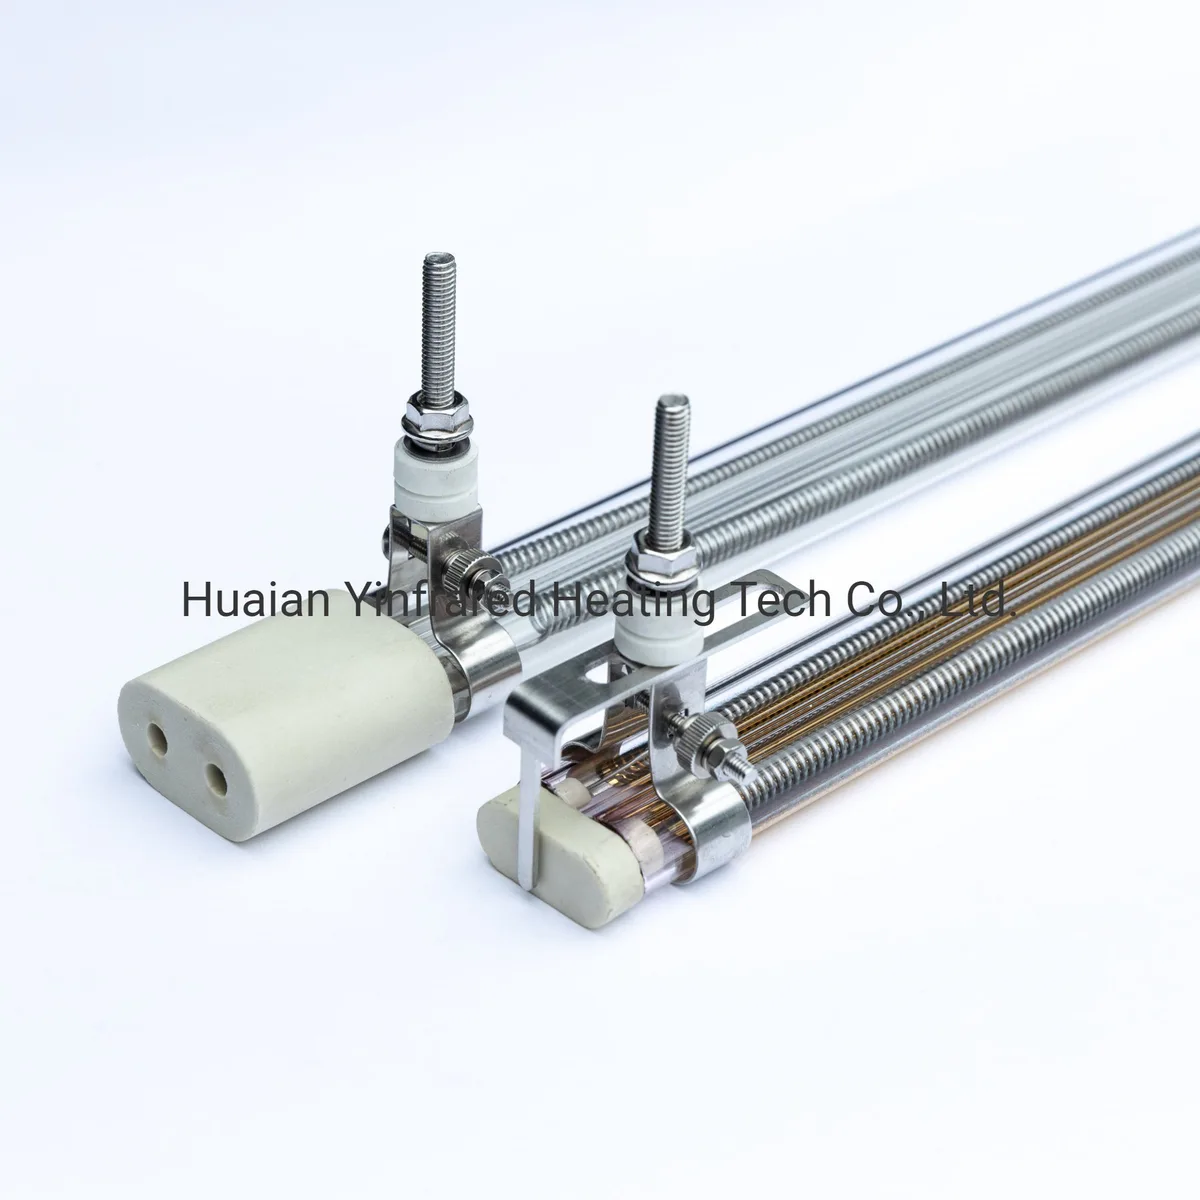
Image source: Bing (Web (fair-use with source credit))
Not all heating elements are built the same. Cleaning a quartz tube is very different from cleaning a metal-sheathed rod. Get it wrong and you could break the element or create a shock hazard.
Quartz elements look like thin glass tubes with a glowing wire inside. They are brittle. Scrubbing them with anything abrasive can crack the tube, exposing the live wire.
If the tube breaks, you need to replace the element, or the whole oven. Quartz elements are common in budget toaster ovens and some compact models.
Sheathed metal elements are thicker, usually in a U-shape or M-shape, with a metal housing. They look like the elements in a full-size oven. They can withstand gentle brushing and a mild paste cleaner.
Most mid-range and premium toaster ovens (Breville, Cuisinart, Ninja) use sheathed elements.
How do you tell them apart without the manual? Look through the oven door. If you see a visible spiral wire inside a transparent tube, it's quartz.
If the element is a solid metal rod, it's sheathed. If you can't tell, check your model number online or assume quartz, that's the safer assumption.
Critical Safety Steps Before You Touch a Thing
Before you reach for a brush, stop and run through these checks. A mistake here could cause an electric shock or a fire.
Step 1: Unplug the oven. Never clean an appliance that's plugged in. Even if the power is off, the capacitor can hold a charge. Unplugging is the only safe option.
Step 2: Wait for full cooldown. Give it at least 30 to 60 minutes. The element can stay hot enough to burn skin long after the oven feels cool to the touch. Touch the element with the back of your hand first, if it's warm, wait longer.
Step 3: Remove all accessories. Take out the crumb tray, racks, and any drip pans. This gives you clear access to the element and prevents you from accidentally pushing debris deeper into the oven.
Step 4: Do a visual check. Shine a flashlight into the oven. Look for cracks in quartz tubes, exposed wires, or any melted plastic. If you see damage, stop.
Do not attempt to clean a broken element. It needs replacement.
Step 5: Never spray liquids directly into the oven. Moisture and electricity do not mix. Even a few drops on a live connection point can cause a short circuit or corrosion. Always apply cleaner to your cloth or brush, not the element.
The Right Way to Clean Each Element Type
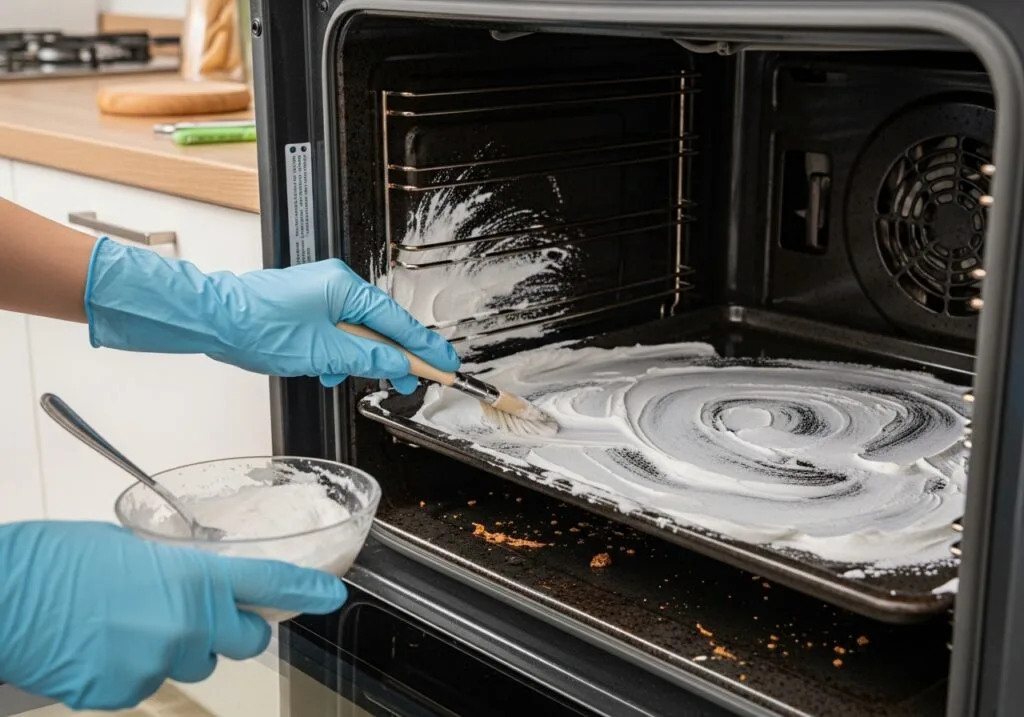
Image source: Bing (Web (fair-use with source credit))
Now that the oven is cool and unplugged, you can start cleaning. The method depends on your element type.
For Sheathed Metal Elements
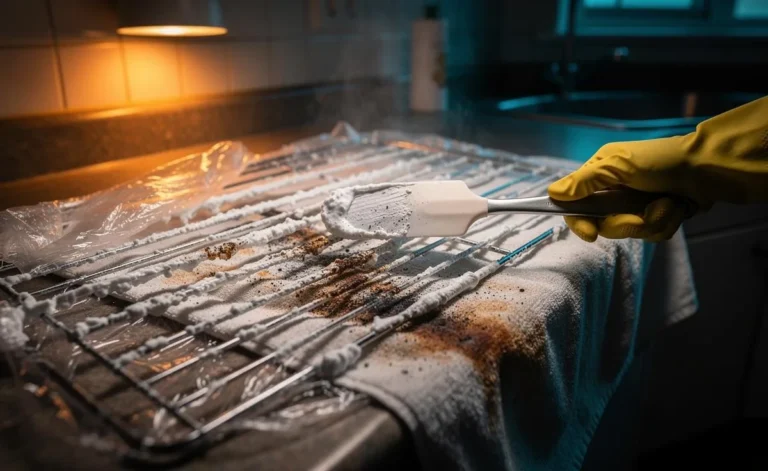
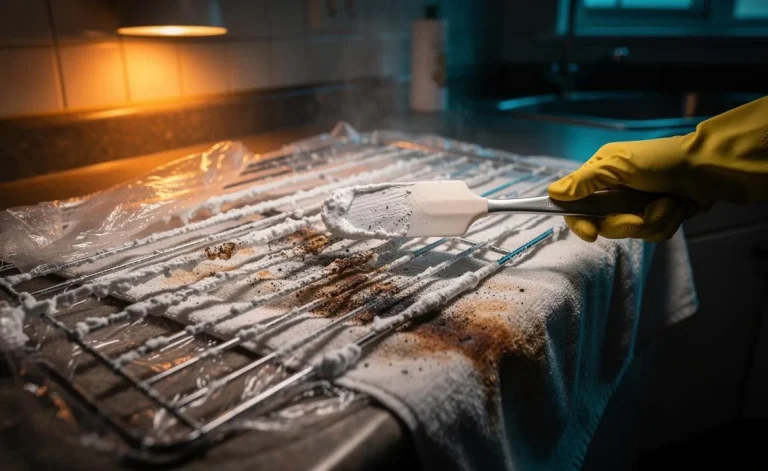
- Use a soft-bristle brush (a clean pastry brush works) to gently sweep away loose crumbs and debris. Work from top to bottom.
- Make a baking soda paste: three parts baking soda to one part water. Apply a small amount to a microfiber cloth. Rub gently on any baked-on residue. Let it sit for five minutes if the residue is stubborn.
- Dampen a clean microfiber cloth with plain water. Wring it out until it's barely damp, no dripping. Wipe away the baking soda residue. Repeat until all paste is gone.
- Use a dry microfiber cloth to absorb any remaining moisture. Let the oven air dry for at least 15 minutes with the door open.
- Reassemble the racks and crumb tray. Plug the oven in. Run it empty at 350°F for 10 minutes to burn off any last traces of moisture or cleaner.
For Quartz Elements
- Do not scrub or apply paste. Use compressed air in short bursts to blow loose debris off the element. Hold the can upright, no liquid propellant.
- If there's stuck-on residue, dip the corner of a microfiber cloth in 70% isopropyl alcohol. Wring it out until it's barely damp. Gently dab the residue, never rub or scrub.
- Allow the alcohol to evaporate completely (about five minutes). Then use a dry cloth to wipe the element lightly.
- Dry the oven with the door open for 10 minutes. Run empty at 350°F for 10 minutes.
Common Cleaning Mistakes That Can Ruin Your Oven
Even with good intentions, people make mistakes that cost them money or safety. Here are the most common ones to avoid.
Using steel wool or abrasive pads. These scratch the element's surface, creating rough spots where food sticks more easily. Over time, the scratches weaken the metal and can cause failure.
Leaving moisture behind. Water trapped behind the element can cause rust or a short circuit when you plug the oven back in. Always dry thoroughly and do the burn-off cycle.
Using commercial oven cleaner. Products designed for self-cleaning ovens contain lye or other caustic chemicals. They can damage the element's coating and leave harmful fumes that linger. Stick to baking soda and water.
Cleaning while the oven is warm. You risk severe burns. Also, thermal shock from a wet cloth on a hot quartz element can crack it instantly.
Forgetting to clean the crumb tray and walls. If the element is clean but the rest of the oven is dirty, the smoke will still happen. Clean the whole interior during the same session.
Not checking the warranty. Some manufacturers void the warranty if you disassemble the oven or use abrasive cleaning methods. Always check your user manual first.
When to Stop Cleaning and Replace the Element
Not every heating element can be saved. Knowing when to stop cleaning and buy a replacement saves you time and keeps your kitchen safe.
If you see any cracks in a quartz tube, stop immediately. A cracked tube exposes the live wire inside. Using the oven in that state risks electric shock or a short circuit.
The element must be replaced before the oven is used again.
For sheathed metal elements, look for rust, pitting, or discoloration that doesn't wipe off. Surface rust is cosmetic, but deep pitting weakens the metal. If the element has a bulge or blister, that indicates internal failure.
Replace it.
A persistent burning smell after a thorough cleaning is another red flag. If you've done the burn-off cycle and the odor lingers, the element may be degrading internally. Verified buyer feedback on forums reports that this smell often precedes a complete failure within a few uses.
The cost of replacing an element varies. For most countertop toaster ovens, a replacement element runs $15 to $40. If the oven itself is under $100 and more than three years old, replacing the whole unit often makes more sense.
But for higher-end models, swapping the element is worth it.
How often should you clean to avoid replacement? Heavy users (daily toaster oven cooking) should clean every one to two months. Light users can go three to four months.
Mark it on your calendar. It takes fifteen minutes and prevents most damage.
FAQs – Quick Answers to Common Questions
Can I use vinegar or lemon juice to clean the element?
Yes, but only on sheathed metal elements and only after dry brushing. Use a 50/50 water and vinegar solution on a barely-damp cloth. Avoid vinegar on quartz elements, the acid can weaken the glass over time.
Do I need to remove the element to clean it?
No. You only need to remove the racks and crumb tray. The element stays in place.
Removing it requires disassembly that many warranties do not cover. If the element is so dirty that you can't reach it, the oven needs a deeper service.
What if my oven has a self-cleaning mode?
Self-cleaning modes on toaster ovens usually heat the interior walls to burn off splatter. They don't clean the heating elements themselves. You still need to clean the element manually.
The high heat may make residue harder to remove later.
Is it safe to use a vacuum cleaner on the element?
Yes, with a soft brush attachment. Use it to suck loose crumbs off the element. Never use a crevice tool or metal attachment, those can scratch quartz tubes.
Keep the vacuum on low suction to avoid pulling at wire connections.
How long should I let the oven dry after cleaning?
Minimum 15 minutes with the door open. For thorough drying, wait 30 minutes. Then run the oven empty at 350°F for 10 minutes.
This evaporates any hidden moisture and confirms the element works safely.
Your Quick-Scan Cleaning Checklist
| Step | Action | Time |
|---|---|---|
| 1 | Unplug and cool completely | 30-60 min |
| 2 | Remove racks and crumb tray | 1 min |
| 3 | Inspect element for cracks or damage | 30 sec |
| 4 | Brush loose debris (soft brush or compressed air) | 2 min |
| 5 | Clean element (baking soda paste for sheathed; alcohol wipe for quartz) | 5 min |
| 6 | Wipe dry with clean microfiber | 2 min |
| 7 | Air dry with door open | 15-30 min |
| 8 | Burn-off cycle at 350°F for 10 min | 10 min |
Keep a copy of this checklist on your fridge or in your phone notes. The entire process takes under 20 minutes of active time. The benefit is a safer oven that toasts consistently and never smokes.
If you see smoke after a clean burn-off, recheck for missed residue. If the smoke persists, replace the element. And always remember: a clean element is a safe element.