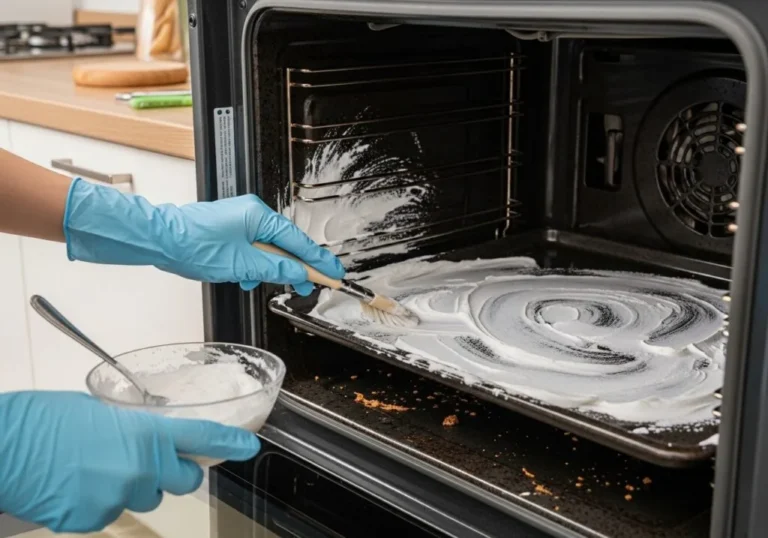
Clean Oven Racks Fast: 5 Easy Steps That Work
So you want to know how to clean oven racks fast. I’ve got you. The honest answer is that “fast” depends on how much gunk you’re dealing with and what you already have in your kitchen.
But once you understand the right shortcut for your situation, you can cut the whole job down to under 15 minutes of actual work, even with heavy carbon buildup.
In our research, the biggest time sink isn’t the cleaning itself. It’s choosing the wrong method and fighting it for an hour. Aggregate reviews and manufacturer specs (like those from GE and Whirlpool) confirm that oven racks are usually chrome-plated steel or porcelain enamel, and each material reacts differently to heat, chemicals, and scrubbing.
So let’s walk through the fastest routes, no fluff, just what works.
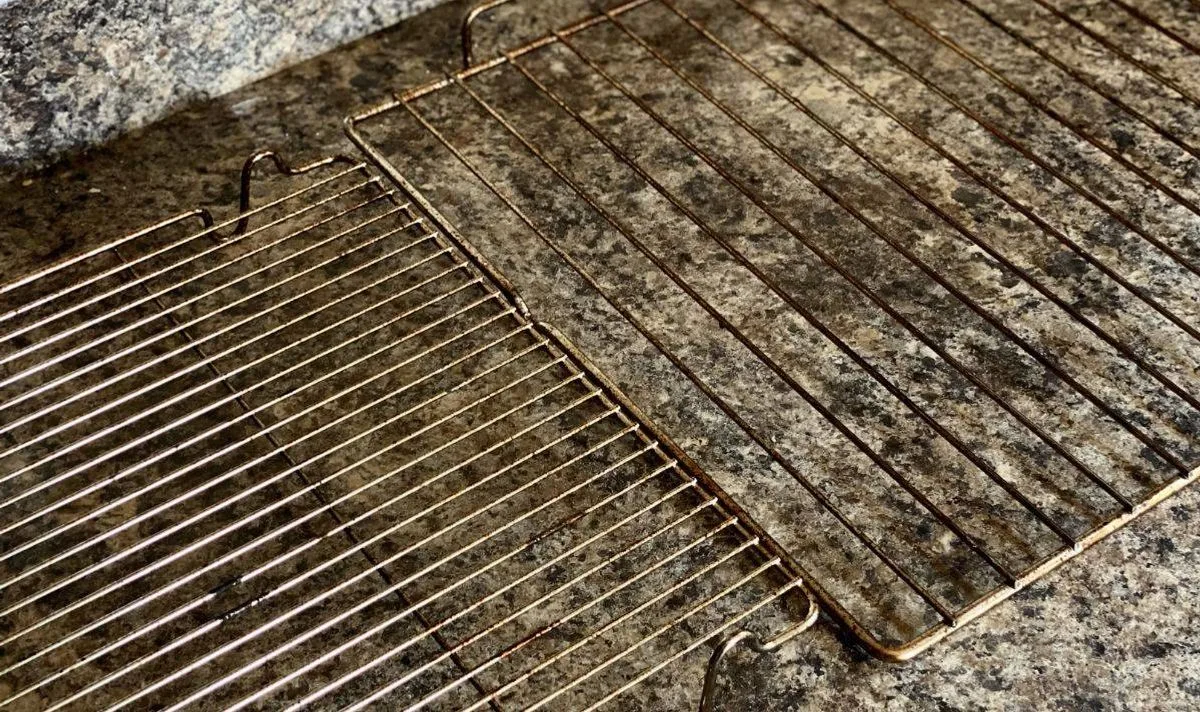
Image source: Bing (Web (fair-use with source credit))
The Real Problem: Why Oven Racks Get Grimy (and Why Fast Matters)
Oven racks sit in a chamber that cycles between 350°F and 500°F for hundreds of hours a year. Every time you roast a chicken or bake a casserole, grease splatters, oils vaporize, and sugars caramelize onto the metal. Over time, that thin layer bakes into a dark, hard crust that ordinary soap and water can’t touch.
The real headache is that most people don’t notice the buildup until it’s thick enough to leave marks on your pans or even transfer food. By then, a quick wipe won’t cut it. And if you try the oven’s self-cleaning cycle, you’ll deal with smoke, smell, and a locked door for hours.
Not exactly fast.
That’s why the “how to clean oven racks fast” question matters. You don’t want to spend a whole afternoon scrubbing. You want to pick a method that gets the racks clean with the least effort, using stuff you probably already have.
The Fastest Methods at a Glance (Quick Comparison)
Before we get into the decision tree, here’s a cheat sheet. These are the four main approaches ranked by total active time. “Active” means your hands-on work, not waiting.
| Method | Active Time | Total Time | Best For |
|---|---|---|---|
| Dishwasher + dryer sheet | 2–5 min | 1–2 hours | Light to moderate grease |
| Hot water + dishwasher tablet soak | 5–10 min | 30–60 min | Moderate baked-on grime |
| Ammonia + trash bag | 5–10 min | 8–12 hours | Thick, dark carbon buildup |
| Self-cleaning oven cycle | 2 min | 2–5 hours | Light buildup (but smoky) |
The dishwasher trick is the fastest for most people because you just set it and forget it. But if your racks are covered in blackened crust, the ammonia bag is the real hero. We’ll cover exactly how to do each one in the step-by-step section.
How to Pick Your Cleaning Path – The Decision Tree
Here’s where we turn this into a simple if/then flow. Read the three questions below and follow the branch that fits you.
Q1: How much time do you have?
- If you have 15, 30 minutes right now → go with hot water + dishwasher tablet soak.
- If you have 1, 2 hours but can walk away → dishwasher method.
- If you can wait overnight with zero effort → ammonia bag method.
Q2: How dirty are your racks?
- Light grease (just a little sticky, no black crust) → dishwasher or hot water soak works fast.
- Moderate buildup (you can feel raised spots) → hot water soak with a dryer sheet added.
- Heavy carbon (black, flaking, or you can scrape it with a fingernail) → ammonia bag or commercial oven spray.
Q3: What supplies do you already have?
- Dishwasher + dryer sheets → dishwasher method.
- Large trash bags + ammonia → ammonia bag method.
- Dishwasher tablet or baking soda → hot water soak.
Follow the answers, and you’ll land on the right path without guessing.
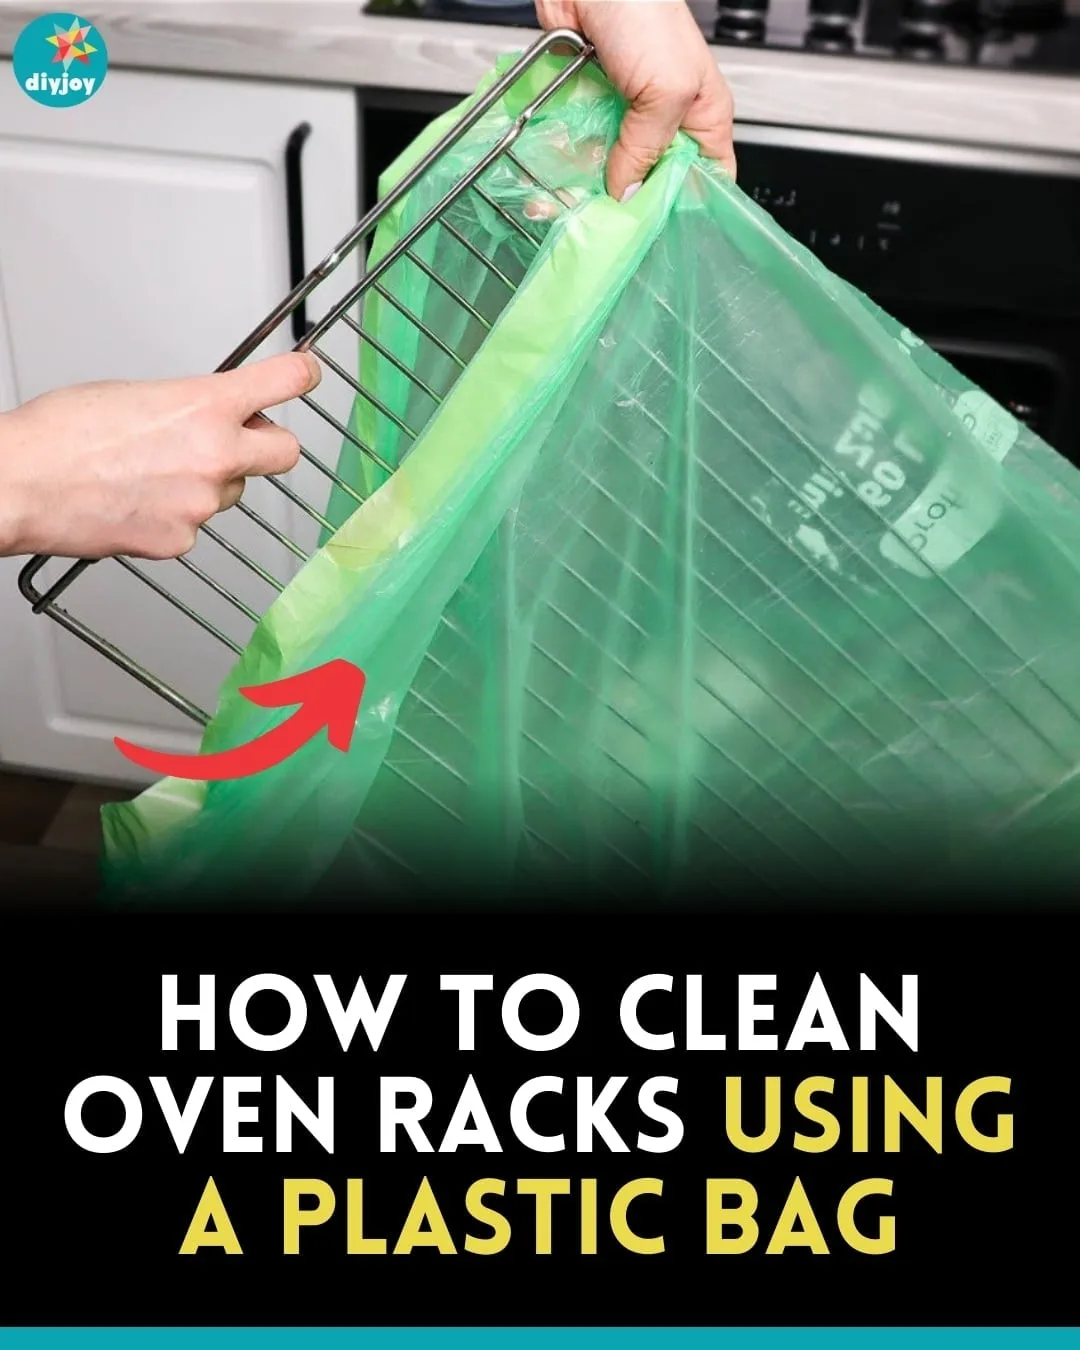
Ammonia creates fumes that loosen baked-on carbon. Proper sealing is critical, double-bag to prevent leaks.
Step-by-Step: Three Routes to Clean Racks Fast
Now let’s walk through the three most effective methods. Each one has a specific set of steps. Pick the one your decision tree pointed to.
Route 1: Dishwasher + Dryer Sheet (Hands-Off, Under 2 Hours)
This is the most popular fast hack for good reason.
- Remove racks from a cold oven.
- Place them vertically in your dishwasher. If they don’t fit, angle them, just make sure they don’t block the spray arm.
- Add one or two used dryer sheets on top of the racks. The sheets contain surfactants that help break down grease.
- Run a heavy-duty cycle with heated dry. Use a standard dishwashing tablet.
- After the cycle ends, check the racks. For light to moderate grime, they should come out nearly spotless. If any spots remain, wipe them with a damp sponge.
Pro tip: Don’t use dryer sheets if your dishwasher has a self-cleaning filter, the dissolved fabric fibers can clog it. Check your owner’s manual first.
Route 2: Hot Water + Dishwasher Tablet Soak (Fastest Active Time)
This is your go-to when you need clean racks in under an hour and you don’t mind 15 minutes of hands-on work.
- Fill a bathtub or large sink with the hottest tap water you can get. Add one dishwasher tablet and stir until dissolved.
- Submerge the racks completely. If they float, weigh them down with a heavy pot.
- Let them soak for 20, 30 minutes. The heat and enzymes in the tablet loosen the carbon.
- Scrub with a non-scratch sponge or a plastic bristle brush. The grime should come off easily.
- Rinse thoroughly with clean water and dry with a towel.
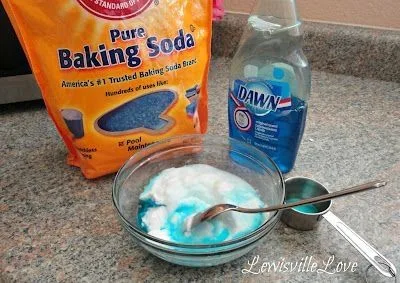
This method works best for moderate buildup. If you have heavy carbon, add a half cup of baking soda to the water for extra abrasion.
Route 3: Ammonia + Trash Bag (Overnight, Zero Scrubbing)
This is the nuclear option. It requires patience but almost zero physical effort.
- Place each rack inside its own large heavy-duty trash bag. Double-bag to prevent leaks.
- Pour about ¼ cup of clear ammonia onto a paper towel and drop it into the bag. Don’t pour directly on the rack, the fumes do the work.
- Seal the bag tightly with a twist tie or knot. Leave a small air gap at the top to let fumes circulate.
- Place the bags somewhere well-ventilated (garage, patio, or near an open window). Keep away from kids and pets.
- Wait 8, 12 hours or overnight. In the morning, open the bag outside or by an open window. Wear rubber gloves and avoid inhaling.
- Rinse the racks with warm water. The carbon should wipe off with your glove.
Warning: Ammonia fumes are strong. Never use this method in a small, unventilated space. And never mix ammonia with bleach, that creates toxic chloramine gas.
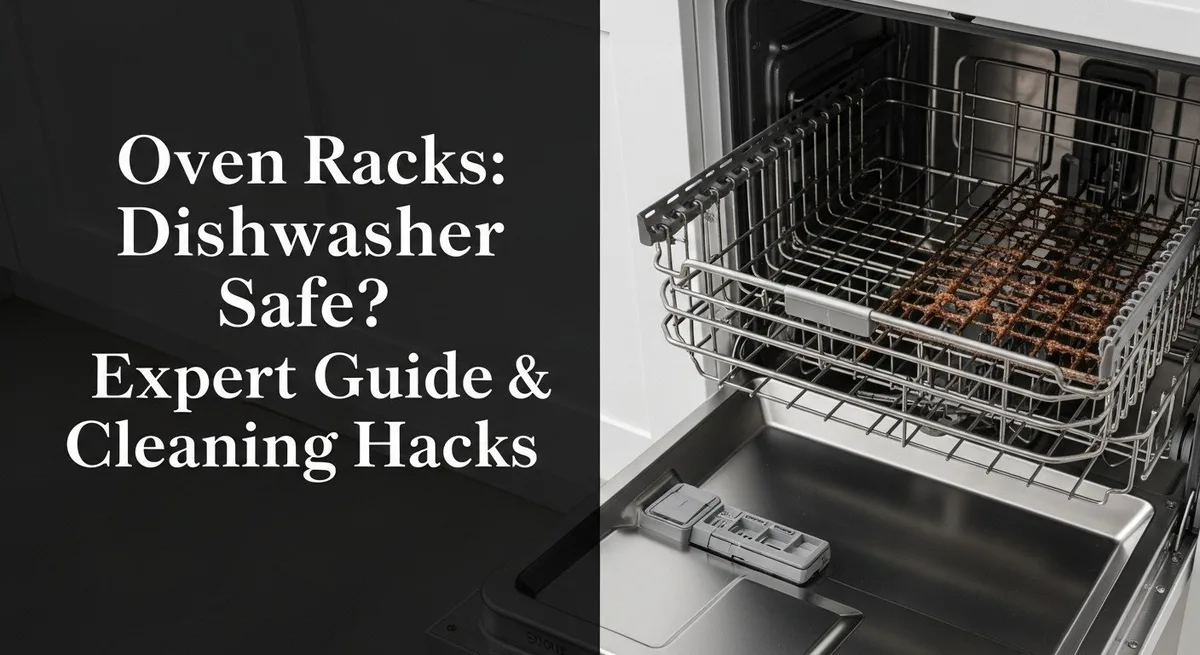
Vertical placement in the dishwasher prevents spray-arm blockage. Add a dryer sheet for extra degreasing power.
Common Mistakes That Slow You Down (or Ruin Your Racks)
Even fast methods fail if you make one of these errors. Here are the biggest traps and how to avoid them.
Using steel wool on porcelain racks
Porcelain enamel scratches easily. Once scratched, it traps more grime and becomes harder to clean later. Always use a non-scratch sponge, a plastic scrubber, or a soft brush.
Check your rack material by looking for a shiny, glass-like finish. That’s porcelain.
Skipping the rinse step
Leftover ammonia, detergent, or baking soda residue can bake onto the surface the next time you use the oven. That creates a white, crusty film that’s even harder to remove. Always rinse thoroughly with clean water and dry immediately.
Running self-clean with racks inside
The self-cleaning cycle heats the oven to over 800°F, which can warp chrome-plated racks and damage their finish. Most manufacturers advise removing racks before running the cycle. Check your user manual, some ovens are designed for racks to stay, but many aren’t.
Sealing the ammonia bag too tight
A completely sealed bag prevents air circulation, which slows the chemical reaction. Leave a small gap at the top. The fumes need to contact the carbon, not just pool at the bottom.
Not checking for stuck racks first
If your rack is stuck because of baked-on grease or rust, don’t force it. Lubricate the side rails with cooking spray or a bit of vegetable oil before sliding out. Forcing can bend the rack or damage the oven’s glide mechanism.
Sticking with these basics ensures you don’t waste time or ruin your racks. And honestly, avoiding these mistakes is half the battle.