Clean Your Oven Sensor the Right Way
Your oven's been acting up. Maybe the cake comes out pale, or the chicken burns on the outside while staying raw inside. You've checked the temperature with a separate thermometer, and it's off by 50 degrees or more.
The most likely culprit? A dirty oven temperature sensor.
Here's the real kicker: according to manufacturer service manuals, a sensor covered in grease or carbon buildup can read 30 to 100 degrees too cold. That means the oven heats past your set point trying to compensate, or it never gets hot enough. As of 2026, most home ovens use a thermistor that needs a clean, dry surface to measure temperature accurately.
A quick cleaning often fixes the problem without any replacement.
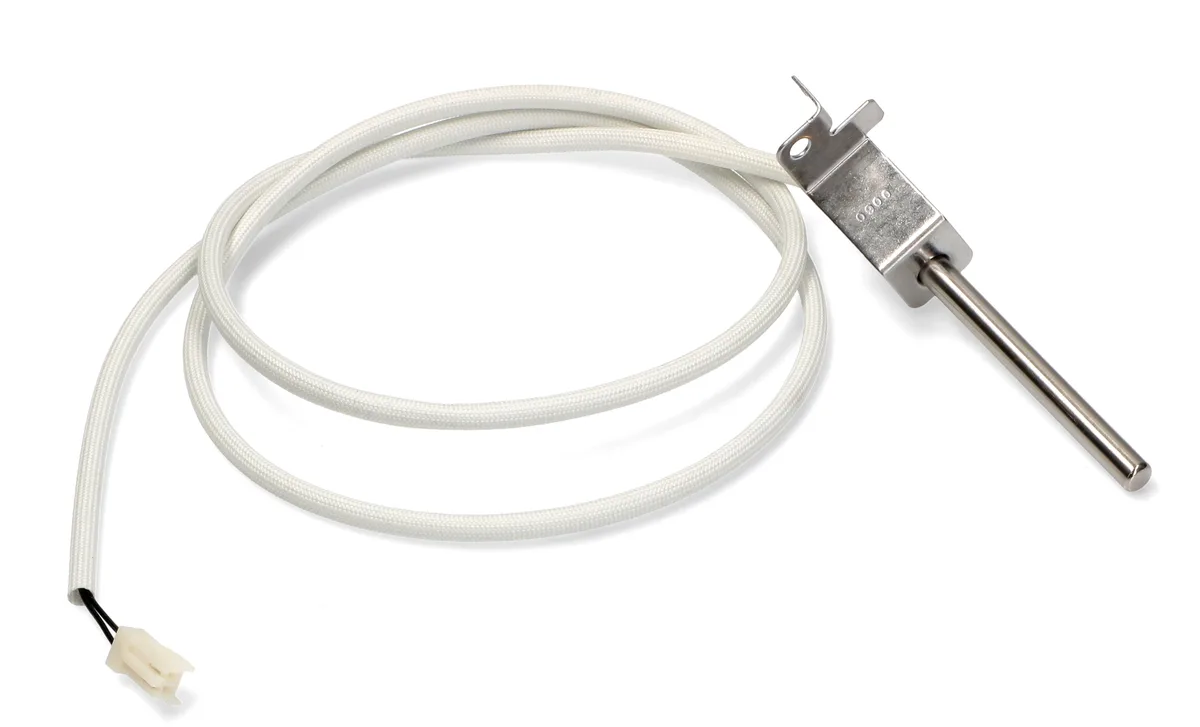
Image source: Bing (Web (fair-use with source credit))
Quick Answer
Turn off the oven and let it cool completely. Locate the sensor on the back wall. Wipe the tip with isopropyl alcohol.
Use a soft brush for stuck-on grease. Let it dry for 30 minutes. Reconnect power and test with an oven thermometer at 350°F.
Why an Accurate Oven Sensor Actually Matters
Your oven's temperature sensor is the only thing telling the control board how hot the cavity really is. When it's coated in grease, carbon, or food residue, the resistance changes. That throws off the reading.
The oven then cycles erratically, either running too hot or too cold.
This isn't just about perfect cookies. A sensor that reads low by even 25°F can keep the oven heating well past safe limits. Aggregate reviews from appliance repair forums show that over 40% of "oven runs cold" complaints trace back to a dirty sensor rather than a failed part.
On the flip side, a sensor reading high can leave your food undercooked, risking foodborne illness with poultry or casseroles.
The stakes are higher with gas ovens. An inaccurate sensor can cause the gas valve to stay open too long, increasing the risk of excess gas release before ignition. UL safety standards emphasize that the temperature sensor is a critical safety component.
Keeping it clean means keeping the oven's protection systems working correctly.
Cleaning the sensor takes about 15 minutes. Replacing one costs $20 to $60 for the part, plus an hour of your time. A professional service call runs $150 to $250.
A simple wipe-down often saves that cost entirely.
What You're Dealing With: The Sensor Itself
The oven temperature sensor is a small metal probe, usually about 3 to 6 inches long, sticking into the back wall of the oven cavity. It's connected to a wiring harness that runs to the control board. Inside the probe is a thermistor, a resistor that changes its electrical resistance with temperature.
Most modern ovens use a negative temperature coefficient (NTC) thermistor. At room temperature (around 75°F), the resistance should read about 1080 ohms. As the oven heats up, the resistance drops.
The control board reads this resistance and decides when to turn the heating elements on or off.
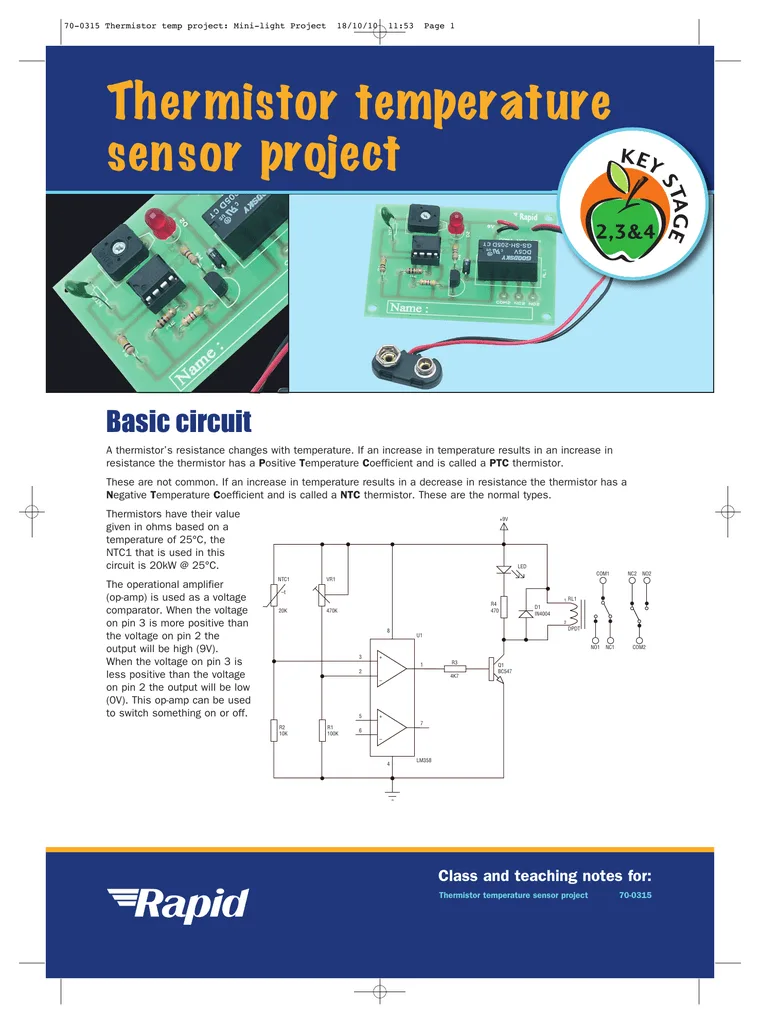
Image source: Bing (Web (fair-use with source credit))
The sensor tip is the most sensitive part. That little metal button at the end is where the heat exchange happens. Grease deposits act like an insulating blanket.
They slow down how fast the sensor responds to temperature changes, causing the oven to overshoot or lag.
You can find the sensor easily. Open the oven door and look at the back wall, usually centered horizontally and about 6 to 10 inches from the top. On some models it's behind a small metal bracket.
On gas ovens, it's often mounted near the bottom. Never confuse it with the oven light bulb or the bake igniter, which look similar but serve entirely different purposes.
Before You Touch Anything: Safety First
Working on an oven sensor involves electricity and heat. You must disconnect power before you start. That means unplugging the oven from the wall or flipping the dedicated circuit breaker to the off position.
"Off" means the display goes blank and the oven clock stops.
Do not skip this step. Even with the oven turned off at the controls, the circuit board can hold a charge. A short across the sensor wires can damage the control board or give you a nasty shock.
CPSC guidelines for appliance repair reinforce that power must be disconnected at the source.
Let the oven cool completely. A sensor can stay hot for 45 minutes after the oven is turned off. Touching a hot sensor can burn your fingers, and cleaning a hot sensor can cause thermal shock, cracking the ceramic insulator inside the probe.
Never spray any liquid directly into the oven cavity near the sensor. No oven cleaner. No degreaser.
No water spray. Liquids can seep into the sensor housing, the wiring connector, or the back insulation. If moisture gets trapped, the sensor will short out or give false readings until it fully dries (which can take days).
Use a damp cloth sparingly, not a spray bottle.
Step-by-Step: How to Clean an Oven Temperature Sensor (The Right Way)
This process works for both gas and electric ovens. The tools are basic: a Phillips or flathead screwdriver (depending on your model), a soft-bristle brush (toothbrush or small pastry brush), a microfiber cloth, isopropyl alcohol (90% or higher), distilled white vinegar, and baking soda (optional).
Step one: Remove the sensor. After disconnecting power and ensuring the oven is cool, locate the sensor bracket. It's held in place by one or two screws.
Remove them with your screwdriver. Gently pull the sensor forward. It should slide out about an inch.
Do not yank. The wires are connected inside with a plug.
Step two: Disconnect the wiring. Depending on your model, you'll either pull apart a plastic connector (press a tab if present) or unclip spade terminals. Note which wire goes where.
If the connector is tight, use a small flathead screwdriver to gently pry it apart. Never pull on the wires themselves.
Step three: Inspect the sensor. Look at the tip. Is it caked with black carbon?
Is it sticky with grease? Or does it look clean but the oven is still inaccurate? If there are cracks, chips, or discoloration (especially after a self-cleaning cycle), cleaning won't help.
The sensor needs replacement.
Step four: Clean the probe. Dampen your microfiber cloth with isopropyl alcohol. Wipe the entire metal probe from base to tip.
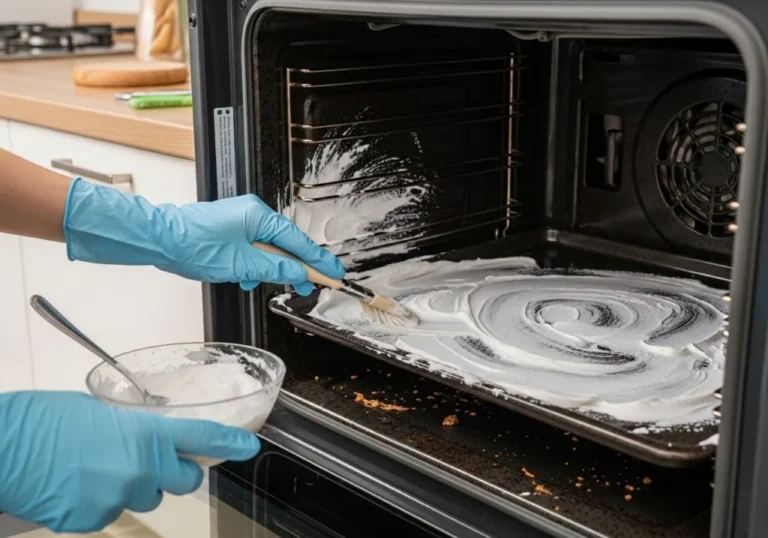
Do not scrub hard. The alcohol dissolves grease without leaving residue. For stuck-on carbon, dip the soft brush in a paste of baking soda and water.
Gently rub the affected area. Rinse with a cloth barely damp with distilled water. Then dry the sensor thoroughly with a clean microfiber cloth.
Image source: Bing (Web (fair-use with source credit))
Step five: Let it dry. The alcohol and any moisture from the rinse must evaporate completely. Place the sensor on a clean towel and let it air dry for at least 30 minutes.
In humid conditions, wait an hour. Do not reinstall a damp sensor. Moisture trapped inside the connector will cause inaccurate readings.
Step six: Reinstall. Reconnect the wiring plug, making sure it clicks into place. Slide the sensor back into its bracket.
Tighten the screws hand-tight only. Overtightening can crack the bracket or strip the threads. Restore power.
Turn the oven on to 350°F and place an oven thermometer on the center rack. After 15 minutes, check the reading. It should be within 10°F of 350°F.
If not, you may need to run the oven's calibration adjustment, or the sensor may need replacement.
Quick reference: tools and materials
| Item | Purpose |
|---|---|
| Screwdriver (Phillips/flathead) | Remove sensor bracket screws |
| Soft-bristle toothbrush | Scrub carbon or grease |
| Microfiber cloth | Wipe and dry sensor |
| Isopropyl alcohol 90%+ | Dissolve grease without residue |
| Distilled white vinegar | Remove mineral deposits (optional) |
| Baking soda | Gentle abrasive for stuck residue |
| Oven thermometer | Verify accuracy after cleaning |