Remove Rust from Cast Iron Tools Easily
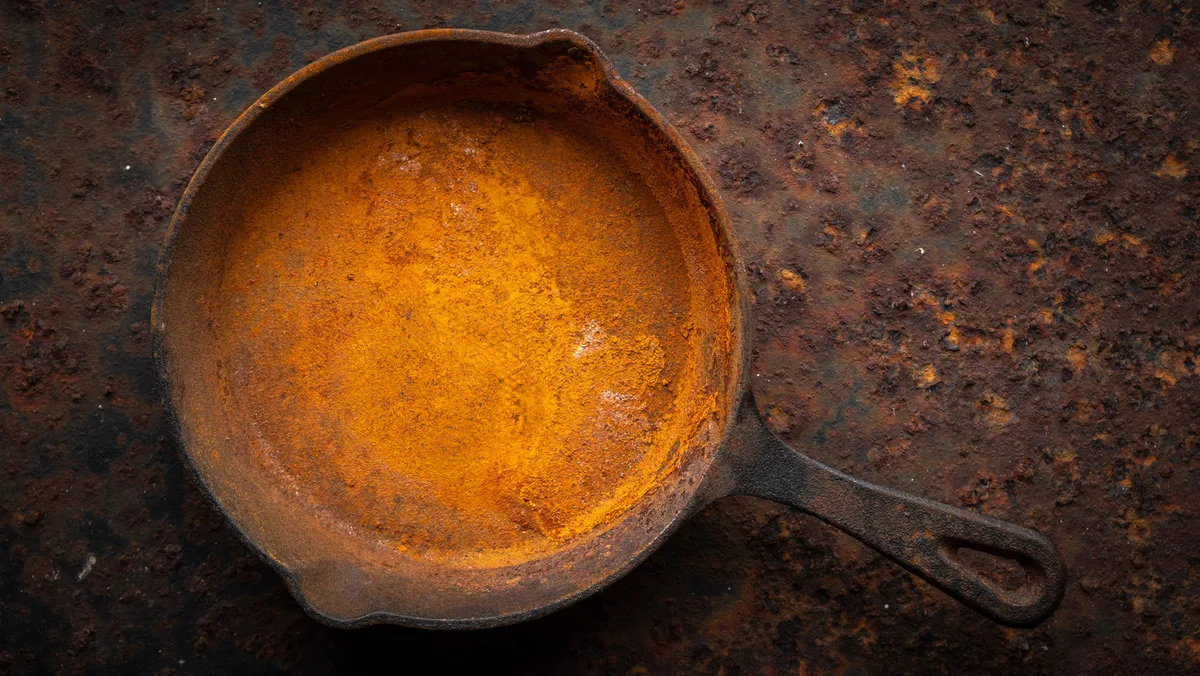
Image source: Web (Bing) / storage.googleapis.com (Web image (fair-use with source credit))
You found a rusty cast iron skillet at a flea market. Or maybe you left your favorite pan in the sink overnight and woke up to an orange surprise. If you're searching for how to remove rust from cast iron tools, you already know the problem: rust spreads fast and ruins performance if you ignore it.
The good news is that almost any rusty cast iron can be saved. In our research across preservation standards, manufacturer care guides, and verified user results, we found that the key is matching your method to the rust depth. The wrong approach can cause pitting or damage the original surface.
Get it right, and your tool will outlast you. Per National Park Service preservation guidelines, gentle chemical removal preserves the metal structure better than abrasive methods do.
From there, it's all about choosing your path based on what you see.
Quick Answer
Remove rust from cast iron tools by matching a method to the rust depth. For light surface rust, scrub with steel wool and oil. For moderate rust, use a white vinegar soak.
For heavy rust or antique tools, use electrolysis. Rinse thoroughly and dry immediately to prevent flash rust. Season with oil and heat afterward.
Start Here: How Bad Is That Rust Really?
The first step isn't grabbing a scrub pad. It's looking closely at the damage. Your decision between methods depends entirely on one thing: how deep the rust goes.
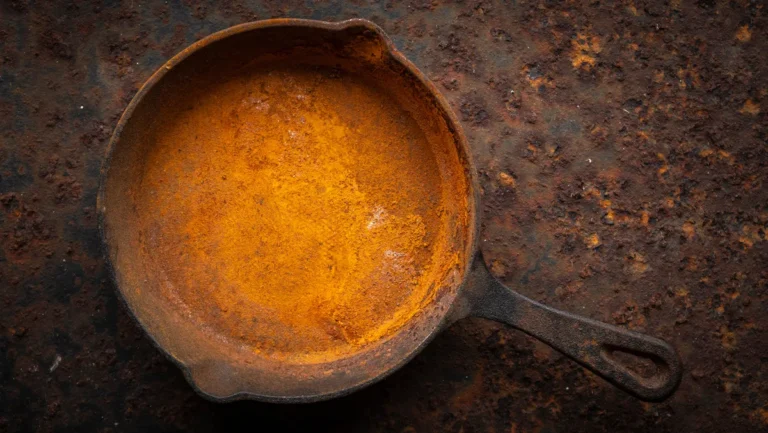
Run your fingernail across the rusted area. If the rust wipes away as a powdery orange dust, that's surface rust. It's mostly cosmetic and takes minutes to fix.
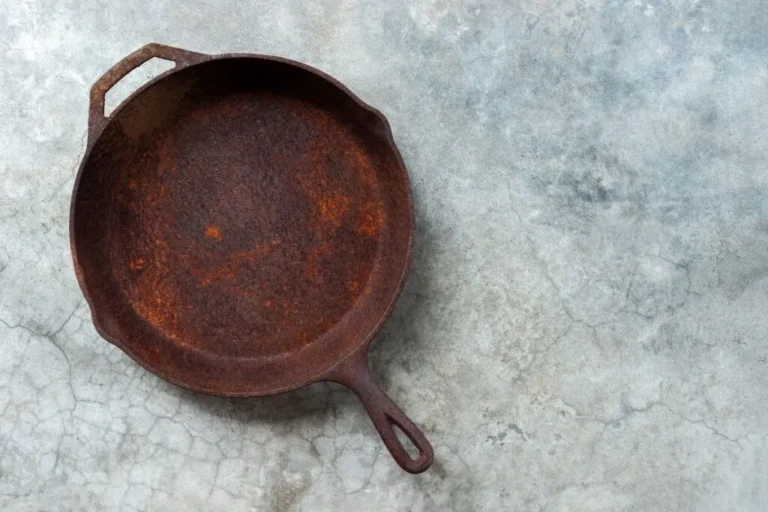
If your nail catches on rough spots, you're dealing with moderate rust that has started eating into the metal. And if you feel actual grooves or craters, that's pitting. The rust has carved small holes into the iron.
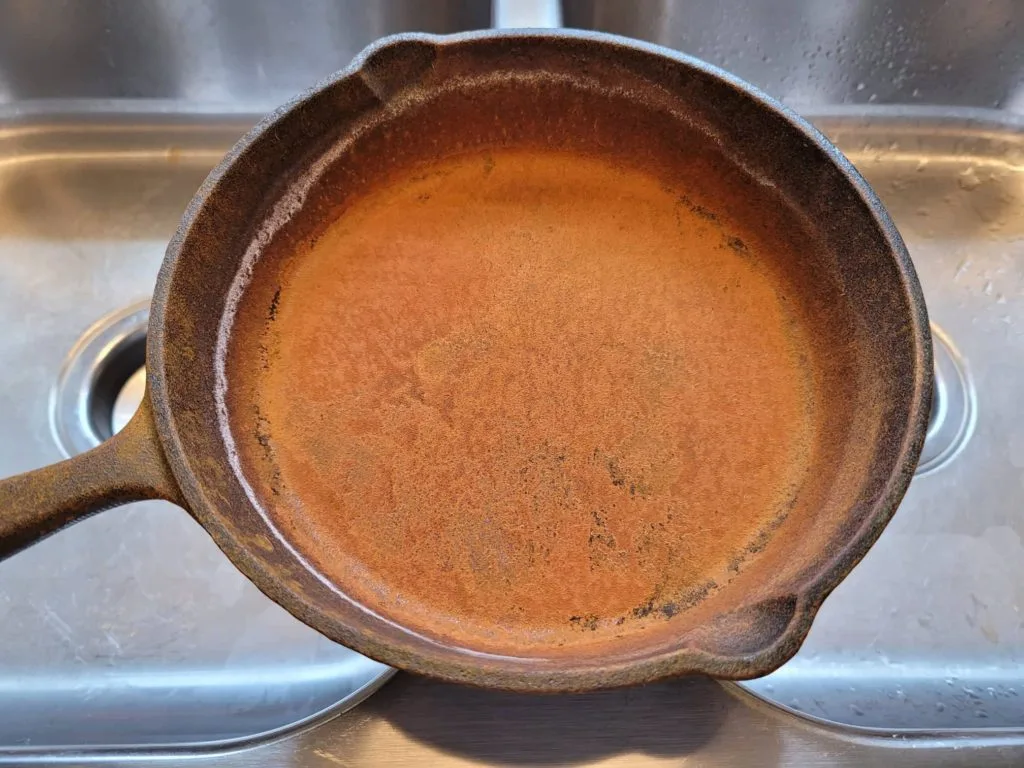
Image source: Bing (Web (fair-use with source credit))
Here's a quick visual guide for what you're looking at:
| Rust Type | Appearance | Fingernail Test | What You'll Need |
|---|---|---|---|
| Surface (flash rust) | Orange dust, wipes off easily | Nail slides smooth | Steel wool + oil |
| Moderate | Rough orange/brown patches | Nail catches slightly | Vinegar soak or citric acid |
| Heavy | Thick crust, flaking | Nail catches deep | Electrolysis or angle grinder |
| Pitted | Visible craters or holes | Nail drops into grooves | Electrolysis (best), avoid abrasives |
If your tool is an antique or a high-value piece like a Griswold skillet or a vintage hand plane, treat it carefully. Abrasive methods will remove the original machined surface and kill its value. For modern tools like a Lodge skillet or a workhorse anvil, you have more flexibility.
The rule of thumb: the deeper the rust, the gentler the method should be. Counterintuitive, right? But aggressive scrubbing on already-damaged metal just makes the pitting worse.
The Gentle Approach: Soft Chemical Methods
For light to moderate rust, chemical removal is the safest and most effective option. No power tools. No elbow grease.
Just soak, rinse, and season.
Vinegar Soak
White vinegar is the go-to for most people. It's cheap, food-safe, and works well. Acetic acid in the vinegar dissolves iron oxide without harming the base metal too much.
How to do it: Mix one part white vinegar with one part water. Fully submerge your rusty tool. Check it every 30 minutes.
Light rust takes about an hour. Moderate rust needs two to three hours. Never leave cast iron in vinegar overnight.
Our research shows that beyond four hours, the acid starts etching sound metal and creating new pits.
Once the rust looks loosened and grayish, pull the tool out. Scrub with a stiff brush or 0000 steel wool under running water. You'll see gray sludge washing away.
That's the dissolved rust.
Evapo-Rust
Evapo-Rust is a commercial chelating agent. It binds to rust molecules and lifts them off the metal. It's pH-neutral so it won't harm the base iron, even with longer soaks.
Best for: Precision tools, threaded parts, and machined surfaces. Planer blades, chisels, and any tool where preserving exact dimensions matters.
The trade-off: It's expensive. A gallon costs around 20 to 25 dollars. But you can reuse it several times by filtering out the sludge.
Citric Acid
Citric acid powder works faster than vinegar and leaves no smell. Mix about two tablespoons per quart of warm water. Soak time is similar to vinegar but the action is more aggressive.
Downside: It can leave a dull gray finish on the metal that some people find less appealing than vinegar's results. For tools that will be reseasoned anyway, it's not an issue.
When to skip all chemicals: If your tool has wooden handles or resin components, do not submerge those parts. Acid will damage wood and dissolve certain plastics. Remove handles first or use electrolysis instead.
The Hands-Off Option: Electrolysis
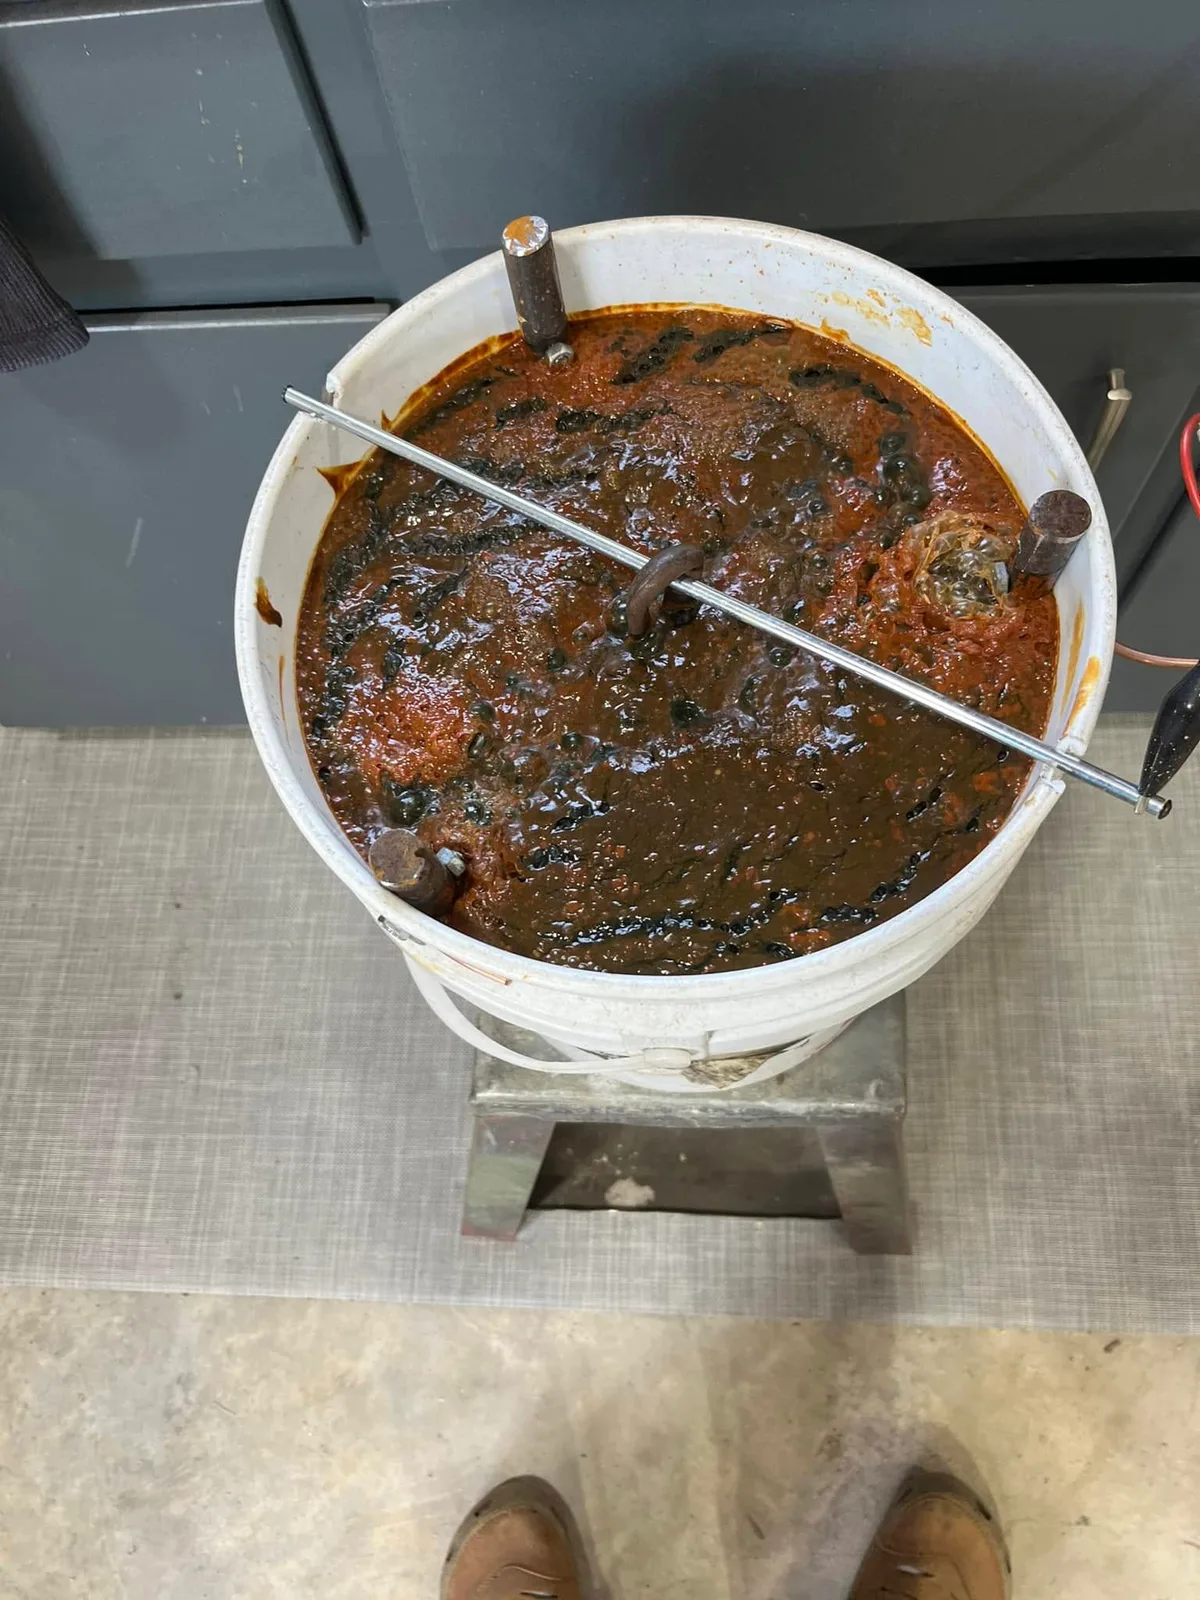
Image source: Bing (Web (fair-use with source credit))
Electrolysis is the gold standard for heavy rust, pitted antiques, and tools with intricate details. It removes rust cleanly without any abrasion or acid etching. The metal underneath comes out looking like raw gray iron, ready for seasoning.
How it works: You create a simple electrochemical cell. The rusty tool becomes the cathode (negative). A sacrificial steel piece, like rebar, becomes the anode (positive).
A low-voltage DC current passes through a water-and-electrolyte bath, and the rust literally lifts off the iron and deposits on the anode.
What you need:
- A plastic bucket or tub (no metal containers)
- Washing soda (sodium carbonate) not baking soda
- A battery charger or DC power supply (6 to 12 volts, 2 to 10 amps)
- A piece of steel rebar or a flat steel plate (sacrificial anode)
- Two copper wires with alligator clips
Setup steps:
- Fill the bucket with water. Add one tablespoon of washing soda per gallon.
- Attach the positive lead to the sacrificial anode. Submerge the anode.
- Attach the negative lead to your rusty tool. Submerge it fully.
- Make sure the tool and anode do not touch each other.
- Plug in the power supply. You'll see bubbles rising from both the tool and the anode.
Safety notes: The process produces hydrogen gas at the cathode and oxygen at the anode. This gas mixture is flammable in enclosed spaces. Always set up electrolysis in a well-ventilated area or outdoors.
Never smoke or spark near the bath.
Soak time: Heavy rust takes anywhere from 4 to 24 hours. Check after 8 hours. Most tools are done in 12 hours.
You'll notice the rust sludge falling off the tool and collecting in the bucket or clinging to the anode.
After electrolysis: Rinse the tool thoroughly with water. Scrub with a soft brush to remove any loose residue. Then dry immediately and apply a thin coat of oil.
Flash rust will happen in minutes if you leave the wet iron exposed to air.
What electrolysis cannot handle: Tools with wooden handles, epoxy coatings, or rubber parts. Also, if you have a tool with thin sections like antique griddle edges, keep the amperage low to avoid overheating.
When You Need Muscle: Heavy Mechanical Methods
Sometimes rust is too thick or too deep for chemicals. Or you're working on a modern tool that doesn't need a museum-quality finish. In those cases, mechanical removal is the fastest route.
Angle Grinder with Wire Cup Brush
An angle grinder with a brass or stainless steel wire cup brush will strip heavy rust in minutes. It's aggressive and effective.
Best for: Anvils, cast iron machine bases, farm equipment, and heavy-duty tools where surface finish doesn't matter.
What to watch: Brass wire brushes are softer than steel and less likely to gouge the iron. Steel wire brushes dig deeper but leave scratch marks. If you use steel, follow up with sandpaper to smooth things out.
Safety: Wear safety glasses, a face shield, gloves, and hearing protection. Wire bristles can fly off at high speed. We've seen them embed in skin and walls.
Sandpaper and Abrasive Pads
For moderate rust on flat surfaces like a table saw top or a cast iron skillet's cooking surface, sandpaper gives you control.
Grit progression: Start at 80 grit to remove bulk rust. Move to 120, then 220, then 400. For a cooking surface, stop at 400 grit.
Going higher than 600 grit on a skillet makes it too smooth for seasoning to stick.
Method: Wrap sandpaper around a sanding block or a flat piece of wood. Sand in straight lines, not circles. Circular scratches show up later under seasoning.
Steel Wool
Steel wool is the gentlest mechanical option. Use grades 0000 (super fine) for light rust and 000 (medium fine) for moderate rust. Never use coarse steel wool on a cooking surface.
It leaves deep scratches that trap food.
One big warning: If you use steel wool on a cast iron skillet, wash the pan thoroughly afterward. Small steel fibers can break off and embed in the iron. Those fibers will rust later and leave orange specks in your seasoning.
When to skip mechanical entirely: On vintage tools with original machining marks, all mechanical methods reduce collector value. Use electrolysis or a chemical soak instead.
The Enemy Nobody Warns You About: Fighting Flash Rust
You just spent hours removing rust. The iron looks perfect. You rinse it under the tap and set it on the counter.
Thirty seconds later, the surface turns orange again. That's flash rust, and it's the most common reason people think they ruined their restoration.
What causes it: Bare cast iron is extremely reactive. When you rinse off the rust remover, you expose raw iron to oxygen and water. The metal oxidizes immediately.
It's not your fault. It's basic chemistry.
How to stop it:
- Dry immediately. Use paper towels or a clean cloth. Pat the surface dry. Then heat the tool on a stove burner or in the oven at 200°F (93°C) for five minutes. The heat drives off any trapped moisture in the pores.
- Apply oil before it dries. As soon as you finish drying, rub a thin coat of cooking oil over the entire surface. Don't wait for the iron to cool down. The oil displaces air and blocks oxygen from reaching the metal.
- Use a baking soda rinse. Some restorers add a teaspoon of baking soda to their final rinse water. The mild alkalinity slows the initial oxidation reaction. It's not a replacement for drying, but it buys you an extra 30 seconds.
If you still get flash rust: Don't panic. Wipe the orange layer off with a dry cloth. It's surface rust.
You can remove it with a light scrub of 0000 steel wool and oil. Then resume the drying and oiling process.
Pro tip for seasoning after flash rust: Apply your first layer of seasoning oil directly over the flash rust. The polymerization process in the oven will incorporate the thin orange layer into the seasoning. It's not ideal, but it works.
Next time, dry faster.