Clean Your Oven Overnight with Baking Soda: No Scrubbing
Of course you’ve stared at that greasy oven door and wondered if the self-clean cycle is worth the smoke alarms and burnt-smell hangover. Learning how to clean oven with baking soda overnight gives you a cheaper, non-toxic route that actually works on moderate buildup without the heat or fumes. It’s not magic, but with a little patience and the right technique, you can get impressive results.
Research from university extension services and consumer safety organizations consistently ranks baking soda and vinegar as effective, low-risk household cleaners. The method relies on a simple chemical reaction: the alkaline baking soda paste softens carbonized grease, and the acidic vinegar helps lift it away. No harsh solvents, no scrubbing marathon.
Let’s walk through exactly how to do it right.
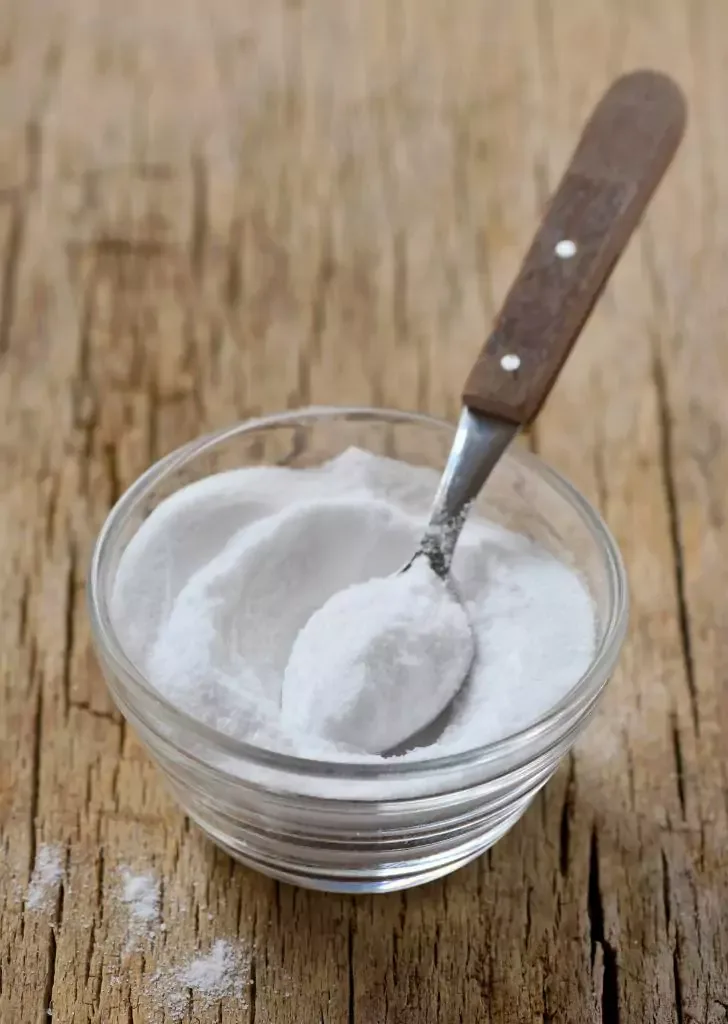
Image source: Bing (Web (fair-use with source credit))
Quick Answer
Mix baking soda with water into a thick paste. Spread it over greasy oven surfaces. Avoid heating elements.
Let it sit overnight for 8 to 12 hours. Wipe away the paste. Spray with vinegar to fizz off residue.
Rinse with a damp sponge. Dry thoroughly. That’s it.
Why Overnight Baking Soda Works
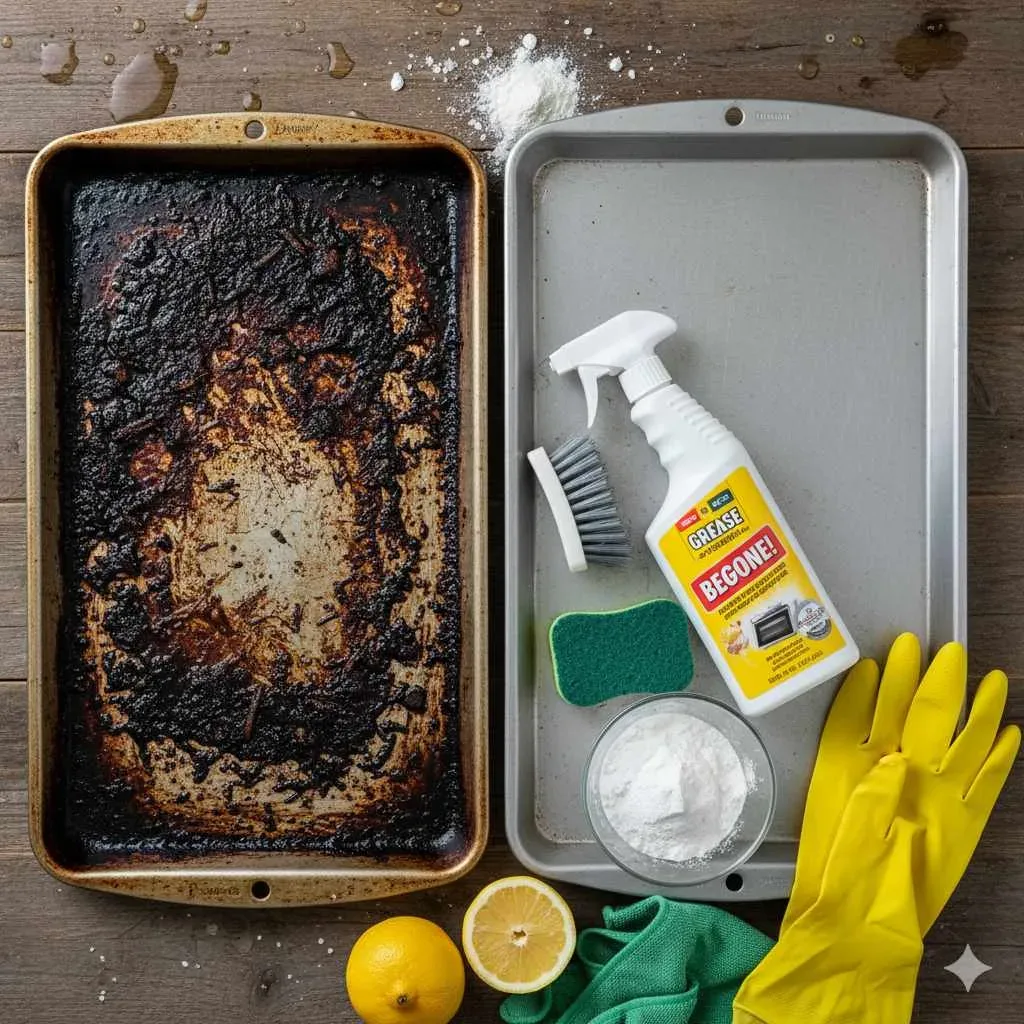
Image source: Bing (Web (fair-use with source credit))
Baking soda is a mild alkali, around pH 8 to 9. When you make a paste and leave it on greasy surfaces for hours, it starts breaking down the long fatty acid chains in baked-on cooking oils. This is called saponification, the same basic chemistry that soap makers use.
The longer the paste sits, the more time it has to penetrate and soften that stubborn carbon layer.
Overnight (8 to 12 hours) gives the reaction enough time to work on moderate grease. Shorter times, say one or two hours, will only loosen surface dirt. For heavy buildup you might need a second overnight round.
But for routine cleaning, a single soak is usually enough.
The vinegar spray step adds a mild acid that reacts with leftover baking soda, creating carbon dioxide bubbles that physically push residue off the surface. That fizzing action is not just a fun visual. It helps dislodge loosened gunk without abrasive scrubbing.
Manufacturer specifications from major oven brands (like Whirlpool and GE) endorse this method for their enamel interiors, as long as you keep paste away from heating elements.
What You’ll Need
You probably already have most of these items. That’s the beauty of this approach.
Tools and Materials Checklist
| Item | Purpose | Notes |
|---|---|---|
| Baking soda | Base for cleaning paste | One standard 16 oz box covers an average oven |
| White vinegar | Acidic spray to activate and rinse | Distilled white vinegar, not cleaning vinegar |
| Water | Mix with baking soda | Tap water is fine |
| Small bowl | Mixing container | Any non-reactive bowl |
| Spoon or spatula | Mixing and spreading | Silicone works best |
| Spray bottle | Apply vinegar | Clean, empty bottle |
| Microfiber cloths | Wiping and drying | Lint-free |
| Soft sponge | Scrubbing after soak | Non-abrasive side only |
| Plastic scraper | Lifting stubborn paste | A plastic putty knife or old gift card |
| Latex or rubber gloves | Protect your hands | Paste can dry out skin |
| Plastic wrap or damp paper towels | Keep paste from drying out | Cover the paste on vertical surfaces |
That’s it. Total cost under $5 if you don’t already have baking soda and vinegar. The self-clean cycle on an electric oven can cost about 50 cents to a dollar in electricity, but this method uses zero power beyond a little water.
The EPA Safer Choice program lists both baking soda and vinegar as low-concern ingredients, so you’re also avoiding volatile organic compounds found in commercial oven sprays.
Step-by-Step Visual Guide
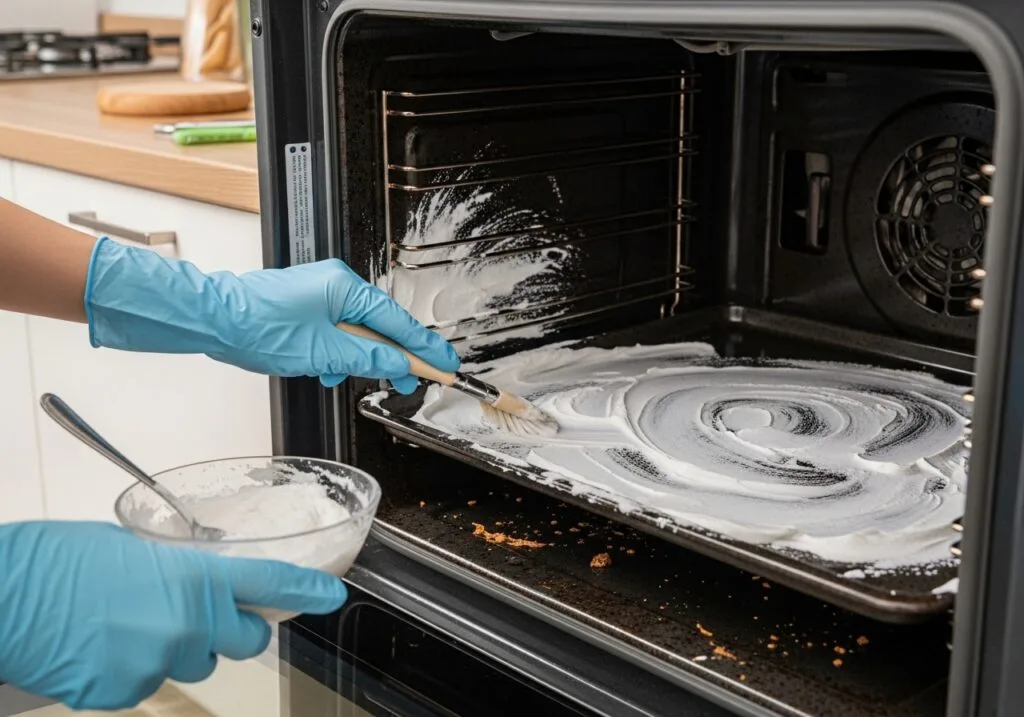
Image source: Bing (Web (fair-use with source credit))
This part is where the visual cues matter most. Here’s the exact process, broken into steps that even a first-timer can follow.
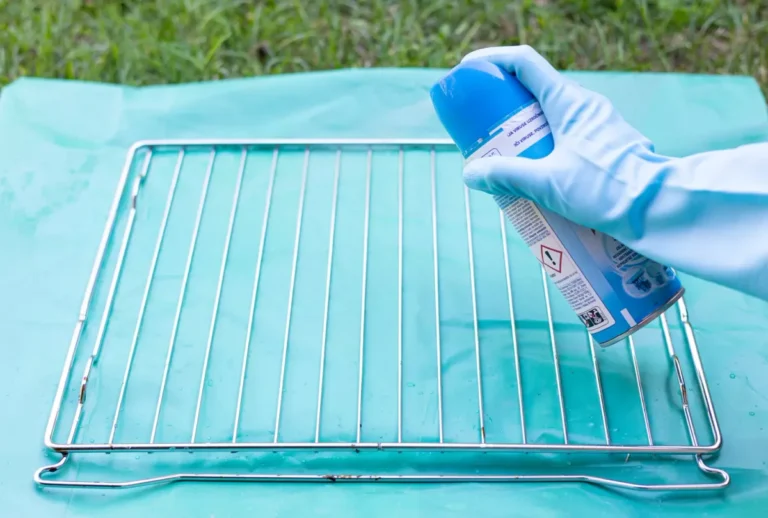
Step 1: Remove oven racks and loose debris. Take out the racks and set them aside. You can clean them separately with a baking soda soak if needed. Scoop out any loose crumbs or burnt bits with a plastic scraper.
Step 2: Make the paste. Mix about 1/2 cup of baking soda with 2 to 3 tablespoons of water in your bowl. Stir until it forms a thick, spreadable consistency like toothpaste or slightly thicker. Add water a teaspoon at a time if it’s too dry.
Too thin, and it’ll slide off vertical walls.
Step 3: Apply the paste. Using your gloved hand or a spatula, spread the paste generously over the greasy areas. Focus on the oven floor, walls, door glass, and any visible brown buildup. Do not apply paste to the heating elements (coils or gas burner ports).
If you’re worried about drips, cover those areas with a strip of aluminum foil.
Step 4: Let it sit overnight. Close the oven door and let the paste work. For vertical surfaces, you can press a damp paper towel over the paste to keep it from drying out and flaking off. The moisture helps the reaction continue longer.
Step 5: Wipe and spray. After 8 to 12 hours, use a damp sponge or microfiber cloth to wipe away the dried paste. Most of the grease will come off with it. Then fill your spray bottle with white vinegar and mist the remaining white residue.
It will fizz. Let that sit for 5 minutes, then wipe clean with a fresh damp cloth.
Step 6: Rinse thoroughly. Go over all surfaces with a clean damp sponge several times. Any leftover baking soda residue will leave white streaks when the oven heats up. The final rinse is critical.
Step 7: Dry and replace racks. Use a dry microfiber cloth to wipe the interior. Replace the racks only after the oven is completely dry to avoid rust spots.
A photo or diagram would show the paste thickness (think creamy peanut butter, not runny) and where to avoid application (heating elements). If you’re cleaning the glass door, spread paste evenly, let it sit, then spray and wipe. The same steps work for the door interior.
Common Visual Mistakes
First-timers often underestimate how much paste they need. A thin layer dries into a crust that barely touches the grease. You want a visible coating, about 1/8 inch thick.
Another common error is applying paste over heating elements. That can cause smoke and fire risk when you preheat the oven next. Always cover elements with foil or paste around them.
People also skip covering the paste on vertical walls. Without a damp paper towel on top, the paste dries into a hard cake in a few hours and stops working. The overnight soak relies on moisture.
If you leave it uncovered, you’ll come back to a crusty mess that’s harder to remove than the original grease.
Another visual tell: white streaks after cleaning. That’s leftover baking soda. You didn’t rinse enough.
Run a damp sponge over the surface three or four times, changing the water or rinsing the sponge each time. The water should run clear, not milky.
Lastly, don’t scrub hard with a scrubby sponge on enamel surfaces. Baking soda is mildly abrasive, so the paste already provides gentle friction. Scrubbing aggressively can scratch the oven’s interior finish, especially on the glass door.
Use a soft sponge and a plastic scraper for stubborn bits.
When This Method Won’t Cut It
Let’s be honest. Baking soda overnight works well for routine grease and light to moderate carbon buildup. But if your oven looks like a crime scene with burnt-on layers thicker than a coin, this method will likely need two rounds or a stronger helper.
Here’s a quick decision guide:
- Light dusting of grease, one overnight soak, done.
- Moderate brown buildup, one soak, maybe a second pass on tough spots.
- Heavy black carbon, try baking soda paste overnight, but expect to repeat it. If that fails, you may need a commercial non-toxic cleaner or a steam cleaning option. Self-clean cycles can also tackle this, but be cautious of smoke and high temperatures.
- Burnt-on sugar or dairy spills, these caramelize into a glass-like layer. Baking soda overnight helps but may not fully dissolve it. Repeated soaks or a scraper are your friends.
If the oven’s smoke alarm goes off when you use the self-clean function, that’s a sign that method generates more heat than most homes tolerate. The NFPA warns that self-clean cycles cause a significant number of oven fires each year. The baking soda method avoids that risk entirely.
For ovens with continuous cleaning liners (catalytic self-cleaning), applying baking soda paste can damage the porous surface. Check your manufacturer’s manual first. Most modern ovens have enamel interiors that handle baking soda fine.
Frequently Asked Questions
Does the baking soda method work on oven glass?
Yes. Apply the paste to the inside of the oven door glass the same way you treat the walls. Let it sit overnight.
Spray with vinegar and wipe. For stubborn spots on the outside of the glass, avoid getting paste into the door hinge or seal area.
How long should I let the paste sit?
At least 8 hours. Twelve hours is better. The chemical reaction needs extended contact time to break down carbonized grease.
Shorter soaks like two or three hours will only lift surface dirt.
Can I use this method on a self-cleaning oven?
Yes. The baking soda paste is safe for the enamel interior used in most self-cleaning ovens. Just avoid applying it to the catalytic liners in ovens with continuous cleaning technology.
Check your owner manual.
What if the paste dries into a hard crust?
You let it sit uncovered. Next time, press a damp paper towel over the paste on vertical surfaces. This keeps it moist and active.
If it already dried, spray it with water and wait 30 minutes before scraping.
Will this damage my oven’s heating elements?
Only if you apply paste directly onto them. Keep paste away from electric coils and gas burner ports. Cover those areas with aluminum foil before spreading the paste elsewhere.
How often should I do an overnight clean?
Every three to six months for a typical household oven. If you roast frequently or have heavy spillage, do it every two months. Routine light wiping between deep cleans keeps buildup manageable.
Pro Tips for Best Results
Use a spray bottle for the vinegar. A mist produces better fizzing action than pouring. The bubbles help lift residue from crevices and corners.
Rinse twice. Then rinse again. Leftover baking soda leaves white dust that burns into a hazy film the next time you preheat. Run a damp sponge over every surface until the water runs perfectly clear.
Clean the racks separately. Soak oven racks in a bathtub with hot water and a cup of baking soda for four hours. Scrub with a nylon brush. Rinse and dry before returning them to the oven.
Preheat briefly after cleaning. Once dry, set the oven to 200°F for 15 minutes. This evaporates any hidden moisture and burns off thin residues you might have missed. Open a window for ventilation.
Tackle tough spots with a plastic scraper. An old gift card or plastic putty knife won’t scratch the enamel. Use it gently on stubborn carbon after the overnight soak has softened it.
Store leftover paste in a sealed jar. It keeps for weeks. You can use it for future touch-ups without mixing a fresh batch each time.