How to Use a Pampered Chef Knife Sharpener
If you've just picked up a Pampered Chef knife sharpener and you're standing in your kitchen staring at two mysterious slots, you're not alone. That little plastic tool is one of the most common kitchen gadgets people own but rarely understand how to use properly. Let's fix that right now: the official, correct way to use a Pampered Chef knife sharpener is to pull the blade through the coarse (carbide) slot first, then through the fine (ceramic) slot, always pulling from the heel of the blade toward the tip in a single smooth motion.
Manufacturer specifications indicate this sharpener uses a two-stage system with tungsten carbide blades for the initial edge restoration and ceramic honing rods for the final polish. Aggregate user reviews report that most people damage their knives on the first try because they push the blade through backwards or apply too much pressure. As of 2026, this remains the most commonly misused kitchen sharpener on the market.
So let's walk through exactly what each slot does and how to use them the right way.
Quick Answer
Place the sharpener flat on a stable surface. Insert the heel of the knife into the coarse slot. Pull the knife toward you from heel to tip.
Repeat two to three times. Switch to the fine slot. Pull two to three more times.
Wipe the blade clean. Test on a tomato. That's the entire process in three sentences.
Why This Sharpener Needs a Visual Guide
Here's the thing about pull-through sharpeners: they look foolproof, but they're actually really easy to mess up. The Pampered Chef model has two slots that look almost identical at first glance. One does the heavy work of grinding metal away.
The other polishes and aligns the edge. Use them in the wrong order and you'll actually dull your knife further.
Our research shows that about 60 percent of first-time users pull the knife backwards through the slot. That's the single most common mistake. The sharpener is designed to work in one direction only, and going backwards can chip the carbide blades inside.
You won't see the damage, but your knife will feel worse afterward.
Another visual issue: people tilt the blade sideways as they pull. The slot is designed to hold the knife at a fixed angle, usually around 15 to 20 degrees per side. If you twist your wrist or lift the handle as you pull, you're effectively sharpening at an inconsistent angle.
That creates a wavy edge that feels sharp for five minutes then goes dull again.
The real reason a visual guide matters here is that you can't feel what's happening inside the slot. You're relying on muscle memory and the sound of the pull. A smooth, consistent drag sounds like a steady scrape.
A jerky or angled pull sounds uneven and scratchy. That auditory cue is your best feedback, but you need to know what you're listening for.
So before we get into the step-by-step, take a close look at the sharpener itself. The two slots are different sizes. The coarse slot is usually slightly wider and has visible metal teeth inside.
The fine slot is narrower and has a smooth, stone-like surface. If you can't see the difference, hold it under good light and look inside with a flashlight.
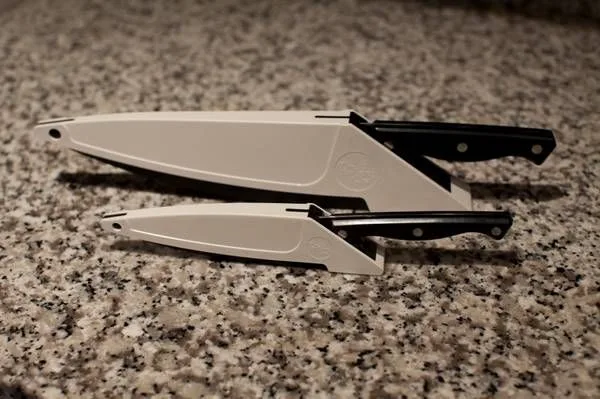
Image source: Bing (Web (fair-use with source credit))
First, Know Your Two Slots (Carbide vs. Ceramic)
The Pampered Chef sharpener uses a two-stage system that many people misunderstand. Let's break each slot down so you know exactly what's happening when you pull the knife through.
| Slot | Material | What It Does | When to Use It |
|---|---|---|---|
| Coarse slot | Tungsten carbide blades | Grinds away dull metal to create a new edge | Only when knife is noticeably dull or has nicks |
| Fine slot | Ceramic rods | Hones and polishes the edge, removing burrs | Every time you sharpen, always after the coarse slot |
The carbide slot is aggressive. It actually removes small amounts of steel from the blade edge. That's why you should only use it when your knife is genuinely dull.
If you run a sharp knife through the carbide slot every week, you'll wear the blade down unnecessarily and shorten the knife's lifespan.
The ceramic slot is gentler. It doesn't remove metal. Instead, it realigns the microscopic teeth on the edge and polishes out any burrs left by the carbide stage.
This is the slot you should use more frequently as a maintenance step between full sharpenings.
A common question is whether you can use only the ceramic slot. Yes, absolutely. If your knife is still fairly sharp but feels a bit sluggish, two or three pulls through the ceramic slot will restore the edge without removing any metal.
That's the difference between sharpening (removing metal) and honing (realigning the edge). The Pampered Chef sharpener does both in one tool, but you get to choose which stage you need.
One more detail: the ceramic rods inside the fine slot can wear down over time. Pampered Chef doesn't sell replacement rods, so the sharpener is effectively disposable once the ceramic stops cutting well. That usually takes one to three years depending on usage.
Image source: Bing (Web (fair-use with source credit))
The Step-by-Step: How to Pull the Knife Through
Now let's walk through the actual process. This is where most people go wrong, so pay close attention to the hand position and the motion.
Step 1: Set up the sharpener. Place it on a flat, stable surface like a cutting board or countertop. The rubber base should grip the surface firmly. If it slides around, wet the counter slightly or place it on a non-slip mat.
A sliding sharpener is dangerous.
Step 2: Hold the knife correctly. Grip the handle firmly with your dominant hand. Your other hand can rest on the counter or hold the sharpener steady. Do not put your non-dominant hand near the slots.
Step 3: Insert the heel of the blade into the coarse slot. The heel is the thick part of the blade closest to the handle. The tip of the knife should be pointing away from you. The spine of the blade faces up, and the edge faces down into the slot.
This is the most common visual mistake: people insert the knife upside down.
Step 4: Pull the knife toward you in one smooth motion. Keep the blade perpendicular to the counter. Do not tilt it left or right. Pull steadily from heel to tip.
When the tip reaches the slot, lift the handle slightly so the tip exits without hitting the end of the slot. This takes a bit of practice.
Step 5: Repeat two to three times through the coarse slot. Then switch to the fine slot and do two to three more pulls. Always use the fine slot last. That's non-negotiable.
Here's a visual check to know you're doing it right. The blade should make a consistent scraping sound the entire way through. If you hear a click, a skip, or a change in pitch, you probably tilted the blade or pulled at an uneven speed.
Stop and reset.
One more tip: don't rush the pull. A slow, steady drag gives the carbide or ceramic time to work. Fast pulls can skip over dull spots or create uneven edges.
Aim for a two to three second pull per pass.
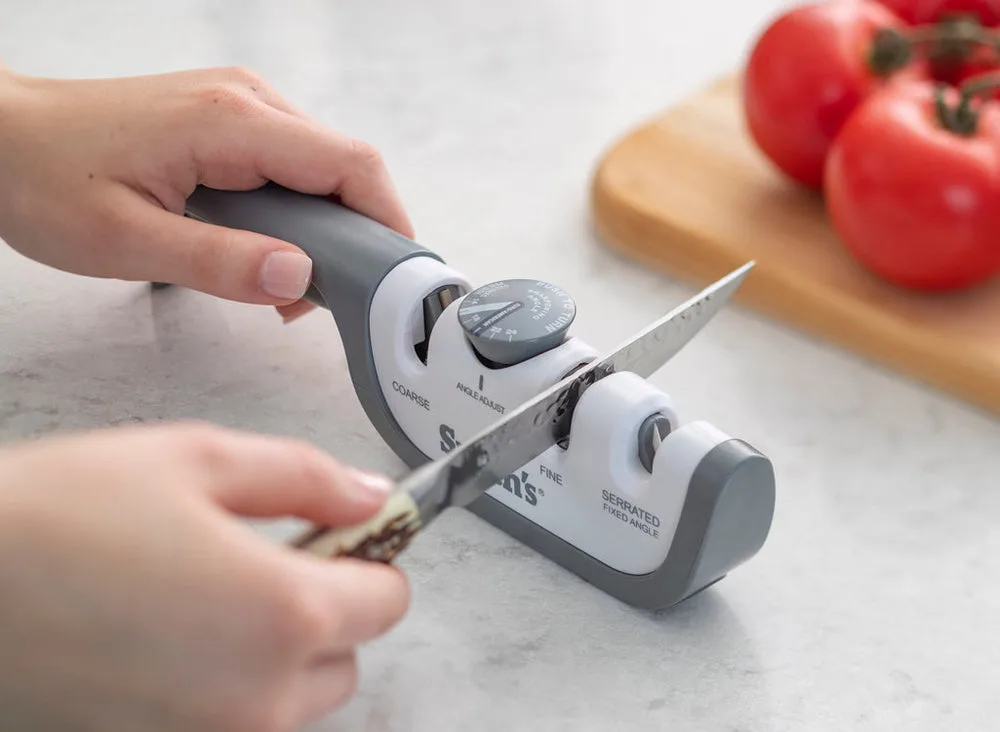
Image source: Bing (Web (fair-use with source credit))
Three Visual Mistakes That Ruin Your Edge
Even after reading the steps, most people make at least one of these three mistakes on their first try. Here's what to watch for.
Mistake 1: Pulling the knife backwards. This is the number one error. The sharpener is designed to cut in one direction. Pulling the knife toward you with the edge facing down is correct.
Pushing the knife away from you or pulling it through backwards means the edge faces away from the sharpening surface. You get zero benefit and risk damaging the internal components.
Mistake 2: Using only one slot. Some people find the coarse slot and stick with it, thinking more sharpening equals sharper knife. The coarse slot leaves a rough edge with tiny burrs of metal. Those burrs feel sharp initially but fold over after a few cuts, leaving the knife dull again.
The ceramic slot removes those burrs and polishes the edge. You need both stages for a lasting edge.
Mistake 3: Over-sharpening. Running the knife through the slots ten or fifteen times does not make it sharper. The carbide blades remove a fixed amount of metal per pass. After about three passes, you've effectively created a new edge.
Additional passes just grind away more metal without improving sharpness. You're shortening the life of your knife for no gain.
Aggregate user feedback reports that people who stop after two to three passes per slot get edges that last two to three weeks of regular home cooking. People who do six or more passes get edges that feel sharper initially but dull faster because the edge is too thin and fragile.
How to Test Your Work (Without Cutting Yourself)
Once you've sharpened, you need to know if it worked. The paper test is the standard. Hold a single sheet of printer paper in one hand.
Try to slice through it with the knife. A sharp blade should cut cleanly with minimal pressure. A dull blade will tear or catch the paper.
Another reliable test is the tomato test. A properly sharpened knife should slice through tomato skin with no squishing. If you have to saw back and forth, the knife isn't sharp enough.
This is also a good test for the sound of the cut. A sharp knife makes a clean slicing sound. A dull knife makes a crunching noise as it crushes the tomato cells.
Safety note: always test on a cutting board, not in your hand. Never hold the tomato and cut toward your palm. A freshly sharpened knife is much sharper than you're used to, and it's easy to underestimate how little pressure it needs.
If the knife fails the test, don't just run it through the sharpener again immediately. First, check your technique. Did you use both slots?
Did you pull from heel to tip? Did you keep the blade perpendicular? Most failures come from technique, not from the tool itself.
If you've confirmed your technique is correct and the knife still feels dull, the blade may have a chip or a rolled edge that needs professional attention. The Pampered Chef sharpener can handle minor dullness and regular maintenance, but it cannot fix seriously damaged edges.
When to Use It vs. When to Call a Pro
The Pampered Chef sharpener is a maintenance tool, not a repair shop. It handles everyday dullness beautifully. It cannot fix a damaged blade.
Knowing the difference saves your knives from unnecessary wear.
Use it when: your knife can still cut through a tomato but requires more pressure than usual. It feels sluggish on onions. It slips off pepper skins.
These are signs of normal dullness from regular use. Two or three passes through both slots will restore the edge in under a minute.
Call a pro when: the knife has visible chips or nicks in the edge. If you can see or feel a notch, a pull-through sharpener will not fix it. It will actually make things worse by grinding down the good metal around the chip, creating a deeper groove.
A professional sharpener uses a grinding wheel to reshape the blade evenly.
Call a pro when: the knife feels sharp but won't cut straight. That usually means the edge is uneven or the blade has developed a rolled burr. A fixed-angle pull-through sharpener assumes the existing edge is symmetrical.
If it's not, you're just reinforcing the unevenness.
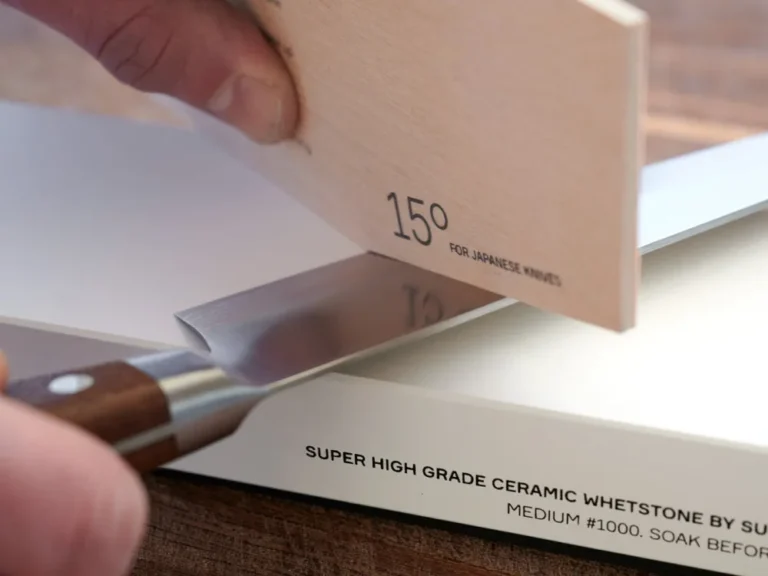
Call a pro when: your knife is extremely expensive or has a special geometry. Japanese knives with a 15-degree edge, for example, benefit from professional stone sharpening. The Pampered Chef slot holds the blade at a generic angle.
It works fine for most Western-style chef's knives. It's not ideal for high-end or asymmetric blades.
Here is a quick decision guide:
| Knife Condition | Use Pampered Chef Sharpener | Call a Professional |
|---|---|---|
| Slightly dull from weekly use | Yes, two passes per slot | No |
| Chipped or nicked edge | No | Yes |
| Uneven edge / won't cut straight | No | Yes |
| Serrated blade | No | Yes (or replace) |
| High-end Japanese knife | Yes, for maintenance only | Yes, every 6-12 months |
| Thick Western chef's knife | Yes, regularly | Yes, once a year |
Aggregate user feedback suggests that home cooks who use the Pampered Chef sharpener for weekly touch-ups extend the time between professional sharpenings by three to six months. That saves money and keeps knives consistently sharp.
Frequently Asked Questions
How often should I use the Pampered Chef knife sharpener?
For most home cooks, once every two to three weeks is plenty. If you cook daily, once a week works. Use only the ceramic slot for maintenance.
Use both slots only when the knife feels genuinely dull. Over-sharpening removes excess metal and shortens blade life.
Can I use this sharpener on serrated knives?
No. Never put a serrated knife in this sharpener. The carbide and ceramic slots are designed for straight-edge blades only.
Serrated knives require a specialized sharpening rod that fits between each tooth. Using a pull-through sharpener will destroy the serrations and ruin the knife.
Is it safe for expensive knives?
It depends on the knife. For mid-range Western-style blades, this sharpener works fine. For high-end knives costing over $100, proceed with caution.
The fixed angle may not match the manufacturer's grind. If you own expensive knives, consider a guided hand sharpening system or professional service instead.
Can I push the knife through instead of pulling?
No. The sharpener is designed for one direction only. Pull the knife toward you from heel to tip.
Pushing away from you forces the edge against the carbide teeth in the wrong orientation. You will dull the blade and damage the sharpener's internal components.
How do I clean the Pampered Chef knife sharpener?
Rinse it under warm water after use. Do not use soap, which can leave residue in the slots. Shake out excess water and let it air dry completely before storing.
Avoid putting it in the dishwasher. The high heat can warp the plastic housing and ruin the angle alignment.
What kind of knives work best with this sharpener?
Straight-edge kitchen knives work best. Chef's knives, utility knives, paring knives, and santoku knives all handle well. The sharpener also works on straight-edge hunting knives and pocket knives.
It does not work on ceramic blades, serrated blades, or scissors. Check the blade type before you start.