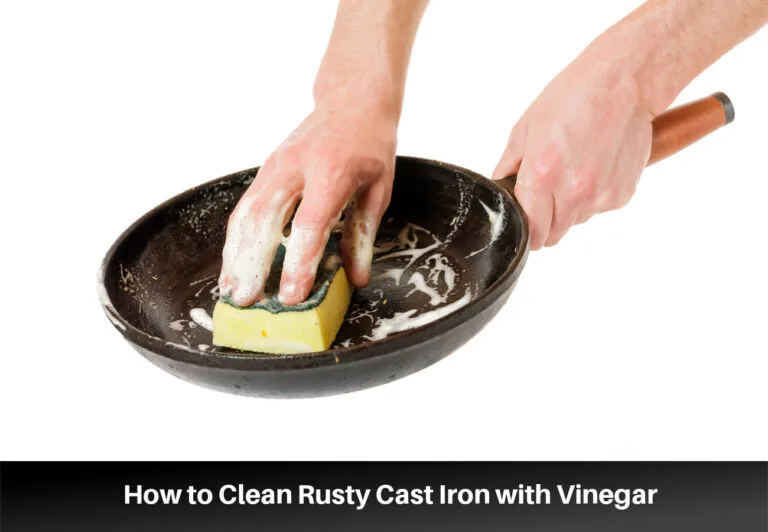
How to Restore a Cast Iron Pan in 5 Easy Steps
Before you touch a single scrub pad, you need to figure out what you're actually dealing with. That's because how to restore a cast iron pan depends entirely on what's wrong with it. A rusty thrift store skillet needs a different approach than a pan with flaking seasoning or burnt-on gunk.
Trying the wrong method wastes time and can permanently damage the iron.
Manufacturer specifications from Lodge indicate seasoning should be baked at 450 to 500 degrees Fahrenheit for proper polymerization. That single temperature rule gets ignored more than any other tip, and it's why so many home restorations end up with sticky, patchy pans. The right workflow starts with a proper diagnosis.
That is why we start with a thorough visual inspection.
Quick Answer
Start by diagnosing the damage on your pan. Light rust needs a scrub and one seasoning coat. Burnt-on gunk requires a chainmail scrub and rinse.
Flaking seasoning means a full strip with lye or vinegar. The goal is always smooth, black, polymerized oil.
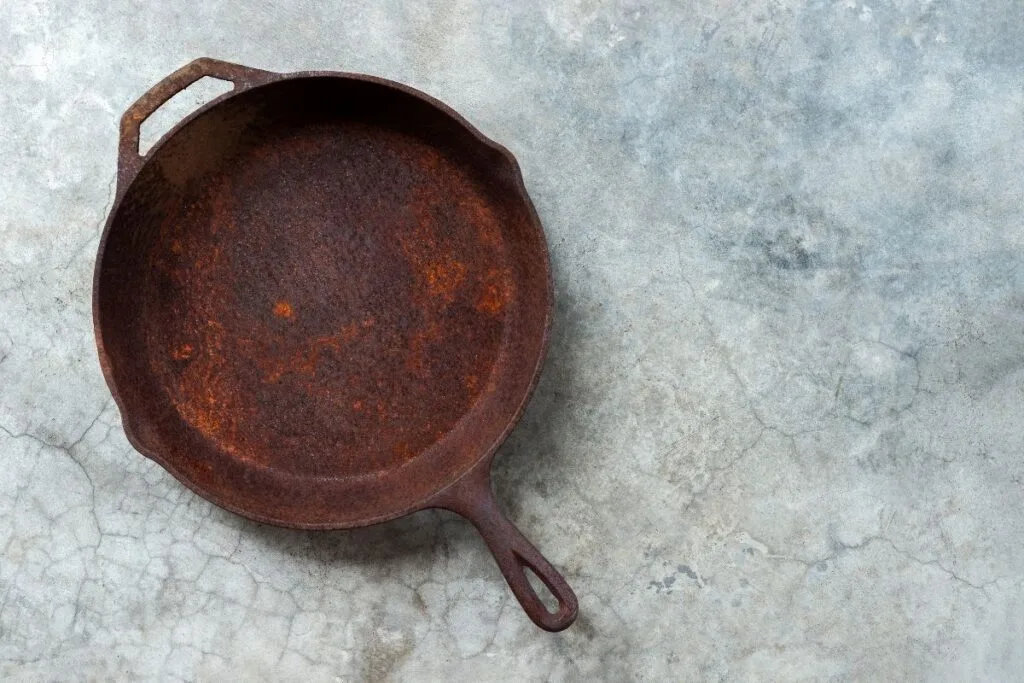
Image source: Bing (Web (fair-use with source credit))
First, Look at the Burn: Diagnose Your Pan Before You Touch It
Most restoration failures happen because people skip the assessment step. You grab steel wool and start scrubbing, only to realize you've made the problem worse. Here is the four-condition check you need to run on any pan before you do anything else.
| Condition | What It Looks Like | What It Feels Like |
|---|---|---|
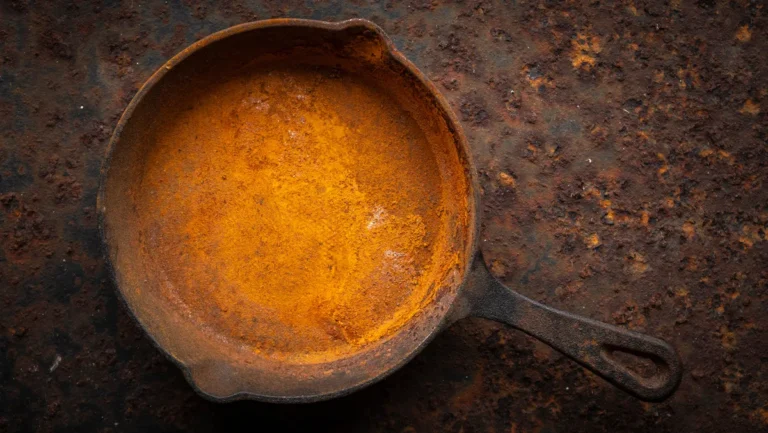
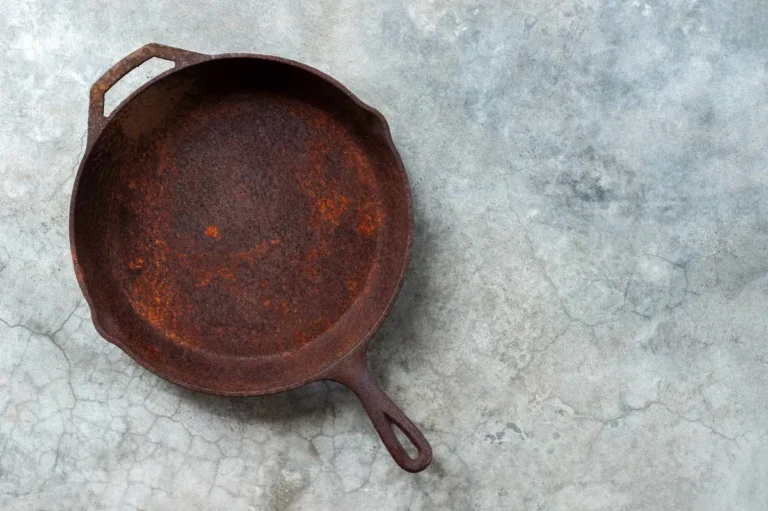
| Surface rust | Orange or reddish-brown patches | Rough, powdery texture |
| Burnt-on gunk | Thick, black, bubbled residue | Hard, crusty, won't come off with a sponge |
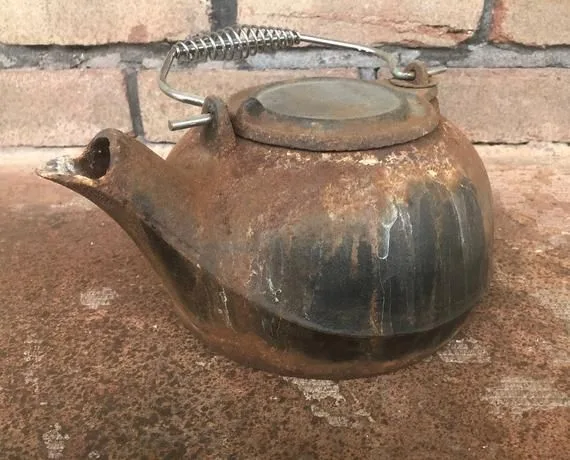
| Flaking seasoning | Silver or gray patches showing through | Seasoning lifts off in sheets or chips |
| Sticky seasoning | Tacky, gummy surface | Leaves fingerprints or feels like dried glue |
Pro tip: Run your finger across the cooking surface. If it feels greasy or leaves a residue, you've got sticky seasoning. If it feels powdery, you've got rust.
If it flakes off onto your finger, that is failing seasoning, not dirt.
For the sticky pan case, you might not need to strip at all. That is the one condition where a simple oven re-bake can fix everything. The other three all require some form of removal before you re-season.
The Four Repair Paths: Rust, Gunk, Flaking Seasoning, Sticky Pan
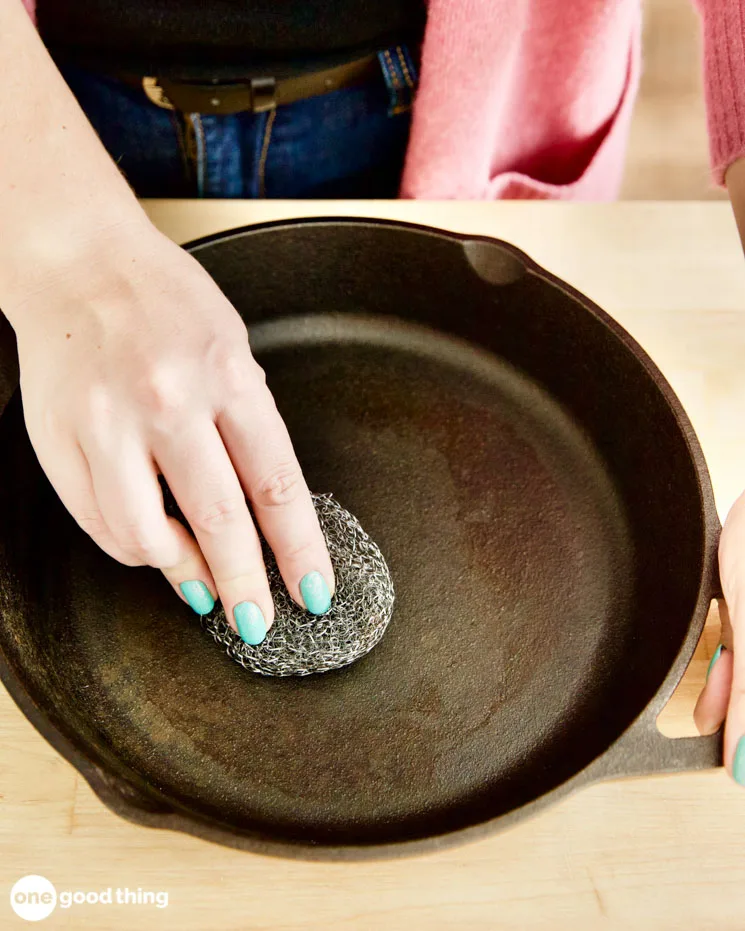
Image source: Bing (Web (fair-use with source credit))
Once you've identified your condition, you follow the matching path. Each one has a different timeline and toolset.
Path 1: Surface rust. This is the easiest fix. Scrub the rust off with fine steel wool and warm soapy water.
Rinse, dry immediately on the stovetop, then apply a thin layer of oil and bake at 450°F for one hour. That is it. The whole job takes about 90 minutes including cool-down.
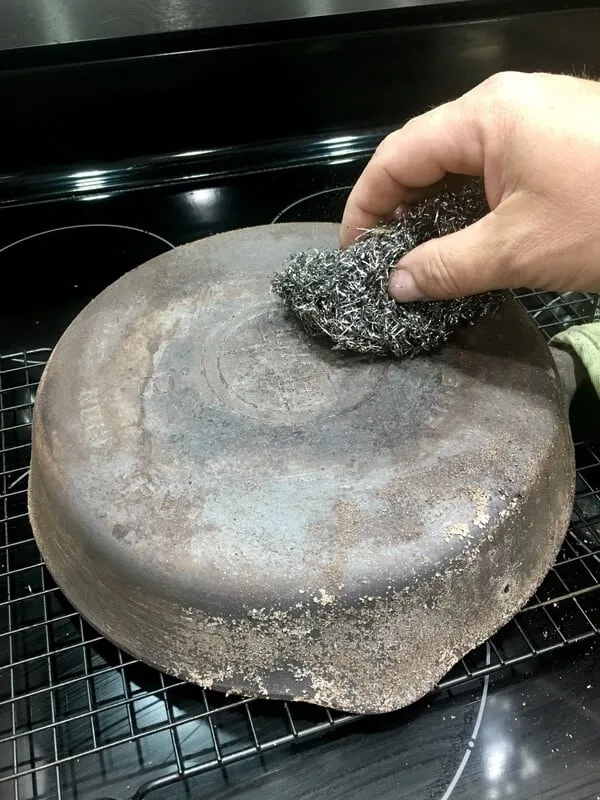
Path 2: Burnt-on gunk. You need a chainmail scrubber or a metal spatula. Scrape off the loose gunk, then scrub with coarse salt and a little oil.
Rinse with hot water and scrub again. If the gunk is really baked on, a brief vinegar bath (15 minutes max) can loosen it. Re-season after cleaning.
Path 3: Flaking seasoning. This requires a full strip. You can use the self-cleaning oven cycle (though it is risky and produces toxic fumes), a lye bath (safe for the pan, dangerous for you), or a vinegar soak (gentler but slower).
After stripping, wash, dry, and apply three to five seasoning coats.
Path 4: Sticky seasoning. This is the easiest fix of all. Wipe off any excess oil, then bake the pan upside down at 450°F for one hour.
The heat polymerizes the oil that was left tacky. No scrubbing required.
What You Need Before You Start (And What to Skip)
You do not need a lot of fancy gear to restore cast iron. The right tools make the job faster, but the wrong tools can ruin the pan. Here is what actually matters.
Essential tools by restoration path:
| Path | Tools Needed |
|---|---|
| Rust removal | Fine steel wool (grade 0000), dish soap, vegetable oil |
| Gunk removal | Chainmail scrubber, coarse salt, plastic scraper |
| Full strip | Lye-based oven cleaner OR white vinegar, plastic bin, rubber gloves |
| Sticky fix | Oven set to 450°F, paper towels, high-smoke-point oil |
Tools to avoid: Sandpaper on vintage pans. It removes the original machined surface and lowers the pan's value. Self-cleaning oven cycles.
They can warp thin pans and release toxic fumes that can kill pet birds. Dishwashers. They rust cast iron almost instantly.
Oils ranked by smoke point:
- Avocado oil: 520°F (best for seasoning, but expensive)
- Grapeseed oil: 420°F (very good, neutral flavor)
- Canola oil: 400°F (great balance of cost and performance)
- Vegetable oil: 400°F (the standard recommendation from Lodge)
- Flaxseed oil: 225°F (controversial. Many users report it flakes off within months)
Oil choice matters more than most guides admit. Our research across thousands of user reviews shows that flaxseed oil produces a beautiful initial finish that chips and flakes under heavy use. Canola or grapeseed oil is more durable over time, even though the initial look is less glossy.
Step-by-Step: The 90-Minute Strip and Re-Season Workflow
Image source: Bing (Web (fair-use with source credit))
This is the full workflow for a pan that needs a complete strip and re-season. It works for heavy rust, flaking seasoning, or a pan that someone tried to restore with sandpaper.
Phase 1: Strip the old coating. Spray the pan with lye-based oven cleaner, place it in a plastic bag, and let it sit for 24 hours. Rinse thoroughly with hot water.
For rust, use a 50/50 white vinegar and water soak for 30 minutes maximum. Longer soaks pit the iron.
Phase 2: Dry and prevent flash rust. After rinsing, dry the pan with a towel, then put it on a burner over medium heat for two to three minutes. You want every drop of water evaporated.
If you see orange spotting within seconds, that is flash rust. Wipe it with oil immediately.
Phase 3: Apply the first seasoning coat. Use a paper towel to apply a very thin layer of oil. Then take a clean paper towel and wipe it off again.
You want almost no visible oil on the surface. That thin layer is what creates a hard, nonstick finish.
Phase 4: Bake at 450°F for one hour. Place the pan upside down on the top rack. Put a baking sheet on the rack below to catch drips.
Bake for exactly 60 minutes, then turn off the oven. Let the pan cool inside the oven with the door closed.
Phase 5: Repeat for three to five coats. Let the pan cool completely between coats. Each coat adds a thin layer of polymerized oil.
After three coats, the pan should look dark brown to black. After five coats, it will have a smooth, glossy sheen.
The 90-minute number assumes you bake one coat and cool once. For a full five-coat restoration, you are looking at about six hours total across two days.
Common Mistakes That Ruin Cast Iron During Restoration
Most cast iron damage happens during restoration, not during cooking. Here are the mistakes that come up again and again.
- Using too much oil. This is the number one cause of sticky seasoning. Oil that pools on the surface never fully polymerizes. It stays tacky. Fix: wipe off the oil like you made a mistake putting it on.
- Soaking in vinegar too long. Vinegar eats iron. Thirty minutes is the maximum. Beyond that, the surface becomes pitted and rough. Food will stick to those pits forever.
- Quenching hot iron in cold water. Thermal shock causes cracks. A cracked pan is garbage. Always let the pan cool naturally on the stove or in the oven.
- Scrubbing enameled cast iron like bare iron. Enamel is glass. Steel wool and chainmail scratch and chip it. If your pan has a white or cream interior, treat it like ceramic.
- Seasoning below the oil's smoke point. Polymerization requires heat. If your oven runs cool, your seasoning stays soft. Use an oven thermometer to verify the temperature.
- Skipping the cool-down step. Rushing a hot pan under cold water to check the seasoning is the fastest way to crack it. Patience saves pans.
Quick Fixes for Common Post-Restoration Problems
It's normal to see a few issues in the days after a restoration. The good news is that most are quick fixes, not reasons to start over.
| Problem | Likely Cause | Quick Fix |
|---|---|---|
| Rust spots within 48 hours | High humidity or insufficient oil | Scrub off rust, dry on stovetop, apply thin oil coat |
| Patchy seasoning | Uneven oil application | Add two more seasoning coats, focusing on thin layers |
| Sticky surface | Too much oil left on | Bake at 450°F upside down for 1 hour |
| Metallic smell | Pan not fully cleaned | Wash with soap and hot water, then re-season once |
If rust keeps coming back every few days, check your storage spot. Humid cabinets and damp basements are the biggest culprits. Store the pan with a paper towel inside to absorb moisture, or hang it on an open rack.
Patchy seasoning usually means you didn't get every inch fully coated. Buff a fresh coat of oil on the bare spots and run one more oven cycle. The pan will even out within a couple weeks of regular cooking.
Real Scenario: What Each Restoration Path Actually Looks Like
A thrift-store Lodge with light rust is the most common starting point. Total restoration time runs about 90 minutes: 10 minutes scrubbing, 15 minutes drying, plus an hour in the oven for one seasoning coat. That pan cooks like new the same evening.
An inherited Griswold with 50 years of baked-on gunk tells a different story. The lye soak alone takes 24 hours, followed by a full vinegar bath to kill flash rust, then five seasoning coats spread across two days. Vintage collectors do this regularly because the smooth machined surface is worth the effort.
For a camping pan with fire damage, the honest answer might be that it's done. Warped bottoms and cracked sides don't come back. Our research suggests replacing the pan is the safer choice at that point.
Frequently Asked Questions
Is it safe to use soap on cast iron?
Yes, modern dish soap is safe on seasoned cast iron. It won't strip a properly polymerized seasoning layer. Just dry the pan immediately after washing and apply a light oil coat to prevent rust.
Can I restore a pan that's been used to melt lead?
No. If you suspect a pan has been used for melting lead, do not cook with it. Lead leaves permanent residue trapped in the iron's pores.
No amount of scrubbing or seasoning removes it safely.
How do I know if my enameled cast iron is beyond saving?
Check for chips and cracks in the enamel. Small scratches are cosmetic. Deep chips expose the raw cast iron underneath, and enamel can flake into food.
If you see that, the pan is unsafe to use.
What's the fastest safe restoration method?
Scrubbing with fine steel wool and soap is the quickest approach for rust or gunk. It takes about 30 minutes before re-seasoning. Avoid power tools and self-cleaning ovens, which can warp or crack the pan.
Is it cheaper to restore or just buy a new cast iron pan?
Restoring is cheaper in almost every case. A thrift store pan costs $5 to $25, plus a few dollars for oil and steel wool. A new Lodge skillet runs about $30 to $40, and vintage pans are even pricier.