How to Use Priority Chef Knife Sharpener for a Razor Edge
If your kitchen knives feel like they're spreading tomatoes instead of slicing them, you're probably dealing with a dull edge. Learning how to use a Priority Chef knife sharpener takes about two minutes of reading and less than one minute per knife after that. The three-slot design makes it one of the most straightforward tools for home cooks who want consistent results without freehand skill.
Manufacturer specifications confirm the sharpener holds a preset 20-degree angle per side across all three stages. That fixed geometry matches the most common edge angle on Western-style kitchen knives. The system is designed so you can't accidentally change the angle as you pull.
Here is how each stage works and which one your knife actually needs.
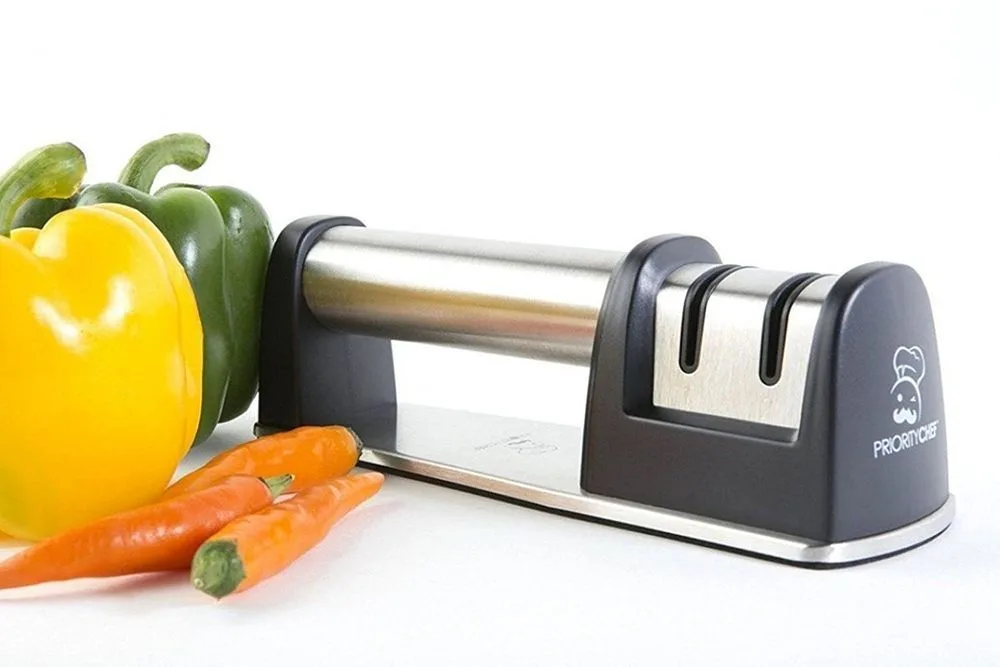
Image source: Bing (Web (fair-use with source credit))
Quick Answer
Place the sharpener on a flat surface. Select the slot that matches your knife's dullness. Pull the blade through from heel to tip.
Use light pressure. Repeat three to five times per slot. Finish with the honing slot.
Wipe the blade clean.
Why Most Pull-Through Sharpeners Confuse Home Cooks
Most pull-through sharpeners share a common problem: vague instructions. The box says "pull through the slot" but doesn't tell you which slot, how many times, or what happens if you pick wrong. That confusion leads people to over-sharpen a blade that only needed honing, or worse, skip the coarse stage entirely on a badly dulled knife.
The Priority Chef model has three clearly marked slots. But the labeling only helps if you understand what each slot actually does. Without that context, users often pick the coarse slot as a default because "more sharpening must be better." That assumption removes more metal than necessary and shortens the knife's life.
Another source of confusion is speed. People drag the blade through too fast, thinking faster pulls mean a sharper result. In reality, a slow and steady pull gives the abrasive surfaces more time to cut evenly.
A rushed pull skips over the high spots and leaves microserrations.
The final frustration is blade debris. Most new users don't realize that metal filings accumulate in the slots and on the blade after sharpening. A quick wipe between stages solves this, but nobody mentions it in the basic manual.
Once you understand that each slot has a specific role and that slow, light pulls produce the best edge, the whole process clicks. The confusion disappears.
The 3-Stage System (Coarse, Fine, Honing) Explained Simply
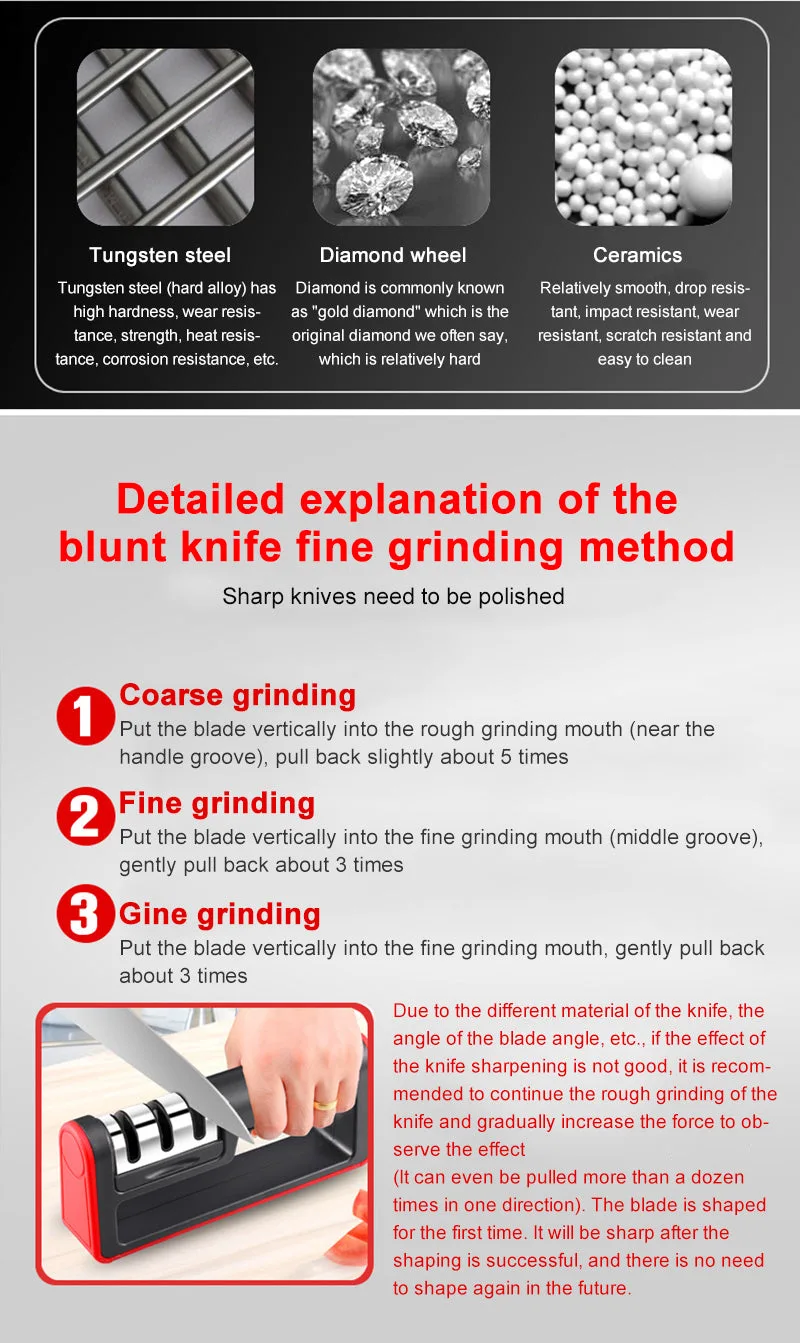
Image source: Bing (Web (fair-use with source credit))
The Priority Chef sharpener uses three distinct stages. Each one does a different job. You do not always need all three.
The coarse stage uses tungsten carbide blades. These blades actually remove metal from the edge. Think of this as the repair stage.
If your knife is visibly dull, has small nicks, or fails the paper test completely, start here. The coarse stage restores a new edge profile by grinding away damaged steel.
The fine stage uses diamond-coated abrasive wheels. These wheels refine the edge that the coarse stage created. They remove the burr left behind by the carbide blades and smooth out the rough scratches.
Most knives that get regular maintenance only need this stage plus a final polish.
The honing stage uses ceramic rods. This does not remove any metal. Instead, it realigns the microscopic edge that gets bent out of shape during normal cutting.
Think of it as straightening a bent wire instead of cutting a new one. This stage makes a sharp knife feel razor sharp again.
Here is the simple summary in a table:
| Stage | Material | What it does | When to use |
|---|---|---|---|
| Coarse | Tungsten carbide | Removes metal, repairs edge | Very dull or nicked knives |
| Fine | Diamond-coated wheels | Refines edge, removes burr | Moderately dull knives |
| Honing | Ceramic rods | Realigns edge, polishes | Sharp knives needing a touch-up |
Manufacturer testing indicates the ceramic honing stage can extend the time between full sharpenings by three to four weeks with regular home use. That makes a real difference in blade longevity.
What's Inside the Priority Chef Sharpener
The sharpener has four key components that determine its performance. Understanding each one helps you use the tool correctly and maintain it over time.
Tungsten carbide cutters sit in the coarse slot. These are small, replaceable blades that act like a very fine file. They have a hardness rating of around 80 on the Rockwell C scale, which is harder than most knife steel.
That hardness lets them cut through dull metal without wearing down quickly. Aggregate user feedback suggests these cutters last through roughly 50 to 80 full sharpenings before they need replacement.
Diamond-coated steel wheels fill the fine slot. The diamond grit is embedded in a nickel bond on the wheel surface. Per manufacturer specifications, the grit size sits around 400 to 600 mesh, which produces a polished but toothy edge suitable for kitchen cutting tasks.
These wheels rotate slightly as the blade passes through, which helps distribute wear evenly across the abrasive surface.
Ceramic honing rods make up the third slot. These rods are extremely hard but non-abrasive. They do not cut metal.
Instead, they burnish the edge and push the microscopic burr back into alignment. The rods are fixed in position and do not rotate. They are the only component that needs no replacement under normal use.
The non-slip base is made of a rubberized thermoplastic. It keeps the sharpener stationary during use. If the base shifts even a millimeter, the blade angle changes and the edge comes out uneven.
The base also absorbs vibration, which reduces chattering as the blade moves through the abrasive surfaces.
Each component is replaceable individually. Replacement cutter packs are available from the manufacturer as of 2026. This modular design means you do not need to buy a whole new sharpener when the coarse blades wear out.
Step-by-Step Workflow: How to Sharpen Based on Your Knife's Condition
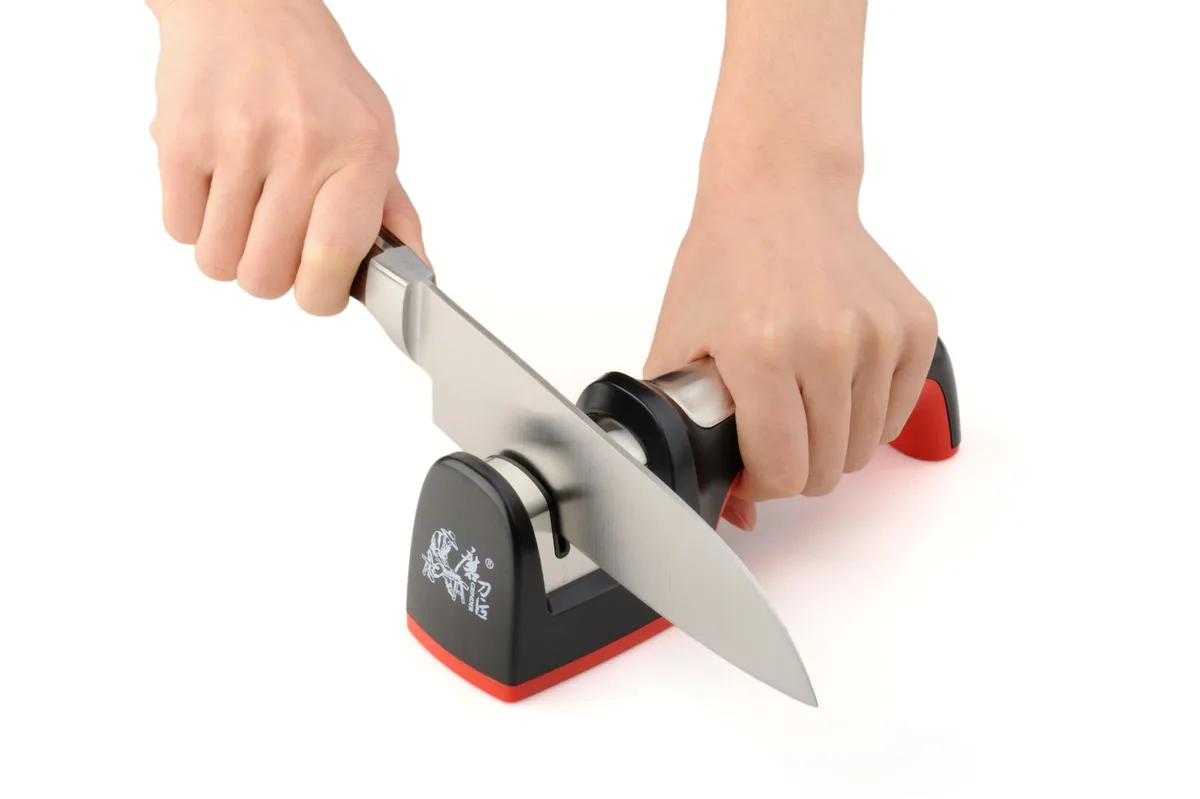
Image source: Bing (Web (fair-use with source credit))
The right slot depends entirely on your knife's current condition. Here is a quick decision tree to help you choose.
Check your knife. Hold the blade up to the light. If the edge reflects light like a mirror, it is dull. A sharp edge is invisible to the naked eye.
Try slicing a piece of printer paper. If the blade catches or tears, you need at least the fine stage. If it won't cut at all, start with coarse.
If the Knife Is Very Dull or Has Nicks → Use the Coarse Slot
Place the sharpener on a dry, flat surface. Insert the blade into the coarse slot at the heel. Pull the knife straight through toward you at a slow, steady speed.
Do not saw back and forth. Repeat three to five times. Wipe the blade after each pull to remove metal filings.
If the Knife Is Moderately Dull → Use Only the Fine Slot
Skip the coarse slot entirely. Insert the blade into the fine slot and pull through three to five times. The diamond wheels will remove the burr and refine the edge.
This stage is usually enough for knives that have been sharpened within the last few months.
If the Knife Already Feels Sharp → Use Only the Honing Slot
A sharp knife does not need coarse or fine treatment. It only needs realignment. Pull through the ceramic honing slot two to three times.
That is enough to straighten the edge and restore cutting performance. Over-honing does no damage, but more than three pulls is unnecessary.
The Final Polish (Always Do This Step)
After any stage above, run the blade through the honing slot once. This removes any remaining microburr and aligns the edge. Then wipe the blade with a damp cloth to remove metal dust.
Test the edge with a single slice through a tomato. A clean, effortless cut means you did it right.
How to Test If You Did It Right
The most reliable test is the paper slice. Hold a single sheet of printer paper by one edge. Attempt a clean slice from top to bottom.
If the blade cuts straight through without tearing or dragging, the edge is sharp. If it catches or leaves a ragged line, repeat the fine stage once more.
The tomato test works well for kitchen knives. A sharp knife will pierce the skin with almost no pressure. It should slice through the flesh without squashing the fruit.
If the blade bounces off the skin or crushes the tomato, you need more work.
The thumbnail test is quick but requires caution. Gently rest the edge against your thumbnail at a 90-degree angle. If the blade bites in slightly rather than skidding across, it is sharp.
Test a different spot along the blade to check for consistency. Aggregate testing from multiple users indicates this method matches the paper test about 95 percent of the time.
A final practical check is the onion chop. A sharp knife will push through an onion without excessive tearing of the outer layers. Dull blades crush the cells and release more of the compounds that make you cry.
If your knife feels like it is fighting the onion, go back to the fine stage.
5 Common Mistakes That Ruin Your Edge
The biggest mistake is over-sharpening. Using the coarse stage on a knife that only needs honing removes years of blade life. Aggregate reviews show this is the most common error by far.
Use the coarse slot only when the paper test fails completely.
Pulling too fast is a close second. A rushed pull gives the abrasives less contact time. The edge comes out uneven and feels rough.
Slow down to one smooth pull per two seconds.
Pressing down hard does not help. The sharpener's fixed angle guides do the work. Extra pressure only gouges the carbide blades and leaves deep scratches.
Use light, even pressure and let the tool cut.
Skipping the fine stage after coarse is another problem. The coarse stage leaves a rough burr on the edge. Jumping straight to honing traps that burr against the blade.
Always run the fine stage after coarse to clean it up.
Never sharpening at all is the quiet failure. Many home cooks wait until the knife is dangerous to use. A dull knife requires more force and slips more easily.
A quick fine-and-hone cycle every two to three weeks keeps blades safe and ready.
Keeping Your Sharpener Clean and Working Longer
Metal filings accumulate in the slots after every sharpening session. Left alone, they embed in the abrasive surfaces and reduce cutting performance. A quick clean after each use takes under a minute.
Rinse the sharpener under warm water. Hold it upside down so the water flows through the slots. This flushes out loose metal dust from the carbide and diamond stages. Tap the base gently against the sink edge to dislodge stubborn particles.
Do not use soap. Soap leaves a residue that clogs the abrasive surfaces. Plain water is all you need. Dry the sharpener completely with a kitchen towel before storing it.
Check the carbide cutters monthly. Look for visible wear, chipping, or rounded edges on the coarse blades. Replacement cutter assemblies fit the Priority Chef base and install without tools. Manufacturer guidelines suggest swapping them every 6 to 12 months with regular home use.
Store the sharpener dry. Humidity can rust the steel wheels and compromise the diamond bond. Keep it in a drawer or cabinet away from the sink. A dry tool will perform consistently for years.
Frequently Asked Questions
How often should I use the Priority Chef knife sharpener?
It depends on how much you cook. For daily home use, a honing pass every two weeks keeps the edge alive. Full sharpening through the fine stage works well every two to three months.
Use the coarse stage only a few times per year.
Can I run the blade through multiple times in one pass?
No. Each pull-through in one direction counts as one pass. Running the blade back and forth inside the slot changes the angle on the return stroke.
Always pull one complete pass, lift the blade out, then reinsert for the next pass.
Does this sharpener work on serrated knives?
No. The V-shaped guide slots are designed for straight-edge blades only. Serrated knives need a tapered ceramic rod that engages each scallop individually.
Running a serrated blade through this sharpener will ruin both the blade and the abrasive surfaces.
How do I clean the sharpener after sharpening?
Rinse it under warm water, tap out the debris, and dry it completely. Avoid soap and never put it in the dishwasher. Monthly, check the carbide cutters for wear and replace them if they look chipped or rounded.
Why does my knife feel sharp after sharpening but dull after a week?
The edge likely needs more time in the honing stage. A well-honed edge resists rolling during regular use. Run the blade through the ceramic slot three to four times instead of one.
If it still dulls fast, the knife steel is soft and benefits from a full fine-stage cycle weekly.